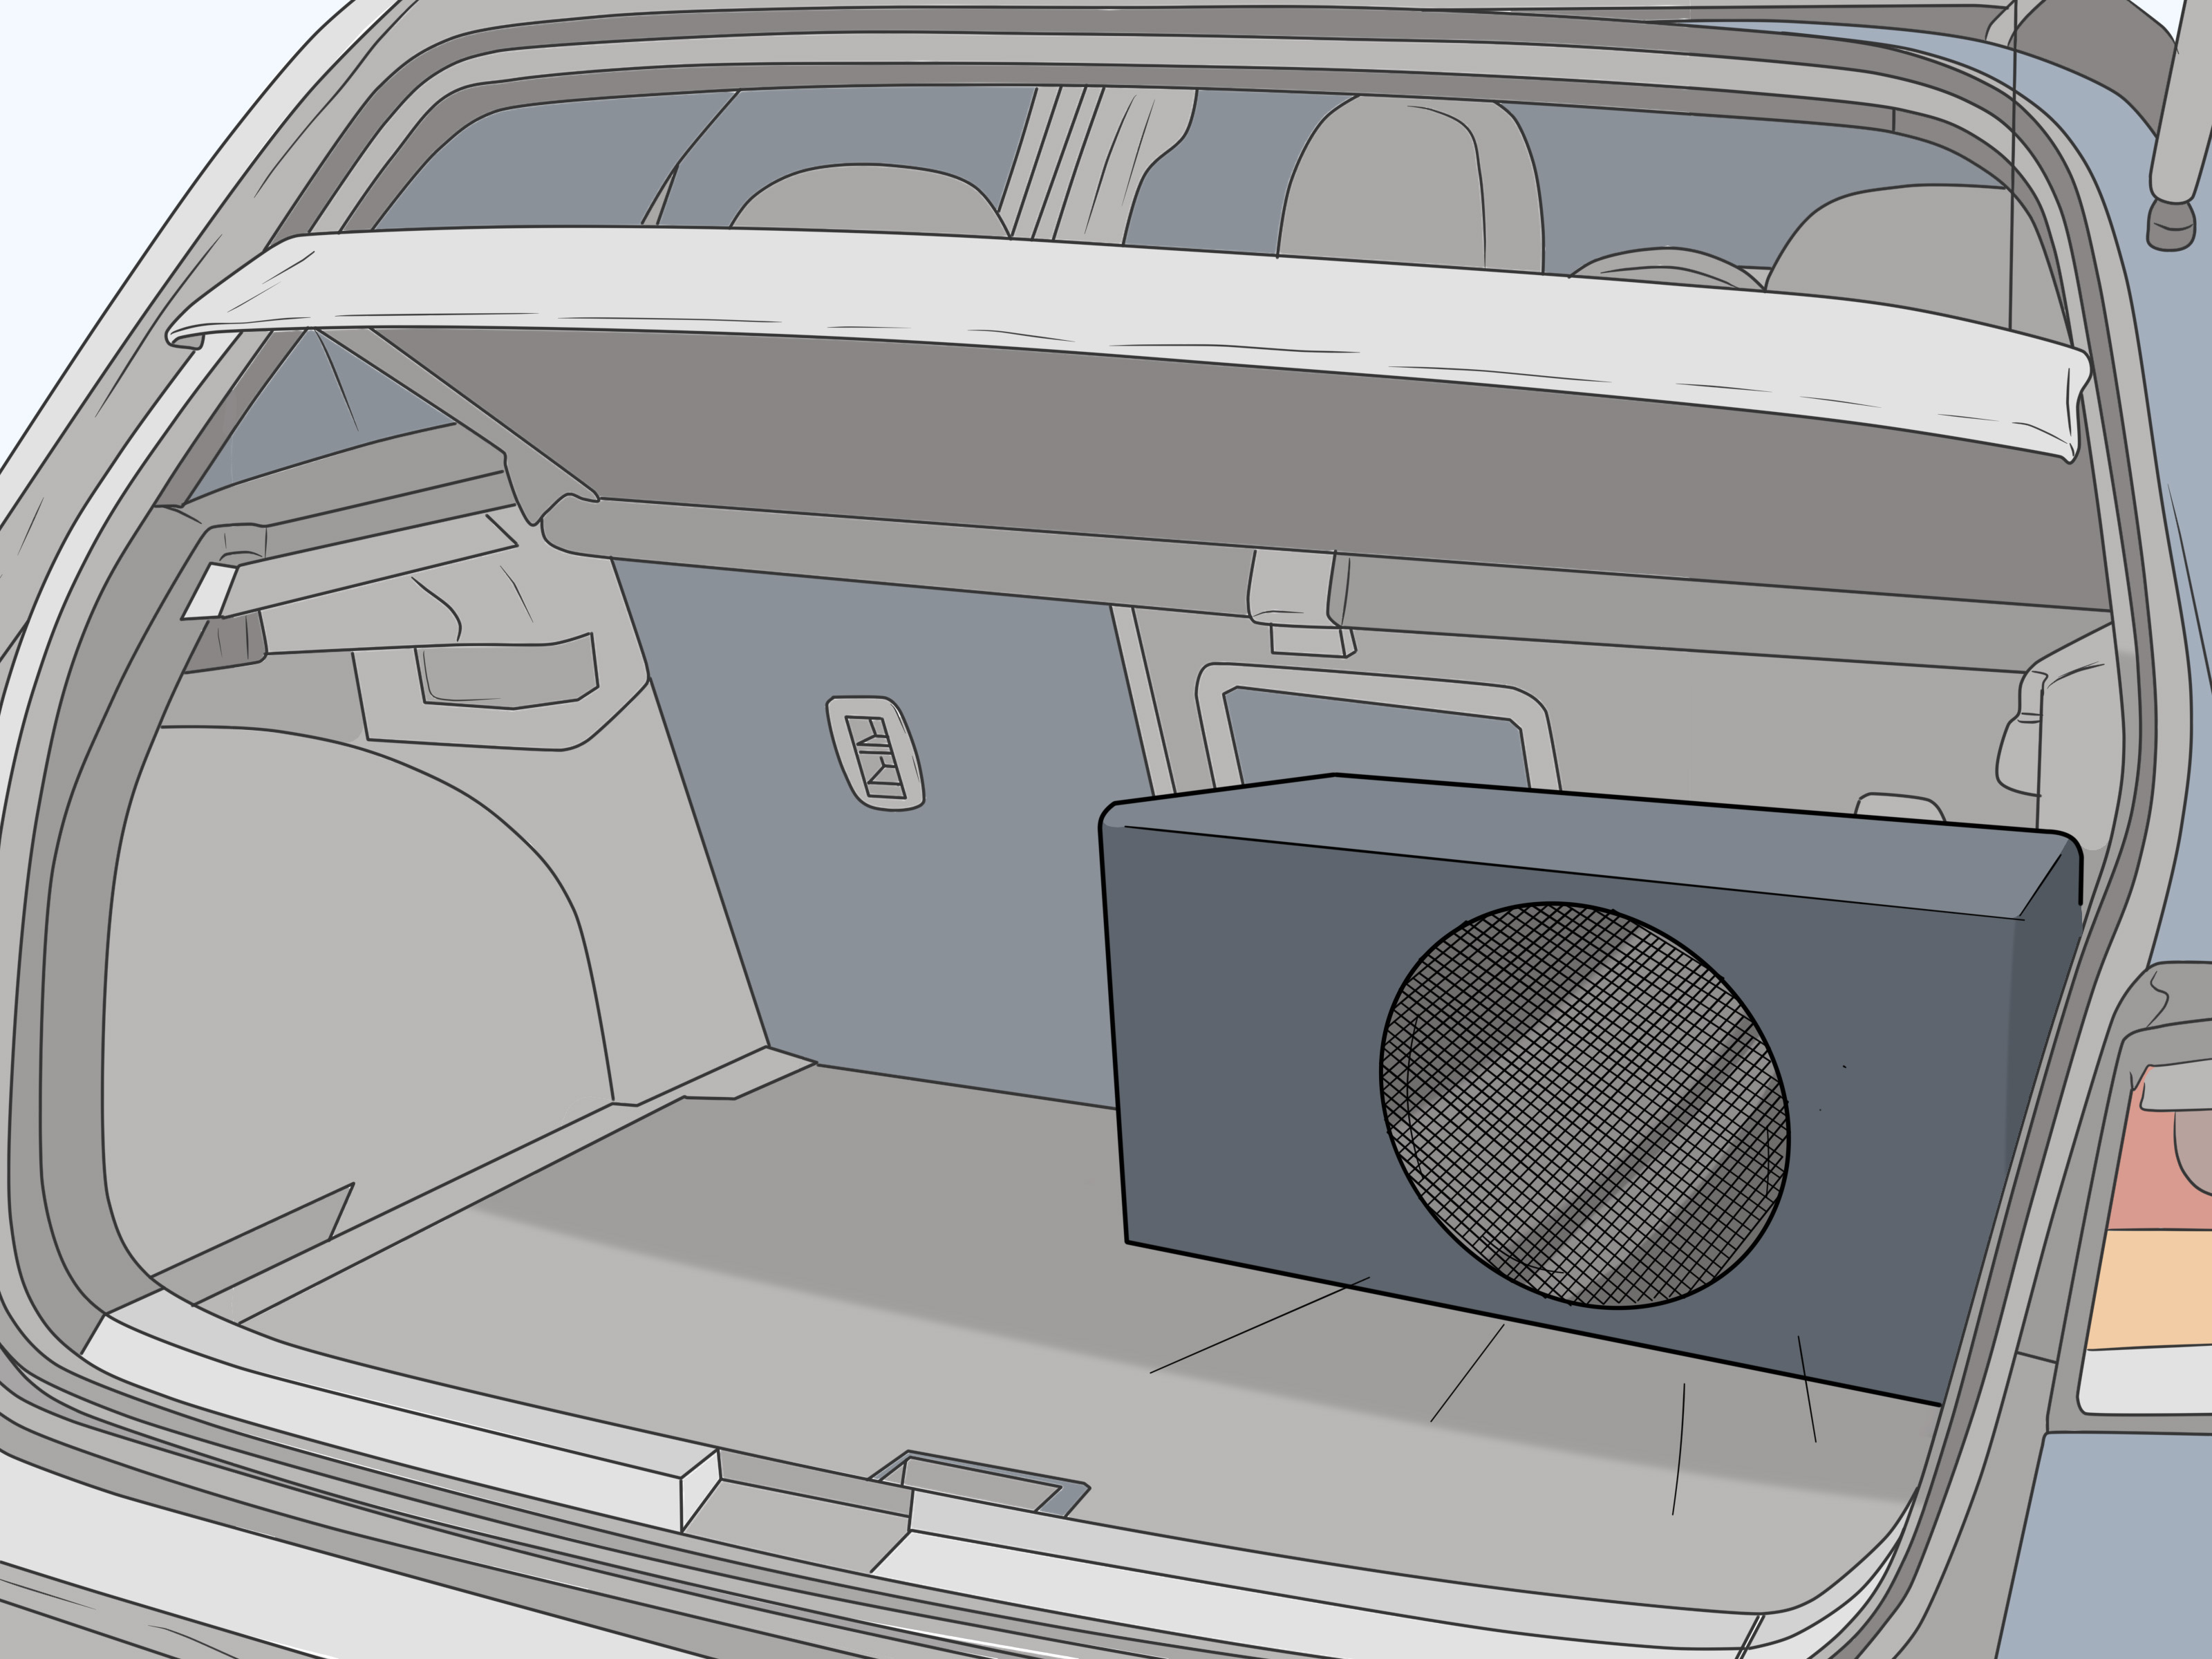
Adding an amplifier and subwoofer to your vehicle can make your music sound bigger, deeper, and dramatically less sad. A factory system often does an okay job with podcasts, traffic updates, and the occasional guilty-pleasure pop anthem, but it usually falls flat when real bass enters the chat. That is where an amp-and-sub setup changes everything.
Still, this is one of those projects where confidence and competence are not always the same thing. A clean-looking install can still hide a bad ground, the wrong signal path, a mismatched impedance load, or enough cable chaos to make your trunk look like it lost a fight with a spaghetti factory. The good news is that once you understand how the system works, the job becomes much less mysterious.
This guide explains how an amp connects to a subwoofer and head unit, what the major wiring paths do, what changes when you are using a factory radio versus an aftermarket one, and how to avoid the classic mistakes that turn “I upgraded my sound” into “Why does my car smell like hot plastic?” Think of this as the smart, practical, safety-minded version of a DIY guide.
What the System Is Actually Doing
Before you buy parts or start pulling trim panels, it helps to understand the basic job of each component. Your head unit is the command center. It provides the music signal, volume control, and sound settings. The amplifier takes that signal and boosts it with enough power to move a subwoofer properly. The subwoofer handles low frequenciesthe bass notes, kick drums, and rumbles that smaller factory speakers often cannot reproduce with authority.
In plain English, the signal usually flows like this: the head unit sends audio to the amplifier, the amplifier powers the subwoofer, and the battery provides the electrical energy that makes the whole thing possible. There is also a small but important turn-on signal that tells the amplifier when to wake up, because even powerful audio gear should not act like it owns the car.
Once you understand those three pathsaudio signal, power, and speaker outputthe installation starts to make sense. Every connection in the system is there to support one of those jobs.
The Three Paths You Need to Understand
1. Signal from the Head Unit to the Amp
This is the music path. If your aftermarket head unit has RCA preamp outputs, that is usually the cleanest and simplest way to feed signal to the amplifier. If you are keeping a factory radio, the situation changes. Many factory units do not include RCA outputs, so people typically use speaker-level inputs on the amplifier or a line output converter to adapt the signal.
That distinction matters because the best wiring approach depends heavily on what your head unit can actually send. A modern amp with speaker-level inputs can simplify the setup. A factory system with unusual signal processing may need additional integration gear. This is why “How do I wire my amp?” is really two questions: “What kind of radio do I have?” and “What kind of input does my amplifier accept?”
2. Power to the Amplifier
The amplifier needs direct battery power because a head unit alone cannot supply enough current to run a subwoofer correctly. This power path is the part that deserves the most respect. Bad power wiring is not just annoying; it can blow fuses, create noise, drain the battery, or cause serious electrical problems.
Good installs treat power wiring like a priority, not an afterthought. The amp needs clean battery power, a proper fuse on the positive cable, and a solid chassis ground. If any one of those three is weak, the whole system gets moody.
3. Output from the Amp to the Subwoofer
This is the path that actually moves air. The amplifier’s speaker output sends amplified signal to the subwoofer. What matters here is matching the subwoofer’s impedance and power handling to what the amp is designed to drive. If the load is wrong, you are not being rebelliousyou are just asking the amp to suffer.
This is where dual voice coil and single voice coil subwoofers, as well as series and parallel wiring, enter the conversation. You do not need an engineering degree to get it right, but you do need to know your amplifier’s minimum impedance and your subwoofer’s wiring options before connecting anything.
Aftermarket Head Unit vs. Factory Radio
Aftermarket Head Unit Setup
If your head unit has dedicated subwoofer or rear RCA outputs, you are in the easy lane. The signal path is typically more straightforward, tuning is simpler, and integration tends to be cleaner. This is the scenario most people imagine when they picture adding an amp and sub.
In this layout, the head unit sends a low-level audio signal to the amp, the amp receives battery power and ground, a remote turn-on lead switches the amp on with the radio, and the amp powers the subwoofer. The system is easier to troubleshoot because every major connection has a clear job.
Factory Radio Setup
Keeping the factory head unit can absolutely work, but it usually requires more planning. Many factory radios lack RCA outputs, which means you may need an amplifier with speaker-level inputs or an external line output converter. In some vehicles, a vehicle-specific integration harness can make the process cleaner and less invasive.
Factory systems can also introduce quirks like built-in equalization, bass roll-off, or separate amplified channels. That means the signal you tap may not behave like a nice, simple aftermarket preamp signal. This is why factory integration is not “hard” so much as “a little less forgiving.”
What You Should Check Before You Install Anything
A smart install starts on paper, not in the parking lot. Before connecting an amp to a sub and head unit, confirm the following:
- Your amplifier can accept the kind of signal your head unit provides.
- Your subwoofer’s impedance matches a safe load for the amplifier.
- Your amp’s RMS output is appropriate for the subwoofer’s RMS rating.
- You have room to mount the amplifier where it can stay cool and secure.
- You know where power cable routing, grounding, and signal cable routing will happen.
- You have vehicle-specific wiring information if you are retaining a factory radio.
This is not glamorous, but it saves money. Most failed installs are not caused by bad luck. They are caused by skipped planning, wrong assumptions, or somebody saying, “Eh, that wire is probably fine.” That sentence has ruined many peaceful weekends.
Key Wiring Principles That Separate a Clean Install from a Headache
Use the Right Signal Strategy
If the head unit has RCA outputs, use them. If it does not, use the amplifier’s speaker-level input or a proper line output converter designed for factory integration. Do not force a shortcut just because a video made it look easy in 28 seconds.
Respect Power and Ground
Your amplifier depends on stable current flow. That means the positive battery feed needs proper circuit protection, and the ground needs a clean, bare-metal chassis connection. A weak ground can create noise, inconsistent performance, or random amp shutdowns that make you question your life choices.
Protect the Wire Routing
Cables that pass through metal surfaces need protection. Wires that can rub, pinch, or flex constantly are future problems in disguise. Secure routing is not just about neatness; it is about long-term reliability.
Do Not Treat Gain Like a Volume Knob
This is one of the most common mistakes in car audio. Gain is there to match input sensitivity, not to chase maximum loudness like a caffeinated raccoon pressing every button in the cabin. Too much gain can introduce distortion, heat, and unhappy speakers very quickly.
Know Your Subwoofer Wiring Options
A mono amplifier and a dual voice coil sub can be a great match, but only if the final impedance lands within the amp’s safe operating range. Never guess here. “Looks right” is not a wiring standard.
How to Make the System Sound Good, Not Just Loud
A lot of first-time installs focus on getting sound. A better goal is getting controlled sound. Once the amp, sub, and head unit are connected correctly, tuning makes a huge difference.
Start with realistic expectations. A subwoofer should add depth and weight, not bulldoze the rest of the music. You want bass that supports the song, not bass that turns every track into a distant thunderstorm. A low-pass filter helps the sub play the frequencies it is meant to handle, while the head unit’s crossover and level settings can help blend everything together.
For example, if you listen to rock, country, hip-hop, and podcasts in the same week, your system should sound balanced across all of them. If one song sounds amazing and the next three sound bloated, the issue is usually setup, not the music.
Common Problems After Wiring an Amp to a Sub and Head Unit
The Amp Turns On, but There Is No Bass
This usually points to a signal-path issue, a crossover setting problem, or incorrect output selection at the head unit. It can also mean the amp is powered correctly but is not receiving the right input for the sub channel.
The Amp Will Not Turn On
Think power, ground, remote turn-on signal, and fuses first. Most “dead amp” situations are not dramatic failures. They are connection issues hiding in plain sight.
You Hear Engine Noise or Whine
Noise often comes from poor grounding, weak integration, or cable-routing choices. It can also show up when signal wiring and power wiring are handled carelessly. The fix is usually methodical, not magical.
The Bass Sounds Weak or Muddy
This could be caused by polarity issues, poor enclosure choice, incorrect crossover settings, a mismatched sub/amp pair, or a factory signal that is already limiting bass. Not every bad-sounding subwoofer is a bad subwoofer. Sometimes it is just being asked to perform under terrible conditions.
Common DIY Mistakes to Avoid
- Choosing gear before checking compatibility.
- Ignoring the amplifier’s minimum impedance rating.
- Assuming every factory radio can be integrated the same way.
- Using the cheapest random kit available and hoping for greatness.
- Mounting the amp where heat, moisture, or movement become problems.
- Turning gain too high because “it sounded quieter than expected.”
- Skipping system tuning after the physical installation is complete.
In other words, most mistakes are avoidable. They happen when people rush the planning, copy a setup that belongs to a different vehicle, or underestimate how much the details matter.
When It Makes Sense to Let a Pro Handle It
DIY can be satisfying, but there is no shame in recognizing when a project is outside your comfort zone. If your vehicle has an unusually complex factory audio system, active noise cancellation, factory amplification, or a dashboard that appears to have been designed by puzzle makers, professional installation might be the smarter move.
The same goes for anyone who is unsure about safe power routing, grounding, or interpreting wiring information. Saving money is great. Saving your vehicle’s electrical system is better.
Final Thoughts
Learning how to wire an amp to a sub and head unit starts with understanding the system, not blindly following a diagram from the internet that may or may not match your gear. The best installs are not the ones with the most wattage. They are the ones where the signal path makes sense, the power delivery is stable, the impedance is correct, and the tuning serves the music.
Done right, a subwoofer upgrade makes your car feel like a better place to be. Commutes get less boring, favorite songs feel more alive, and even everyday listening gets a little cinematic. Done wrong, it becomes an expensive lesson in smoke, silence, and suspiciously warm wires.
So take the project seriously, choose compatible gear, respect the electrical side of the job, and build for clean performance instead of chaos. Your earsand your trunkwill thank you.
Real-World Experience: What DIY Installers Usually Learn the Hard Way
Ask enough people about their first amp-and-sub install, and you start hearing the same stories. Nobody says, “Everything was effortless, perfectly labeled, and emotionally healing.” What they usually say is something closer to, “I thought I understood it, then I realized my factory radio was not playing by normal rules.” That is a very common beginning.
One of the biggest lessons from real-world installs is that the head unit matters more than beginners expect. People often shop for the subwoofer first because that is the exciting part. Big cone, big bass, big dreams. Then they discover their factory radio does not offer RCA outputs, the vehicle has active processing, and the amplifier needs a different input strategy. The result is not failure, but it does turn a simple Saturday project into a more technical one.
Another common experience is underestimating how much mounting and routing affect the final result. On paper, connecting an amp to a sub and head unit sounds mostly electrical. In practice, it is also physical. Where the amplifier sits, how cables are secured, how the enclosure fits, and whether the wiring stays organized all affect the install quality. Even people who get the connections right often say their second install looked and behaved much better because they planned the layout first.
Then there is the tuning lesson. First-timers often expect the system to sound amazing the second everything powers on. Instead, the bass may be too loud, too weak, too boomy, or weirdly disconnected from the rest of the music. That does not necessarily mean the gear is wrong. It usually means the settings need attention. Many experienced DIYers say the most satisfying moment is not when the subwoofer makes noise for the first time, but when it finally blends into the system and sounds intentional.
People also learn that “cheap” and “budget-friendly” are not the same thing. A sensible entry-level setup can sound excellent. But cutting corners on critical installation parts often backfires. A bargain amplifier with poor integration options, a mystery wiring kit with vague specs, or a random no-name converter can create more problems than it solves. Plenty of DIYers end up buying the right parts twice, which is one of the least fun ways to become wiser.
There is also a psychological side to the project. The first install can feel intimidating because you are dealing with trim panels, vehicle wiring, power connections, and the fear of accidentally breaking something expensive. But many people report that once they understand the basic system architecturesignal in, power in, speaker output outthe project becomes far less scary. The mystery disappears. What looked complicated starts looking logical.
And maybe that is the most relatable experience of all. A DIY audio upgrade teaches patience. It rewards planning. It exposes guesswork. It humbles people who rush. It also gives a very satisfying payoff when the system comes together and your favorite track suddenly has depth, impact, and control that the old setup never delivered.
In short, the real DIY experience is rarely perfect, but it is memorable. You learn that bass is fun, wiring is serious, and confidence should always travel with good information. That combination is what turns a loud car into a well-built system.