If you have ever wanted to sew clothing without immediately falling into the mysterious swamp known as “advanced fitting,” an elastic-waist skirt is your friend. It is forgiving, practical, beginner-friendly, and stylish enough to look intentional instead of “I made this during a power outage and hoped for the best.” Better yet, you can make one with basic tools, a few measurements, and fabric that makes you ridiculously happy every time you open the closet.
This guide walks you through how to sew a skirt with an elastic waistband from start to finish. You will learn what fabric works best, how to measure and cut, how to build a waistband casing, how to insert elastic without summoning chaos, and how to hem the skirt so it actually looks finished. I will also share tips for common mistakes, simple customization ideas, and real-world sewing lessons that make the process smoother.
Why an Elastic-Waist Skirt Is Such a Great Sewing Project
An elastic-waist skirt is one of the smartest first garment projects because it gives you room to learn without punishing every small mistake. The waist is adjustable, the silhouette is easy to fit, and the construction teaches useful clothing-sewing skills you will use again later. You practice measuring the body, cutting fabric on grain, sewing straight seams, pressing, making a casing, inserting elastic, and hemming. That is a lot of sewing confidence packed into one cheerful little project.
It is also highly customizable. You can make it mini, midi, or maxi. You can choose crisp cotton for structure, rayon for drape, double gauze for softness, chambray for everyday wear, or linen blends for that “I casually own three baskets of beautiful fabric” look. You can keep it plain, add pockets, create tiers, or use a wider elastic for a modern waistband.
What You Need
Basic Supplies
- Woven fabric
- Elastic, usually 3/4-inch to 2-inch wide
- Matching thread
- Sewing machine
- Scissors or rotary cutter and mat
- Tape measure
- Pins or clips
- Safety pin or bodkin for threading elastic
- Iron and ironing board
- Seam gauge or ruler
Best Fabrics for Beginners
The easiest choices are lightweight to medium-weight woven fabrics. Think quilting cotton, cotton poplin, chambray, lawn, linen blends, rayon challis, or double gauze. If you are brand new, avoid anything too slippery, too stretchy, too thick, or too sheer. Satin may look glamorous in the store, but it can behave like a greased eel on the cutting table.
If you want a skirt with more body, choose cotton or poplin. If you want a softer, swishier skirt, rayon challis or a washed linen blend works beautifully. Double gauze is lovely and comfortable, though it can shift a little, so press carefully and do not rush the cutting step.
Before You Cut: Prep Matters More Than You Think
Prewash your fabric the same way you plan to wash the finished skirt. This step is not glamorous, but neither is making a perfect skirt that shrinks into an accidental doll outfit after one trip through the laundry. Once the fabric is dry, press it well. Smooth fabric is easier to measure accurately, easier to cut on grain, and much easier to sew neatly.
Also check your elastic. Soft knit or woven elastic is usually comfortable for waistbands. If you hate twisted elastic with the passion of a thousand suns, choose a sturdier non-roll style or stitch vertically through the waistband at a few points after insertion to help hold it in place.
How to Measure for an Elastic-Waist Skirt
You only need two main measurements:
- Waist measurement: Measure where you want the skirt to sit. This could be the natural waist or slightly lower.
- Finished skirt length: Measure from that waist point to where you want the hem to land.
Now decide how full you want the skirt:
- Less full: 1.5 times your waist
- Classic gathered look: 2 times your waist
- Extra swishy: 2.5 times your waist
For a simple two-panel skirt, an easy formula is this:
- Total skirt width: Waist measurement × fullness factor
- Width of each panel: Total skirt width ÷ 2
- Cut length: Finished length + waistband allowance + hem allowance
A practical beginner allowance is about 3 inches for the waistband casing and 1 inch for the hem, so add roughly 4 inches to your desired finished length.
Example: If your waist is 30 inches and you want a 24-inch finished skirt with classic fullness, use a total width of 60 inches. Cut two rectangles that are 30 inches wide by 28 inches long.
Step-by-Step: How to Sew the Skirt
1. Cut Your Fabric
Cut two rectangles using the measurements you calculated. Make sure the length follows the grain of the fabric so the skirt hangs properly. If your fabric has a directional print, double-check that both panels are facing the same way before cutting. This is one of those tiny details that saves you from explaining later that the upside-down lemons are “a design choice.”
2. Sew the Side Seams
Place the two fabric panels right sides together. Pin or clip the short sides and sew them with a 1/2-inch seam allowance to create a tube. Finish the raw edges with a zigzag stitch, serger, or pinking shears if your fabric frays easily. Press the side seams open or to one side, depending on your preferred finish.
If you want a cleaner interior, you can sew French seams instead, especially on lightweight fabrics. That extra step looks polished and helps prevent fraying.
3. Make the Waistband Casing
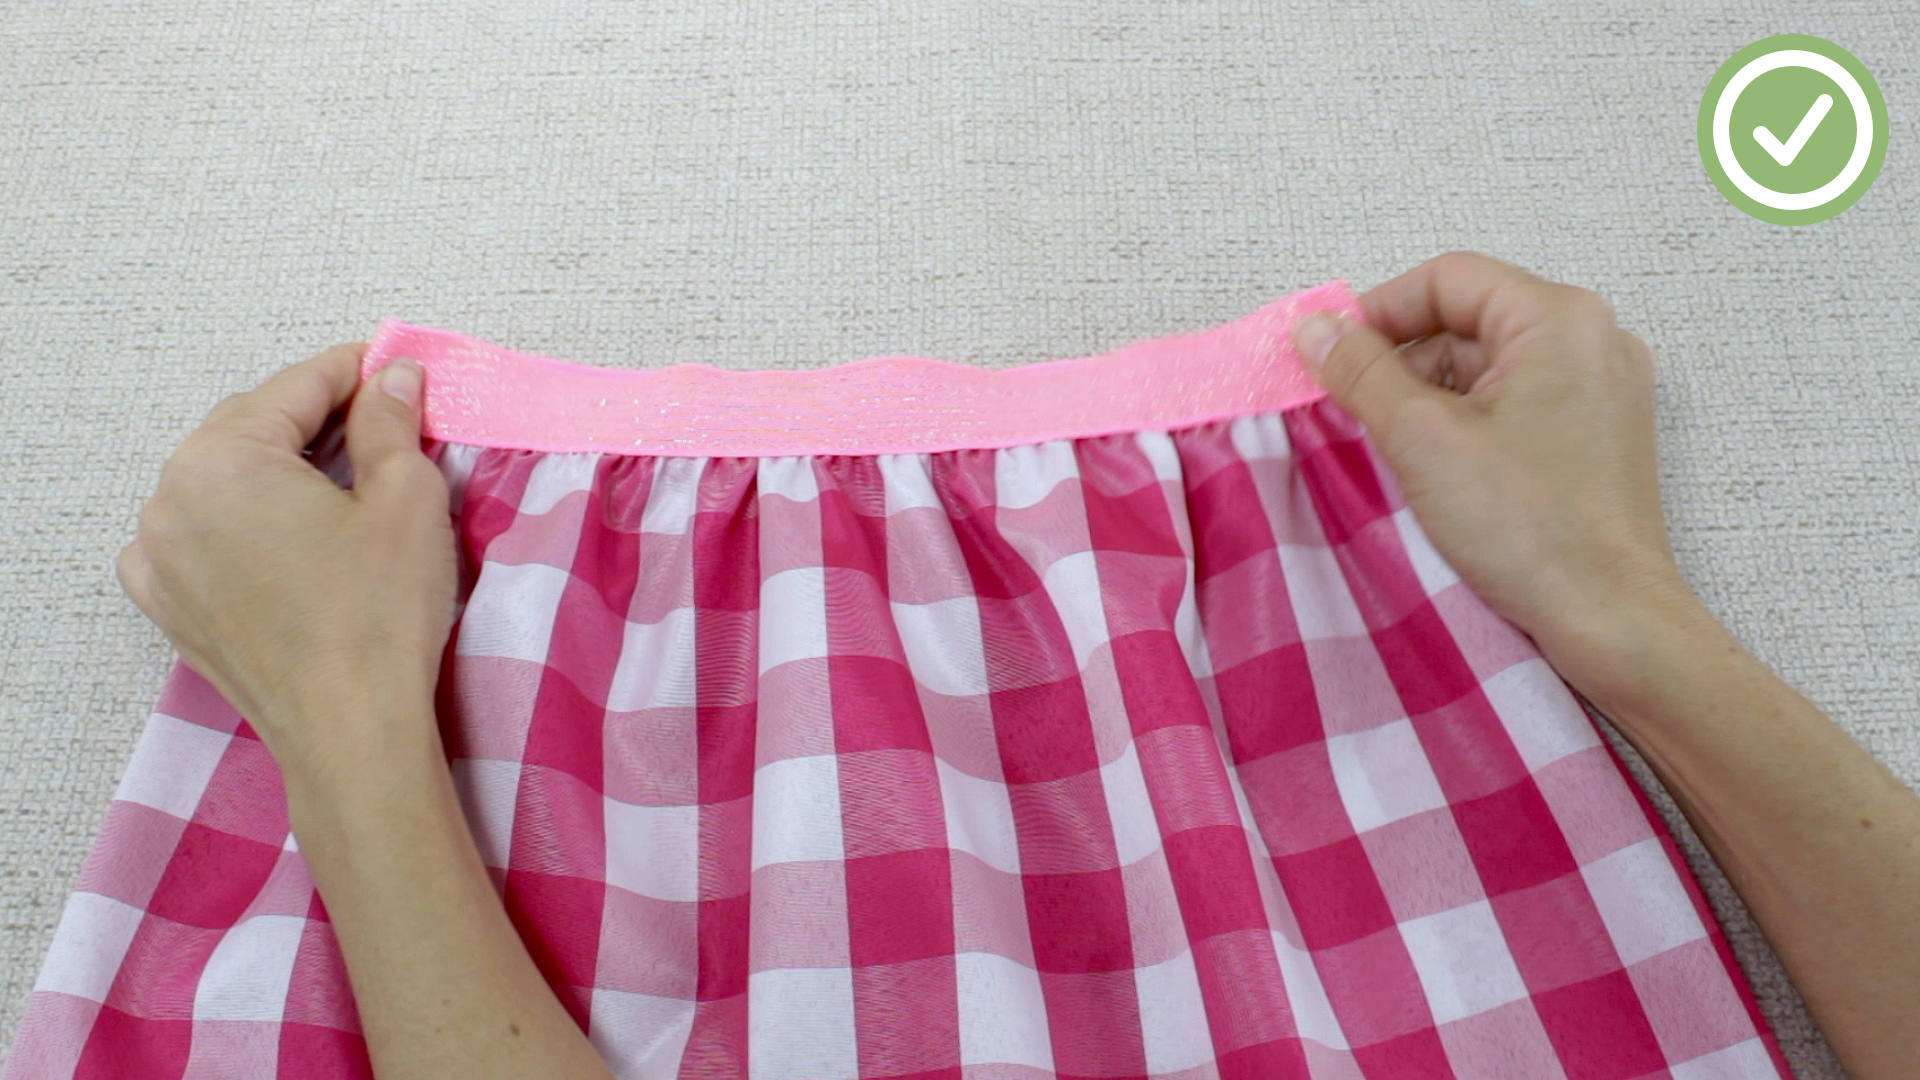
At the top edge of the skirt, fold the raw edge to the wrong side by 1/4 inch and press. Then fold again by enough to fit your elastic plus a little ease. For 1-inch elastic, folding down about 1 1/4 inches usually works well. Press again and pin in place.
Sew close to the lower folded edge all the way around, leaving a 1 1/2- to 4-inch opening so you can insert the elastic. Backstitch at both ends of the opening. Congratulations, you now have a waistband casing instead of just a suspiciously folded tunnel.
4. Cut and Insert the Elastic
Cut your elastic to a comfortable length. Many sewists start with elastic that is 1 to 3 inches smaller than the waist, depending on stretch and personal comfort. A very safe approach is to wrap the elastic around your body, make it snug but not dramatic, then add overlap allowance if needed.
Attach a safety pin or bodkin to one end of the elastic and thread it through the casing. Keep a firm hold on the other end so it does not disappear into the tunnel and ruin your afternoon. Once both ends are out, check that the elastic is not twisted.
5. Join the Elastic Ends
Overlap the ends by about 1 inch and sew them together securely. A square or box of stitches with an X inside is strong and dependable. If you want to be extra careful, try the skirt on before permanently stitching the elastic closed. A waistband that is too loose will slide around; too tight and lunch becomes a regrettable decision.
6. Close the Opening
Pull the joined elastic fully into the casing and distribute the gathers evenly. Sew the casing opening closed. For extra insurance against twisting, stitch vertically through the casing at the side seams and optionally at center front and center back. This tiny step is one of the best tricks for keeping the waistband well behaved.
7. Hem the Skirt
Try the skirt on and confirm the finished length. Fold the bottom edge up 1 inch and press. Then tuck the raw edge under by 1/2 inch so you end up with a neat double-fold hem. Stitch close to the inner fold.
For lightweight fabrics, a narrow hem looks especially nice. If your fabric is very drapey, take your time and press as you go. Hems are patient work. This is not the moment to sew like you are being timed on a reality show.
Common Mistakes and How to Avoid Them
Skipping the Pressing
Pressing is not optional if you want clean results. Press seams after sewing them, press the waistband folds before stitching, and press the hem before sewing. Your iron is not a side character. It is a co-star.
Using the Wrong Fabric
Very heavy fabric creates bulk at the waist. Very slippery fabric can be frustrating for beginners. Start with something stable and forgiving, then get fancy later.
Cutting Elastic by Guesswork
Elastic varies a lot. Some types stretch easily; others are firmer. Test it on your body before final stitching. Your waistline deserves better than blind optimism.
Uneven Gathers
After inserting the elastic, spread the gathers around the skirt before closing the opening. Quarter-marking the skirt and elastic can also help you distribute fullness more evenly.
Twisted Elastic
Check the elastic before sewing the ends together. Then stitch vertically through the casing at strategic points to help keep it flat.
Simple Ways to Customize the Skirt
- Add pockets: Side-seam pockets make the skirt instantly more useful and significantly more lovable.
- Try tiers: Sew gathered tiers for more volume and movement.
- Use wide elastic: A wide waistband can look modern and reduce twisting.
- Make it paper-bag style: Extend the top edge above the elastic for a ruffled waist.
- Topstitch the casing: Add parallel lines of stitching for a more polished look.
- Play with length: Mini feels playful, midi feels versatile, and maxi feels dramatic in the best way.
How Long Does It Take?
If you are focused, you can sew a basic elastic-waist skirt in an afternoon. If you are a beginner and you stop occasionally to re-thread your machine, stare meaningfully at the instructions, or wonder why you own seven seam rippers, that is still normal. Take your time. The point is not speed. The point is making a skirt you actually want to wear.
Final Thoughts
Sewing a skirt with an elastic waistband is one of the most satisfying clothing projects because it offers fast results without feeling disposable. You learn real garment-making skills, but you also end up with something comfortable, wearable, and easy to customize. It is a project that can be as simple or as stylish as you want it to be.
Start with a fabric you love, measure carefully, press often, and give yourself permission to test the elastic fit before closing everything up. Once you finish one, do not be surprised if a second one somehow appears on your sewing table a week later. Elastic-waist skirts have a sneaky habit of becoming a lifestyle.
Real-World Sewing Experiences and Lessons Learned
The first time I sewed an elastic-waist skirt, I assumed it would be almost too easy. Two rectangles, one waistband, one hem, done. That was adorable optimism. What I learned very quickly is that a simple project is not the same thing as a careless project. The construction itself was straightforward, but the difference between “homemade in a charming way” and “what happened here?” came down to preparation.
The biggest lesson was fabric choice. My first skirt was made from a stiff cotton that looked cute on the bolt but turned into a very determined lampshade once gathered at the waist. It was wearable, but not exactly elegant. The next version in a softer cotton lawn draped much better and instantly looked more polished. Since then, I have learned to match the fabric to the vibe. Crisp cotton gives shape. Rayon gives movement. Linen blend gives that effortless everyday look. Double gauze feels like wearing a cloud that pays taxes.
I also learned never to skip prewashing. On one project, I was impatient, cut everything right away, and ended up with a skirt that came out shorter and slightly tighter after laundering. It still fit, technically, but it had lost its original proportions. That experience cured me. Now I prewash first, press second, and cut third, like a person who enjoys avoiding preventable disappointment.
Another real-life lesson involves elastic. Not all elastic behaves the same way, and cutting it by a random “that looks right” method is a terrible plan. I have used soft knit elastic that barely felt there and firmer elastic that meant business. These days, I always wrap it around my waist before sewing the ends together. If I can breathe, sit down, and imagine dessert, it passes the test.
Pressing has probably made the biggest difference in my finished skirts. Early on, I used to think pressing was something neat people did for fun. Now I know it is what makes seams lie flat, waistbands fold evenly, and hems stop waving around like they are greeting traffic. The iron changed everything. I did not become a different person exactly, but I did become a person who mutters “just press it” with great authority.
Finally, the most useful lesson is that elastic-waist skirts are incredibly forgiving, which makes them perfect for experimenting. I have made them shorter, longer, fuller, softer, dressier, and more casual. I have added pockets and regretted not adding pockets. I have stitched through the waistband to stop twisting and wondered why I ever skipped that step. Every version taught me something new, and each one got a little better. That is the beauty of this project: it is easy enough to start, practical enough to wear, and flexible enough to grow with your skills.