Setting up a Nintendo Switch is exciting in the same way opening a pizza box is exciting: you know happiness is inside, but you still need to remove the cardboard first. Whether you bought the standard Nintendo Switch, the Nintendo Switch OLED Model, or the Nintendo Switch Lite, the first setup is simple once you know the order: charge it, connect it, create a user, link your Nintendo Account, update the system, and prepare your games.
This complete guide walks you through every important step, from unboxing the console to connecting it to the TV, setting up Wi-Fi, adding parental controls, expanding storage, pairing controllers, and avoiding the classic “why is there no picture on my TV?” panic moment. Let’s get your Switch ready for Mario, Zelda, Minecraft, Fortnite, Animal Crossing, racing, farming, platforming, and whatever game makes you say, “Just one more level,” at 1:00 a.m.
What Comes in the Nintendo Switch Box?
Before setting up your Nintendo Switch, make sure you have the right pieces. A standard Nintendo Switch package usually includes the console, left and right Joy-Con controllers, Joy-Con straps, a Joy-Con grip, the Nintendo Switch dock, an HDMI cable, and the official Nintendo Switch AC adapter. The Nintendo Switch OLED Model includes similar items but comes with the OLED dock, which has a built-in LAN port for wired internet. The Nintendo Switch Lite is different because it is handheld-only, so it does not include a dock or detachable Joy-Con controllers.
Here is the quick rule: if your Switch has detachable Joy-Con controllers and a dock, it can connect to a TV. If it is a Switch Lite, it is made for handheld play only. Do not try to dock a Switch Lite unless your hobby is being disappointed by plastic.
Step 1: Charge the Nintendo Switch First
Your Nintendo Switch may have some battery power out of the box, but charging it first is a smart move. Connect the official AC adapter to the USB-C port on the bottom of the console, then plug it into a wall outlet. You can also charge the standard Switch or OLED Model by placing it into the dock after the dock is connected to power.
Using the official adapter is recommended because the Switch needs reliable power, especially during updates and docked play. Random bargain-bin chargers may work for a phone, but your Switch deserves better than mysterious electricity from a cable named “USB-C Mega Turbo 9000.”
Step 2: Turn On the Console and Choose Basic Settings
Press the Power button on the top of the console. During first-time setup, the Nintendo Switch will ask you to choose your language, region, time zone, and internet connection. Follow the on-screen instructions carefully. The process is friendly, clear, and much less stressful than assembling furniture with one missing screw.
For most players in the United States, select the appropriate region, confirm the date and time, and connect to your home Wi-Fi network. A stable internet connection is important because the console may need a system update before you can access some online features, the Nintendo eShop, or certain game updates.
Step 3: Connect the Nintendo Switch to Wi-Fi
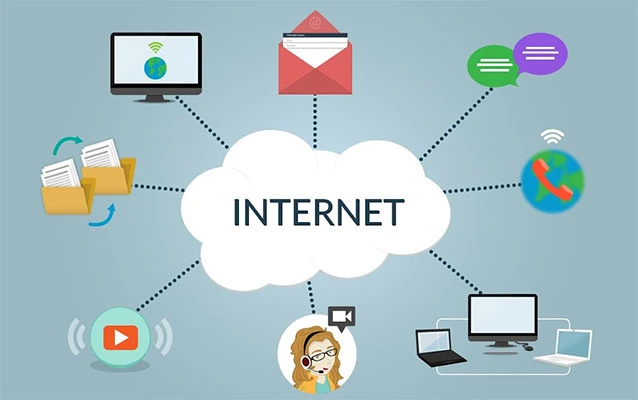
To connect your Nintendo Switch to the internet, open System Settings from the HOME Menu, select Internet, then choose Internet Settings. The console will search for nearby wireless networks. Select your Wi-Fi name, enter the password, and wait for the connection test to finish.
For best results, keep the console reasonably close to your router during setup. If the signal is weak, updates may crawl along like a sleepy turtle wearing socks. If your router supports both 2.4 GHz and 5 GHz networks, try the one that gives the strongest and most stable connection in your room.
Can You Use a Wired Internet Connection?
Yes, but the setup depends on your model. The Nintendo Switch OLED dock has a built-in LAN port, which makes wired internet simple. For the original Nintendo Switch dock, you typically need a compatible USB LAN adapter. Wired internet is especially useful for large downloads, online multiplayer, and anyone who has ever shouted, “Lag!” even when the problem was clearly their own banana peel in Mario Kart.
Step 4: Connect the Nintendo Switch to a TV
If you have a standard Nintendo Switch or Nintendo Switch OLED Model, connecting it to your TV is easy. Open the back cover of the dock. Plug the AC adapter into the port labeled AC Adapter, then plug the other end into a wall outlet. Next, connect the HDMI cable to the dock’s HDMI OUT port and plug the other end into an HDMI port on your TV or monitor.
Now place the console into the dock with the screen facing the same direction as the front of the dock. Turn on the TV and select the correct HDMI input. If everything is connected correctly, the Switch screen should appear on the TV.
What If the TV Shows No Signal?
First, check that the dock has power. Second, confirm that the HDMI cable is plugged into the dock’s HDMI OUT port, not just hanging around nearby looking decorative. Third, switch your TV to the correct HDMI input. If it still does not work, remove the Switch from the dock, restart the console, reconnect the cables, and try again.
Step 5: Pair the Joy-Con Controllers
The easiest way to pair Joy-Con controllers is to slide them onto the sides of the Nintendo Switch console. Make sure the left Joy-Con goes on the left side and the right Joy-Con goes on the right side. The minus button belongs on the left, and the plus button belongs on the right. Nintendo made this part fairly foolproof, although humanity continues to test the limits of foolproof design.
Once attached, the Joy-Con controllers should automatically pair with the console. You can later remove them and use them wirelessly. To manage controllers, go to Controllers from the HOME Menu. From there, you can change grip/order, pair additional controllers, or check battery levels.
How Many Controllers Can You Use?
In many cases, up to eight wireless controllers can be paired with a Nintendo Switch console, though the exact number may vary depending on the controller type and game. Remember that each Joy-Con can count as its own controller when used separately, which is great news for multiplayer and bad news for anyone who always gets the tiny sideways controller.
Step 6: Create a User Profile
Every player should have a user profile on the console. During setup, the Switch will ask you to create one. Choose an icon, enter a nickname, and confirm the profile. You can add more users later by going to System Settings, selecting Users, and choosing Add User.
A Nintendo Switch can support multiple user profiles, which is helpful for families, siblings, roommates, or anyone who does not want their carefully designed island, farm, save file, or racing record touched by a person with suspicious button-mashing habits.
Step 7: Link a Nintendo Account
A user profile is local to the console, while a Nintendo Account connects you to Nintendo’s online services. Linking a Nintendo Account allows access to the Nintendo eShop, digital purchases, friend features, Nintendo Switch Online services, and certain cloud save options.
To link an account, connect the console to the internet, select your user icon from the HOME Menu, go to your profile, and choose Link Nintendo Account. Follow the instructions to sign in or create an account. A Nintendo Account can be created from Nintendo’s account website using a phone or computer. For younger players, a parent or guardian may need to manage child account settings through a family group.
Do You Need a Nintendo Account?
You can play many physical games without linking a Nintendo Account, but you will want one if you plan to buy digital games, redeem download codes, use online services, or manage purchases across systems. In plain English: if your Switch is going online, a Nintendo Account is not just useful; it is basically your digital passport.
Step 8: Update the System Software
After connecting to the internet, check for a system update. From the HOME Menu, open System Settings, scroll to System, and choose System Update. In many situations, the Nintendo Switch automatically downloads the latest update while connected online, but manually checking is a good habit during setup.
System updates may improve stability, add features, fix bugs, and ensure compatibility with newer software. Also, some accessories or online features may not work properly until the console is updated. Do not turn off the console during an update unless you enjoy creating problems with dramatic background music.
Step 9: Add a microSD Card for More Storage
The Nintendo Switch has internal storage, but digital games, updates, screenshots, and videos can fill it faster than expected. If you plan to download games from the Nintendo eShop, a microSD card is highly recommended.
The Nintendo Switch supports microSD, microSDHC, and microSDXC cards. Only microSD cards fit the console; full-size SD cards and miniSD cards are not compatible. If you use a microSDXC card, the system may require an update before the card can be used. For smoother performance, choose a reliable high-speed card from a trusted brand.
How Much Storage Do You Need?
If you mostly buy physical game cards, 128 GB may be enough for updates and screenshots. If you prefer digital games, consider 256 GB, 512 GB, or more. Some major games take up a lot of space, and nobody wants to delete three games just to install one new adventure. Storage management is the broccoli of gaming: not exciting, but very necessary.
Step 10: Insert Game Cards or Download Games
For physical games, open the game card slot on the top of the console and insert the game card with the label facing the correct direction. The game icon should appear on the HOME Menu. Select it to begin playing or to download any required updates.
For digital games, open the Nintendo eShop from the HOME Menu, sign in with the linked Nintendo Account, and browse or redeem a download code. Make sure your console has enough storage before downloading. If space is tight, you can archive software to remove the game data while keeping the icon and save data available.
Update Your Games
To update a game manually, highlight the game icon on the HOME Menu, press the plus or minus button, choose Software Update, then select Via the Internet. Game updates can fix bugs, add content, improve online play, and occasionally save you from wondering why everyone else has a feature you cannot find.
Step 11: Set Up Parental Controls
If the Nintendo Switch is for a child or shared family use, parental controls are worth setting up immediately. Nintendo offers parental control settings directly on the console, and the Nintendo Switch Parental Controls app provides more management options from a smart device.
With parental controls, parents and guardians can manage play time, restrict content by age rating, control communication features, and review activity. This is especially helpful for families who want healthy gaming routines without turning every bedtime into a courtroom drama called “But I Was About to Save!”
Recommended Family Setup
Create separate user profiles for each player, link the appropriate Nintendo Accounts, and set rules before the first marathon gaming session begins. Clear expectations are easier to manage before someone is emotionally attached to finishing one more quest.
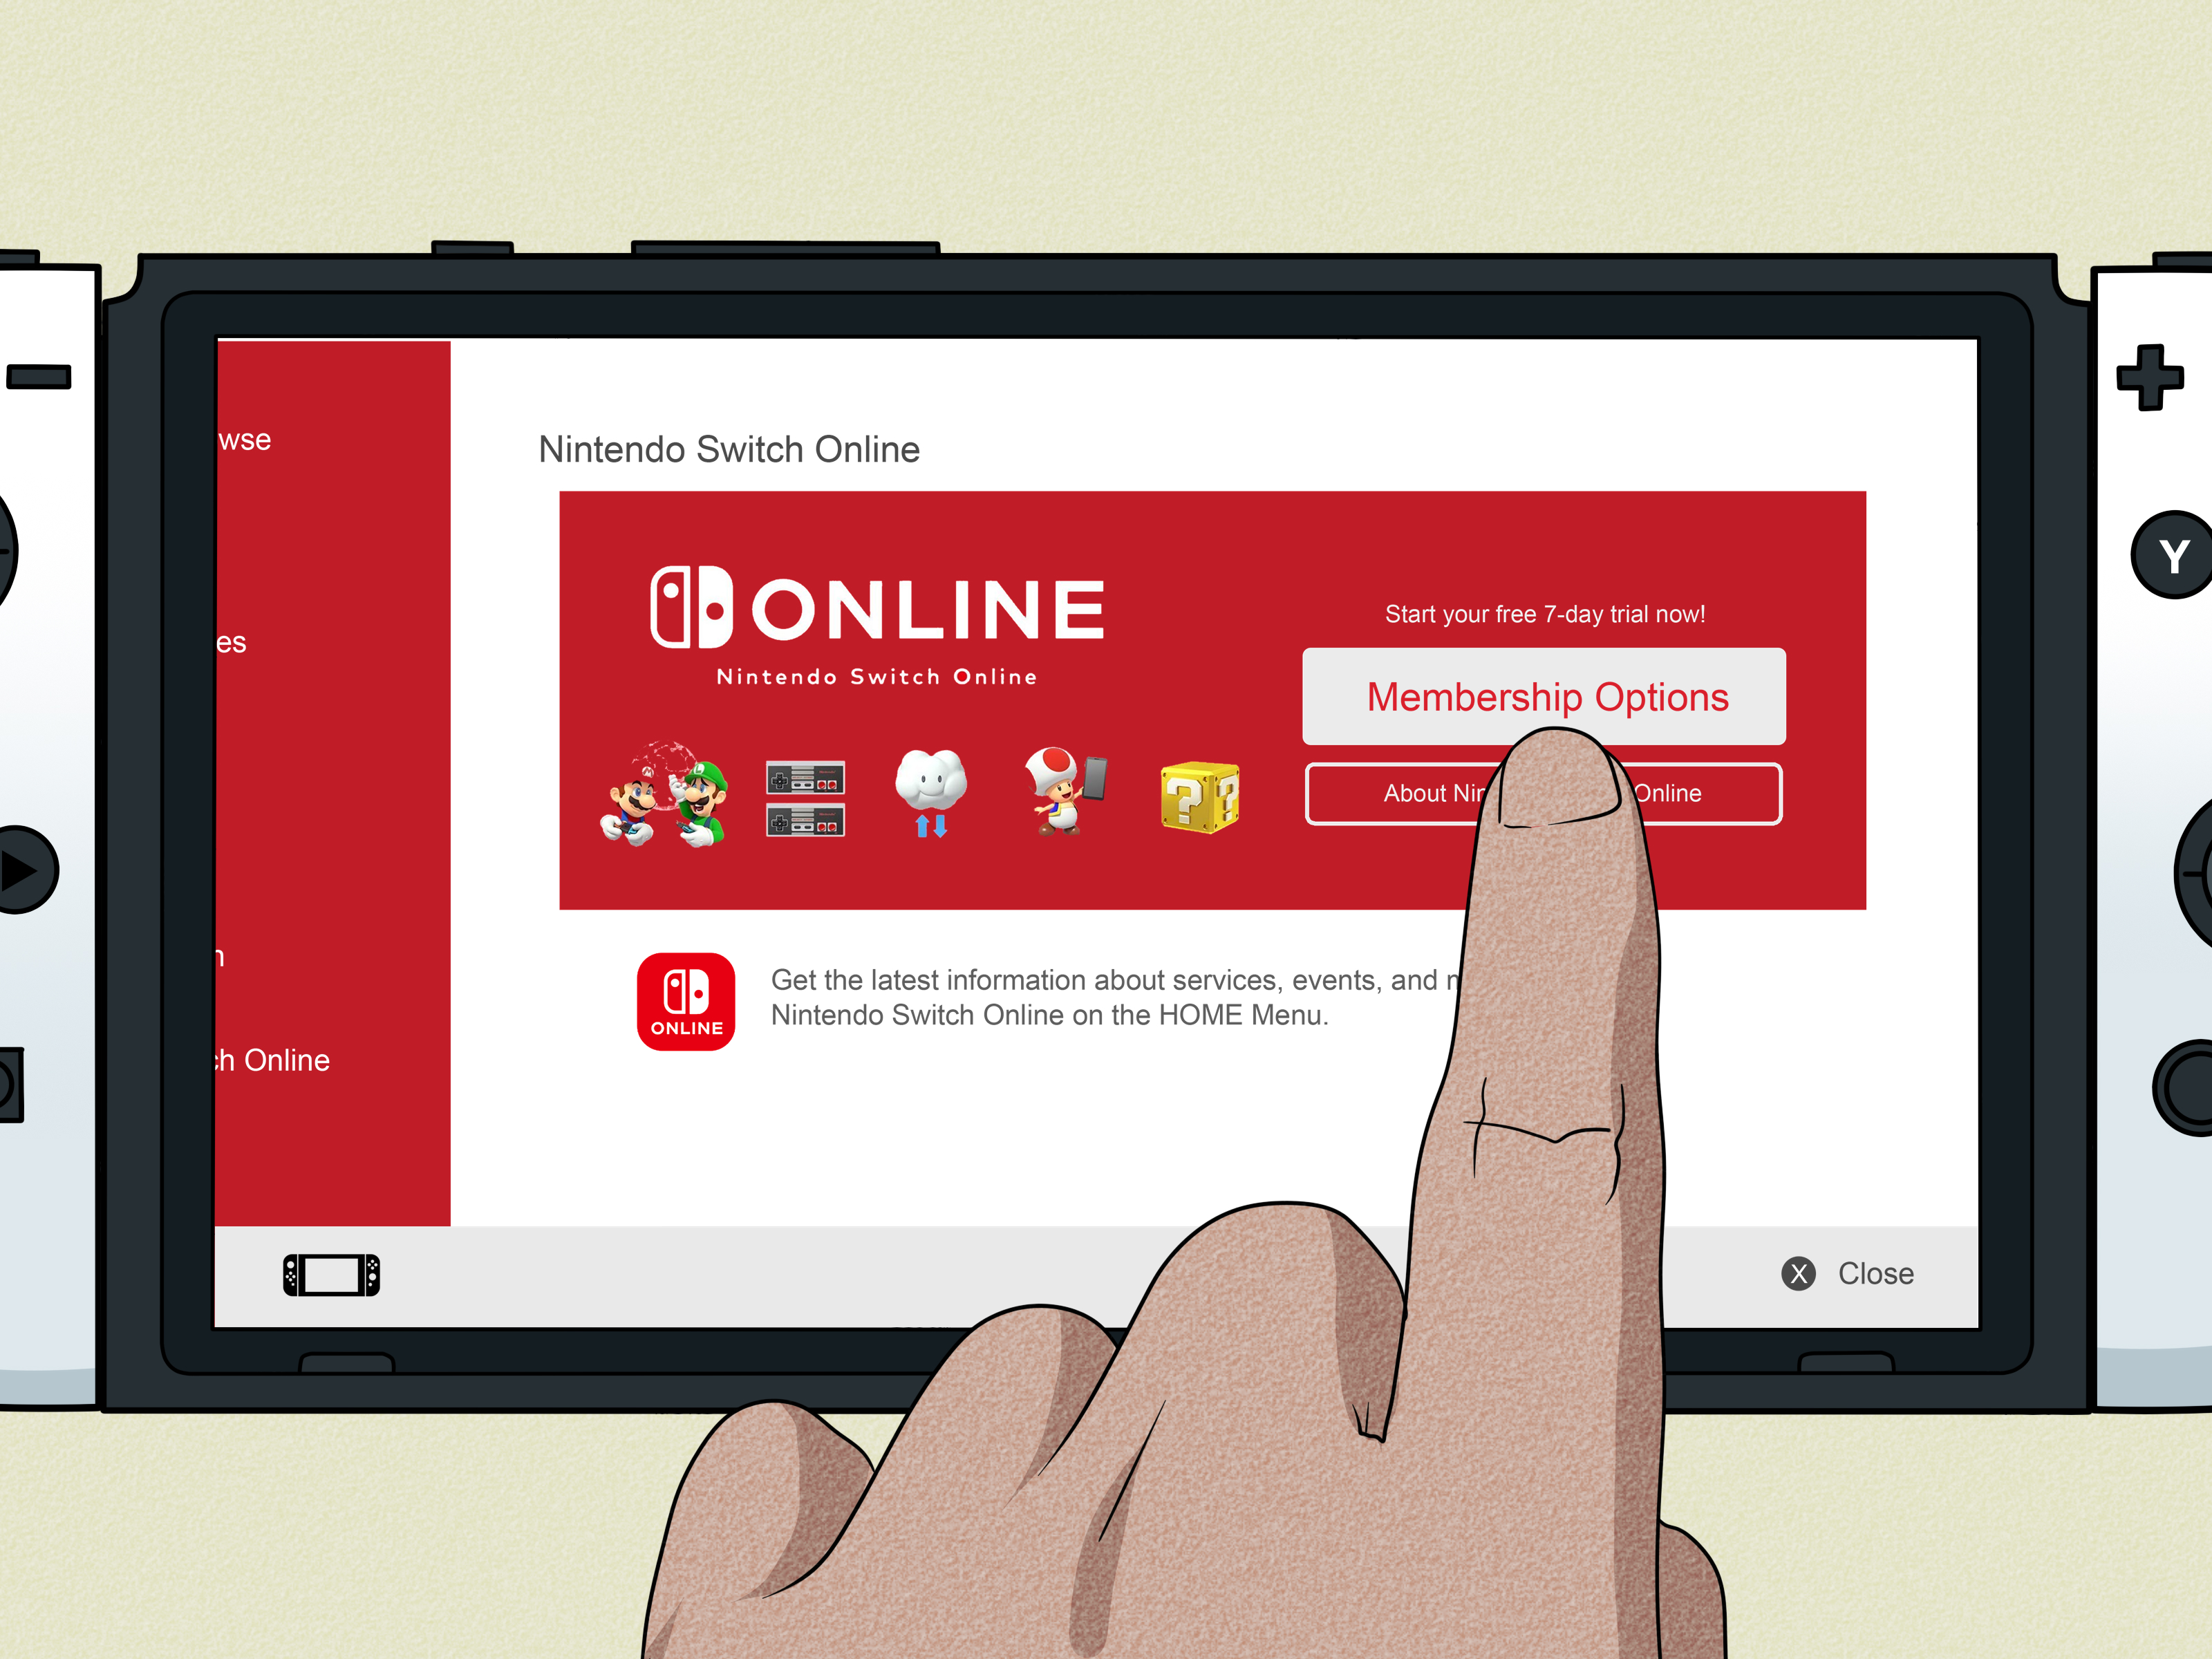
Step 12: Consider Nintendo Switch Online
Nintendo Switch Online is a paid membership service that enables online multiplayer in many games, access to a library of classic games, and Save Data Cloud support for compatible titles. Not every game supports every feature, so always check the game’s product information.
Save Data Cloud can be extremely useful if you use more than one Switch system or want extra protection for compatible save files. Save data is linked to your Nintendo Account, which makes it easier to access supported backups on another system after signing in.
Step 13: Pair Bluetooth Audio
The Nintendo Switch supports Bluetooth audio devices. To pair headphones or earbuds, put your audio device into pairing mode. Then open System Settings, select Bluetooth Audio, and choose Pair Device. Select your headphones when they appear.
If your headphones do not show up immediately, wait a little, confirm they are discoverable, and make sure they are not already connected to a phone, tablet, or laptop. Bluetooth devices are sometimes loyal to the last gadget they saw, like tiny wireless golden retrievers.
Step 14: Transfer Data from Another Nintendo Switch
If this is not your first Switch, you may want to transfer user data and save data from an older console. Nintendo provides transfer options through System Settings. For user transfers, go to System Settings, select Users, then choose Transfer Your User Data. Follow the on-screen instructions on both the source console and the target console.
For individual save files, go to System Settings, select Data Management, then choose Transfer Your Save Data. Both consoles usually need to be nearby, connected to the internet, and updated. Take your time with this step. Save files are precious. Losing one can hurt more than falling off Rainbow Road on the final lap.
Common Nintendo Switch Setup Mistakes to Avoid
Using the Wrong HDMI Input
If the TV says “No Signal,” the problem is often the selected HDMI input. Check which HDMI port the cable is plugged into and switch the TV to that input.
Skipping Updates
System and game updates may be required for online features, accessories, or smooth performance. Update early so you are not interrupted later.
Ignoring Storage
If you plan to buy digital games, install a microSD card before your storage becomes a digital junk drawer.
Sharing One User Profile
Create separate profiles for separate players. It keeps save data, play history, and preferences organized.
Forgetting Parental Controls
Families should set playtime and content rules from the start. It is easier than negotiating with a child who has discovered online multiplayer.
Best First Settings to Adjust
Once the Nintendo Switch is working, take five minutes to personalize it. Adjust screen brightness, enable or disable auto-sleep timing, choose your preferred sound settings, review data management, and organize downloaded games. You can also change themes between basic light and basic dark. The dark theme is especially nice if you play at night and do not want your screen to shine like a lighthouse in your room.
Check controller settings, calibrate control sticks if needed, and confirm that your Wi-Fi connection is stable. If you use the console in handheld mode often, adjust brightness and sleep settings to help battery life. If you mostly play docked, make sure your TV display settings look sharp and that the dock has plenty of ventilation.
Real-World Experience: What Setting Up a Nintendo Switch Actually Feels Like
The first time setting up a Nintendo Switch feels wonderfully simple compared with many modern devices. There is no giant tower, no confusing driver installation, and no keyboard required. You turn it on, answer a few questions, connect to Wi-Fi, and suddenly the little tablet with controllers becomes a full gaming system. It is one of the Switch’s best tricks: it feels friendly before you even launch a game.
One practical experience is that the TV setup is usually easy, but the HDMI input can cause unnecessary panic. Many people connect the dock correctly and still see a blank screen because the TV is set to HDMI 1 while the Switch is connected to HDMI 2. Before assuming the dock is broken, check the input. It is the gaming equivalent of looking for your phone while holding your phone.
Another helpful lesson: download updates before game night. If you buy a Switch as a gift, set it up before the big moment if possible. Create the user profile, connect Wi-Fi, update the system, install the first game update, and charge the controllers. That way, when it is time to play, the console is ready for fun instead of politely announcing a 45-minute download. Nothing tests patience like a progress bar standing between a kid and Mario.
Storage is another area where experience helps. At first, internal storage may seem fine. Then you download a few games, capture screenshots, install updates, and suddenly the console starts asking you to make space. A good microSD card turns that problem into a minor footnote. If you know the Switch will be used for digital games, install extra storage early. It is much easier than playing the “what do I delete?” game later.
For families, separate profiles are a lifesaver. Each player should have a profile from day one. This keeps save data organized and prevents accidental progress disasters. Nobody wants to explain why someone else’s carefully built Animal Crossing island, Pokémon adventure, or Minecraft world has been altered by a sibling who “was just looking.” Separate profiles are not just neat; they are peace treaties.
Parental controls also work best when introduced as part of setup rather than added after arguments begin. Setting limits early makes the rules feel normal. Parents can manage playtime, content restrictions, and communication settings while still letting the Switch be fun. The goal is not to turn the console into homework with buttons; it is to make gaming fit safely into real life.
Finally, the best setup advice is to test every play style. Try handheld mode. Try tabletop mode with the kickstand. Try docked mode on the TV. Pair the Joy-Con controllers, open a game, check the audio, and make sure charging works. The Nintendo Switch is designed to move between rooms, screens, and situations. A proper setup lets it do exactly that without drama, confusion, or frantic cable detective work.
Conclusion
Setting up the Nintendo Switch is not difficult, but doing it in the right order makes the whole experience smoother. Start by charging the console, choosing basic settings, connecting to Wi-Fi, and updating the system. Then create user profiles, link Nintendo Accounts, connect the dock to your TV, pair controllers, add storage, install games, and set parental controls if needed.
Once everything is ready, the Switch becomes what it was designed to be: a flexible console that works on the couch, in handheld mode, on a trip, at a friend’s house, or wherever your next gaming session happens. Set it up carefully now, and later you can focus on the important stuff: saving kingdoms, catching creatures, building worlds, winning races, and pretending you meant to fall off that platform.