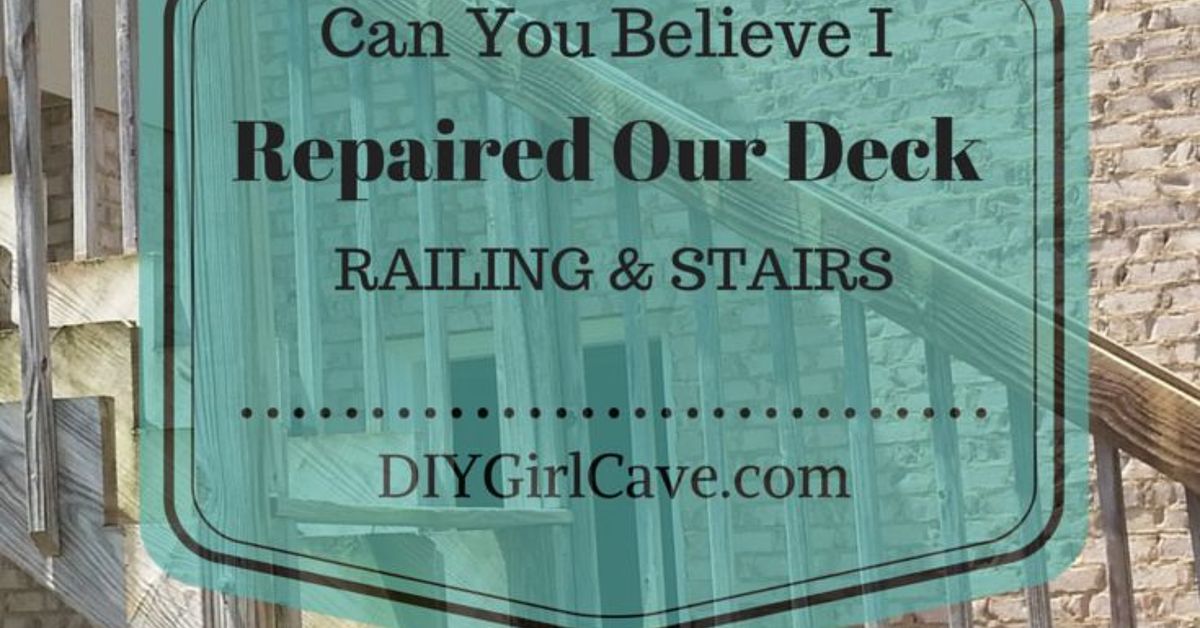
A deck should feel like an outdoor living room, not a carnival ride with questionable bolts. If your railing wiggles, your stairs groan, or a baluster has gone missing like it joined a witness protection program, it is time to take the problem seriously. Learning how to repair your deck railing and stairs can improve safety, extend the life of your deck, and save you from the deeply embarrassing moment when a guest says, “Is this supposed to move?”
The good news is that many common deck railing and stair problems can be diagnosed by a careful homeowner. The better news is that the repairs are usually logical: inspect, remove damaged materials, strengthen connections, replace unsafe parts, and seal everything against water. The not-so-fun but very important news is this: if posts, joists, stringers, footings, or ledger connections are rotten or poorly attached, call a qualified deck contractor or inspector. Cosmetic confidence is not the same as structural safety.
This guide explains how to inspect, repair, and maintain deck railings and stairs in a practical way, using standard American building practices and safety-first thinking. We will cover loose railings, damaged posts, rotten stair treads, weak stringers, wobbly handrails, hardware choices, finishing tips, and real-world repair experience from the “I should have fixed this last summer” school of home maintenance.
Why Deck Railing and Stair Repairs Matter
Deck railings and stairs do more than complete the look of your outdoor space. They protect people from falls, guide movement, and help the deck handle everyday use. A railing that looks rustic may be charming. A railing that moves three inches when you lean on it is not rustic; it is a resignation letter from the hardware.
Decks live outdoors, which means they fight rain, sun, temperature changes, insects, foot traffic, and the occasional overenthusiastic family barbecue. Over time, fasteners loosen, wood checks and splits, posts absorb moisture, stair treads cup, and stringers weaken. Even pressure-treated lumber needs attention. Composite decking and metal railing systems also require inspections because fasteners, brackets, and supporting wood can still fail.
Start With a Safety Inspection
Before grabbing a drill, inspect the entire railing and stair system. A repair should not be a decorative bandage on a deeper structural injury. Walk slowly around the deck and stairs. Push gently but firmly on railing sections, posts, handrails, and stair guards. Nothing should sway, twist, or feel detached.
Check These Areas First
Look closely at railing posts, balusters, top rails, bottom rails, stair treads, risers, stair stringers, landings, fasteners, brackets, and the places where wood touches concrete or soil. Use a screwdriver or awl to probe suspicious wood. Healthy wood resists pressure. Rotten wood feels soft, crumbly, spongy, or hollow. If the tool sinks in easily, the board is not “weathered.” It is done negotiating.
Also check for rusted screws, popped nails, missing bolts, cracked concrete footings, loose post bases, mold, water pooling, and dark staining around joints. Water damage often begins where boards trap moisture: under stair treads, around railing posts, below planters, and at the bottom of stair stringers.
Know When to Repair and When to Replace
A small split in a top rail may be repairable. A rotten guard post is not. A slightly loose baluster may need new screws. A stair stringer with deep rot should be replaced. The key is understanding whether the damaged piece is decorative, functional, or structural.
Replace any component that is soft, deeply cracked, severely warped, insect-damaged, or no longer able to hold fasteners. Rail posts, stair stringers, handrails, and treads carry important loads. If they are compromised, patching them with filler is like putting a tuxedo on a raccoon: technically dressed up, but still a problem.
Tools and Materials You May Need
For common deck railing repair and stair repair, you may need a drill or impact driver, socket wrench, pry bar, circular saw, handsaw, level, tape measure, speed square, clamps, exterior-rated screws, galvanized or stainless steel bolts, structural connectors, joist hangers, post bases, replacement lumber, wood preservative, exterior caulk, deck cleaner, sandpaper, stain, sealant, and safety gear.
Use fasteners and connectors rated for exterior deck use. If your deck uses pressure-treated lumber, choose hardware compatible with the treatment chemicals. For coastal areas or wet climates, stainless steel hardware is often worth the extra cost. Rust is not a design feature, even if it does match your old grill.
How to Repair a Loose Deck Railing
A loose railing usually comes from one of three problems: weak post connections, loose rail-to-post fasteners, or deteriorated wood. Start by identifying exactly where the movement begins. Push the top rail while watching the posts and joints. If the post moves at the deck surface, the post connection needs attention. If the post stays firm but the rail shifts, the rail attachment is the issue.
Step 1: Tighten or Replace Fasteners
Remove rusted, stripped, or undersized fasteners and replace them with proper exterior-rated screws or bolts. Do not rely on nails for major railing connections. Screws and bolts offer better holding power and are easier to inspect later. If the hole is enlarged and the screw no longer bites, move to a fresh location when appropriate or replace the damaged wood.
Step 2: Reinforce Rail-to-Post Connections
If the railing is still loose, install approved brackets or blocking to strengthen the connection. Make sure the top rail and bottom rail are level, properly aligned, and securely attached at each post. When replacing a section, match the existing height and spacing, but also compare it with current local code requirements. Older decks are often full of “that was probably fine in 1998” surprises.
Step 3: Replace Damaged Balusters
Balusters should be secure, straight, and evenly spaced. If one is cracked, missing, or loose, remove it and install a matching replacement. Maintain safe spacing so openings are not large enough for a child to slip through. Many residential deck guidelines refer to a maximum 4-inch opening between balusters, but local code always wins the argument.
How to Repair Wobbly Deck Posts
Deck railing posts are the backbone of the guard system. If a post is loose, do not ignore it. A railing can only be as strong as the posts holding it up. Surface-mounted posts may need stronger blocking beneath the decking. Side-mounted posts may require bolts, tension ties, or approved connectors. Posts attached with only a couple of nails or deck screws should be upgraded.
To repair a wobbly post, remove nearby deck boards if needed so you can inspect the framing. Add solid blocking between joists where the post connects. Use through-bolts with washers or code-approved structural screws as recommended for your system. If the post itself is rotten, replace it completely. Do not simply sister a new piece to rotten wood and hope gravity is feeling generous.
How to Repair Deck Stairs
Deck stairs take a beating. They collect water, flex under weight, and endure muddy shoes, pets, kids, furniture moving, and that one uncle who insists on carrying the cooler alone. Stair problems often start small: a loose tread, a squeaky step, a wobbly handrail. Left alone, they can become serious safety hazards.
Step 1: Inspect Treads and Risers
Check every tread for cracks, rot, cupping, loose fasteners, and uneven movement. Replace any tread that feels soft or flexes excessively. If your stairs use two deck boards per tread, inspect both boards and the gap between them. Water often hides there, quietly plotting.
When replacing stair treads, use lumber or decking material that matches the original thickness and performance. Cut cleanly, predrill near board ends to reduce splitting, and fasten with exterior-rated screws. Keep tread surfaces even to reduce trip hazards.
Step 2: Examine the Stair Stringers
Stringers are the diagonal supports under the stairs. If they are cracked, sagging, rotten at the bottom, or pulling away from the deck frame, the stairs may need major repair or replacement. Pay special attention to the bottom ends, where stringers often absorb moisture from concrete, soil, or mulch.
Minor surface checking may not be a problem, but deep cracks through the stringer are serious. If one stringer is failing, inspect all of them. Stairs commonly need at least three stringers depending on width and material, but spacing requirements vary by design and decking product. When in doubt, involve a professional.
Step 3: Secure the Stair Connection at the Deck
At the top of the stairs, stringers should be securely attached to the deck framing or a stair header using appropriate connectors. If the connection relies on old nails, split wood, or mystery hardware from the ancient kingdom of “good enough,” upgrade it. Use approved metal connectors and exterior-rated fasteners.
Step 4: Check the Landing
The bottom of the stairs needs a stable landing. A stairway ending in soil, mulch, loose gravel, or sinking pavers can shift over time. That movement stresses the stringers and makes the stair rise uneven. A concrete pad or properly built landing gives the stairs a firm base and helps prevent water damage at the stringer ends.
How to Repair a Deck Stair Railing
Stair railings are different from deck guardrails because they must be easy to grasp while walking up or down. A flat 2×4 may work as part of a guard, but it may not qualify as a comfortable, graspable handrail in many jurisdictions. A proper handrail should allow the hand to wrap around it securely.
To repair a stair railing, first identify whether the handrail, posts, balusters, or brackets are loose. Replace damaged brackets and tighten all fasteners. If the handrail is split, badly warped, or too wide to grip, replace it with a code-appropriate handrail profile. Keep the height consistent along the stair run, usually measured from the stair nosing to the top of the rail. Many residential guidelines place stair handrails in the 34- to 38-inch range, but always confirm local requirements before final installation.
Dealing With Wood Rot the Right Way
Wood rot is not a surface stain. It is decay that weakens the fibers of the wood. If rot affects a structural part of your deck railing or stairs, replacement is the safest fix. For very small non-structural areas, you may be able to remove the soft wood, treat the area with preservative, and use exterior wood repair products. But this approach belongs on trim-level damage, not on posts, stringers, or load-bearing parts.
To reduce future rot, keep leaves and debris off the deck, improve drainage, avoid trapping moisture with outdoor rugs, seal cut ends of lumber, and maintain a protective stain or water-repellent finish. Water is patient. It does not kick down the door; it slips in through a screw hole and waits.
Common Mistakes to Avoid
One common mistake is using indoor screws outdoors. They may rust quickly and stain the wood while losing strength. Another mistake is attaching new railing parts to old rotten framing. The repair may look beautiful for about six minutes, then fail exactly where the old problem remained.
A third mistake is ignoring local building codes. Deck railing height, stair dimensions, guard openings, handrail shape, and connection details may be regulated by your city or county. If you are replacing more than a small component, check permit requirements. It is much easier to ask the building department before the project than to rebuild your weekend masterpiece after an inspector frowns at it.
Finishing the Repair
After structural repairs are complete, sand rough edges, clean the area, and apply stain or sealant as needed. Give special attention to cut ends, screw holes, and horizontal surfaces where water can sit. If you used pressure-treated lumber, follow product guidance on drying time before staining. Some boards need time to dry enough for finish to bond properly.
Match the color as closely as possible, but do not panic if new boards look different at first. Fresh lumber often weathers into a closer match over time. Think of it as the deck’s awkward haircut phase.
Maintenance Schedule for Deck Railings and Stairs
Inspect your deck railing and stairs at least once a year, preferably in spring before heavy outdoor use begins. Also inspect after major storms, flooding, heavy snow, or any event that may have stressed the structure. Clean debris from between boards, tighten loose fasteners, replace damaged components quickly, and reapply finish when water no longer beads on the surface.
If your deck is older than 10 years, consider a professional inspection. If it is older than 20 years, has unknown construction history, or was built by someone whose measuring system involved “looks about right,” a professional inspection is not overkill. It is peace of mind with a clipboard.
Real-World Experiences: What Deck Repairs Teach You
The first experience many homeowners have with deck repair begins with denial. The railing wiggles a little, but only if you push it. The step squeaks, but only on Tuesdays. One baluster is loose, but it still looks attached from the kitchen window. Unfortunately, decks do not heal themselves. Small movement usually means a connection is loosening, and loose connections invite water, rot, and more movement.
One practical lesson is to inspect from below whenever possible. From the top, a deck stair may look perfectly fine. Underneath, you may find a cracked stringer, missing hanger, rusted screw, or tread fastener barely holding on. The underside tells the truth. It is the deck’s diary, and sometimes it contains drama.
Another lesson is that replacing one visible board may reveal three hidden problems. A rotten tread might lead you to a damp stringer. A loose post might expose missing blocking. A rail section that seems weak may actually be attached to a rim joist that has softened from years of trapped moisture. This is why good repair work starts with inspection instead of assumption.
Homeowners also learn quickly that hardware matters. A shiny new screw is not automatically the right screw. Exterior-rated structural fasteners, galvanized bolts, stainless steel hardware, and approved connectors are not glamorous, but they are the quiet heroes of deck safety. The deck surface gets compliments; the hardware keeps everyone upright.
Weather is another teacher. In rainy climates, rot often appears near stair bottoms and post bases. In sunny climates, ultraviolet exposure can dry and crack top rails. In snowy areas, freeze-thaw cycles can loosen connections and damage finishes. The best repair plan considers local conditions instead of pretending every deck lives in a mild brochure.
A smart habit is to photograph the repair before, during, and after. Photos help you remember what was replaced, where blocking was added, and which fasteners were used. If you later sell the home or hire a contractor, those photos can explain the repair history better than saying, “I fixed it with some stuff from the garage.”
Finally, deck repair teaches humility. Sometimes a project that looks simple becomes bigger. That is not failure; that is discovery. The goal is not to finish as fast as possible. The goal is to create a railing and stair system that feels solid, looks clean, and lets people enjoy the deck without mentally calculating escape routes.
Conclusion
Repairing your deck railing and stairs is part safety project, part carpentry lesson, and part conversation with gravity. Start with a careful inspection, replace rotten or cracked structural parts, reinforce weak connections, use exterior-rated hardware, and finish the repaired areas so water cannot undo your hard work. A safe deck should not wobble, sag, squeak suspiciously, or require guests to sign an emotional waiver before climbing the stairs.
If the damage is limited to loose balusters, worn treads, or minor railing sections, a careful homeowner may be able to handle the repair. If the problem involves posts, stringers, ledger connections, major rot, or unclear framing, bring in a qualified professional. A sturdy deck is worth it. After all, outdoor living is much more enjoyable when the stairs stay where stairs are supposed to stay.