Few household surprises are as rude as turning on an outside faucet after a cold snap and discovering that your plumbing has decided to audition for an indoor waterfall. An outside faucet, also called a hose bib, spigot, or sillcock, looks simple from the yard. Twist handle, water comes out, plants live happily ever after. But in freezing weather, that small metal fixture can become the weak link between your warm home and a very expensive plumbing repair.
The good news? Preventing an outside faucet from freezing is not complicated. You do not need a tool belt the size of a pickup truck or a dramatic slow-motion montage. You need a smart winter routine, a few inexpensive supplies, and enough respect for water’s sneaky superpower: it expands when it freezes. That expansion can crack fittings, split pipes, damage walls, soak insulation, and turn spring cleanup into “Why is the basement wearing a swimming pool?”
This guide walks through 14 practical steps to protect outdoor faucets before temperatures drop. It also includes real-world experience tips at the end, because winter plumbing has a way of teaching lessons in the least polite manner possible.
Why Outside Faucets Freeze in the First Place
Outdoor faucets are vulnerable because they sit on or near exterior walls where cold air, wind, and poor insulation can attack the pipe from multiple directions. If water remains trapped in the faucet body, attached hose, or supply line, freezing temperatures can turn that water into ice. As the ice expands, pressure builds inside the metal or plastic parts. Sometimes the break happens outside. Other times, the pipe splits inside the wall, which is much worse because you may not notice the leak until the faucet is used again.
Frost-proof faucets reduce this risk by placing the actual shutoff point deeper inside the heated part of the home. But even a frost-proof hose bib can fail if a hose is left attached, if the faucet is installed at the wrong angle, or if the indoor pipe behind it runs through a cold crawl space, garage, or uninsulated wall cavity.
How to Prevent an Outside Faucet from Freezing: 14 Steps
1. Disconnect Every Garden Hose Before the First Hard Freeze
The first rule of outdoor faucet winter care is beautifully simple: remove the hose. A connected hose can trap water inside the faucet and stop the faucet from draining properly. When that trapped water freezes, it can push ice and pressure back into the faucet body and supply pipe.
Unscrew hoses from every outside spigot, including backyard faucets, garage-side faucets, patio bibs, and hose connections used for sprinklers or drip irrigation. Drain the hoses completely, coil them loosely, and store them in a shed, garage, or basement. If the hose end is frozen onto the faucet, do not yank it like you are starting a lawn mower from 1987. Warm the connection gently with your hands or a towel soaked in warm water, then try again.
2. Remove Splitters, Timers, Spray Nozzles, and Quick Connectors
Many homeowners remember the hose but forget the little accessories. Y-splitters, brass hose manifolds, watering timers, pressure reducers, backflow adapters, and quick-connect fittings can all hold water. They also keep the faucet outlet blocked, which may prevent proper drainage.
Take everything off the faucet so the spigot is completely bare. Think of it as putting your faucet into winter pajamas: simple, dry, and not wearing three unnecessary gadgets.
3. Locate the Indoor Shutoff Valve
Many homes have an indoor shutoff valve that controls the water supply to each outside faucet. This valve is often located in the basement, crawl space, utility room, garage, or inside a cabinet along the same wall as the outdoor faucet.
Turn the valve clockwise until it stops. If you have a lever-style ball valve, turn the handle so it is perpendicular to the pipe. Label the valve with a tag that says “front hose bib” or “back outside faucet.” Future you will be grateful, especially when future you is wearing slippers and holding a flashlight.
4. Open the Outside Faucet to Drain the Line
After shutting off the indoor valve, go outside and open the faucet fully. Water should drain out of the pipe between the indoor shutoff and the outdoor faucet. Leave it open until the flow stops.
This step matters because shutting off the valve alone does not remove the water already sitting in the pipe. If water remains trapped, it can still freeze. Draining the line gives any remaining moisture room to expand without splitting the pipe.
5. Use the Bleeder Cap If Your Shutoff Valve Has One
Some indoor shutoff valves include a small bleeder cap or drain port. After closing the valve and opening the outdoor faucet, place a small bucket or towel under the bleeder and carefully loosen it. This can release water trapped in the line, especially when the pipe does not slope perfectly toward the outside faucet.
Once water stops draining, tighten the bleeder cap again. Do not over-tighten it. Plumbing parts enjoy being snug; they do not enjoy being crushed by heroic enthusiasm.
6. Leave the Outdoor Faucet Open for Winter
If the indoor water supply to that faucet is turned off, many homeowners leave the outside faucet open through the winter. This helps prevent pressure buildup if a small amount of water remains in the pipe and freezes.
If you have children, pets, or curious guests who may twist handles, add a simple note or tag: “Winterizeddo not close.” In spring, you can close the faucet before turning the indoor valve back on.
7. Install an Insulated Outdoor Faucet Cover
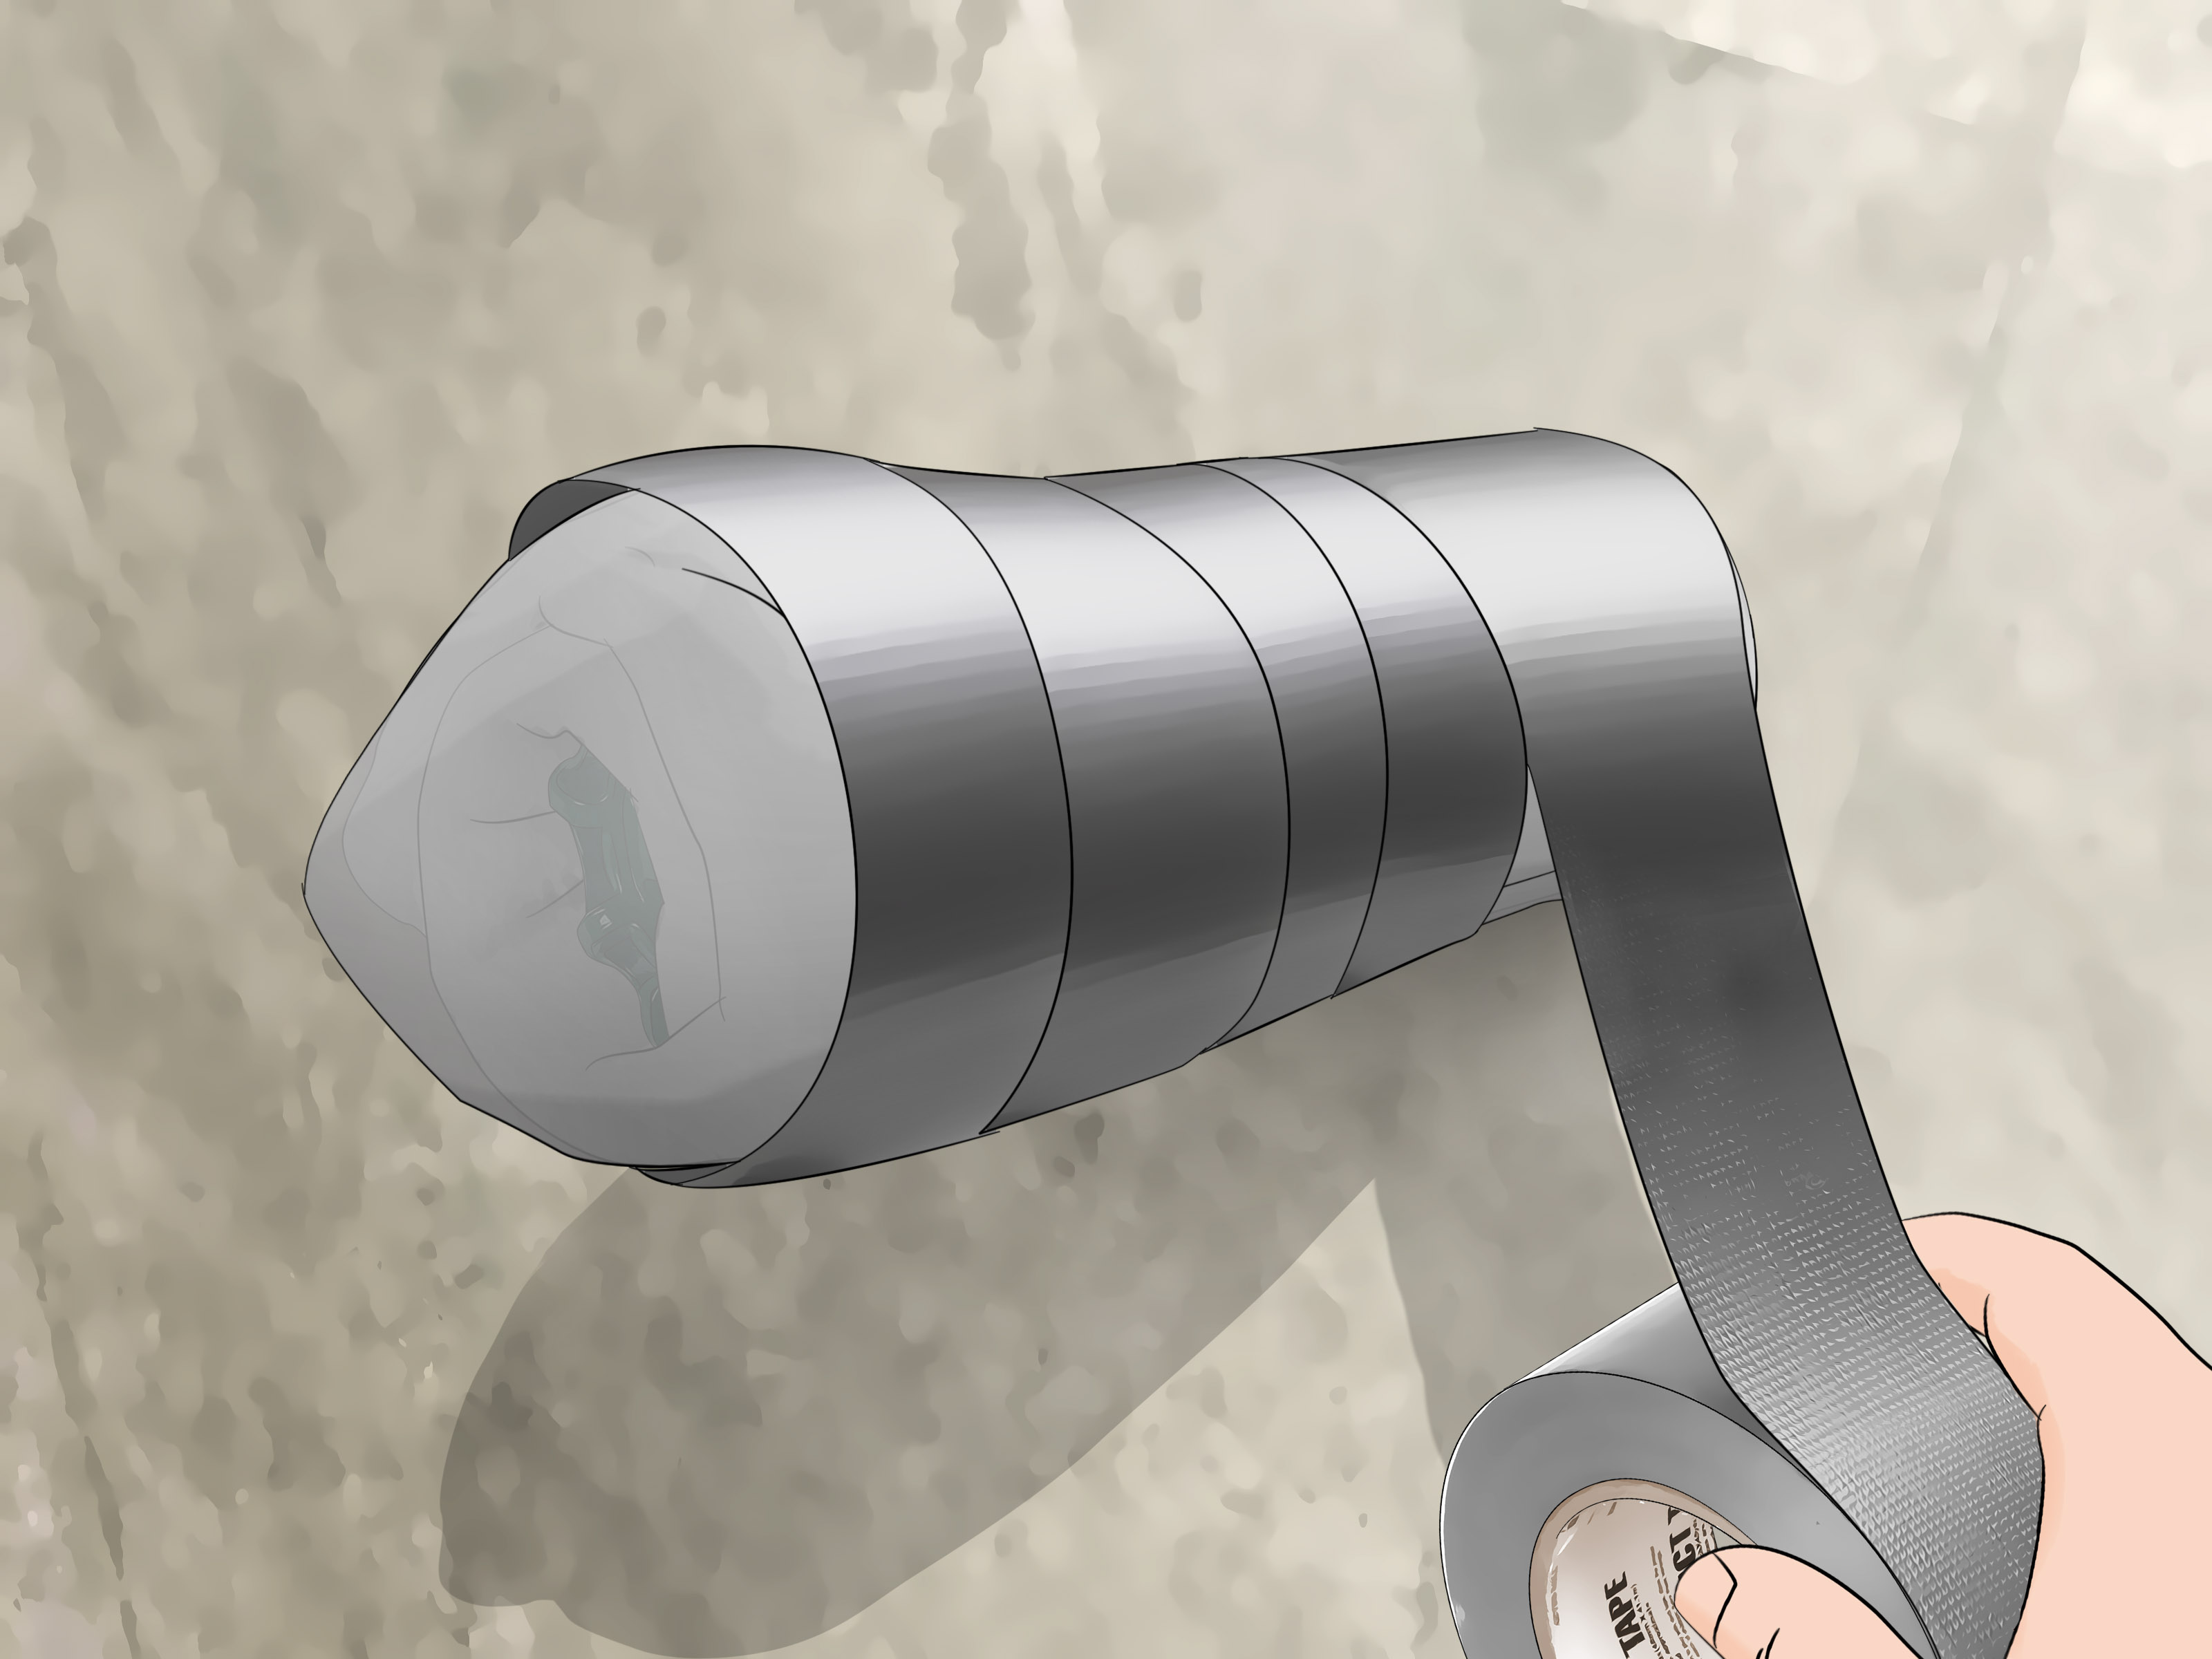
Foam faucet covers are inexpensive, widely available, and easy to install. They fit over the spigot and seal against the exterior wall, creating a small insulated pocket around the faucet. Soft insulated faucet socks can also work, especially on oddly shaped fixtures.
Choose a cover that fits tightly. A cover hanging loosely from the faucet is more decorative than protective, and outdoor plumbing does not care about fashion. Make sure the gasket or foam edge sits flat against the siding, brick, stucco, or foundation wall.
8. Insulate Exposed Pipes Near the Faucet
If the pipe feeding your outside faucet runs through an unheated garage, crawl space, basement rim joist, or exterior wall area, cover it with foam pipe insulation. For extra-cold zones, consider heat cable rated for plumbing pipes, installed exactly according to the manufacturer’s instructions.
Do not wrap pipes with random fabric, newspaper, or old towels in damp areas. Wet insulation can become useless and may invite mold. Use proper pipe sleeves, fiberglass pipe wrap, or approved heat tape where appropriate.
9. Seal Gaps Around the Pipe Penetration
Cold air often sneaks in where the faucet pipe passes through the wall. Even a small gap can act like a tiny winter wind tunnel aimed directly at your plumbing. Inspect the area around the faucet outside and the pipe entry point inside.
Use exterior-grade caulk, foam sealant, or appropriate masonry sealant to close gaps. This helps keep cold drafts out and also blocks pests, moisture, and dust. It is one of those small chores that feels boring until it saves you from a big repair bill. Boring is underrated.
10. Keep Garage Doors Closed During Freezing Weather
If an outside faucet is connected to plumbing that runs through a garage wall, keep the garage door closed as much as possible during cold weather. A garage can drop below freezing quickly when the door is left open, especially overnight.
Also check for drafts around garage doors, service doors, and vents. Weatherstripping and door sweeps can help reduce cold air movement. Your faucet may be outside, but the pipe feeding it may be shivering inside the garage.
11. Protect Crawl Spaces and Basement Rim Joists
Many frozen outdoor faucet problems begin in crawl spaces and rim joist areas. These spots can be cold, drafty, and poorly insulated. If your hose bib supply pipe travels through one of these areas, inspect it before winter.
Close foundation vents when appropriate for your climate and home design, seal drafts, and insulate water lines. If the crawl space has a history of freezing, ask a licensed plumber or insulation contractor to evaluate the setup. A faucet cover outside cannot fully protect a supply pipe that is exposed to freezing air inside.
12. Consider Upgrading to a Frost-Proof Sillcock
A frost-proof sillcock is designed with a longer stem so the shutoff valve sits inside the warmer area of the home. When installed correctly, the water drains out of the exterior portion after the faucet is turned off.
This upgrade is especially useful in regions with long, cold winters. However, frost-proof does not mean “ignore-proof.” You still need to disconnect hoses before freezing weather. The faucet must also be installed with a slight downward pitch toward the outside so water can drain out instead of sitting in the tube like an ice cube waiting for its big moment.
13. Winterize Irrigation and Drip Systems Connected to the Faucet
If your outside faucet feeds a drip irrigation system, sprinkler line, greenhouse hose, or outdoor sink, winterize those connections too. Remove timers, filters, backflow devices, pressure regulators, and tubing that can trap water.
Some irrigation systems need to be blown out with compressed air by a professional. Others can be drained manually. Follow the manufacturer’s instructions for your system. Do not assume that removing the garden hose is enough if hidden irrigation tubing is still full of water.
14. Check the Faucet Again After the First Freeze
After the first major freeze, walk around the house and inspect every outside faucet. Look for ice buildup, dripping, cracked covers, loose insulation, or water stains on the inside wall near the faucet. If you see a slow drip, do not ignore it. A dripping outdoor faucet can create ice and may signal a washer, valve, or frost-proof sillcock problem.
In spring, turn the water back on carefully. Have someone watch the outdoor faucet while another person opens the indoor shutoff. Check inside walls, basement ceilings, crawl spaces, and garage areas for leaks. If water appears where it should not, shut the valve off immediately and call a licensed plumber.
What to Do If Your Outside Faucet Is Already Frozen
If you turn the handle and no water comes out, the faucet or supply pipe may already be frozen. First, shut off the indoor valve if you can access it. Open the outside faucet to relieve pressure. Then warm the area gently using safe methods such as a hair dryer, warm towels, or a portable heat source kept away from flammable materials.
Never use an open flame, propane torch, charcoal grill, or anything that can start a fire. Frozen plumbing is annoying; a house fire is a much worse plot twist. If you cannot locate the frozen section, if the pipe is inside a wall, or if you notice leaking after thawing, contact a plumber.
Common Mistakes That Lead to Frozen Outdoor Faucets
The most common mistake is leaving a hose attached. The second is shutting off the indoor valve but forgetting to open and drain the outside faucet. Another common issue is trusting a frost-proof faucet too much. Frost-proof faucets are excellent when installed and used correctly, but they can still break if water is trapped inside.
Homeowners also sometimes cover the outside faucet while ignoring the supply pipe inside a freezing garage or crawl space. A faucet cover is helpful, but it is not magical armor. The whole water path needs protection, from the indoor valve to the exterior fixture.
Best Supplies for Preventing a Frozen Outside Faucet
You do not need a huge shopping list. Most homes can be protected with a few basic items: insulated faucet covers, foam pipe sleeves, exterior caulk, weatherstripping, hose storage hooks, tags for shutoff valves, and a small bucket for draining bleeder caps. In colder regions, heat cable approved for water pipes may be useful for exposed pipes, but it must be installed safely and correctly.
If your home has older plumbing, no indoor shutoff valves, or repeated freeze damage, the best “supply” may be a professional plumbing visit. Installing a proper shutoff valve, drain port, or frost-proof sillcock can make yearly winterization much easier.
Experience Notes: What Actually Helps in Real Homes
In real life, preventing an outside faucet from freezing is less about one heroic trick and more about building a small habit before winter arrives. The homes that avoid freeze damage usually have a repeatable routine: disconnect, shut off, drain, cover, inspect. It sounds almost too simple, but winter plumbing rewards boring consistency.
One practical experience is that faucet covers work best when the rest of the setup is already correct. A foam cover can protect the metal spigot from direct cold and wind, but it cannot drain trapped water. If the hose is still attached, the cover may simply hide the problem under a neat little foam hat. That is why the hose always comes off first.
Another lesson: indoor shutoff valves are worth finding before the weather gets dramatic. Searching for a valve during a freeze warning is like looking for your umbrella after the rain has already introduced itself to your socks. In fall, follow the pipe from the outside faucet to the basement, crawl space, utility area, or garage. Once you find the valve, label it. This small label can save time, confusion, and possibly drywall.
Older homes often need extra attention. A house may have a newer-looking outdoor faucet but older interior piping behind it. Sometimes the pipe runs through a rim joist with poor insulation or a crawl space that gets colder than expected. In these homes, adding pipe insulation and sealing drafts can make a bigger difference than simply buying a thicker faucet cover.
Frost-proof sillcocks are helpful, but they are not a free pass to ignore winter prep. The most common real-world problem is leaving a hose, splitter, or timer attached. These accessories can hold water and prevent the frost-proof faucet from draining. The faucet may look fine all winter, then leak inside the wall when used in spring. That is the plumbing equivalent of a delayed jump scare.
Another smart habit is checking outdoor faucets after the first hard freeze and again during a midwinter warmup. Look for icicles, dripping, loose covers, or damp areas near the foundation. A small drip can become a bigger freeze risk because moving water may collect and refreeze around the fixture. If the drip continues after tightening the handle gently, the washer or valve may need repair.
For people in mild climates, the danger is often underestimating rare freezes. Homes in warmer states may have outdoor plumbing that is less protected because deep freezes are uncommon. When a sudden cold front arrives, homeowners rush to cover faucets but may not know whether shutoff valves exist. In these areas, even a short freeze can damage exposed hose bibs, especially when wind hits the side of the house.
For very cold regions, experience says to think beyond the faucet. Protect the garage, crawl space, basement rim joist, and any pipe running along an exterior wall. Keep garage doors closed, seal air leaks, and make sure insulation is not missing near the pipe. If a faucet has frozen before, assume it may freeze again unless something changes.
The final experience-based tip is to make spring startup part of the winterizing process. When you turn the water back on, do it slowly and inspect both sides of the wall. Many freeze splits do not reveal themselves until water pressure returns. Have someone outside watching the faucet while another person monitors the inside pipe area. If you hear spraying, see water stains, or notice pressure dropping, shut the valve off immediately.
Preventing a frozen outside faucet is not glamorous, but neither is mopping up a basement at 6 a.m. A few minutes of fall maintenance can protect your plumbing, your walls, and your weekend plans. Your faucet may never thank you, but your water bill and drywall certainly might.
Conclusion
Learning how to prevent an outside faucet from freezing comes down to removing trapped water, blocking cold air, and protecting vulnerable pipes. Disconnect hoses, remove accessories, shut off the indoor supply valve, drain the line, use faucet covers, insulate exposed pipes, and inspect the setup after cold weather arrives. If your home has frequent freezing issues, a frost-proof sillcock or improved indoor shutoff system may be a smart upgrade.
Winter can be tough on outdoor plumbing, but preparation is simple when you follow the right steps. Treat every outside faucet as part of your home’s larger water system, not just a lonely spigot in the yard. With a little planning, your faucet can make it through freezing weather without cracking, leaking, or turning your spring into a plumbing-themed mystery novel.