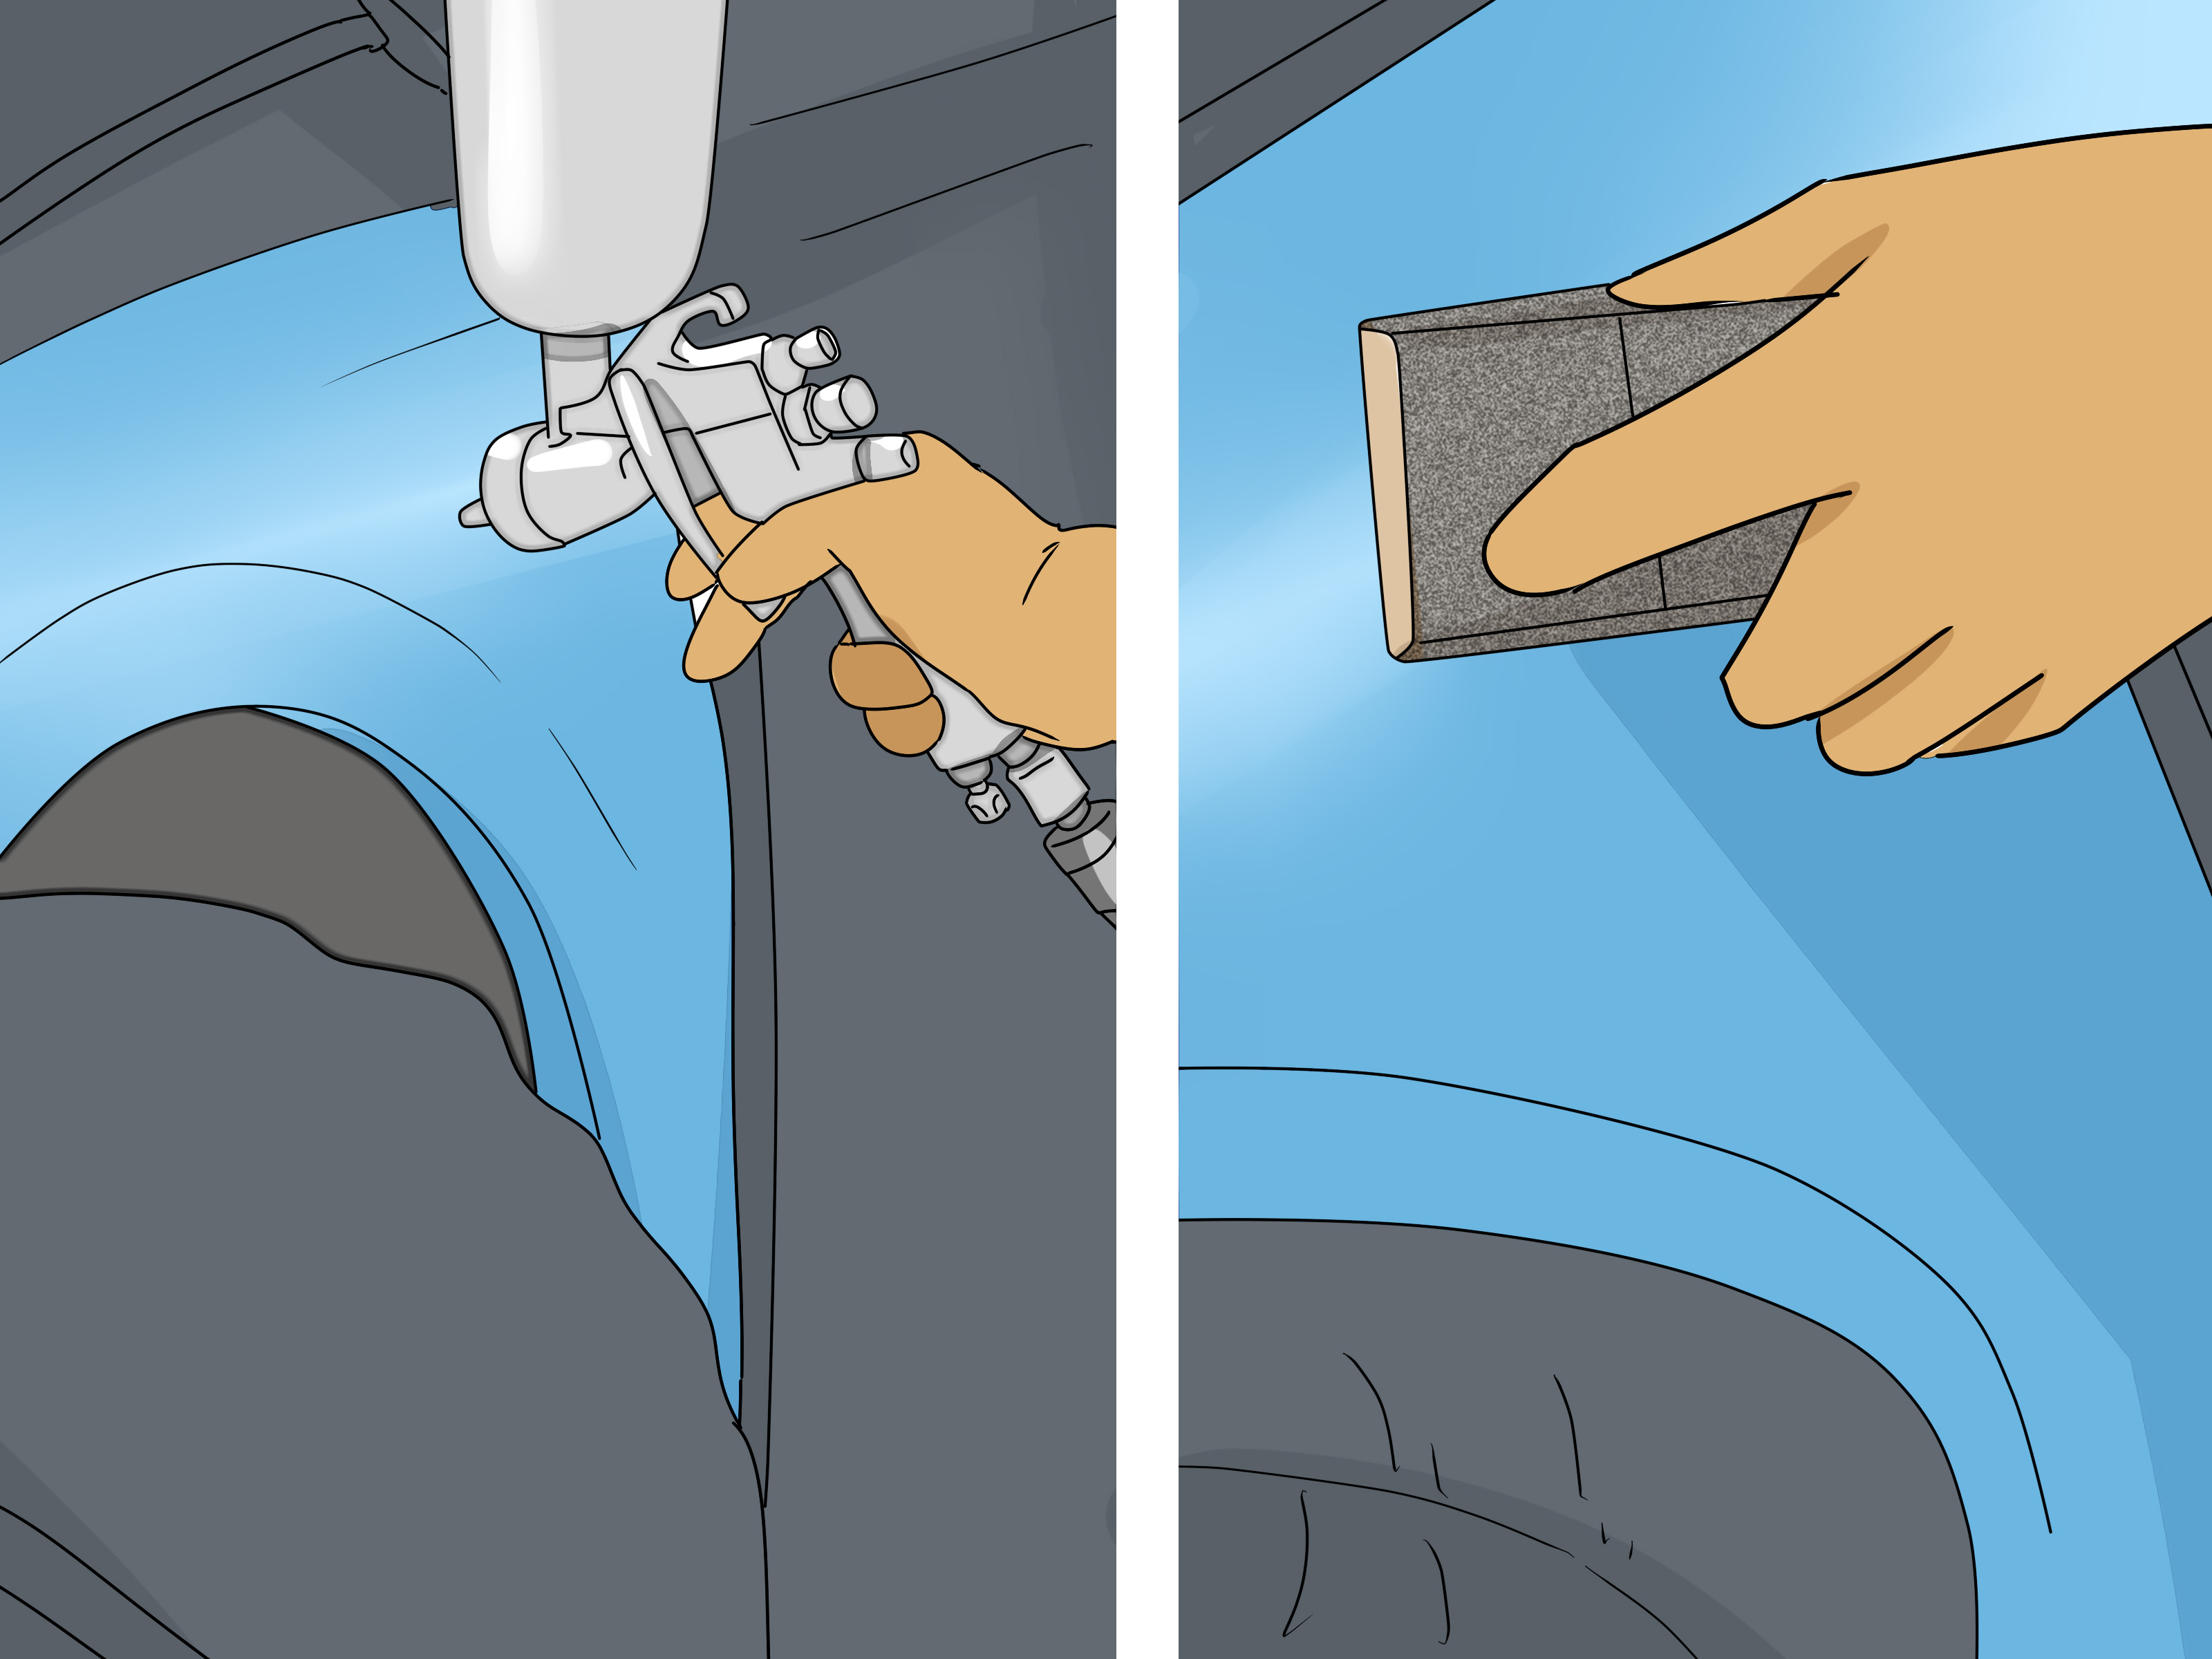
Painting a car is a little like baking a wedding cake: everyone notices the shiny top layer, but the real magic is in the prep. Skip the prep, and your beautiful new finish can peel, bubble, fisheye, scratch, or look like it was applied during a dust storm by a raccoon with a spray gun. The good news? You do not need a mysterious “paint wizard” certificate to understand how to prep a car for paint. You need patience, the right materials, a clean workspace, and a clear process.
This guide walks through 14 practical steps for car paint preparation, from washing and inspection to sanding, repairing, masking, priming, and final cleaning. Whether you are refreshing a faded daily driver, fixing a panel after bodywork, or getting a project car ready for its comeback tour, the rule is simple: paint only looks as good as the surface underneath it.
Before you begin, remember that automotive paint prep involves dust, solvents, primers, and coatings that can irritate your skin, eyes, and lungs. Work in a well-ventilated, controlled area, wear suitable personal protective equipment, follow every product label, and check local rules before spraying. If the job involves major collision damage, structural rust, or professional-grade two-part coatings, getting help from a qualified body shop is the smart move.
Why Proper Car Paint Prep Matters
A glossy paint job is not created in the spray gun. It is created during cleaning, sanding, filling, blocking, and priming. Paint needs a clean, stable, properly abraded surface to grip. If wax, silicone, road tar, oil, sanding dust, rust, loose clear coat, or moisture remains on the panel, the new coating may fail even if the paint itself is high quality.
Think of paint prep as building a foundation. A house with a bad foundation will crack no matter how expensive the countertops are. A car with poor prep will show scratches, waves, lifting edges, primer rings, dust nibs, and uneven shine no matter how expensive the paint is. That is why professional refinishers spend more time preparing than spraying.
Tools and Supplies You May Need
Before starting, gather your materials so you are not hunting for masking tape with dusty hands and a half-sanded fender. Common supplies include automotive soap, wax and grease remover, lint-free towels, sanding blocks, dual-action sander, sandpaper in multiple grits, masking tape, masking paper or automotive plastic, body filler, glazing putty, primer, guide coat, tack cloth, compressed air, safety glasses, gloves, and an appropriate respirator.
You may not need every item for every job. A small bumper repair requires less equipment than a full-car repaint. Still, the basic workflow remains the same: clean, inspect, repair, sand, mask, prime, block, clean again, and only then paint.
How to Prep a Car for Paint: 14 Steps
1. Choose the Right Workspace
Start with the work area. A clean, dry, well-lit space makes every step easier. Avoid painting or priming near open flames, heaters, dusty storage areas, pets, leaves, or anything that sheds. Yes, that includes the fluffy garage blanket your dog loves. Dust and hair are not “custom metal flake.”
Good ventilation is important, especially when using cleaners, primers, or spray products. If you are spraying, use a safe, controlled setup designed for automotive coatings. Sweep and clean the area before sanding, then clean again before priming or painting. Water lightly misted on the floor can help reduce dust, but do not create puddles or moisture problems around electrical tools.
2. Wash the Car Thoroughly
Begin with a complete wash using automotive soap and water. Remove dirt, road grime, salt, bug residue, old wax, and loose debris. Pay attention to wheel arches, rocker panels, door jambs, trunk edges, hood gaps, and trim seams. These areas love to hide dirt like they are preparing for a secret mission.
Rinse well and dry the vehicle with clean towels or compressed air. Do not rush this step. If dirty water drips out from a mirror, molding, or panel gap after you start sanding or spraying, it can contaminate the surface and ruin your day in a very creative way.
3. Inspect the Paint and Body Condition
Walk around the car slowly and inspect every panel. Look for dents, chips, peeling clear coat, rust bubbles, deep scratches, cracked paint, previous repair areas, and mismatched panels. Use bright side lighting if possible. Reflections reveal waves and dents that overhead lighting may hide.
Mark problem areas with tape or a wax pencil. Decide whether you are doing a full repaint, blending a repair, or prepping one panel. This decision affects how aggressively you sand and how far you feather the edges. A good inspection keeps you from discovering a surprise dent after the primer is already mixed.
4. Remove Trim, Badges, Lights, and Hardware When Possible
For the cleanest result, remove parts that should not be painted: badges, mirrors, lights, weatherstripping, license plates, door handles, antennas, and trim pieces when practical. Masking around everything is faster, but paint edges around trim can look bulky and may peel later.
Bag and label hardware. A sandwich bag marked “left tail light screws” can save you from the ancient garage ritual of crawling on the floor muttering, “Where did that tiny clip go?” If a part is fragile or difficult to remove, mask it carefully instead of breaking it.
5. Degrease With Wax and Grease Remover
After washing, use a proper automotive wax and grease remover. This removes contaminants that soap may not touch, including silicone, polish residue, tar, oil, and fingerprints. Use clean lint-free towels. A common method is to wipe the cleaner on with one towel and wipe it dry with another before it evaporates and redeposits grime.
Do not soak the surface or use household cleaners as substitutes unless the paint product specifically allows it. The goal is a clean surface, not a chemistry experiment. Also, avoid touching cleaned panels with bare hands. Skin oils can cause adhesion issues.
6. Sand Off Loose Paint, Peeling Clear, and Rust
Any loose paint or failing clear coat must go. New paint cannot hold down old paint that has already decided to leave the relationship. Sand peeling edges until you reach a stable coating. Feather the transition so you cannot feel a hard ridge with your fingertips.
Rust needs special attention. Surface rust should be sanded to clean metal and treated according to the primer or rust product instructions. If rust has created holes or weakened metal, filler alone is not a real repair. The damaged metal may need cutting, welding, or panel replacement. Paint over active rust is basically gift-wrapping a problem for your future self.
7. Repair Dents, Dings, and Scratches
Once the surface is clean and roughened where needed, repair dents and low spots. Body filler should be applied only to properly prepared surfaces and shaped before it fully hardens. Use thin, controlled applications rather than one heroic mountain of filler. Thick filler can crack, shrink, or create waves.
After shaping filler with coarser grits, refine the repair with finer sandpaper. For tiny pinholes or small scratches, use glazing putty or finishing filler as directed. Always sand repairs so they blend smoothly into surrounding panels. Your fingers can often detect uneven areas better than your eyes, so lightly feel the surface with a clean hand or use a guide coat during blocking.
8. Sand the Existing Finish for Adhesion
If the old paint is in good condition, you may not need to strip the car to bare metal. In many repaint jobs, the existing finish can act as a stable base once it is cleaned and sanded. The purpose of sanding is to remove gloss and create a uniform mechanical tooth for primer or paint.
Use the grit recommended by your paint or primer manufacturer. Many prep jobs use medium grits for shaping and finer grits for final prep. Coarser paper removes material quickly but leaves deeper scratches. Finer paper smooths the surface but may not provide enough bite if used too early. Work progressively and keep the surface even.
9. Block Sand to Find High and Low Spots
Block sanding is where the panel starts telling the truth. A sanding block bridges small waves, helping reveal highs and lows. If you sand only with your fingers, you can create grooves and uneven pressure marks. Blocks help keep the panel flat and consistent.
Use long, even strokes, often in a crosshatch pattern. Apply a guide coat over primer or filler to make imperfections visible. Low spots will remain darker while high spots sand through first. This step may feel slow, but it is one of the biggest differences between “fresh paint” and “fresh paint that actually looks good.”
10. Apply Primer Where Needed
Primer is not one-size-fits-all. Epoxy primer is often used over bare metal for adhesion and corrosion protection. High-build primer or primer surfacer helps fill sanding scratches and minor imperfections. Sealer can create a uniform surface before basecoat. Always choose compatible products from the same system or follow the paint manufacturer’s recommendations.
Apply primer in the number of coats recommended on the product label. Respect flash times, drying times, temperature requirements, and mixing ratios. More primer is not automatically better. Too much material can trap solvents, shrink later, or make the finish unstable.
11. Sand the Primer Smooth
After the primer cures, sand it smooth. This is where patience pays rent. Use a guide coat to check your progress and avoid sanding blindly. The goal is a smooth, even surface without scratches, texture, pinholes, or hard edges.
For final sanding before paint, follow the coating system’s recommended grit range. Some systems call for dry sanding; others allow wet sanding at certain stages. Be careful with materials that should not absorb water. If you wet sand, dry the panel thoroughly, especially around seams and edges, before moving forward.
12. Clean Out Dust From Every Gap
Sanding dust is sneaky. It hides in door gaps, under trim edges, inside mirror mounts, around fuel doors, and along windshield moldings. Blow out seams with clean, dry compressed air, then vacuum or wipe the area. Repeat until dust stops appearing like an unwanted magic trick.
This step matters because air from the spray gun can blow hidden dust onto wet paint. One dusty seam can pepper a beautiful hood or quarter panel with tiny bumps. Cleaning between steps also helps you inspect the surface more accurately.
13. Mask Carefully and Completely
Mask windows, tires, trim, lights, engine bay openings, door jambs, wheel wells, and any area that should not receive paint or overspray. Use automotive masking tape and masking paper or paint-safe plastic. Newspaper may seem budget-friendly, but it can allow solvents or paint to bleed through and may shed fibers.
Create clean tape lines and avoid loose edges. Back-masking can help create softer transitions when blending. Press tape firmly along edges, but do not stretch it so much that it lifts later. Good masking is invisible when the job is done; bad masking announces itself immediately.
14. Final Wipe, Tack, and Inspection Before Paint
Right before painting, perform a final cleaning according to the paint system instructions. Use wax and grease remover if recommended, then allow the surface to dry fully. Follow with a tack cloth to pick up fine dust. Use the tack cloth lightly; do not grind it into the panel like you are scrubbing a pan.
Inspect the surface from multiple angles. Look for sanding scratches, shiny unsanded spots, dust, tape lifting, moisture, fingerprints, and rough primer. Once paint is mixed, you do not want to discover a missed repair. Final prep is the last checkpoint before the finish becomes very public.
Common Mistakes to Avoid When Prepping a Car for Paint
Skipping Cleaning Before Sanding
Sanding a dirty car can grind wax, oil, and silicone into the surface. Clean first, then sand. It is faster to do it right than to fix fisheyes later.
Using the Wrong Sandpaper Grit
Too coarse, and scratches may show through. Too fine, and coatings may not adhere properly. Match the grit to the job stage and product instructions.
Painting Over Rust
Rust does not become harmless because it is wearing a new color. Remove it, treat it, or repair the metal properly before painting.
Rushing Primer Cure Time
Primer needs time to cure. Sanding or painting too soon can lead to shrinking, sand scratches, poor adhesion, or dull spots.
Poor Masking
Overspray travels. Mask farther than you think you need to, especially around wheels, glass, trim, and interior openings.
Safety Tips for Car Paint Preparation
Automotive paint prep creates dust and may involve solvents, primers, and coatings that should be handled carefully. Wear safety glasses when sanding or blowing dust. Use gloves when working with cleaners, filler, or primer. Use respiratory protection appropriate for the product and task, and follow the manufacturer’s safety data sheet.
Do not spray automotive coatings in a closed garage without proper ventilation and protection. Keep solvents away from sparks, pilot lights, cigarettes, and open flames. Store used solvent towels safely according to local rules. Keep kids, pets, and unnecessary spectators away from the work area. Your cousin may want to “just watch,” but fresh paint prep is not a family theater event.
How Long Does It Take to Prep a Car for Paint?
The timeline depends on the vehicle condition and the level of finish you want. A small panel repair may take a day or two. A full-car repaint can take several days to several weeks, especially if there is rust, body filler work, repeated priming, and block sanding. Show-quality paint prep can take far longer because every wave and tiny defect must be corrected.
For most DIY projects, the biggest mistake is underestimating prep time. Spraying may take hours. Preparing may take days. That is normal. If you feel like you have been sanding forever, congratulations: you have met automotive refinishing.
Extra Experience: Real-World Lessons From Prepping a Car for Paint
The first real lesson of car paint preparation is that the panel always knows more than you do. At the beginning, a fender may look “pretty good.” Then you wash it, degrease it, sand it, and suddenly every scratch, chip, wave, and mystery repair appears under the lights like it has been waiting for its dramatic entrance. This is not a failure. This is the process doing its job.
One useful experience is to slow down during inspection. Many beginners jump straight to sanding because sanding feels productive. But five extra minutes with a light can save an hour later. Look down the side of the car, not just at it. Reflections reveal dents better than direct staring. A straight fluorescent light, LED strip, or even the edge of a garage door reflection can show waves in the panel. If the reflection wiggles, the paint will probably show it too.
Another lesson: cleaning is not a one-time event. You clean before sanding, after sanding, before filler, after filler, before primer, after primer sanding, and right before paint. That may sound excessive until you see what one greasy fingerprint can do under a finish. A single contaminated spot can create a fisheye, adhesion problem, or strange texture that makes you question every life choice that led you to the garage.
Body filler also teaches humility. The best filler work uses less product than beginners expect. A thin skim over a properly prepared low spot is easier to shape than a thick blob. If you apply too much, you spend the afternoon turning expensive filler into dust. Spread it smoothly, shape it early, and use a block. Your hand alone will follow the dent; a block will help correct it.
Guide coat is one of the simplest tools that feels like a cheat code. A light contrasting coat over primer shows low spots and scratches while you block sand. Without it, you are guessing. With it, the panel gives you a map. When the guide coat disappears evenly, you are getting close. When it remains in little islands, those areas need attention.
Masking is another area where experience matters. Cheap tape can lift, bleed, or leave residue. Poorly secured plastic can flap into wet paint. Gaps around trim can invite overspray. Take your time and use materials designed for automotive refinishing. A clean tape edge makes the whole job look more professional, even before the paint shines.
Finally, learn to stop and inspect before moving to the next stage. Do not tell yourself, “The paint will hide that.” Paint is not a blanket; it is a spotlight. It can make small flaws more visible, especially with glossy colors and dark finishes. If you can feel an edge, see a scratch, or spot a wave in primer, fix it before color. The final paint job is not won during the final coat. It is won in the quiet, dusty, slightly boring prep stages where nobody claps but everything matters.
Conclusion
Learning how to prep a car for paint is mostly learning how to be patient. Wash thoroughly, remove contaminants, repair damage, sand correctly, prime where needed, block until smooth, clean every gap, mask carefully, and inspect before spraying. The process is not glamorous, but it is the difference between a finish that looks fresh for a weekend and one that looks sharp for years.
If you are new to automotive painting, start small. Practice on a spare panel before tackling a hood or full vehicle. Read product labels, follow drying times, and respect safety requirements. A great paint job is not about rushing to the color coat. It is about giving that color coat a surface worthy of showing off.