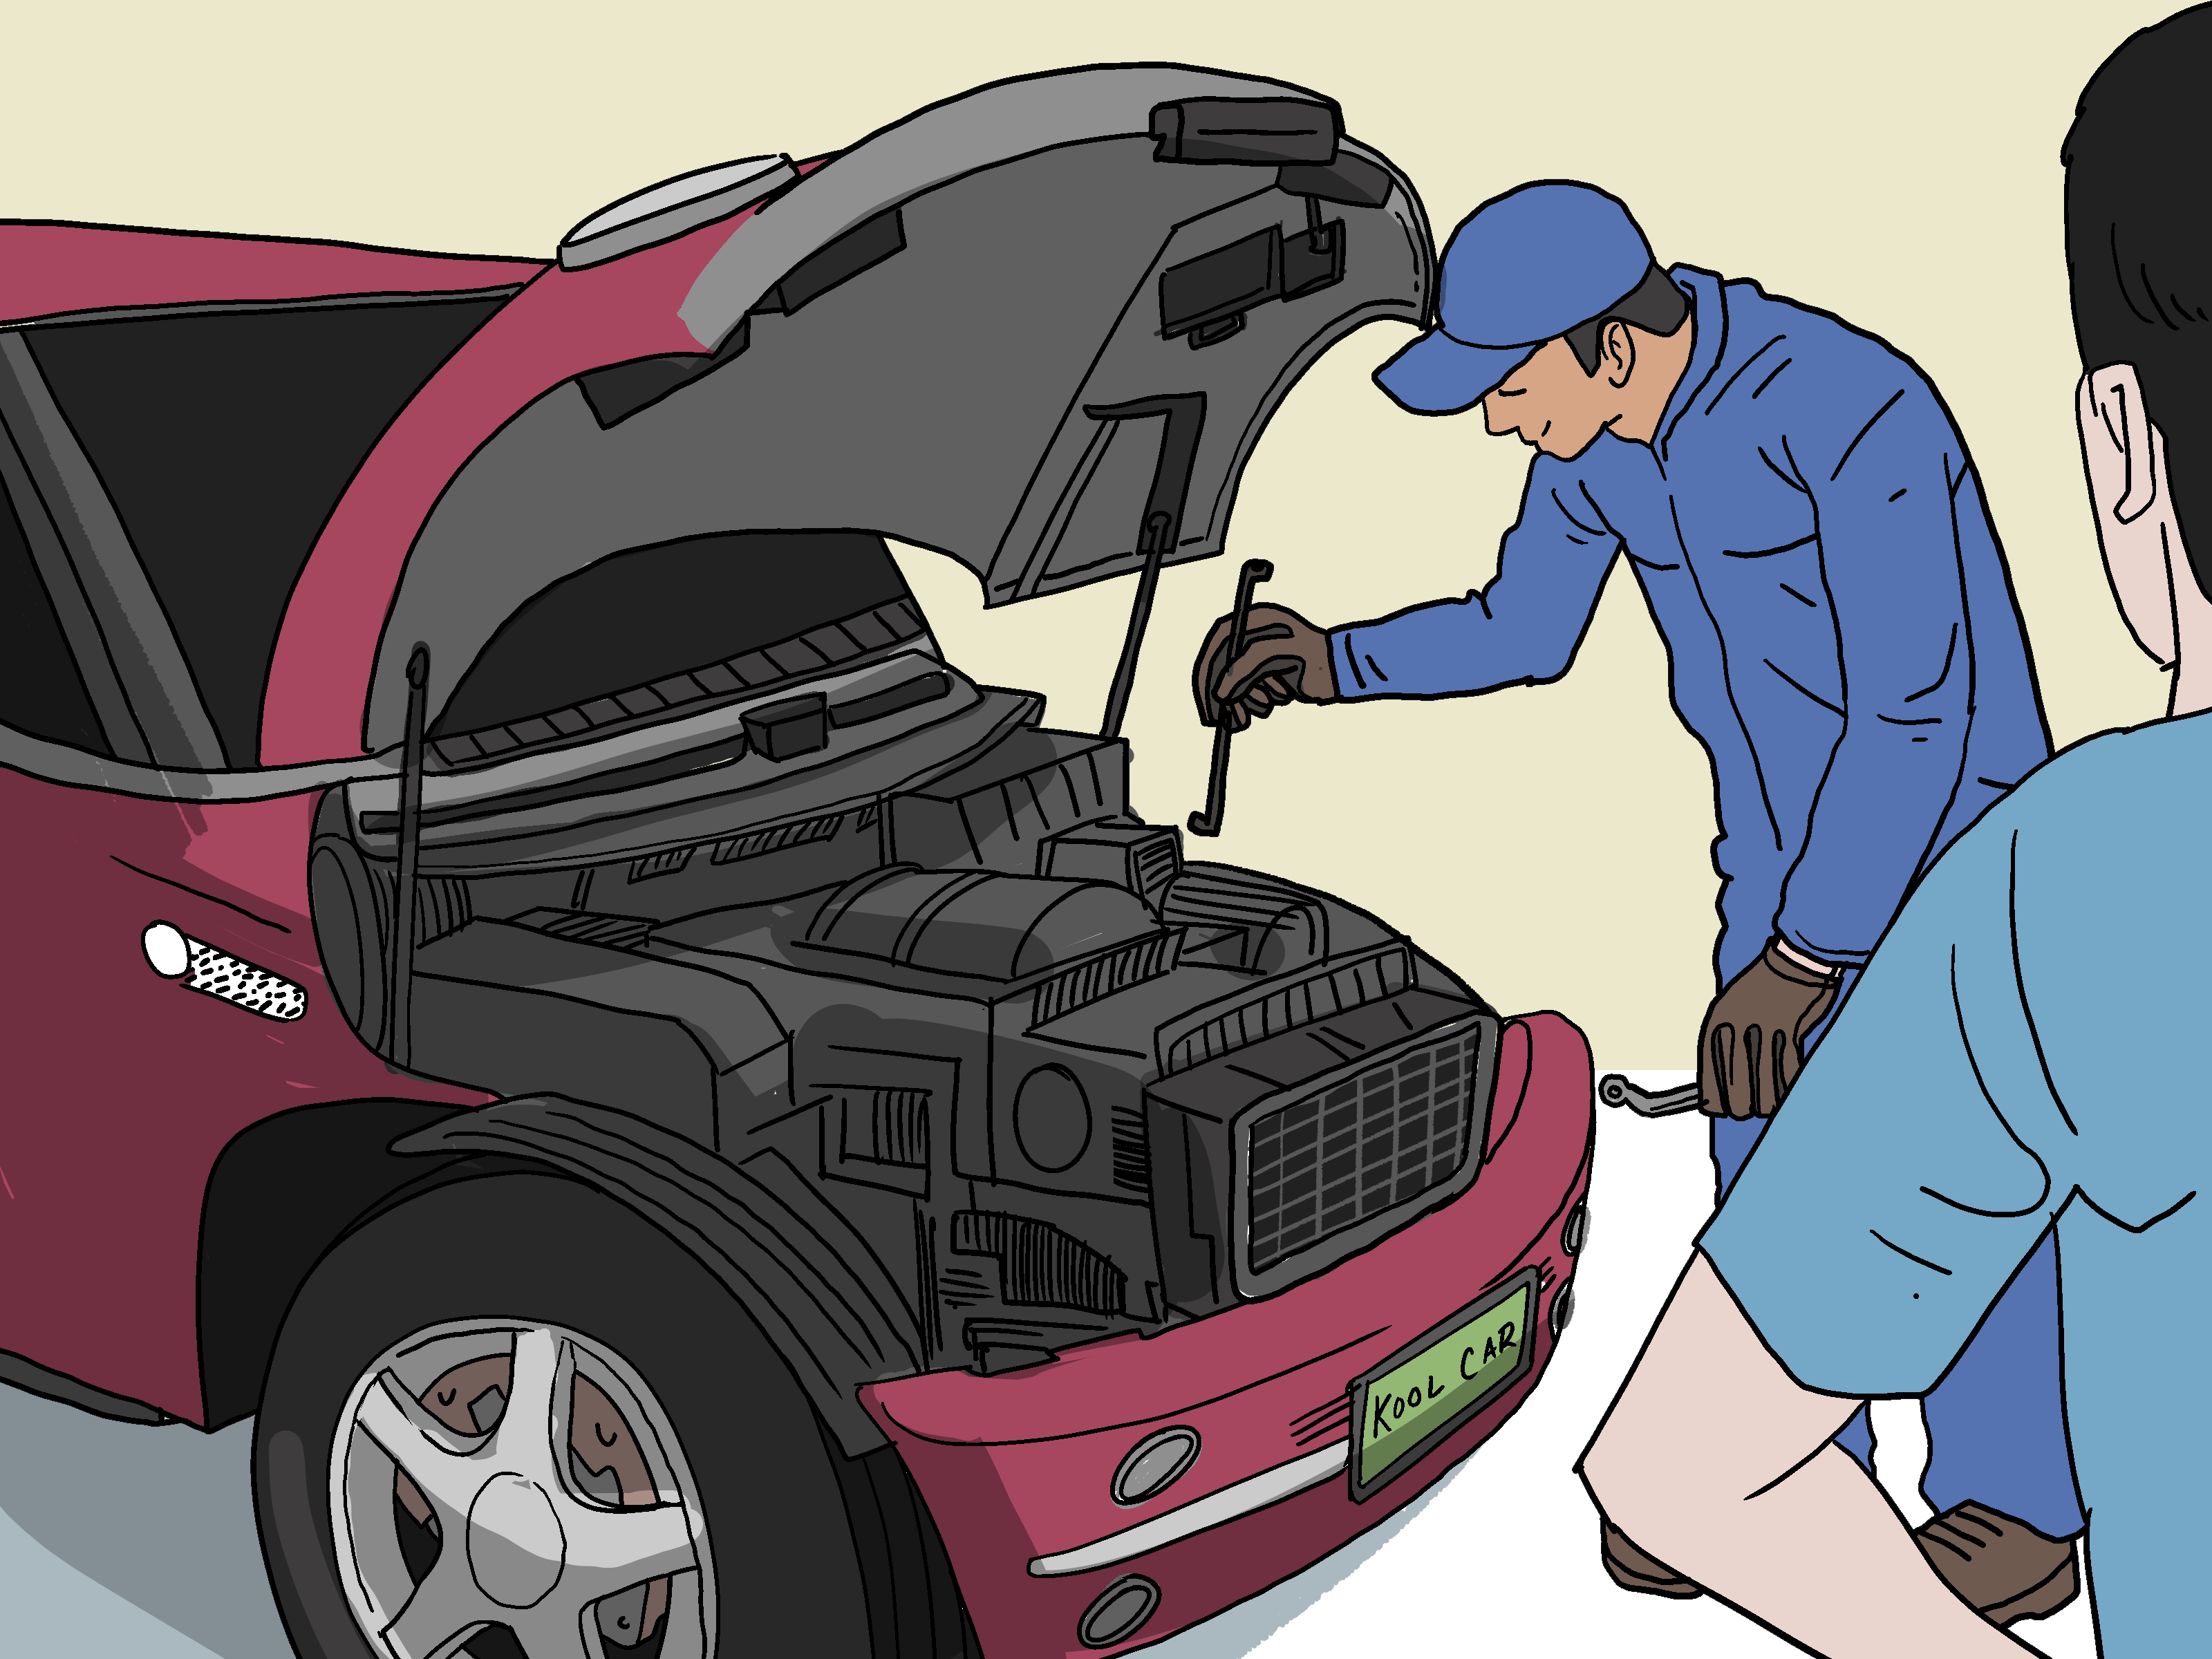
Opening the hood on a MINI Cooper sounds like a job that should take two seconds: pull a lever, lift the hood, feel proudly mechanical. Then you bend down, search near the footwell, pull something that feels like it belongs to a tiny submarine, and wonder whether the car is politely laughing at you. Good news: once you know where the MINI Cooper hood release is and how your model’s latch system works, the process is simple.
This guide explains how to open the hood on a Mini Cooper in 10 clear steps, including where to find the release lever, what to do if the hood only pops up slightly, how newer double-pull systems work, how to close the hood correctly, and how to troubleshoot a stuck latch without turning your stylish little hatchback into a wrestling opponent.
Before You Start: Know Your MINI Cooper Hood Setup
MINI Cooper models can vary by generation, trim, and market. Some older U.S. models use an interior hood release plus a secondary safety latch at the front of the hood. Many newer MINI models use a two-pull interior release: pull once to unlock the hood, release the lever, then pull again to fully release it. That means you may not need to fish around under the front edge for a separate latch on certain later models.
The lever location can also vary. On many newer MINI Cooper models, the hood release lever is in the driver-side footwell, usually low and near the kick panel. On some earlier models, especially older first-generation cars, the release may be on the passenger side under the glove box. If your MINI seems determined to hide the lever like a secret British treasure map, check both lower footwells before blaming yourself.
Tools and Safety Tips
You usually do not need tools to open the hood on a Mini Cooper. However, a flashlight can help if the interior is dark or if you need to inspect the latch area. A clean microfiber towel is also useful if you are checking oil, coolant, or washer fluid after the hood is open.
Before opening the hood, park on a level surface, shift into Park or first gear, set the parking brake, and turn off the engine. Let the engine cool if you plan to inspect coolant, oil, belts, or anything near hot components. Also make sure the windshield wipers are folded down against the windshield. On MINI models with a clamshell-style hood, raised wiper arms can interfere with the hood and cause damage. That is a very expensive way to learn a very small lesson.
How to Open the Hood on a Mini Cooper: 10 Steps
Step 1: Park the Car Safely
Start by parking your MINI Cooper on a flat, stable surface. Turn off the ignition, set the parking brake, and give the engine a few minutes to cool if you have just been driving. If you are opening the hood to check coolant or investigate steam, wait longer. Hot coolant systems can be pressurized, and opening them too soon can cause serious burns.
Step 2: Check That the Wipers Are Down
Before you touch the hood release, look at the windshield wipers. They should be resting normally against the glass, not lifted for washing or service. MINI hoods often open in a way that brings the rear edge of the hood close to the wiper area. If the wipers are standing up, the hood can hit them and damage the wiper arms, blades, washer nozzles, or paint.
Step 3: Locate the Hood Release Lever
Get inside the car and look low in the footwell. On many modern MINI Cooper models, the hood release lever is on the driver’s side near the lower left area of the dashboard or kick panel. It may be black and marked with a small hood icon. On some older models, the lever may be on the passenger side beneath the glove box. Move the floor mat slightly if needed, because the lever can blend into the dark trim like it signed a camouflage agreement.
Step 4: Pull the Lever Once
Pull the hood release lever firmly but smoothly. You should hear or feel the first latch release. On some models, the hood will pop up slightly. On newer double-pull MINI systems, the first pull unlocks the hood but does not fully open it. Do not yank the lever like you are starting a lawn mower. A steady pull is enough when the cable and latch are working correctly.
Step 5: Release the Lever and Pull Again if Needed
If your MINI uses the two-pull system, let the lever return to its normal position, then pull it a second time. This second pull releases the hood fully so it can be lifted. Many owners miss this detail and spend five minutes patting the front edge of the hood like they are trying to wake up a sleeping cat. If the hood did not open after the first pull, try the second pull before searching for an exterior latch.
Step 6: Go to the Front of the MINI
Walk to the front of the car and look at the gap between the hood and the grille. If the hood is slightly raised, the primary release worked. Keep your fingers clear of pinch points and painted edges. MINI hoods can have protruding hooks or latch parts underneath, so lift with care rather than sliding your whole hand into the gap blindly.
Step 7: Find the Secondary Safety Latch if Your Model Has One
On MINI Cooper models with a separate front safety latch, reach carefully under the front edge of the hood near the center. You may feel a small lever or handle. Push, lift, or move it sideways depending on the model. Once the safety latch releases, the hood can open. If you do not feel a latch and your car is a newer model, it may rely on the double-pull interior lever instead.
Step 8: Lift the Hood Carefully
Raise the hood with both hands if possible, keeping your fingers away from the latch hooks and hinges. Depending on the MINI generation, the hood may feel heavier than expected because many models use a clamshell hood that wraps around part of the front bodywork. Lift slowly and watch the rear edge near the windshield.
Step 9: Secure the Hood
Some MINI Cooper models have hood struts that hold the hood open automatically. Others may use a prop rod. If your car has a prop rod, place it securely into the designated slot before letting go of the hood. Never trust a partly supported hood. A falling hood is bad for fingers, tools, paint, and dignity.
Step 10: Inspect What You Need, Then Close the Hood Correctly
After checking the oil, washer fluid, battery area, coolant level, or other items, remove tools and rags from the engine bay. To close the hood, lower it until it is roughly 16 to 20 inches above the latch area, then let it close with firm momentum. On many MINI models, the hood must engage on both sides. Do not press down repeatedly on the hood after it lands; if it does not latch, open it again and close it more firmly. Pressing can dent the hood or misalign the panel.
How to Tell If the Hood Is Fully Closed
After closing the hood, check the panel gaps on both sides. The hood should sit evenly and flush with the surrounding bodywork. Give the front edge a gentle upward tug to confirm it is latched. If your dashboard shows a hood warning message or the hood looks uneven, stop and close it again before driving. A hood that opens while driving can block your view, damage the windshield, and create a situation that feels less like motoring fun and more like a low-budget action movie.
What If Your MINI Cooper Hood Will Not Open?
A stuck MINI Cooper hood usually comes down to one of four issues: a stretched release cable, a dry latch, latch misalignment, or pressure on the hood that keeps the latch from releasing cleanly. Before you panic, try the simple fixes first.
Try Pressing Down While Pulling the Lever
Ask a helper to press gently but firmly on the front edge of the hood while you pull the interior release lever. This can reduce tension on the latch and allow the mechanism to release. Use flat hands and avoid pounding the hood. You are encouraging the latch, not auditioning for a drum solo.
Pull the Lever Twice
If your MINI uses a double-pull system, a single pull will not fully release the hood. Release the lever completely, then pull it again. Listen for two distinct clicks. The first unlocks the hood; the second allows it to open.
Check for a Loose or Broken Handle
If the hood release lever feels floppy, loose, or disconnected, the cable may have slipped or broken. In that case, avoid forcing the lever. Forcing plastic interior parts can turn a small repair into a larger one. A qualified MINI technician or experienced mechanic can access the cable and latch without damaging the grille, hood, or trim.
Lubricate the Latch After It Opens
Once you get the hood open, inspect the latch mechanism. Dirt, corrosion, and old grease can make the latch sticky. Clean the area gently and apply an appropriate automotive lubricant to the moving latch parts. Open and close the hood a few times to confirm smooth operation. Regular lubrication is a small habit that can prevent a big headache later.
Common Reasons MINI Owners Open the Hood
Knowing how to open the hood on a Mini Cooper is useful for basic maintenance. You may need to check engine oil, refill washer fluid, inspect coolant level, look for leaks, jump-start the car on certain models, or simply identify where that suspicious new smell is coming from. MINI engine bays are compact, so patience helps. Everything is there, but it may be packaged with the efficiency of a carry-on suitcase before a long vacation.
If you are adding fluids, always use the correct specification for your exact model and year. MINI Cooper engines can be particular about oil type, coolant formulation, and service intervals. When in doubt, use the owner’s manual, the under-hood labels, or guidance from a qualified MINI service center.
Model-Year Differences to Keep in Mind
The basic idea is the same across most MINI Cooper models: find the interior release, unlock the hood, release any secondary latch if equipped, then lift. The details, however, can change. First-generation cars may have a different lever location than later models. Some second-generation and third-generation models use different latch layouts. Newer MINI Cooper models often simplify the outside process by using the two-pull interior release.
That is why it is smart to learn your specific car. A 2006 MINI Cooper and a 2025 MINI Cooper may share personality, rounded charm, and the ability to make parking lots more stylish, but their hood release operation may not be identical. Your owner’s manual is the best final authority for your exact configuration.
Mini Cooper Hood Opening Mistakes to Avoid
Do not pry aggressively at the hood gap with a screwdriver. You can scratch paint, bend trim, damage the grille, or make the latch problem worse. Do not pull the release lever with extreme force if it feels disconnected. Do not open the hood with the wipers raised. Do not reach into the engine bay while the engine is running unless you know exactly what you are doing. Moving fans, belts, and hot components can cause injury.
Also avoid slamming the hood from too high. MINI manuals commonly advise closing the hood with firm momentum from a moderate height, not throwing it down from shoulder level like a dramatic movie scene. If it fails to latch, reopen it and close it again with controlled force.
Extra Experience: Real-World Lessons From Opening a MINI Cooper Hood
The first time many drivers try to open a MINI Cooper hood, the experience feels slightly backwards. In most cars, you pull one lever, walk to the front, flick a latch, and lift. With many MINIs, especially newer ones, the trick is remembering the second pull. That small detail solves a surprising number of “my hood is stuck” moments. The lever may feel like it already did its job after the first click, but the second pull is what completes the release.
A practical habit is to listen carefully. On a working system, the first pull often gives a clear click or pop. The second pull should sound slightly different, as though the hood has fully let go. If you hear nothing, the cable may not be moving. If you hear one side release but the other side remains tight, one latch may be sticky or misaligned. This is where forcing the hood is tempting, but patience wins. A helper pressing gently on the hood while the lever is pulled can sometimes release tension without damage.
Another real-world tip is to keep the latch clean. MINI Coopers are often city cars, weekend cars, and daily commuters, which means they deal with road grit, rain, dust, and temperature swings. A latch that worked perfectly in spring may feel stubborn after winter. When the hood is open, wipe visible dirt from the latch area and apply a small amount of suitable lubricant. Do not drown the mechanism. A light, targeted application is usually enough.
If you own an older MINI, learn where the hood release cable runs and how the handle feels when it is healthy. A normal lever has resistance. A failing cable may feel loose, crunchy, or uneven. If you notice that change, do not wait until the battery is dead or the washer fluid is empty to fix it. Replacing a worn cable before it fails is far easier than trying to open a fully latched hood with a broken release.
When closing the hood, stand in front of the car and watch both sides. MINI hoods may need both latches to engage evenly. If one side sits higher, do not press that corner down with your palm. Open the hood and close it again from the recommended height. Pressing on a modern hood can leave a dent, and once you see that little ripple in the paint, you will never unsee it.
Finally, make hood opening part of your regular maintenance routine. Even if you are not a do-it-yourself mechanic, opening the hood once a month helps you spot obvious issues early: low washer fluid, leaves near the cowl, loose caps, fluid residue, or strange smells. A MINI Cooper rewards attention. It is small, lively, and full of personality, but like any car, it appreciates basic care. Learn the release, keep the latch smooth, close the hood correctly, and your MINI will be much less mysterious the next time you need to peek under the bonnet.
Conclusion
Opening the hood on a Mini Cooper is easy once you understand the lever location and latch style for your model. Park safely, make sure the wipers are down, pull the interior release, use the second pull if your MINI requires it, release the front safety latch if equipped, and lift carefully. When closing, make sure the hood engages securely on both sides before driving.
Note: This guide is written for general U.S.-market MINI Cooper models. Hood release design can vary by model year, trim, and market, so always confirm details with your owner’s manual or a qualified MINI service professional if something feels stuck, loose, or unusual.