Note: This guide is written for family-friendly craft use, not food preparation. Homemade play dough is for supervised play, not eating, even if the ingredients look suspiciously like something from the pantry.
Making homemade play dough without cream of tartar is one of those tiny kitchen miracles that feels more impressive than it should. You start with flour, salt, water, oil, and maybe a splash of lemon juice or vinegar, and suddenly you have a soft, squishy, colorful blob that can become a dinosaur, a pretend cookie, a very lumpy snowman, or whatever masterpiece your child insists is “definitely a spaceship.”
The good news? You do not need cream of tartar to make great play dough. Cream of tartar helps traditional play dough feel stretchy and last longer, but it is not the gatekeeper of fun. With the right method, you can make soft, moldable play dough using everyday ingredients you probably already have at home. This guide shows you exactly how to make play dough without cream of tartar in 14 simple steps, plus storage tips, texture fixes, color ideas, safety notes, and real-life experience from batches that were beautiful, weird, sticky, crumbly, and eventually rescued.
Why Make Play Dough without Cream of Tartar?
Cream of tartar is often used in homemade play dough recipes because it adds acidity, improves elasticity, and helps the dough stay soft. But there are plenty of reasons to skip it. Maybe you ran out. Maybe you never bought it because it sounds like something a pirate would keep in a medicine cabinet. Or maybe you simply want a basic, budget-friendly play dough recipe that does not require a special ingredient.
A no cream of tartar play dough recipe is perfect for quick sensory play, preschool activities, rainy-day crafts, classroom projects, and last-minute “I’m bored” emergencies. This version uses lemon juice or white vinegar as an optional substitute to help improve texture. If you do not have either one, you can still make a simple salt dough-style play dough; it may be slightly less stretchy, but it will still roll, squish, and shape nicely.
Ingredients for Homemade Play Dough without Cream of Tartar
This recipe makes one medium batch, enough for one or two children. You can double it for a classroom table, playdate, or a family craft session where everyone suddenly needs “their own color” because sharing has temporarily left the building.
You Will Need
- 1 cup all-purpose flour, plus extra for kneading
- 1/4 cup fine table salt
- 3/4 cup warm water
- 1 tablespoon vegetable oil, canola oil, or coconut oil
- 2 tablespoons lemon juice or white vinegar, optional but helpful
- Food coloring, washable liquid watercolor, or natural coloring
- A mixing bowl
- A spoon or spatula
- A small saucepan, if using the cooked method
- An airtight container or zip-top bag for storage
How to Make Play Dough without Cream of Tartar: 14 Steps
Step 1: Choose Your Method
You can make this play dough two ways: cooked or no-cook. The cooked method usually creates a smoother, longer-lasting dough because heat helps the flour absorb moisture evenly. The no-cook method is faster and works well when adults handle the hot water. For the best texture, use the cooked method. For the fastest setup, use the no-cook method.
Step 2: Measure the Flour
Add 1 cup of all-purpose flour to a mixing bowl. Spoon the flour into the measuring cup and level it off instead of packing it down. Too much flour can make the dough dry and crumbly, and nobody wants play dough that behaves like desert sand with commitment issues.
Step 3: Add Fine Salt
Stir in 1/4 cup of fine table salt. Salt helps preserve the dough and gives it structure. Fine salt works better than coarse salt because it dissolves more easily and creates a smoother feel. If you only have coarse salt, dissolve it in the warm water first before adding it to the flour.
Step 4: Mix the Water, Oil, and Acid
In a separate cup, combine 3/4 cup warm water, 1 tablespoon oil, and 2 tablespoons lemon juice or white vinegar. Lemon juice usually smells fresher, while vinegar works well but may leave a mild scent at first. The acid helps replace some of the texture benefits usually provided by cream of tartar.
Step 5: Add Color
Add a few drops of food coloring to the liquid mixture. Mixing color into the water first helps distribute it evenly through the dough. For deeper colors, use gel food coloring. For softer pastel shades, start with just one or two drops. If your child requests “rainbow thunderstorm blue,” do your best and accept that the final color may be “mysterious ocean.”
Step 6: Combine Wet and Dry Ingredients
Pour the colored liquid slowly into the flour and salt mixture. Stir as you pour. The dough will look sticky and uneven at first. That is normal. Homemade play dough has a brief awkward phase, much like middle school photos, but it improves quickly.
Step 7: Cook the Mixture, If Using the Cooked Method
Transfer the mixture to a saucepan and cook over low to medium-low heat. Stir constantly for 2 to 4 minutes. The mixture will thicken, pull away from the sides, and form a soft ball. Remove it from the heat as soon as it comes together. Overcooking can make the dough dry.
Step 8: Use Hot Water for the No-Cook Method
If you prefer no-cook play dough, use very hot water instead of warm water and mix carefully in a heat-safe bowl. An adult should pour and stir. Let the dough cool before touching it. No-cook dough may need a little more kneading and a dusting of flour to become smooth.
Step 9: Let the Dough Cool
Place the dough on a clean surface and let it cool until it is comfortable to handle. Do not hand hot dough to children. It may look harmless and squishy, but fresh dough can hold heat inside like a tiny flour volcano.
Step 10: Knead Until Smooth
Knead the dough for 2 to 3 minutes. Push it down, fold it over, and repeat until it becomes soft, stretchy, and smooth. Kneading is the secret step that turns “sticky kitchen blob” into proper play dough. If children are old enough, they can help once the dough is cool.
Step 11: Fix Sticky Dough
If the dough sticks to your hands, sprinkle in 1 teaspoon of flour at a time and keep kneading. Add flour slowly. Too much flour will make the dough stiff. A little stickiness at the beginning is normal and often disappears after kneading.
Step 12: Fix Dry or Crumbly Dough
If the dough cracks or crumbles, add a few drops of oil or water and knead again. Dry dough usually means there is too much flour or the dough cooked too long. Start small with extra liquid because one teaspoon can make a surprising difference.
Step 13: Add Scents or Natural Colors
For scented play dough, try a small amount of vanilla extract, peppermint extract, cinnamon, cocoa powder, or pumpkin pie spice. For natural colors, you can experiment with beet powder, turmeric, matcha powder, cocoa powder, or a little berry juice. Use caution with spices and extracts around children with sensitive skin or allergies.
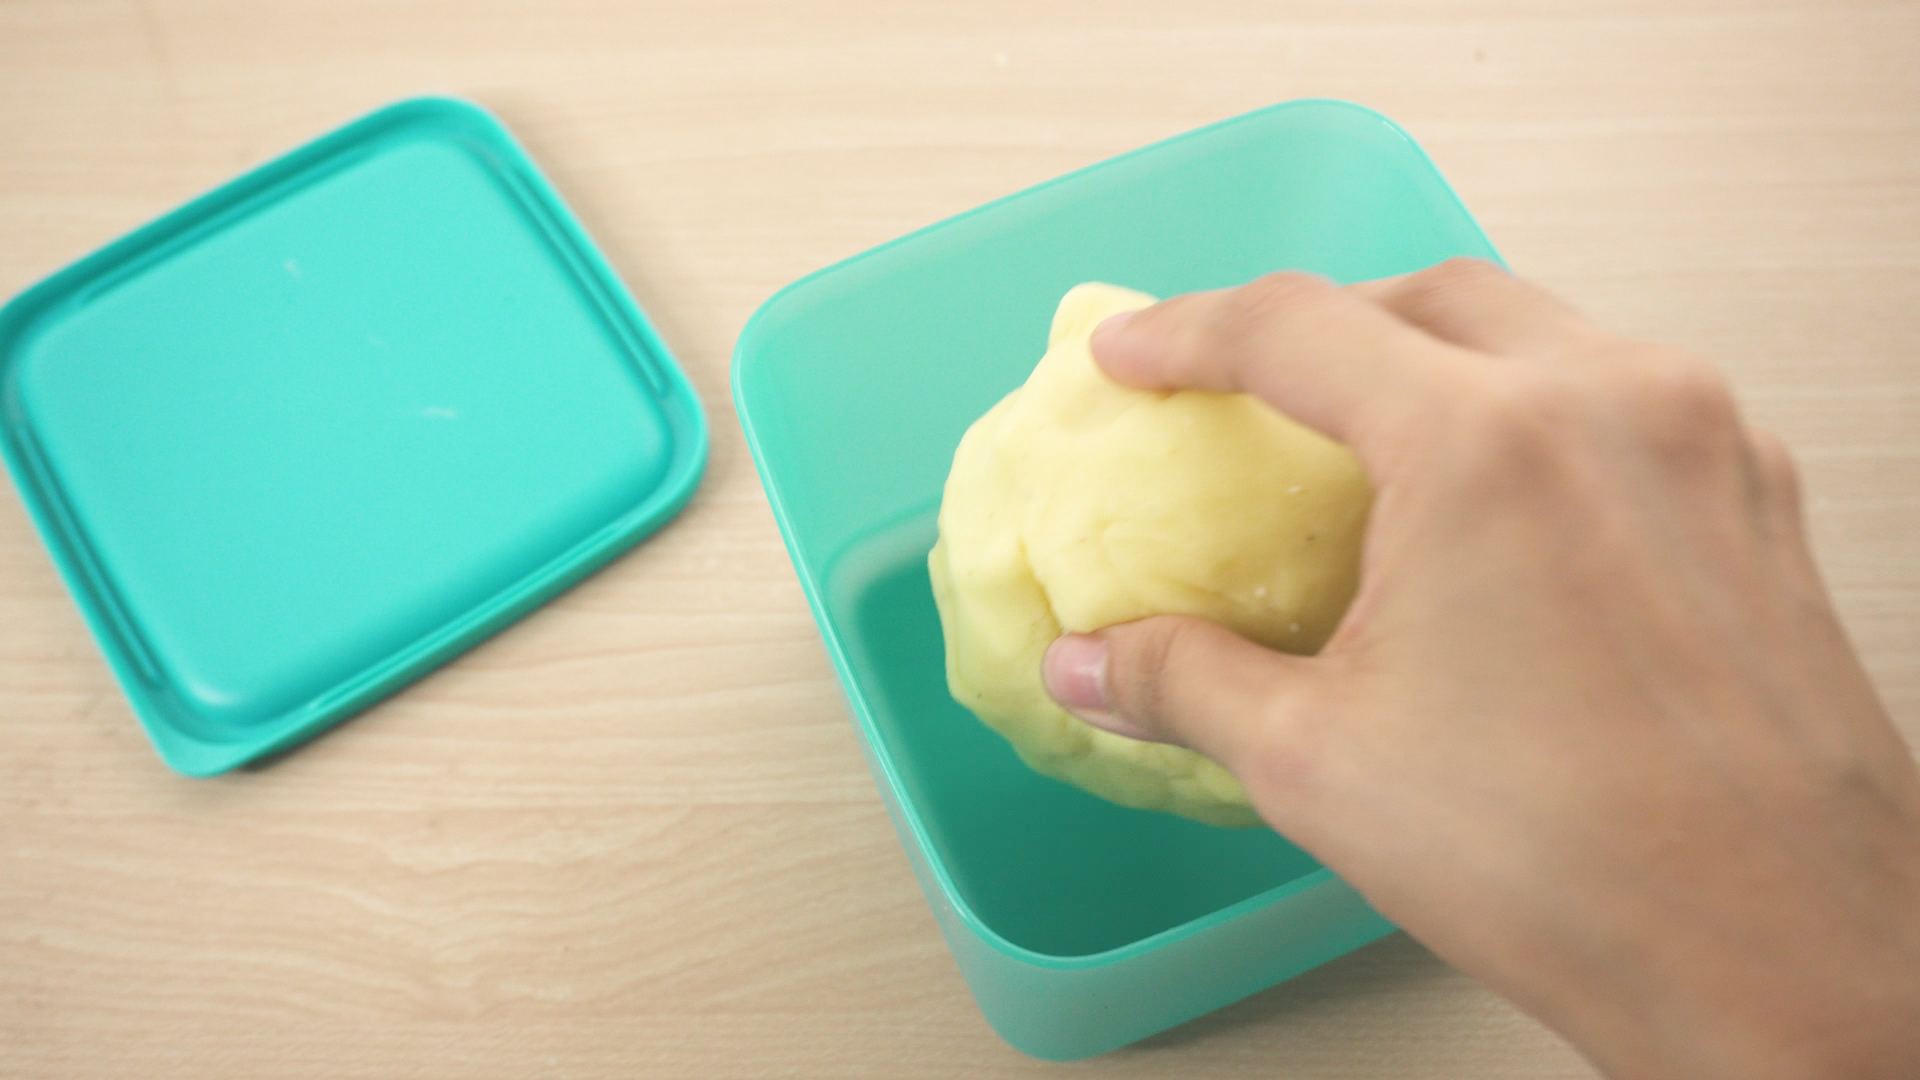
Step 14: Store the Play Dough Properly
Store homemade play dough in an airtight container or zip-top bag. Keep it at room temperature for short-term use or refrigerate it to help it last longer. If it develops an odd smell, visible mold, or a slimy texture, throw it away and make a fresh batch. Homemade play dough is easy to replace; mysterious science experiments are not part of the craft plan.
Cooked vs. No-Cook Play Dough: Which Is Better?
Cooked play dough usually wins for texture. It feels smoother, stretches better, and often lasts longer. The heat helps the flour, salt, and water bind together, creating a soft dough that is less grainy. If you are making play dough for repeated use, the cooked method is worth the extra few minutes.
No-cook play dough is best when you need something fast. It is also great for involving children in measuring, pouring, and mixing, as long as an adult handles hot water. The texture may be slightly less polished, but it still works beautifully for rolling, stamping, cutting, and pretend baking.
Best Substitutes for Cream of Tartar in Play Dough
The most common substitutes for cream of tartar in homemade play dough are lemon juice and white vinegar. Both add acidity, which helps improve the dough’s elasticity and softness. Lemon juice has a brighter scent, so many families prefer it. Vinegar is inexpensive and easy to find, but the smell may be noticeable until the dough cools and airs out.
You can also make play dough without any acidic ingredient, but the result may feel more like soft salt dough. It will still be fun, especially for short-term play. For the best no cream of tartar play dough, use lemon juice if you have it.
Safety Tips for Homemade Play Dough
Homemade play dough may use pantry ingredients, but it is not food. It contains a lot of salt, and eating large amounts can upset the stomach. Young children should always be supervised, especially those who still explore the world by tasting everything like tiny food critics.
Wash hands before and after play. Keep the dough away from pets, especially dogs, because salty dough can be dangerous for animals. If a child has wheat, gluten, dye, fragrance, or food allergies, choose ingredients carefully and consider a gluten-free or dye-free version. Also, avoid adding glitter or small decorations for very young children because they can create choking risks.
Fun Ways to Use No Cream of Tartar Play Dough
Make a Pretend Bakery
Give children cookie cutters, a rolling pin, and cupcake liners. They can make pretend cookies, pies, muffins, and pizza. This is excellent for imaginative play and fine motor development. Just remind everyone that the cookies are pretend, even if they look weirdly delicious.
Create Letter and Number Shapes
Roll the dough into ropes and shape letters, numbers, or simple words. This turns play dough into a hands-on learning activity for preschoolers and kindergarteners. It is especially helpful for children who learn better through movement and touch.
Build Tiny Animals
Children can make snakes, turtles, bears, birds, and dinosaurs. Add craft sticks or safe tools to press patterns into the dough. A fork can make scales, a straw can make circles, and a butter knife can create lines.
Practice Color Mixing
Make small balls of red, yellow, and blue dough, then let children combine them to discover orange, green, and purple. This creates a simple color theory lesson without needing a worksheet, which is always a win.
Troubleshooting Homemade Play Dough
Why Is My Play Dough Too Sticky?
Sticky play dough usually needs more flour or more kneading. Add flour slowly, one teaspoon at a time. If you dump in too much, the dough can become tough. Knead between each addition before deciding whether it needs more.
Why Is My Play Dough Grainy?
Grainy dough often comes from coarse salt that did not dissolve. Use fine table salt next time, or dissolve the salt in warm water before mixing. Cooking the dough can also reduce graininess.
Why Did My Play Dough Dry Out?
Play dough dries out when it is left uncovered or cooked too long. Store it in an airtight container immediately after play. To revive slightly dry dough, knead in a few drops of water or oil.
Why Does My Play Dough Smell Like Vinegar?
If you used vinegar, the scent may be noticeable at first. Let the dough cool uncovered for a few minutes, then knead it well. You can add a tiny drop of vanilla extract or a pinch of cinnamon to soften the smell.
How Long Does Homemade Play Dough Last?
Homemade play dough without cream of tartar can last several days to a couple of weeks depending on the recipe, storage, cleanliness, and humidity. Cooked dough stored in an airtight container usually lasts longer than no-cook dough. Always check the dough before play. If it smells strange, changes texture, or shows mold, toss it.
Experience Notes: What I Learned Making Play Dough without Cream of Tartar
The first thing I learned is that homemade play dough is forgiving, but not silent. It tells you what it needs. If it sticks to your fingers like it has separation anxiety, it needs more flour or more kneading. If it cracks like a dry sidewalk in July, it needs a little water or oil. If it feels gritty, the salt probably did not dissolve enough. Once you understand those signals, making play dough becomes less like following a recipe and more like adjusting a tiny craft project until it behaves.
Lemon juice gave me the best overall result. The dough felt softer and smelled cleaner than the vinegar version. Vinegar worked, but the scent lingered for a while, especially when the dough was warm. After cooling, it was much less noticeable. For families sensitive to smells, lemon juice is the friendlier option. If you have neither lemon juice nor vinegar, the dough still works, but it is less stretchy and more like a soft modeling dough.
The cooked method was also more reliable. No-cook play dough is convenient, but cooked play dough had a smoother texture and held together better during active play. When children rolled it into snakes, smashed it into pancakes, and cut it into pretend noodles, the cooked batch stayed soft without becoming sticky. The no-cook batch needed more flour during kneading and dried a bit faster.
Coloring is where things can get entertaining. Liquid food coloring works, but it may stain hands during mixing if you add it directly to the dough. Mixing the color into the water first is much cleaner. Gel coloring creates brighter shades, but a tiny amount goes a long way. One overly confident squeeze of blue gel turned a batch into something that looked like it belonged in a cartoon ocean. The children loved it. The countertop had questions.
Storage matters more than most people think. A batch left uncovered for even an hour can start drying around the edges. Airtight bags work well if you squeeze out extra air before sealing. Small containers are even better because they help the dough keep its shape and moisture. Refrigerating the dough can extend its life, but let it warm slightly before play so it becomes soft again.
My favorite part of making play dough without cream of tartar is how flexible the activity becomes. You can turn it into a science lesson by talking about liquids and solids. You can turn it into math by measuring flour and salt. You can turn it into literacy practice by forming letters. Or you can simply let kids squish it while you enjoy five peaceful minutes and a cup of coffee that is only mildly cold. That, frankly, is also educational.
The biggest lesson is this: do not chase perfection. Homemade play dough does not need to look like a store-bought tub to be useful. Children care far more about the squish, the color, and the freedom to create than whether the dough has professional-level elasticity. If it rolls, molds, presses, and makes them smile, it has done its job.
Conclusion
Learning how to make play dough without cream of tartar is simple, affordable, and surprisingly satisfying. With flour, salt, water, oil, and an optional splash of lemon juice or vinegar, you can create soft homemade play dough for sensory play, preschool learning, rainy-day crafts, and creative family time. The cooked method gives the smoothest texture, while the no-cook method is perfect when you need a quick activity. Either way, the recipe is flexible, easy to fix, and fun to customize with colors, scents, and themed play ideas.
Keep the dough sealed when not in use, supervise young children, and remember that homemade play dough is for hands, not mouths. Once you have made one batch, you will probably never panic over an empty play dough container again. You will simply walk to the pantry like a craft wizard and say, “I can make that.”