If a regular greeting card is nice, a pop up card is the version that walks in wearing jazz hands. It opens, something rises, and suddenly your sweet little note has drama, dimension, and a tiny bit of theatrical flair. The good news is that learning how to make a pop up card is much easier than it looks. You do not need a fancy machine, an art degree, or the patience of a saint. You just need paper, scissors, glue, and a willingness to fold carefully instead of like a raccoon in a hurry.
This guide walks you through a beginner-friendly pop up card that works for birthdays, holidays, thank-you notes, anniversaries, Valentine’s Day, Mother’s Day, Father’s Day, or any moment that deserves a little extra wow. Once you understand the basic mechanism, you can turn the same idea into a cake, heart, flower, gift box, balloon bouquet, starburst, or even a tiny dinosaur if that feels right for the occasion. No judgment here. Dinosaurs improve many situations.
Why Pop Up Cards Are So Popular
People love handmade cards because they feel personal, thoughtful, and impossible to replace with a last-minute text message and three emoji. A pop up card takes that feeling one step further. Instead of just reading your message, the recipient interacts with it. They open the card and get a small surprise, which makes the card feel more memorable and more gift-like.
That is also why pop up cards work well for so many occasions. A simple folded insert can become a birthday cake, a bouquet, a heart, a stack of books, or a row of candles. The structure stays mostly the same. Only the decorations change. That means once you learn the basic technique, you have a craft trick you can use again and again without starting from scratch every time.
Materials You Need
Before you start, gather your supplies. You probably already have most of them at home.
- 1 sheet of cardstock or thick construction paper for the card base
- 1 sheet of colored paper or cardstock for decorations
- Scissors
- Glue stick, craft glue, or double-sided tape
- Pencil
- Ruler
- Markers, pens, or colored pencils
- Optional: stickers, glitter, washi tape, ribbon, or small paper cutouts
If you want the card to feel sturdy and polished, cardstock is the best choice. If you are crafting with kids, construction paper works too, though it may bend more easily. In either case, lighter decorations usually perform better than chunky ones. A pop up card should open smoothly and close flat. If you glue half the craft drawer inside it, the card may refuse to cooperate like a grumpy folding chair.
Understand the Basic Pop Up Mechanism First
The easiest pop up card uses a simple folded tab inside the center crease. You make two short cuts along the folded edge, then push that section inward. When the card opens, the folded tab pops forward and creates a little platform. That platform is the secret. You can attach a cake, heart, flower, present, or message to it.
This is the best technique for beginners because it is quick, forgiving, and easy to customize. You are not building an engineering marvel. You are making a neat paper trick that looks impressive and still lets you keep your sanity.
How to Make a Pop Up Card: Easy Step-By-Step Instructions
Step 1: Fold the Card Base
Take your cardstock and fold it in half like a standard greeting card. Press the fold firmly so the crease is sharp. You can run the side of a ruler or your fingernail along the fold to make it neater. A clean fold matters more than people think. Crooked folds can throw off the whole design and make the card look slightly confused.
Step 2: Mark the Pop Up Tab
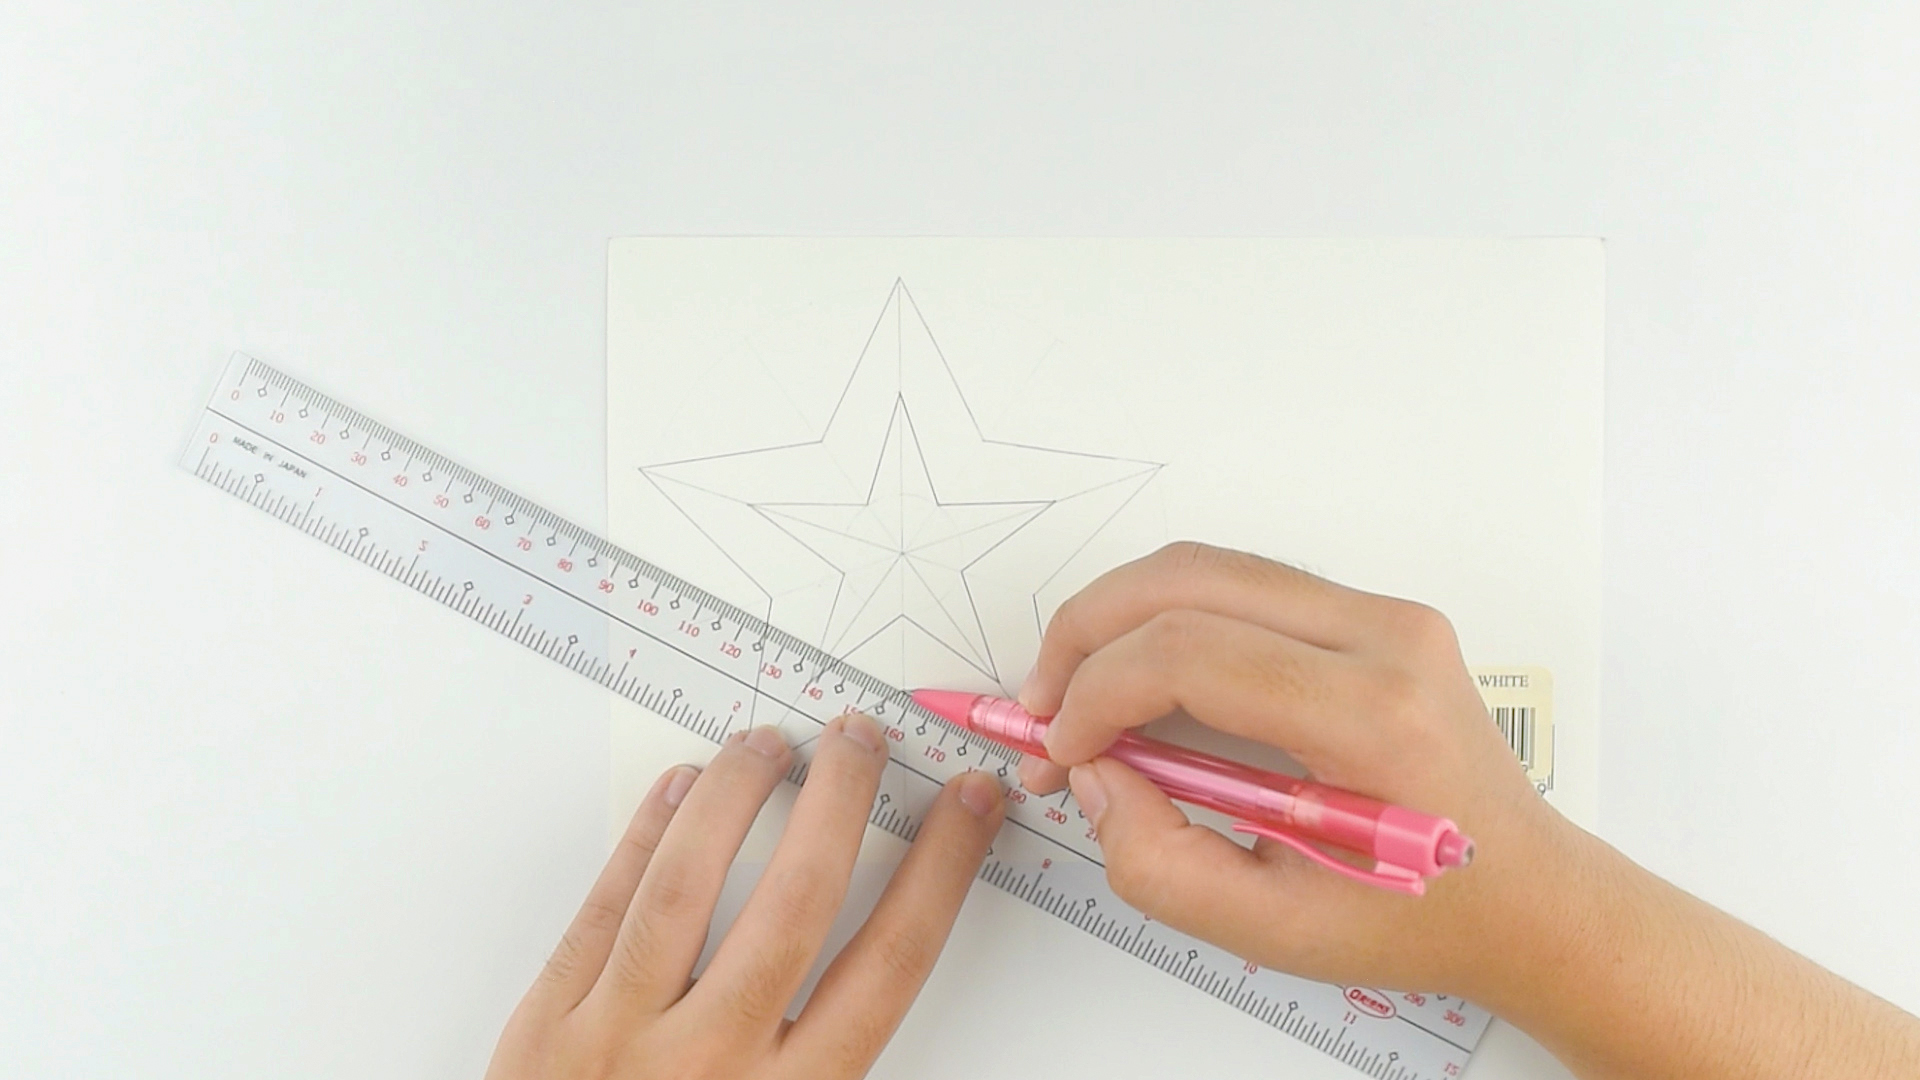
Keep the card folded. On the folded edge, use a pencil and ruler to mark two short parallel lines in the center of the fold. Each line should be about 1 inch long, with about 1 inch of space between them. Think of it as drawing a tiny doorway on the fold, except you are only marking the two side cuts.
You can make the tab larger or smaller depending on what you want to attach later. A bigger tab works for a birthday cake or layered flowers. A smaller tab works for hearts, stars, or a simple message.
Step 3: Cut the Two Lines
Use scissors to cut along the two pencil marks. Stop exactly at the end of each line. Do not cut the fold completely apart. You are creating two slits, not starting a paper rebellion.
Step 4: Push the Tab Inward
Open the card slightly and push the cut section inward so it folds in the opposite direction of the main card fold. Then close the card again and press the new folds flat. When you reopen the card, that little section should pop inward and form a step-like platform.
This is the moment where the magic starts. If the tab pops smoothly, congratulations, you have built the core mechanism. If it looks lopsided, refold the edges carefully and press them flat again.
Step 5: Cover the Inside with a Second Sheet
Cut a second piece of paper slightly smaller than the inside of the card. Fold it in half. Before gluing, line it up carefully over the inside so the pop up tab still moves freely. Glue only around the edges and on the flat areas. Do not glue the pop up tab shut unless your goal is to create the world’s saddest surprise card.
This layer hides the cuts and gives the inside a cleaner finish. It also makes your card look more professional, even if you made it while drinking coffee at the kitchen table in pajamas.
Step 6: Create Your Pop Up Decoration
Now the fun part begins. Cut out a shape from colored paper and glue it to the front of the tab. Here are a few easy ideas:
- Birthday cake: Cut a cake shape with candles on top.
- Heart: Perfect for Valentine’s Day or anniversaries.
- Flower pot: Add paper flowers rising above the pot.
- Gift box: Great for birthdays and holidays.
- Balloon bunch: Draw strings beneath the balloons for a playful look.
- Star or cloud: Cute for baby cards, congratulations, or encouragement notes.
Make sure the decoration is not too tall or too wide for the card to close properly. Test it before the glue dries. A pop up unicorn with giant wings may be charming, but it can also turn your envelope into a wrestling match.
Step 7: Decorate the Background
Once your main shape is attached, decorate the rest of the inside. Add a message, draw confetti, create a sky, add presents on the floor, or sketch a little garden scene around the pop up feature. This is where a simple card becomes personal.
For example, if you made a birthday cake, draw confetti and write “Make a wish!” around it. If you made flowers, add leaves, a vase, or a sunny window scene. If you made a heart, write a note like “You still make my heart do backflips.” Slightly cheesy? Yes. Effective? Also yes.
Step 8: Design the Front of the Card
Do not ignore the outside. The front sets up the surprise inside. You can keep it simple with hand lettering, patterned paper, stickers, or a small teaser like “Open me” or “Tiny paper magic inside.”
A clean front cover often looks best. You do not need to use every marker color known to humankind. Pick two or three colors, repeat them inside, and the card will feel more polished.
Easy Pop Up Card Ideas for Different Occasions
Birthday Pop Up Card
Use a cake, candles, balloons, or gifts. Bright colors work well, and a layered cake shape is one of the easiest options for beginners.
Valentine’s Day Pop Up Card
Hearts, flowers, and love notes are perfect here. Red, pink, white, and gold make the design feel festive without much effort.
Mother’s Day or Father’s Day Card
Try a flower bouquet, necktie, trophy, grill, coffee mug, or simple “Best Mom” or “Best Dad” lettering on the pop up tab.
Thank-You Card
A starburst message that says “Thanks a bunch” or a cheerful flower arrangement works beautifully.
Holiday Card
Turn the pop up section into a Christmas tree, ornament, pumpkin, heart, or fireworks burst depending on the season.
Tips for Making Your Pop Up Card Look Better
- Measure first, cut second. Paper is very forgiving until it is not.
- Use light layers. Thin paper shapes pop better than heavy embellishments.
- Press every fold firmly. Crisp folds make the mechanism cleaner.
- Test the card often. Open and close it after each major step.
- Keep glue controlled. Too much glue causes wrinkles and accidental paper tragedies.
- Match the decoration to the tab size. Small tab, small shape. Big tab, bigger shape.
- Leave room for your message. A beautiful card with nowhere to write is like a cake with no fork.
Common Mistakes and How to Fix Them
The Card Will Not Close Flat
The decoration is probably too bulky, too tall, or glued in the wrong spot. Trim the shape slightly or reattach it lower on the tab.
The Pop Up Section Looks Crooked
Your cuts may be uneven or your folds may not be sharp. Refold carefully and press everything flat before trying again.
The Inside Looks Messy
Add a clean inside layer to cover cuts and glue marks. This one trick makes a huge difference.
The Decoration Falls Off
Use a stronger adhesive or allow the glue to dry fully before opening the card repeatedly like a proud inventor showing off a prototype.
How to Personalize a Pop Up Card
The basic card is only the beginning. Personal details are what make it meaningful. Add the recipient’s favorite colors, hobbies, foods, pets, sports, flowers, or inside jokes. For a reader, make a pop up book stack. For a gardener, create a bouquet. For a coffee lover, build a giant mug with steam curling behind it. For a child, use animals, stars, or cartoon-style shapes.
You can also add handwritten message prompts such as:
- “Hope your day pops with happiness.”
- “You deserve a little extra wow today.”
- “This card is dramatic, just like my love for you.”
- “Surprise! Paper has entered its three-dimensional era.”
Can Kids Make a Pop Up Card?
Absolutely. Kids can make pop up cards with supervision, especially if an adult helps with measuring and cutting. Younger children can decorate a pre-made tab, while older kids can handle the full process. It is a great project for classrooms, rainy afternoons, holiday crafting, and homemade gifts.
If you are crafting with children, choose bigger shapes, shorter steps, and simple themes like hearts, balloons, flowers, or stars. Save the tiny layered architectural masterpiece for another day. Nobody needs that kind of pressure before snack time.
Experiences and Lessons Learned From Making Pop Up Cards
The first time I made a pop up card, I was wildly overconfident. I thought, “How hard can folding paper be?” Reader, the paper answered that question immediately. My cuts were uneven, the center tab leaned to one side, and the giant birthday cake I glued onto it was so large the card refused to close. It looked less like a celebration and more like the card had injured its back. That experience taught me the first great truth of pop up cards: simple is smart. Once I stopped trying to create a paper version of a Broadway stage set, everything got better.
After that, I started making cards for real occasions instead of just experimenting. A small flower pop up for Mother’s Day turned out sweet and elegant because I kept the design light. A birthday card with a layered cake worked beautifully once I made the cake shorter and used a clean background instead of decorating every inch. A thank-you card with a starburst message became one of my favorites because it proved that even a very basic mechanism can look special when the colors, lettering, and layout feel intentional.
One of the most useful lessons I learned was to test the card constantly. Open it. Close it. Open it again. If something catches, fix it right away. Waiting until the end usually means more frustration and more glue on your fingers than any person needs. I also learned that neat folds matter more than fancy decorations. People notice the surprise element first, but what makes the card feel polished is that it opens smoothly and sits correctly. Clean structure beats chaotic embellishment every single time.
I have also learned that pop up cards are surprisingly emotional. People do not just say “thanks” when they receive one. They open it twice. Then they smile. Then they show someone else. There is something about the movement that makes the card feel alive. Even adults who claim they are “not crafty” tend to appreciate the effort because they can tell it was made for them, not pulled from a shelf five minutes before dinner.
Over time, I started tailoring cards more carefully to the person receiving them. A pop up coffee mug for a caffeine-loving friend. A tiny flower pot for someone who loves gardening. A balloon bunch for a child who thought the opening mechanism was basically wizardry. Those details matter. The best pop up card is not always the most complicated one. It is the one that feels personal, clear, and joyful. That is the real secret: good paper, careful folds, and a design that says, “I made this with you in mind.” Once you get that part right, even a very simple card can feel unforgettable.
Final Thoughts
Learning how to make a pop up card is one of those satisfying DIY skills that looks impressive, feels thoughtful, and does not require a giant budget or a craft room with labeled drawers. Start with one folded tab, one simple shape, and one occasion that matters to you. After that, you can experiment with layers, themes, colors, and more advanced designs.
The best part is that a handmade pop up card feels special long after the moment passes. It is part decoration, part message, and part tiny paper performance. Not bad for a piece of folded cardstock and a little patience.