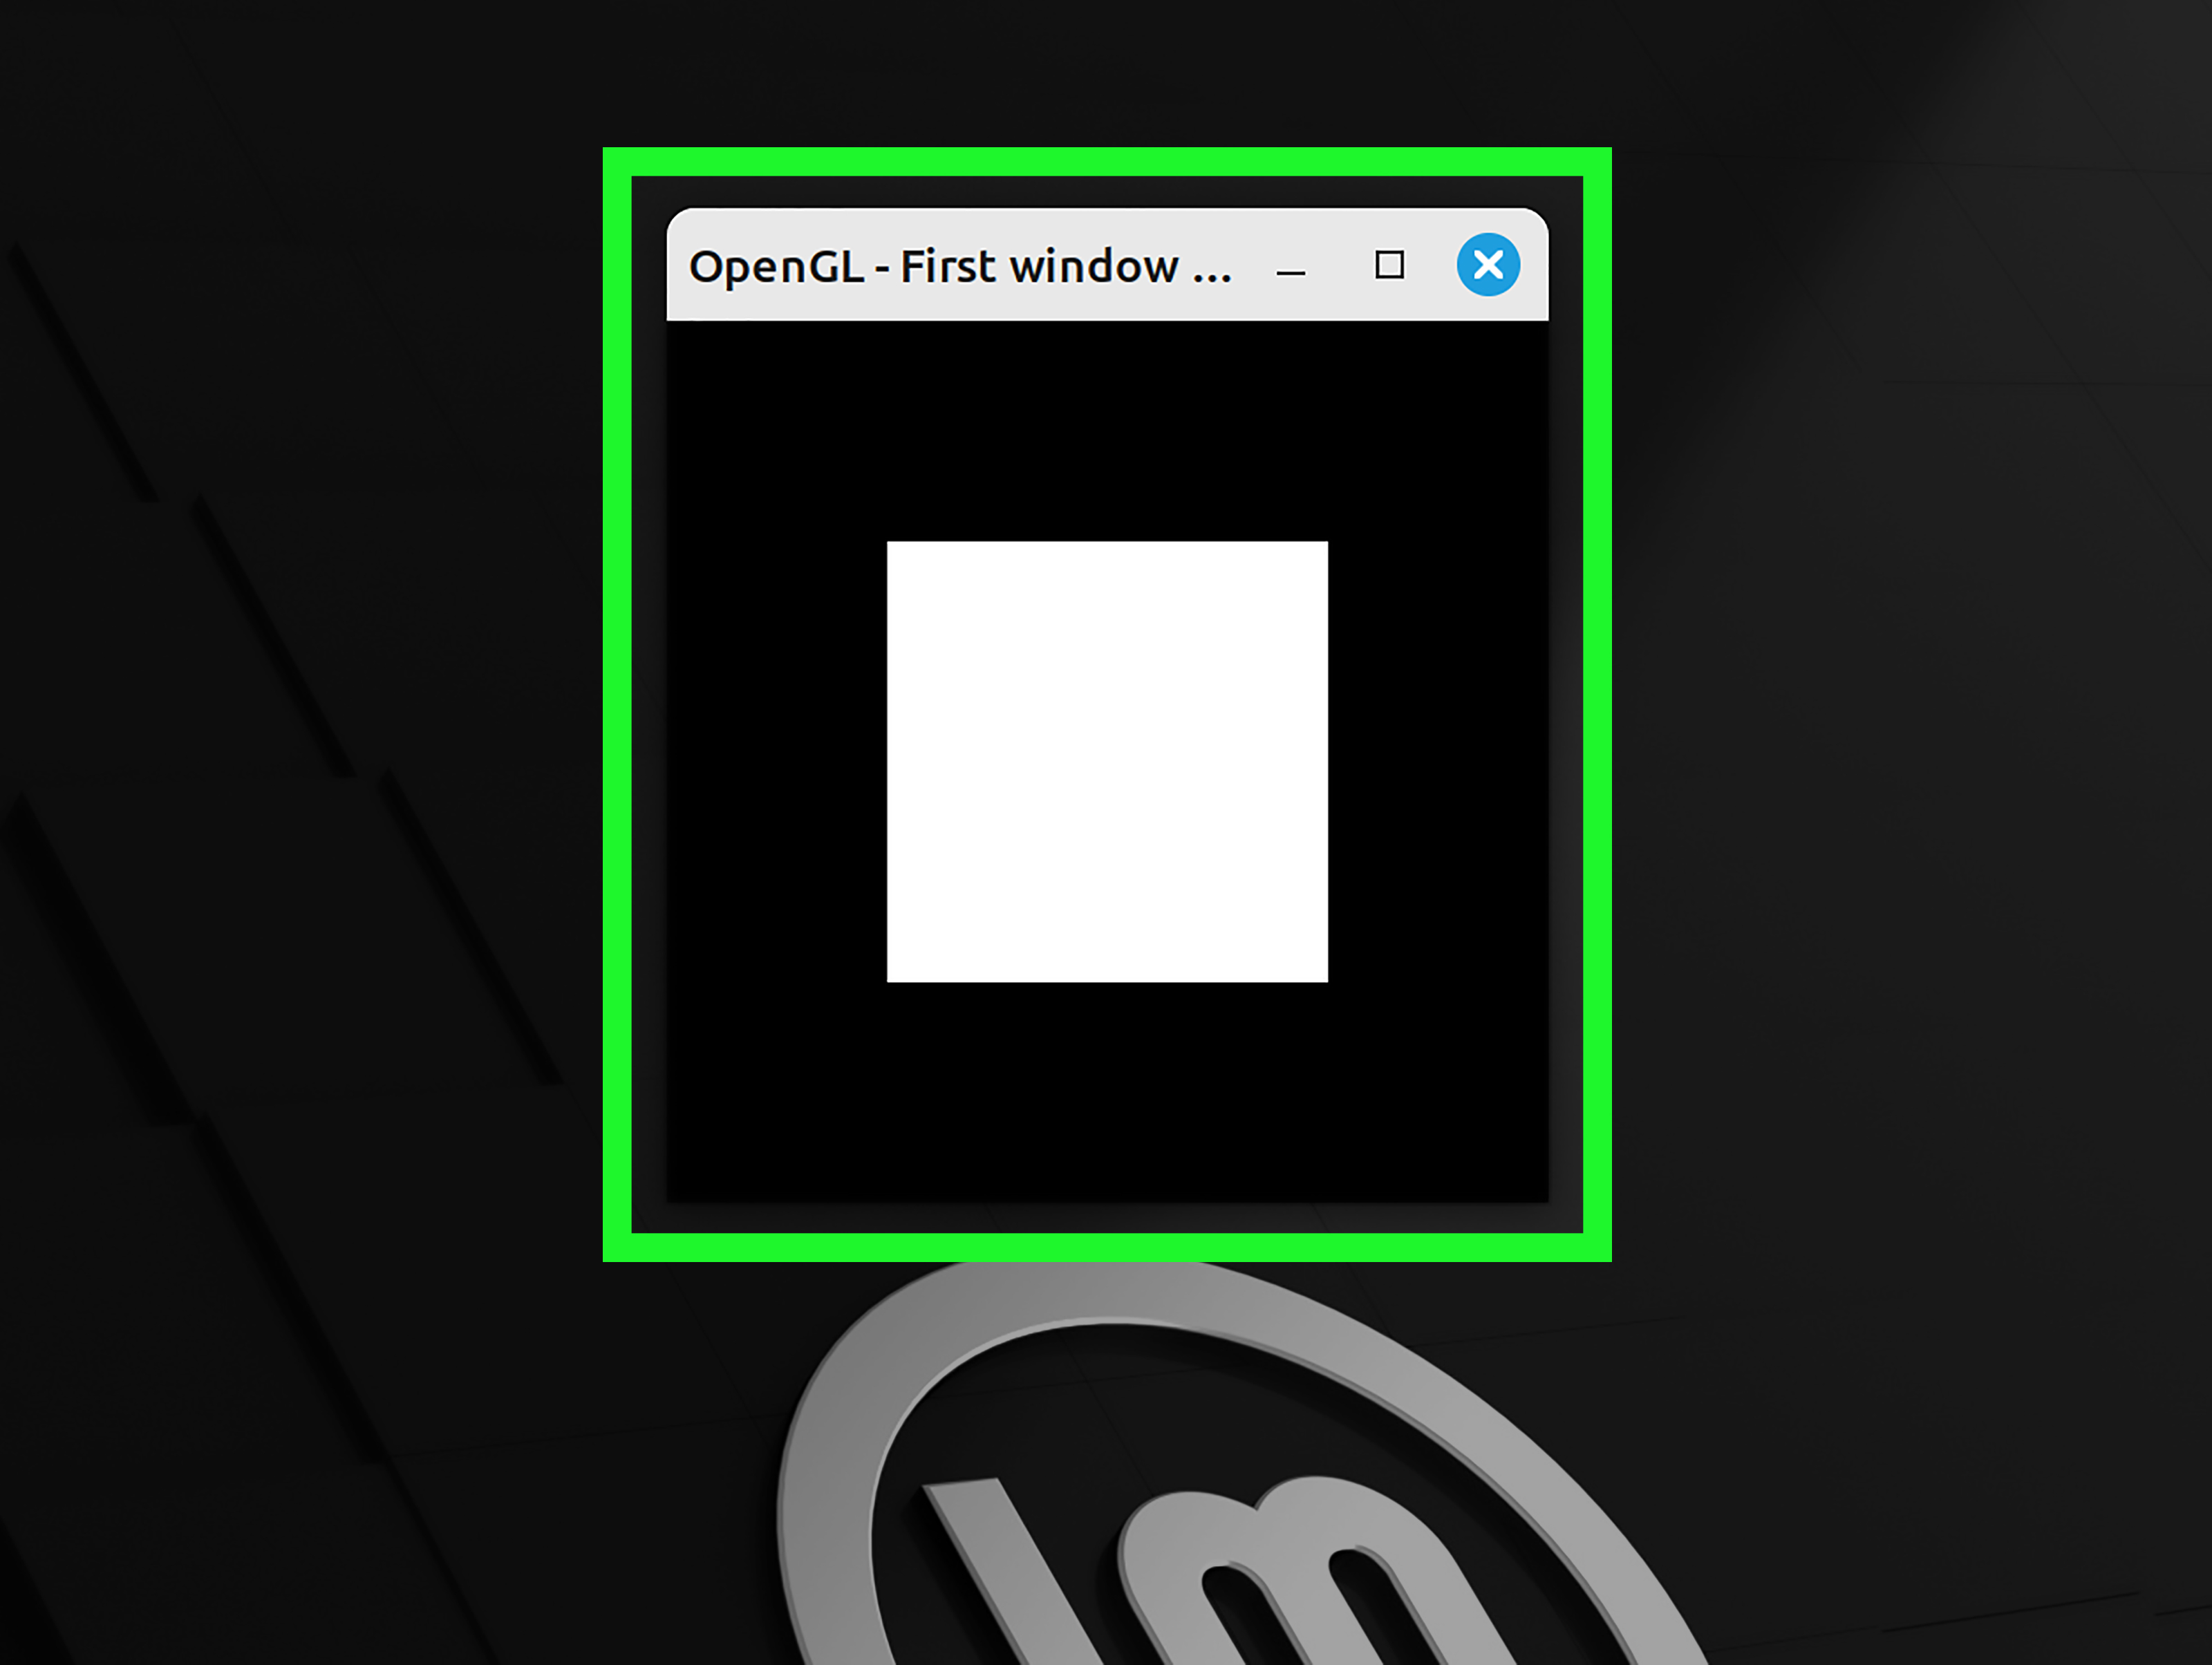
If you are trying to install Mesa on Linux Mint, welcome to one of the most common Linux graphics adventures: discovering that the thing you want to install is often already there, quietly doing its job like a stage crew dressed in black. Mesa is the open-source graphics stack that powers OpenGL on most Linux systems, especially on Intel and AMD hardware. On Linux Mint, that usually means your job is less “build a graphics engine from scratch” and more “update the right packages, install the testing tools, and verify that OpenGL is actually working.”
This guide walks you through the safe, practical way to install Mesa on Linux Mint step by step. It covers what Mesa does, how to install or refresh the correct packages, how to verify your OpenGL setup, when NVIDIA changes the rules of the game, and what to do when old tutorials try to send you into package-management archaeology. In plain English: fewer surprises, fewer broken desktops, more pixels doing what they are told.
What Is Mesa on Linux Mint?
Mesa is the open-source implementation of several graphics APIs on Linux, including OpenGL. On Linux Mint, Mesa is the normal graphics path for most Intel and AMD systems. It works together with the kernel, your display server, and the rest of the graphics stack to render everything from desktop animations to games and 3D apps.
That is why many people searching for “how to install Mesa on Linux Mint” are really trying to do one of four things:
- Install missing OpenGL components.
- Refresh corrupted or incomplete Mesa packages.
- Install the tools needed to verify OpenGL support.
- Upgrade or troubleshoot graphics behavior after an update.
There is one important catch: Mesa is not usually a single magical package called mesa that you install and then high-five your monitor. On modern Ubuntu-based systems like Linux Mint, the useful pieces are split into packages such as libgl1-mesa-dri for OpenGL drivers and mesa-utils for tools like glxinfo.
Before You Start
Before making any graphics-related changes, do two quick checks. First, confirm whether your system uses Intel, AMD, or NVIDIA graphics. Second, make sure your package manager is in a healthy mood and not halfway through another update. Graphics packages are not the place for chaos, and Linux has a long memory when it comes to broken dependencies.
You can identify your Mint version and graphics hardware with the following commands:
If lspci is missing, install pciutils first or use Linux Mint’s built-in system information tools. The goal here is simple: know your hardware before you start changing the graphics stack like a chef seasoning soup without tasting it.
Step 1: Update Your Package Lists
Start with the classic and reliable first move:
This refreshes package information from your configured repositories. If your system has pending updates, it is a smart idea to apply them before troubleshooting Mesa. Keeping the system current reduces the chance of mismatched graphics libraries and old dependencies hanging around like unwanted party guests.
If you want to bring the whole system up to date first, run:
If a new kernel gets installed, plan for a reboot later. Graphics stacks and kernels like to cooperate, and they are much friendlier when they are from the same chapter of the story.
Step 2: Install the Core Mesa OpenGL Packages
For a standard Linux Mint desktop using Intel or AMD graphics, the most practical Mesa-related installation command is:
Here is what those packages do:
libgl1-mesa-driprovides the Mesa DRI modules used for OpenGL rendering.mesa-utilsinstalls useful testing tools such asglxinfoandglxgears.
On many Linux Mint systems, part of this is already installed. That is normal. APT will either confirm the packages are present or install anything missing. Either outcome is fine. Linux is not judging you. At least not out loud.
If you suspect the packages are present but behaving badly, you can reinstall them:
Step 3: Reboot or Log Out and Back In
After installing or reinstalling Mesa components, rebooting is the cleanest option:
Could you get away with only logging out and back in? Sometimes, yes. Should you do that when graphics libraries just changed? Only if you enjoy mystery bugs and emotionally complicated desktops. Rebooting makes sure your session reloads the updated graphics stack properly.
Step 4: Verify That OpenGL Is Working
Now comes the part where you make the computer prove it is not bluffing. Use glxinfo to check the active OpenGL implementation:
This command works best from a running desktop session, not from a bare text console. The output should show an OpenGL version string and, on a healthy Mint desktop, should reflect your active graphics driver stack.
If you only care about a quick yes-or-no answer, glxinfo -B is the friendly summary version. It is like asking for the trailer instead of the full director’s cut.
If glxinfo Says “Command Not Found”
That means the verification tools are missing, not necessarily Mesa itself. Install them with:
Then run the verification commands again.
If You Are Working Over SSH or Headless
If there is no active desktop session, glxinfo is not the best test. Instead, check the installed Mesa package directly:
This shows the installed version and the candidate version available from your repositories. It is not as flashy, but it is dependable.
Step 5: Know When NVIDIA Changes the Story
If your Linux Mint machine uses NVIDIA graphics, do not assume the Intel/AMD Mesa workflow applies exactly the same way. Linux Mint’s official guidance for NVIDIA is to use Driver Manager, choose the recommended NVIDIA driver, and reboot. In other words, do not try to force a generic Mesa-only solution onto a system that really wants the proprietary NVIDIA path.
On Linux Mint, the practical steps are:
- Open Driver Manager.
- Let Mint detect available NVIDIA drivers.
- Select the recommended driver.
- Apply changes and reboot.
This does not make Mesa irrelevant. Mesa utilities like glxinfo are still useful for checking the OpenGL environment. But if your main problem is “my NVIDIA system has bad performance or weird rendering,” the solution is usually proper driver selection, not random package swapping at 1:00 a.m. after reading a forum post from 2017.
Old Tutorials to Ignore
One of the easiest ways to get confused is following an outdated guide that tells you to install libgl1-mesa-glx as though it is the main event. On Ubuntu 22.04-era repositories, that package is only a transitional dummy package. Translation: it is not the star of the show anymore. It is basically a cardboard cutout still standing in the hallway because nobody has removed it yet.
If you are on a modern Linux Mint release, focus on packages that still matter for real OpenGL use, especially libgl1-mesa-dri and mesa-utils.
Optional: Install Vulkan Support Too
Your article title is about Mesa and OpenGL, but many Linux Mint users also care about gaming or modern graphics APIs. If you are on AMD or Intel graphics and want the Mesa Vulkan package too, you can install:
This is optional for an OpenGL-focused setup, but it is useful for games, compatibility layers, and newer Linux graphics workloads. Think of it as ordering fries with the burger. Not required, but often appreciated.
Advanced Option: Build Mesa From Source
Most Linux Mint users should not compile Mesa from source. The repository version is easier to maintain, easier to remove, and much less likely to turn your weekend into a troubleshooting documentary.
That said, developers and testers sometimes need to build Mesa manually. The official Mesa build workflow uses Meson. At a very high level, the process looks like this:
This route is meant for advanced users who understand build dependencies, library paths, and rollback plans. If that does not sound like your idea of fun, stay with Mint’s packages. There is no shame in using the route designed for human beings.
Common Mesa Problems on Linux Mint
1. OpenGL Still Looks Broken After Installation
Reboot first. Seriously. Then re-run glxinfo -B. If the problem continues, check whether you are mixing drivers, especially on NVIDIA hardware.
2. The System Updated, but Performance Got Worse
That can happen when new kernels and newer graphics libraries land together. Mint itself notes that newer drivers improve compatibility most of the time, but regressions can happen. If the issue began after a major update, compare recent system changes before blaming Mesa alone.
3. A Tutorial Tells You to Add Weird Repositories Immediately
Slow down. For most users, Mint’s normal repositories are the right place to start. Third-party graphics repositories are for specific needs, not for routine OpenGL installation.
4. The Command Succeeds, but Nothing Seems Different
That may simply mean Mesa was already installed. Congratulations: you fixed a working system and learned something useful. Linux education is sometimes just fancy confirmation.
Real-World Examples
Example 1: Older Intel laptop. A user installs Linux Mint on an aging ultrabook and worries that OpenGL is missing because a game launcher complains about graphics support. Installing mesa-utils and checking glxinfo reveals that Mesa was already present; the real issue was a missing utility, not a missing driver stack.
Example 2: AMD desktop after fresh install. A fresh Mint setup already includes the Mesa OpenGL stack, but the user wants to verify everything before installing Steam. Running sudo apt install libgl1-mesa-dri mesa-utils confirms the packages are current, and glxinfo -B shows OpenGL working normally.
Example 3: NVIDIA gaming rig. The owner tries generic Mesa commands and sees little improvement. The better fix is using Mint’s Driver Manager to install the recommended proprietary NVIDIA driver, then rebooting and verifying the graphics stack again.
Experience Section: What Installing Mesa on Linux Mint Usually Feels Like in Real Life
In real-world Linux Mint use, installing Mesa is rarely a dramatic “download this giant graphics engine and watch the sparks fly” moment. It is usually subtler than that. A lot of people start because a game refuses to launch, Blender complains, a launcher wants OpenGL, or a forum thread says “just install Mesa” with the confidence of a wizard handing out side quests. Then they open a terminal, run a few commands, and discover the twist: Linux Mint often already had Mesa installed the whole time.
That experience is surprisingly common. The actual missing piece is often mesa-utils, because users need glxinfo to verify what the system is doing. Once they install the tools, the confusion clears up fast. Instead of wondering whether OpenGL exists at all, they can finally see version information, renderer data, and whether the desktop session is using the expected graphics path.
Another very typical experience happens on older hardware. Someone revives an aging Intel or AMD laptop with Linux Mint because Windows felt heavy, dramatic, and slightly offended by the laptop’s age. Mint runs great, but the user still wants to confirm that graphics acceleration is working. In these cases, the Mesa install process feels refreshingly boring in the best way: update packages, install utilities, reboot, verify, done. No treasure map, no registry edits, no reboot roulette with seven screens of regret.
Then there is the NVIDIA crowd, where the experience can be a little more theatrical. Users often assume Mesa should fix everything because Mesa is the graphics word they keep seeing online. But on Mint with NVIDIA hardware, the experience usually improves when they stop chasing generic package advice and instead use Driver Manager exactly as Mint intends. Once they choose the recommended proprietary driver and reboot, performance and stability often make a lot more sense. It is less “install Mesa harder” and more “use the right driver for the right GPU.”
One more pattern shows up with people following old tutorials. They copy commands involving packages that sounded important years ago, then hit dead ends because package names changed or became transitional. That is when Linux Mint users learn one of the most useful lessons in Linux administration: a tutorial can be technically correct, historically interesting, and still completely wrong for your current release. Mesa installation on Mint is much easier when you stick to current package names and verify what the system actually needs instead of blindly collecting commands like trading cards.
Overall, the experience of installing Mesa on Linux Mint is usually positive once expectations are realistic. It is less about “building graphics support from nothing” and more about making sure the right libraries, utilities, and drivers are in place. When users approach it that way, the process becomes calm, logical, and very manageable. And honestly, on Linux, calm and logical is the closest thing we get to a standing ovation.
Final Thoughts
If you want the shortest honest summary, here it is: on Linux Mint, Mesa is often already part of the system, especially on Intel and AMD graphics. The practical installation path is to update your package lists, install libgl1-mesa-dri and mesa-utils, reboot, and verify with glxinfo. If you use NVIDIA, Driver Manager is usually the smarter route for the main driver setup.
Once you understand that Mesa on Linux Mint is mostly about installing the right packages and verifying the active OpenGL stack, the process gets much less mysterious. No smoke, no mirrors, no ritual chanting over apt. Just a cleaner graphics setup and a happier Linux desktop.