If your old window is drafty, gloomy, or looks like it has personally lost an argument with every storm since 1998, a glass block window can be a smart upgrade. These windows are popular for basements, bathrooms, garages, and utility spaces because they bring in light while still giving you privacy, durability, and a little extra peace of mind. In other words, they let sunshine in while telling nosy neighbors to mind their business.
The trick is that installing glass block windows is not exactly the same as dropping in a standard replacement unit. A glass block panel is heavier, stiffer, and less forgiving than a typical sash window. That means you need a clean opening, careful shimming, proper support, and the right sealing system. Rush the job, and the window may end up crooked, leaky, or looking like it was installed during a family argument.
This guide breaks the process into 15 clear steps in standard American English, with real-world advice for both masonry openings and wood-framed openings. The exact materials may vary by manufacturer, so always follow the instructions that come with your specific glass block panel. Think of this article as your practical game plan, not a permission slip to freestyle with mortar and hope.
Why Homeowners Choose Glass Block Windows
Before we get into the installation, it helps to know why these windows are worth the trouble. Glass block windows can improve privacy without sacrificing daylight. They are also popular for lower-level spaces because they can feel more secure than thin single-pane basement windows. Many styles are available with wave, diamond, frosted, or patterned surfaces, and some units include small vent sections if you want airflow without opening the whole wall to bugs, rain, and neighborhood drama.
Another bonus is maintenance. Once installed correctly, a glass block window has fewer moving parts than a traditional operable window. Less fuss, less rattling, less “Why is this thing stuck again?” energy.
Tools and Materials You May Need
- Tape measure
- Level
- Pry bar and putty knife
- Utility knife
- Hammer or drill/driver
- Wood or composite shims
- Gloves and eye protection
- Glass block panel or preassembled glass block window
- Mortar or manufacturer-approved mortarless installation kit
- Panel anchors, spacers, or reinforcement if required
- Low-expansion foam if approved for the surrounding gap
- Exterior-grade sealant or 100% silicone
- Caulk gun
- Sponge, bucket, and clean rags
How to Install Glass Block Windows in 15 Steps
-
Step 1: Confirm That the Opening Is a Good Candidate
Start by figuring out what kind of opening you have. Is the new glass block window going into a masonry basement opening, an existing wood frame, or a brand-new framed wall? That matters because the installation method changes. Masonry openings often rely on mortar at the perimeter, while wood-framed openings may use shims, anchors, and a carefully sealed perimeter. If the wall is crumbling, rotted, or out of shape, fix the structure first. A shiny new glass block panel cannot solve old framing sins.
-
Step 2: Measure the Opening Carefully
Measure width and height in several places, not just once and not just where it flatters you. Openings are often wider at one end or slightly out of square. Record the smallest measurements and compare them to the actual size requirements for your window unit. In general, you want enough clearance for shims and sealant, not a jam-it-in-with-a-prayer fit. If you are ordering a custom panel, double-check everything before clicking “buy now.”
-
Step 3: Choose the Right Glass Block Window Style
Select a panel that matches the space and the job. A basement may need privacy and security first, while a bathroom may prioritize light diffusion and style. Decide whether you want a vented or non-vented unit, a frameless look or a framed insert, and a mortar or mortarless system. This is also the moment to think about code, especially if the window is tied to ventilation or emergency egress requirements. A beautiful window that fails inspection is still a problem wearing nice shoes.
-
Step 4: Remove the Old Window or Sash
Take out the existing sash, glass, hardware, or old panel carefully. In some wood-frame replacements, the existing outer frame can remain if it is sound and square. In other cases, especially with damaged vinyl or rotten wood, the entire frame should come out. Work slowly so you do not enlarge the opening by accident. Demolition is fun right up until you realize you have demoed one inch too far.
-
Step 5: Clean the Opening Down to Solid Material
Scrape away loose paint, old caulk, crumbling mortar, dust, and debris. The new unit needs a clean, stable surface. If you leave behind chunks of old sealant or flaky masonry, the window may rock, sit unevenly, or fail to seal properly. Vacuum the opening, wipe it down, and inspect the sill and jamb areas for rot, cracks, or movement. Fix what is broken now, because once the glass block panel goes in, nobody wants to remove it just to address a problem you could have handled on day one.
-
Step 6: Check for Level, Plumb, and Square
This step separates satisfying installs from headache installs. Use a level to check the sill and both sides. Measure diagonally from corner to corner to see whether the opening is square. If the opening is out of level or twisted, correct it before setting the window. A glass block panel is not a yoga instructor. It will not bend gracefully into bad geometry.
-
Step 7: Dry-Fit the Panel Before You Commit
Place the window into the opening without mortar or final sealant to confirm the fit. This dry-fit tells you whether the panel sits centered, whether the sill support is right, and where shims should go. It is much easier to make adjustments now than when the unit is halfway seated and your gloves are covered in mortar or silicone. Look for consistent perimeter gaps and make sure the panel is not being forced against one edge.
-
Step 8: Plan Shim Placement Carefully
Set bottom shims first so the window is properly supported. Then plan side and top shims as needed to keep the panel centered and snug. Try not to place shims directly under delicate joint lines if your unit design makes that avoidable. The goal is firm support without concentrating stress in one unlucky spot. Use enough shims to stabilize the unit, but do not turn the opening into a wood-chip lasagna.
-
Step 9: Prepare the Sill for Drainage and Support
The sill should be stable and should not trap water against the new installation. In framed wall openings, that may mean flashing, a sill pan approach, or a slightly positive slope to the exterior depending on the surrounding construction. In masonry settings, it means avoiding a low spot where water can collect and work against the seal. Water always finds the weak point, and it has way too much free time.
-
Step 10: Apply the Base Material for Your Installation System
If you are using a mortar installation in masonry, apply the base bed according to the mortar instructions and keep it even. If you are using a mortarless system, install the base spacers or components exactly as the kit specifies. Do not invent your own hybrid system because it “seems close enough.” Glass block manufacturers offer specific systems for a reason, and random creativity is not always your friend when gravity gets involved.
-
Step 11: Set the Glass Block Window in Place
With help if needed, lift the panel into the opening and set it onto the prepared base. These units can be awkward and heavier than they look, so this is not the moment to prove you were once almost athletic in middle school. Center the window, check the reveal around the perimeter, and keep it upright while you make adjustments. A second set of hands can turn this step from stressful to civilized.
-
Step 12: Shim, Adjust, and Recheck Everything
Add or tweak shims until the unit is level, plumb, and centered. Check it from side to side, top to bottom, and visually from a step back. The window should look intentional, not mildly confused. Make sure the panel feels secure without being over-tightened by aggressive shimming. A snug fit is good. A forced fit is how small mistakes grow into large regrets.
-
Step 13: Anchor or Reinforce the Panel as Required
This is where the installation becomes permanent. Mortar systems may require panel anchors, reinforcement, spacers, or expansion materials. Mortarless systems may use vertical and horizontal spacers plus silicone bonding and accessory anchors. Follow the manufacturer’s sequence exactly. The anchoring method is not decorative. It is what keeps the finished window stable when weather, pressure, and time start doing what they do.
-
Step 14: Fill and Seal the Perimeter Correctly
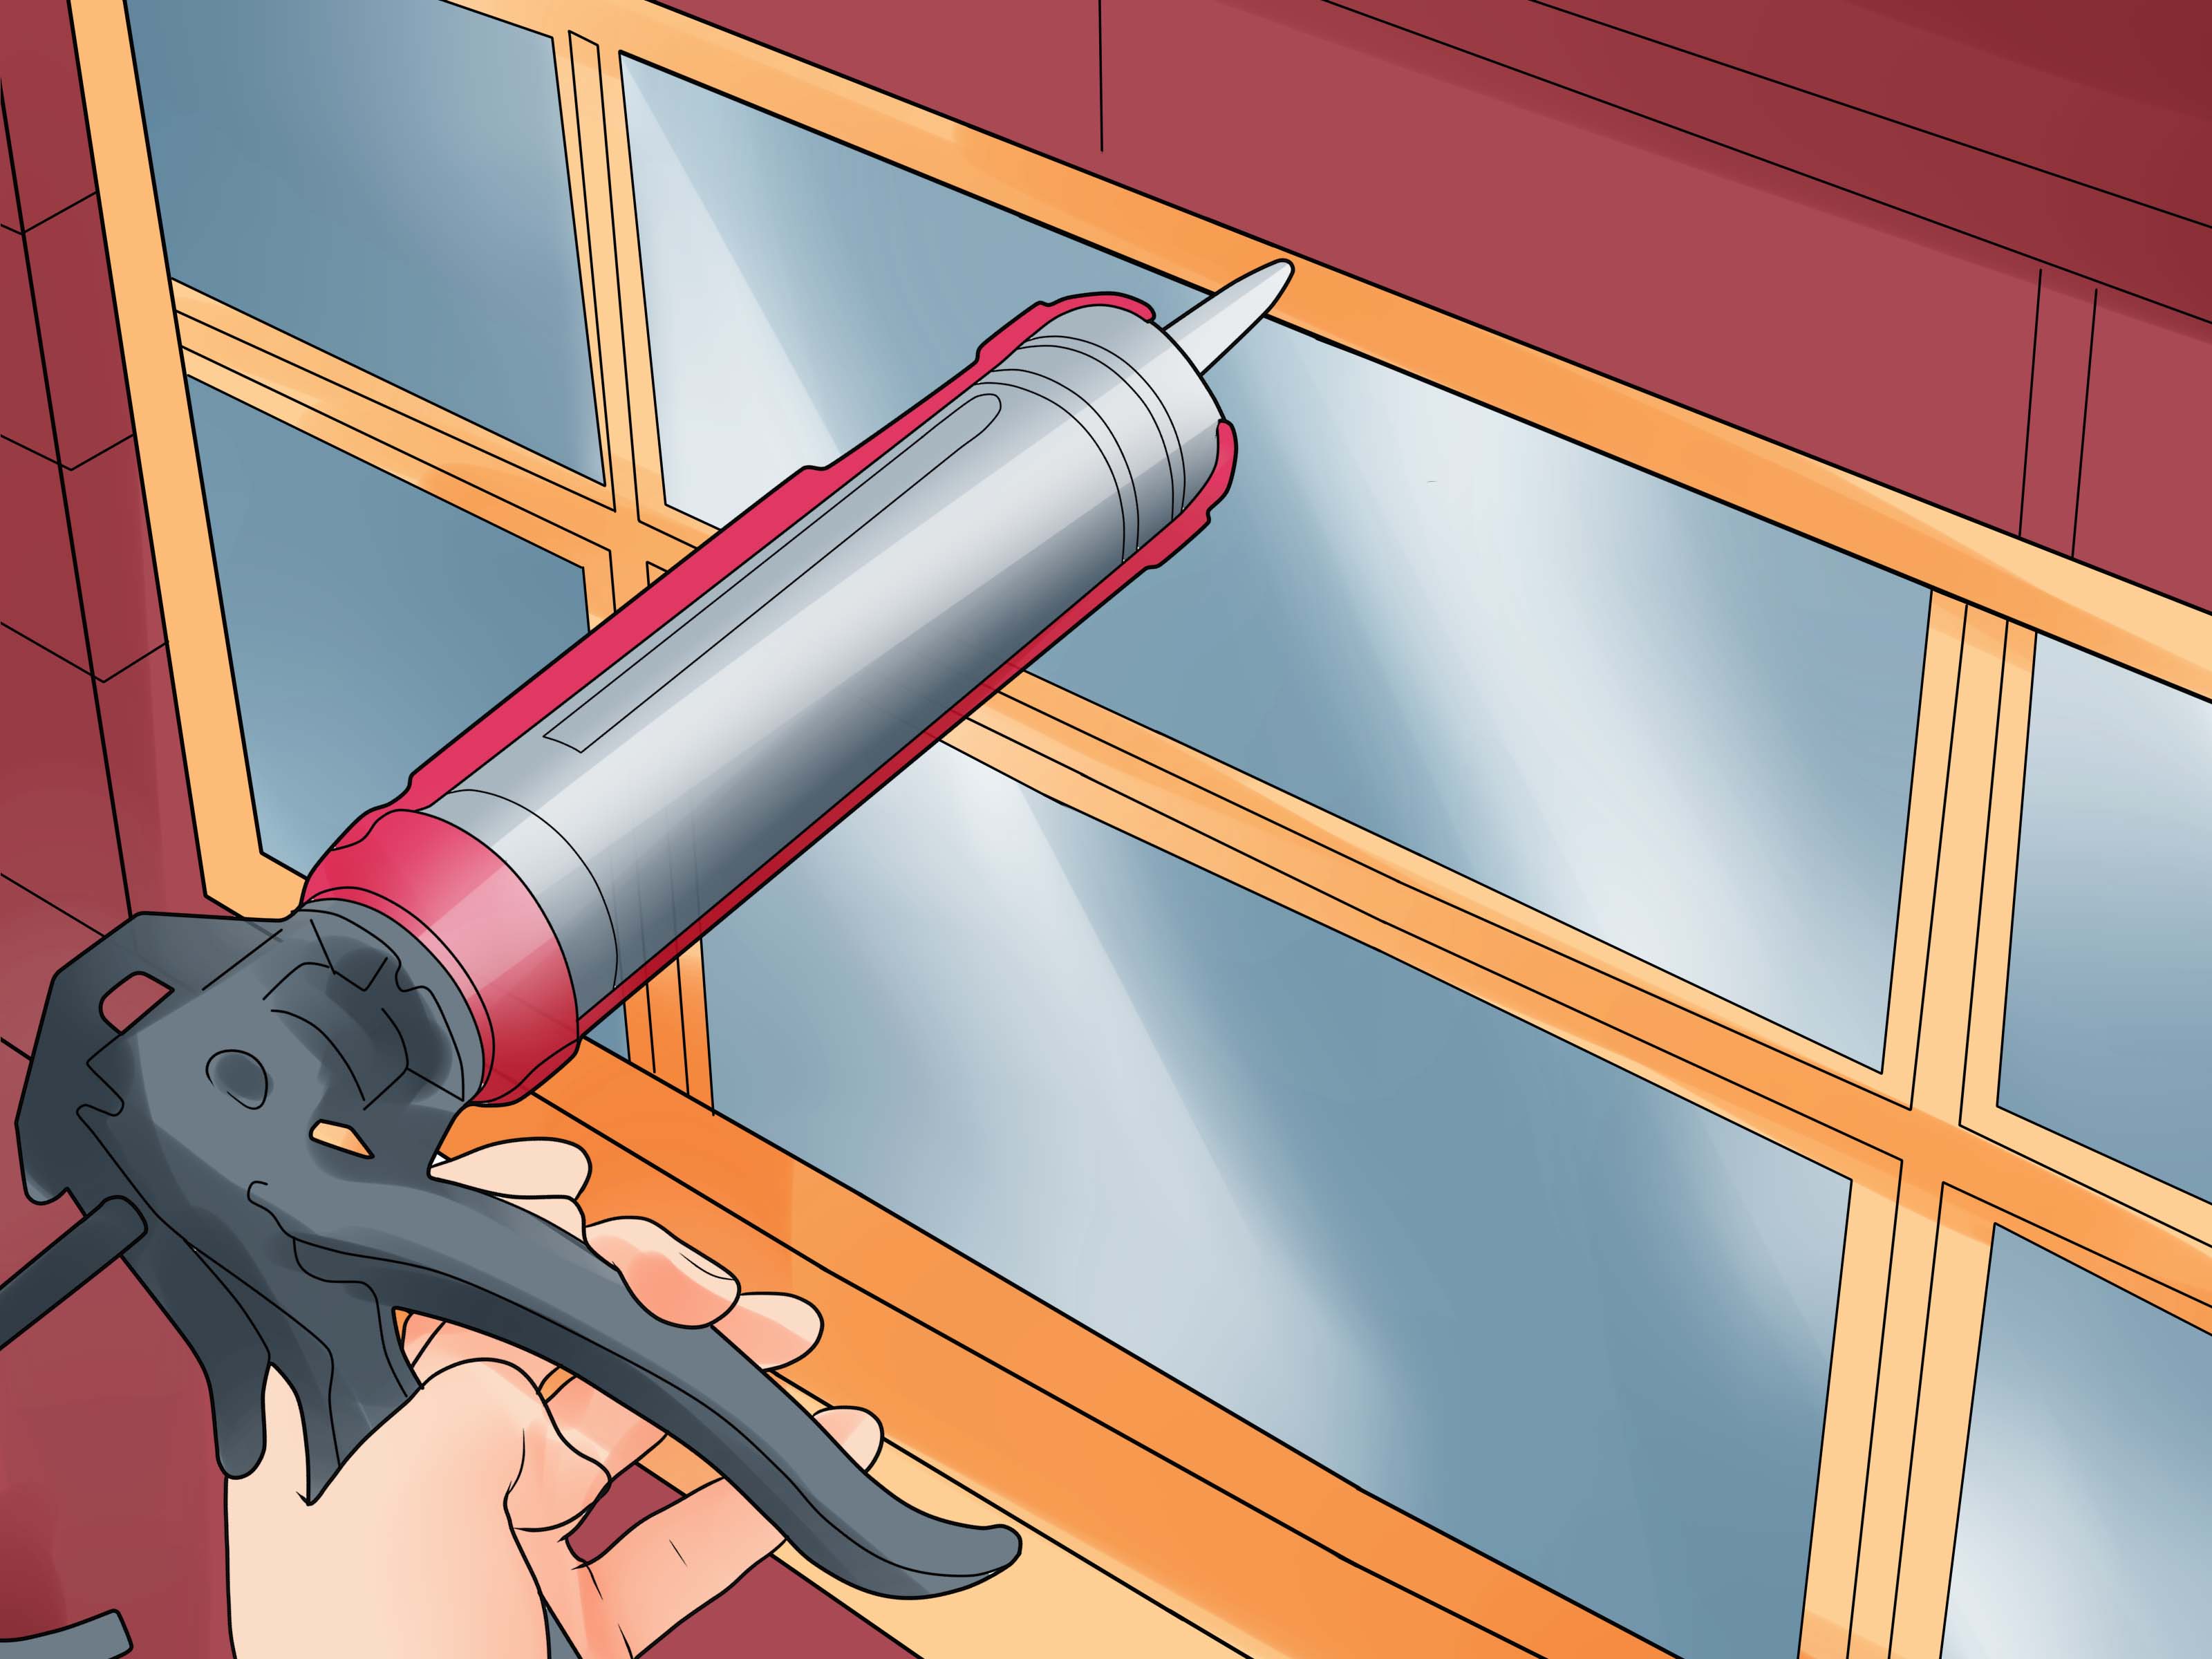
Complete the perimeter using the materials approved for your setup. In some cases, that means finishing with mortar at the masonry edge. In others, it may include approved perimeter insulation and an exterior-grade sealant. If low-expansion foam is allowed around part of the opening, use it sparingly and only as a gap filler, not as a structural miracle product. Foam is helpful. Foam is not a substitute for proper support, alignment, or anchoring.
-
Step 15: Tool the Joints, Clean the Glass, and Let It Cure
Tool the sealant or mortar neatly, clean any smears off the glass block surfaces, and give the installation the cure time it needs before stressing it. Check the exterior for gaps, confirm the inside looks even, and inspect the vent if your unit has one. Do a final cleanup so the finished window looks crisp and intentional. Then step back and admire your work like the responsible adult in a home-improvement commercial, even if your actual soundtrack is a shop vacuum and somebody asking what’s for dinner.
Common Mistakes to Avoid
The most common installation mistakes are surprisingly ordinary. People mismeasure. They trust a crooked opening. They skip the dry-fit. They overpack the perimeter with foam, force the panel into place, or use whatever caulk happens to be in the garage. Another classic mistake is ignoring the manufacturer’s system and mixing parts from different products like a home-improvement version of guess-the-password.
A better approach is simple: match the window to the opening, match the materials to the system, and make every adjustment before the final anchoring and sealing. Slow is smooth, and smooth is a lot cheaper than removing a brand-new glass block window because it leans like it has strong opinions.
Is This a DIY Project or a Pro Job?
Many homeowners can handle a straightforward replacement in an existing opening, especially with a preassembled glass block panel and a manufacturer-approved installation kit. But if the wall is damaged, the opening needs resizing, the surrounding structure is questionable, or code issues are involved, hiring a pro is the smart play. There is no shame in calling for help when masonry, framing, weatherproofing, and heavy glass all show up to the same party.
Real-World Lessons and Experiences From Installing Glass Block Windows
In real projects, the biggest surprise is usually not the glass block itself. It is the opening. Homeowners often assume the hard part will be lifting the panel, but experienced installers know the real challenge is getting the opening clean, square, and ready. Many old basement windows have hidden problems: crumbly mortar, out-of-level sills, patched wood, or years of layered caulk that could qualify as an archaeological site. Once the old unit comes out, the job becomes less about “installing a window” and more about correcting everything the previous seventy years did badly.
Another common experience is underestimating how helpful a dry-fit can be. People who skip it often end up wrestling the panel while trying to find a shim, reach for the level, and stop the window from drifting to one side. People who dry-fit first usually look much calmer. Their tools are arranged. Their shim locations are planned. Their chances of shouting “Why is it doing that?” drop dramatically.
One of the best lessons from real installs is that glass block windows reward patience. A standard replacement window may forgive a small error. Glass block usually will not. If the base support is wrong, the whole panel tells on you. If the shims are uneven, the reveal looks off. If the perimeter is not sealed cleanly, the finished job can look sloppy even when the window itself is beautiful. That is why experienced DIYers spend more time checking than rushing. The glamorous part of this project is not speed. It is accuracy.
There is also the “weight and awkwardness” factor. Plenty of people begin the project thinking, “I can lift that.” Then they actually lift it, rotate it, try not to bump the opening, and suddenly develop a deep appreciation for having a helper nearby. Even smaller glass block units can feel bulky because they are rigid and not easy to maneuver in tight spaces. A second person is less about strength and more about control.
Another real-world takeaway is that finish quality matters more than people expect. A glass block window naturally stands out, especially in a basement or bathroom where the wall area around it is limited. If the caulk line is uneven, if the mortar is smeared, or if the panel sits slightly off-center, your eye goes right to it every single time. But when the perimeter is clean and the panel is centered, the result looks custom, polished, and surprisingly upscale for something that started with a pry bar and a bucket.
Finally, homeowners who install glass block windows often mention the same payoff once the project is done: the room feels brighter, more private, and more finished. Basements that felt dark suddenly feel intentional. Bathrooms gain light without sacrificing privacy. Garages look cleaner. It is one of those upgrades that is practical first but ends up improving the whole mood of the space. Not bad for a project built on careful measuring, good sealing, and resisting the urge to say, “Eh, that looks close enough.”
Conclusion
Installing glass block windows is one of those home projects that rewards careful prep more than heroic improvisation. If you measure accurately, correct the opening, support the panel properly, and use the right installation system, the end result can be durable, attractive, and impressively low-maintenance. Whether you are upgrading a tired basement window or adding privacy to a bathroom, the 15 steps above give you a practical roadmap to get it done neatly and confidently.