Installing an overhead garage door sounds simple until the first 80-pound panel starts acting like it has opinions. The good news? With the right preparation, accurate measuring, proper hardware, and a healthy respect for safety, homeowners can understand the process and handle parts of the installation confidently. The better news? You do not have to become a garage-door superhero in one weekend. In fact, the smartest DIYers know where to stop and call a trained garage door technicianespecially when springs, cables, and counterbalance systems enter the chat.
This guide explains how to install an overhead garage door in a practical, homeowner-friendly way. You will learn how to measure the opening, prepare the garage, assemble door sections, install tracks, check alignment, test operation, and avoid the most common mistakes. The goal is not just to hang a door that looks good from the driveway. The goal is to install a garage door that opens smoothly, seals properly, protects your home, and does not sound like a marching band falling down the stairs.
What Is an Overhead Garage Door?
An overhead garage door is usually a sectional door made of horizontal panels that roll upward on tracks and rest overhead when open. Most modern residential garage doors are made from steel, aluminum, wood, composite, fiberglass, or insulated sandwich-style panels. They may operate manually or with an automatic garage door opener.
The main parts include door sections, hinges, rollers, vertical tracks, horizontal tracks, brackets, weatherstripping, lift cables, springs, and fasteners. The spring system is what helps balance the door’s weight. Without it, lifting a garage door would feel less like home improvement and more like auditioning for a strongman competition.
Before You Start: Safety Comes First
Garage doors are heavy, and their springs are under serious tension. That combination deserves respect. A falling panel, loose track, or mishandled spring can cause major damage or injury. If your project requires removing an old torsion spring, adjusting spring tension, replacing lift cables, or installing a complex counterbalance system, hire a trained garage door professional.
DIY-friendly work usually includes measuring the opening, preparing framing, assembling door sections, installing hinges and rollers, positioning tracks, adding weatherstripping, and checking basic alignment. Spring installation and tensioning should follow the exact manufacturer instructions and, in many cases, should be left to a qualified technician.
Basic Safety Gear
- Safety glasses
- Work gloves
- Sturdy shoes
- A stable ladder
- Locking pliers or clamps for securing sections
- A helper for lifting and positioning panels
Never work alone when lifting garage door sections. Even a single insulated panel can be awkward, heavy, and surprisingly determined to pinch your fingers.
Tools and Materials You May Need
Your exact tool list depends on the garage door model, but most installations require common hand tools and careful layout work.
Common Tools
- Tape measure
- Level
- Drill and driver bits
- Socket set or wrench set
- Hammer
- Screwdrivers
- Step ladder
- Clamps or locking pliers
- Pencil or marker
- Saw, if framing adjustments are needed
Common Materials
- Overhead garage door kit
- Manufacturer-supplied hinges and brackets
- Rollers
- Vertical and horizontal tracks
- Rear track hangers
- Weatherstripping
- Lag screws and approved fasteners
- Garage door opener reinforcement bracket, if using an opener
Always use the fasteners provided or approved by the manufacturer. Random screws from the coffee can in the garage may be heroic in spirit, but they are not a substitute for structural hardware.
Step 1: Measure the Garage Door Opening
Accurate measurement is the foundation of a successful overhead garage door installation. Measure the width of the opening from side to side, then measure the height from the floor to the top of the opening. Next, measure the side room on both left and right sides. This is the space between the edge of the opening and the nearest wall or obstruction.
You also need to measure the headroom, which is the space between the top of the opening and the ceiling or lowest obstruction. Finally, measure the backroom, which is the distance from the garage door opening back into the garage. Sectional overhead doors need enough backroom for the horizontal tracks and door panels to move overhead.
If your garage has pipes, storage racks, lighting, beams, or a low ceiling, check clearance carefully. A beautiful new garage door is less impressive if it crashes into a bicycle rack every morning.
Step 2: Inspect the Framing and Opening
The garage door tracks and spring supports must attach to strong, secure framing. Inspect the jambs on both sides of the opening. They should be straight, solid, and firmly attached to the structure. Check the header above the opening as well. If the wood is cracked, rotten, loose, or poorly anchored, repair it before installing the door.
The floor should be reasonably level. If the concrete slopes or has a dip, the bottom seal may not contact evenly. Small gaps can often be solved with a good bottom weather seal, but large floor problems may need repair or a custom seal solution.
Step 3: Read the Manufacturer’s Manual
This is the step everyone wants to skip, which is exactly why it matters. Garage door models vary. Hardware placement, bracket orientation, roller location, track spacing, reinforcement requirements, and spring systems can differ from one product line to another.
Before installing anything, lay out the parts and compare them with the parts list. Make sure all sections, hinges, rollers, tracks, brackets, fasteners, weather seals, and reinforcement pieces are included. If something is missing, do not improvise with mystery hardware. Contact the retailer or manufacturer.
Step 4: Prepare the Work Area
Clear the garage floor near the opening. Move vehicles, bicycles, tools, storage bins, and anything fragile. You need enough room to lay panels flat, move ladders, and position tracks. Good lighting is also important, especially when aligning brackets and checking fasteners.
If replacing an existing garage door, do not remove spring tension yourself unless you are trained and equipped to do so. Removing old door sections is usually straightforward only after the spring system has been safely released by a professional. Once the old system is removed, inspect the opening again before installing the new door.
Step 5: Install the Bottom Weather Seal
Many overhead garage doors include a rubber or vinyl bottom seal. This slides into a channel on the bottom panel or attaches according to the manufacturer’s instructions. The seal helps block drafts, rain, dust, leaves, and the occasional ambitious bug.
Make sure the seal is centered and fully seated. Trim excess material neatly at the ends. If the floor is uneven, choose a flexible seal that can compress enough to close small gaps.
Step 6: Set the Bottom Door Section
Place the bottom section in the opening. Use a level to check that it sits straight. If needed, use shims under the low side until the section is level. This first panel sets the tone for the entire installation. If it is crooked, every section above it will try to join the rebellion.
Attach the bottom brackets, hinges, and rollers according to the manual. Bottom brackets connect to the lift cables and are part of the counterbalance system, so follow the instructions precisely. If your model requires special bottom fixtures, do not substitute parts.
Step 7: Install Hinges and Rollers on Each Section
Lay out the next door sections and attach hinges where marked. Many garage door sections are labeled by position: bottom, intermediate, lock, and top. The hinges often have numbers that correspond to their location. Using the wrong hinge in the wrong place can cause poor spacing, noisy travel, or track problems.
Insert rollers into the hinges as directed. Do not force the rollers. They should rotate freely. If a roller binds before the door is even installed, it will not magically become smoother later.
Step 8: Stack the Door Sections
With a helper, lift the second section and place it on top of the bottom section. Align the ends carefully. Fasten the hinges from the lower section to the upper section. Continue stacking each panel, checking alignment as you go.
Use clamps or locking pliers on the track area, when appropriate, to keep sections from moving unexpectedly. Keep fingers away from section joints. Garage door panels are excellent at pinching, and they do not apologize.
Step 9: Install the Vertical Tracks
Position the vertical tracks along the sides of the door opening. The rollers should sit inside the tracks with enough room to move freely, but not so much space that the door wobbles. Attach the tracks loosely at first so you can make adjustments.
Use a level to confirm that each track is plumb. Check that the distance between the tracks is consistent. Tighten the fasteners only after the tracks are properly aligned. Track alignment affects everything: smooth operation, noise level, seal performance, and opener strain.
Step 10: Install the Horizontal Tracks
Connect the curved track sections to the vertical tracks, then attach the horizontal tracks. These tracks guide the door overhead when it opens. The horizontal tracks should be level or slightly angled according to the manufacturer’s instructions.
Install rear track hangers from the ceiling framing. These supports must be strong and secure because they help carry the weight and movement of the door. Do not attach hangers to drywall alone. Fasten them to ceiling joists, blocking, or other structural members.
Step 11: Check Door Movement Before Spring Work
Once the sections and tracks are installed, carefully move the door a short distance by hand only if it is safe and supported. The rollers should travel smoothly in the tracks without rubbing, jumping, or binding. If the door catches, stop and check track spacing, hinge placement, and roller alignment.
At this stage, the door may be extremely heavy because the spring system is not yet helping lift it. Do not attempt to fully operate an unbalanced door. This is where many DIY projects should pause for professional spring installation and final balancing.
Step 12: Handle Springs and Counterbalance Systems Safely
The counterbalance system is what allows a heavy overhead garage door to feel manageable. Residential doors usually use torsion springs mounted above the opening or extension springs mounted along the horizontal tracks. Both systems store energy. That stored energy is useful when properly installed and dangerous when handled casually.
Follow the manufacturer’s instructions exactly for your door model. If the instructions involve winding torsion springs, adjusting spring tension, replacing cables, or securing bottom brackets under load, hire a trained garage door technician. This is not the place for guesswork, internet bravado, or “I saw a guy do it once” confidence.
If your door uses extension springs, make sure a safety containment cable is installed through each spring where required. This helps contain the spring if it breaks. If you are unsure whether your system is properly contained, schedule a safety inspection.
Step 13: Install Reinforcement for a Garage Door Opener
If you plan to connect an automatic garage door opener, check whether the top section requires reinforcement. Many modern doors need an opener reinforcement bracket so the opener arm does not pull directly on a thin panel. Without reinforcement, the opener can bend or crack the top section over time.
Also remove or disable manual locking hardware when installing an opener, unless the manufacturer provides a compatible lock system. A powered opener fighting a locked door is a quick way to create expensive noises.
Step 14: Test the Door Balance
After the counterbalance system is installed by a qualified person or according to the approved manufacturer procedure, test the door manually. Disconnect the opener if one is attached. Lift the door halfway and carefully release it. A properly balanced door should stay in place or move only slightly.
If the door drops, rises quickly, feels too heavy, or refuses to stay put, the spring system may need adjustment. Do not keep using the door or opener until the balance issue is corrected. An unbalanced door makes the opener work harder and can shorten the life of rollers, hinges, springs, and tracks.
Step 15: Install Weatherstripping Around the Opening
Side and top weatherstripping help seal the perimeter of the garage door. Install the trim so the flexible flap touches the door lightly when closed. Do not press it so tightly that it drags hard against the door. A good seal blocks wind and water without turning every opening cycle into a wrestling match.
Check the bottom seal again after the door is fully balanced. If light shows under the door, adjust the seal or address floor unevenness.
Step 16: Install and Test the Garage Door Opener
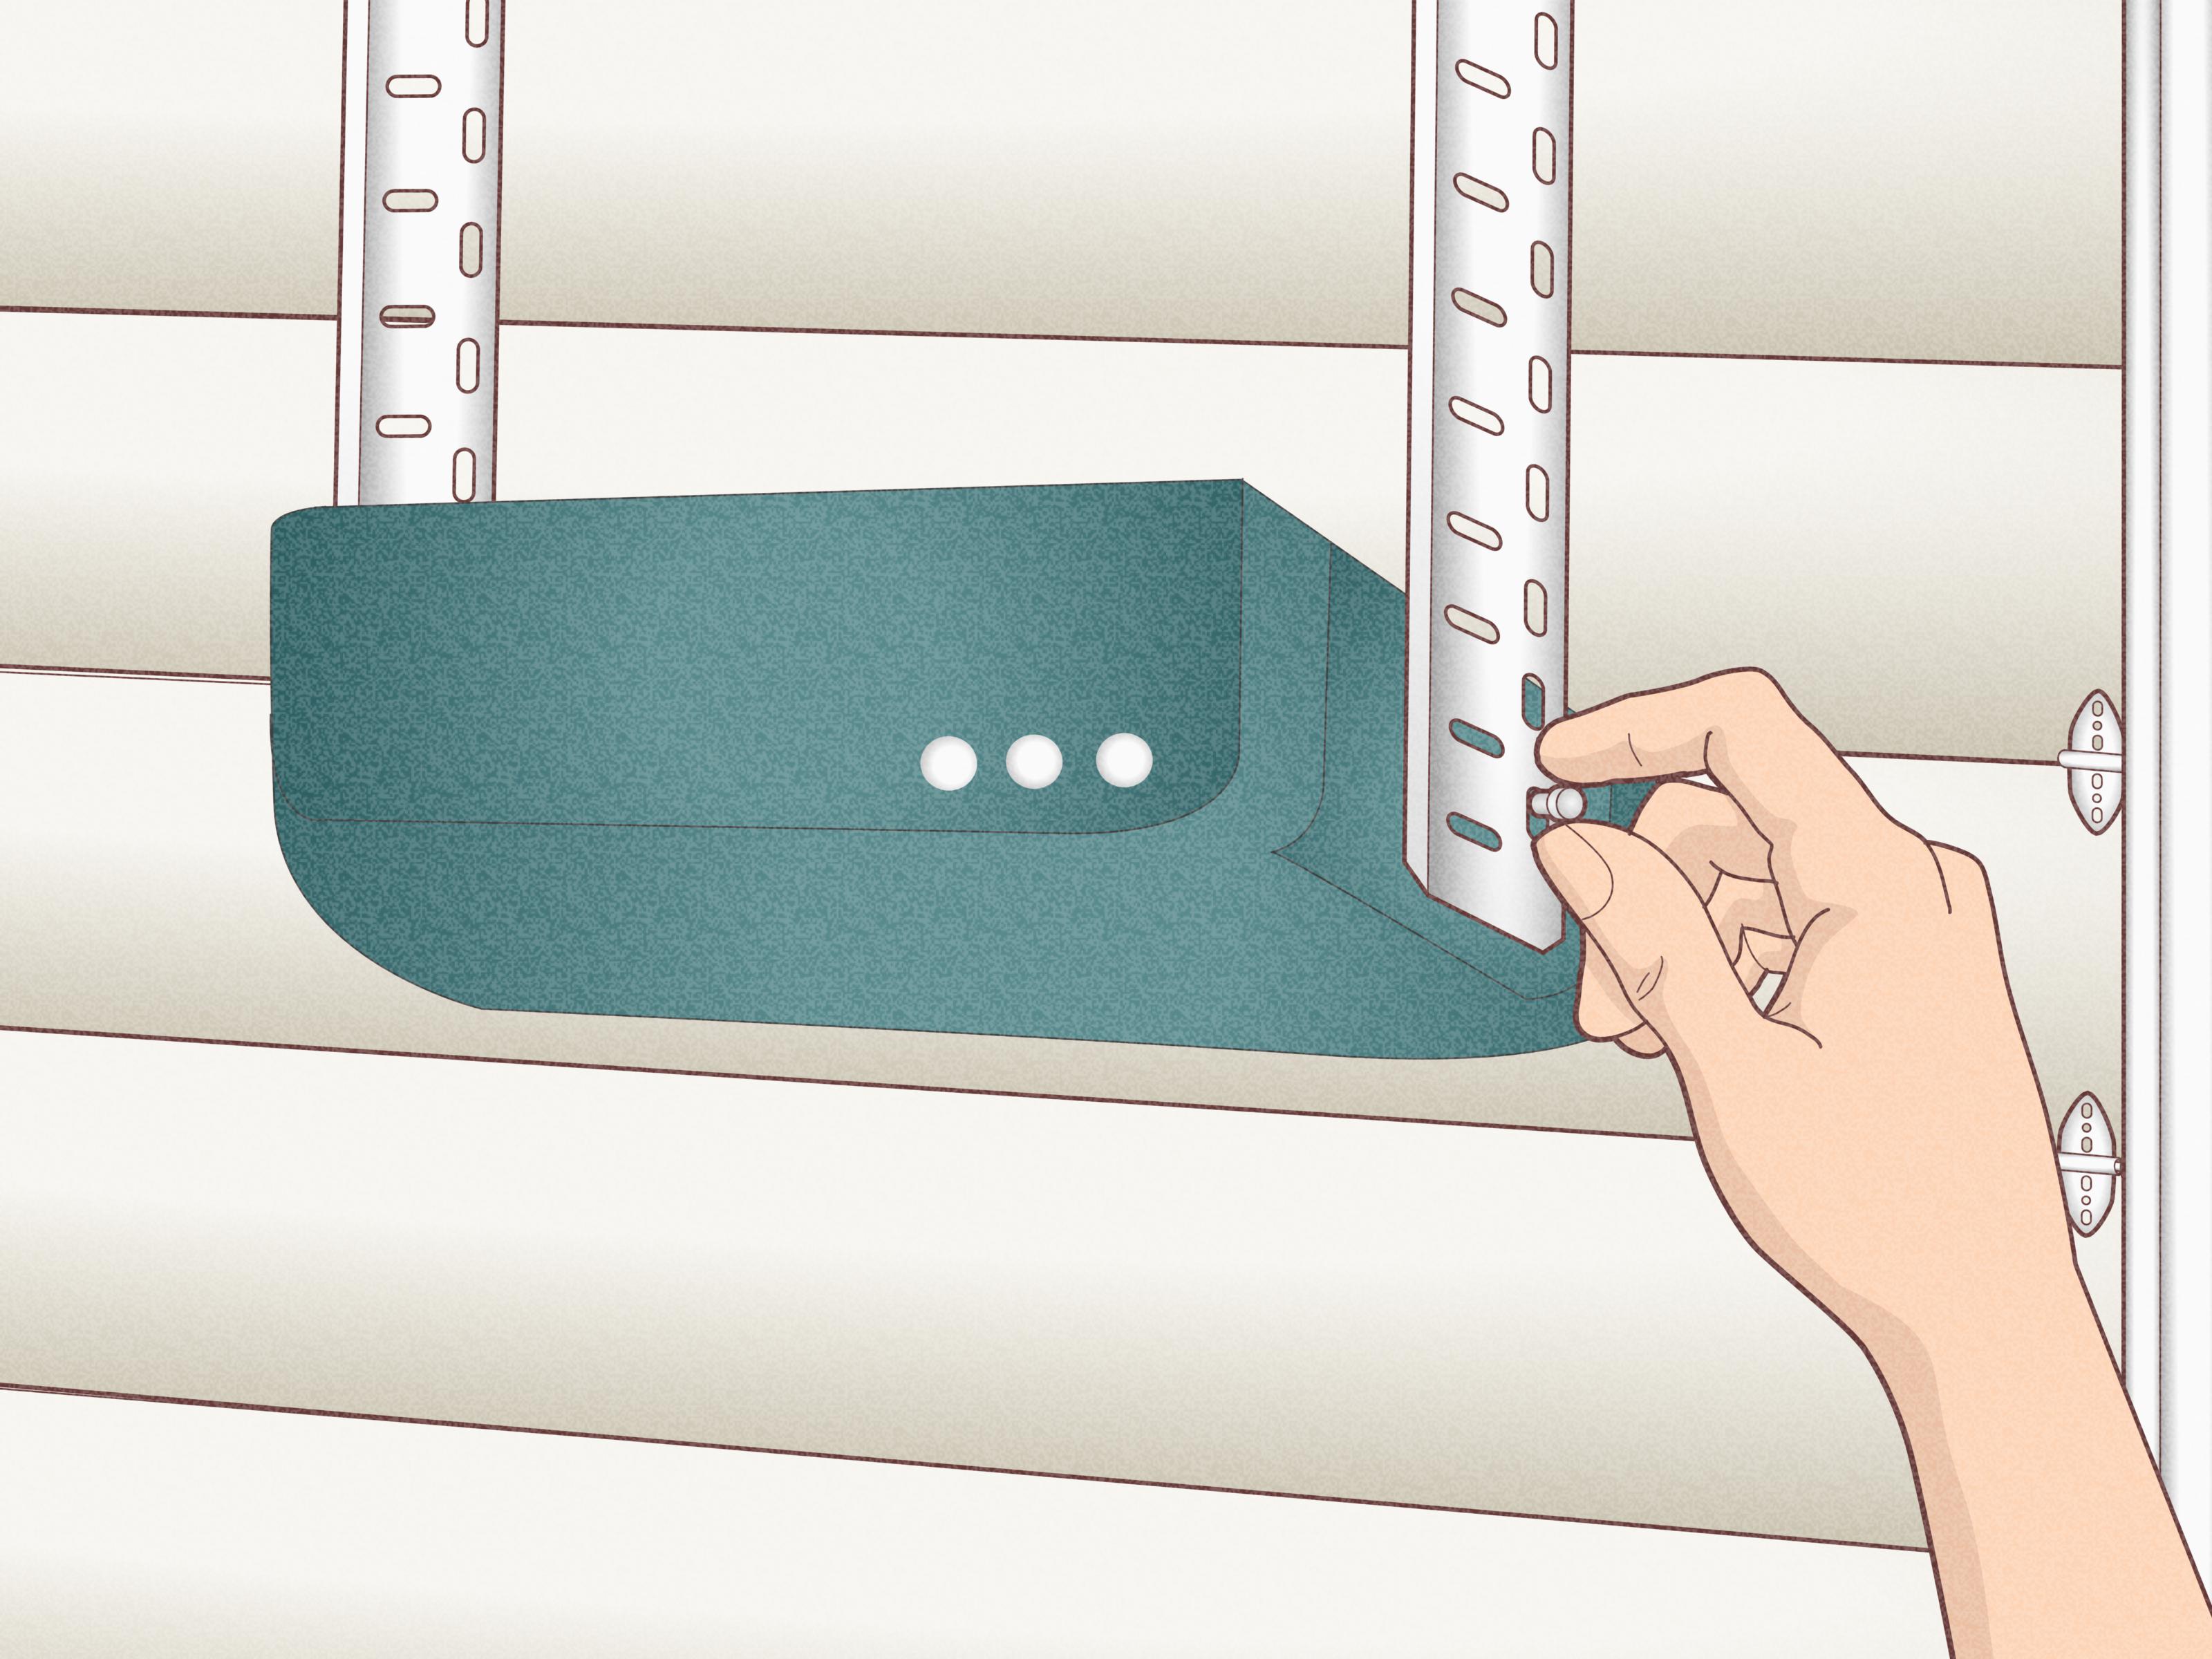
If adding an automatic opener, install it only after the door moves smoothly by hand. The opener is not designed to fix a bad door installation. It is designed to move a properly balanced door. Install the rail, motor unit, header bracket, opener arm, wall control, and safety sensors according to the opener manual.
The photo-eye safety sensors should be aligned near the bottom of the door opening. Test the auto-reverse function and sensor system before regular use. Place an appropriate test object under the door according to the opener manual and confirm that the door reverses correctly. If it does not, stop using the opener until the safety system works properly.
Common Mistakes to Avoid
Installing Tracks Too Tight
Tracks that squeeze the rollers can cause scraping, jerky movement, and loud operation. Leave the correct clearance recommended by the manufacturer.
Skipping the Level Check
If the bottom section is not level, the entire door can sit crooked. Always start straight.
Using the Wrong Hinges
Numbered hinges matter. They help create the correct spacing between sections and tracks.
Forgetting Opener Reinforcement
A garage door opener can damage an unsupported top section. Install the approved bracket when required.
Ignoring Spring Danger
Spring systems are not casual DIY territory. When in doubt, hire a professional.
Maintenance After Installation
Once your overhead garage door is installed, do not ignore it until it starts making haunted-house sounds. Inspect the door regularly. Look for loose fasteners, worn rollers, frayed cables, damaged weatherstripping, cracked hinges, rust, and track misalignment.
Lubricate approved moving metal parts with garage-door lubricant, following the door manufacturer’s recommendations. Do not lubricate plastic rollers or parts that the manual says should remain dry. Test door balance periodically and check opener safety reversal features. A little maintenance twice a year can prevent a lot of drama later.
When to Call a Professional
Call a trained garage door technician if you notice broken springs, frayed cables, bent tracks, cracked panels, a door that will not stay balanced, loose bottom brackets, or opener safety features that fail testing. You should also hire a professional if your garage has unusual framing, low headroom, high-lift tracks, custom doors, wind-load requirements, or a heavy wood door.
Professional installation may cost more upfront, but it can save time, protect the warranty, and reduce safety risks. Think of it this way: hiring a pro for spring work is not admitting defeat. It is choosing to keep all your fingers on the same team.
Experience-Based Tips for Installing an Overhead Garage Door
The first real-world lesson about overhead garage door installation is that the job is won or lost before the first screw goes in. A clean workspace, labeled parts, and a careful reading of the manual make the installation feel organized instead of chaotic. Many homeowners rush into the project because the door sections look simple. Then they discover that one hinge is upside down, one roller is missing, and the vertical track is leaning like it has weekend plans. Taking 30 minutes to sort the hardware can save two hours of frustration.
Another useful experience is to treat the bottom panel like the foundation of a house. If that first section is not level, every panel above it inherits the problem. A slight slope in the garage floor may not look serious, but it can create uneven gaps at the bottom seal and make the door look crooked from the driveway. Using shims carefully during setup helps the stacked sections align properly. Once the tracks and hardware are installed, small alignment problems become much harder to fix.
It also helps to tighten hardware in stages. Beginners often fully tighten the first bracket, then fight the rest of the track into position. A better approach is to leave adjustable fasteners slightly loose until the rollers, vertical tracks, curved tracks, and horizontal tracks are lined up. After the door moves smoothly, then tighten everything securely. This gives you room to correct small spacing issues without turning the installation into a tug-of-war.
Working with a helper is not just convenient; it changes the whole experience. One person can hold a panel steady while the other checks alignment and fastens hinges. One person can watch roller movement while the other gently lifts the door. Communication matters. Simple phrases like “hold,” “lift,” “stop,” and “lower slowly” prevent confusion. Garage doors are big, awkward objects, and they reward teamwork.
A final experience-based tip is to respect the difference between installation and adjustment. Installing panels and tracks is visible work. You can see whether things are straight, level, and secure. Spring tension and door balance are different. A door can look perfect but still be unsafe or badly balanced. If the door feels heavy, drifts down, shoots upward, or strains the opener, the problem is not cosmetic. It needs proper adjustment. This is where patience and caution matter most. A well-installed overhead garage door should feel smooth, quiet, and controllednot forced. When the final result opens cleanly, seals evenly, and does not wake the neighbors, that is the sweet sound of a project done right.
Conclusion
Learning how to install an overhead garage door is really about learning how all the parts work together: the opening, framing, panels, hinges, rollers, tracks, seals, springs, and opener. The process requires careful measuring, patient alignment, strong fastening, and smart safety decisions. Many homeowners can handle preparation and basic assembly, but spring systems and final balancing deserve professional attention when there is any doubt.
A properly installed overhead garage door improves curb appeal, convenience, security, and energy performance. It also makes everyday life smoother. After all, few home features work harder than the garage door. It opens for school runs, grocery trips, lawn equipment, holiday decorations, and that one box labeled “miscellaneous” that has somehow survived three moves. Install it carefully, maintain it regularly, and it will return the favor for years.