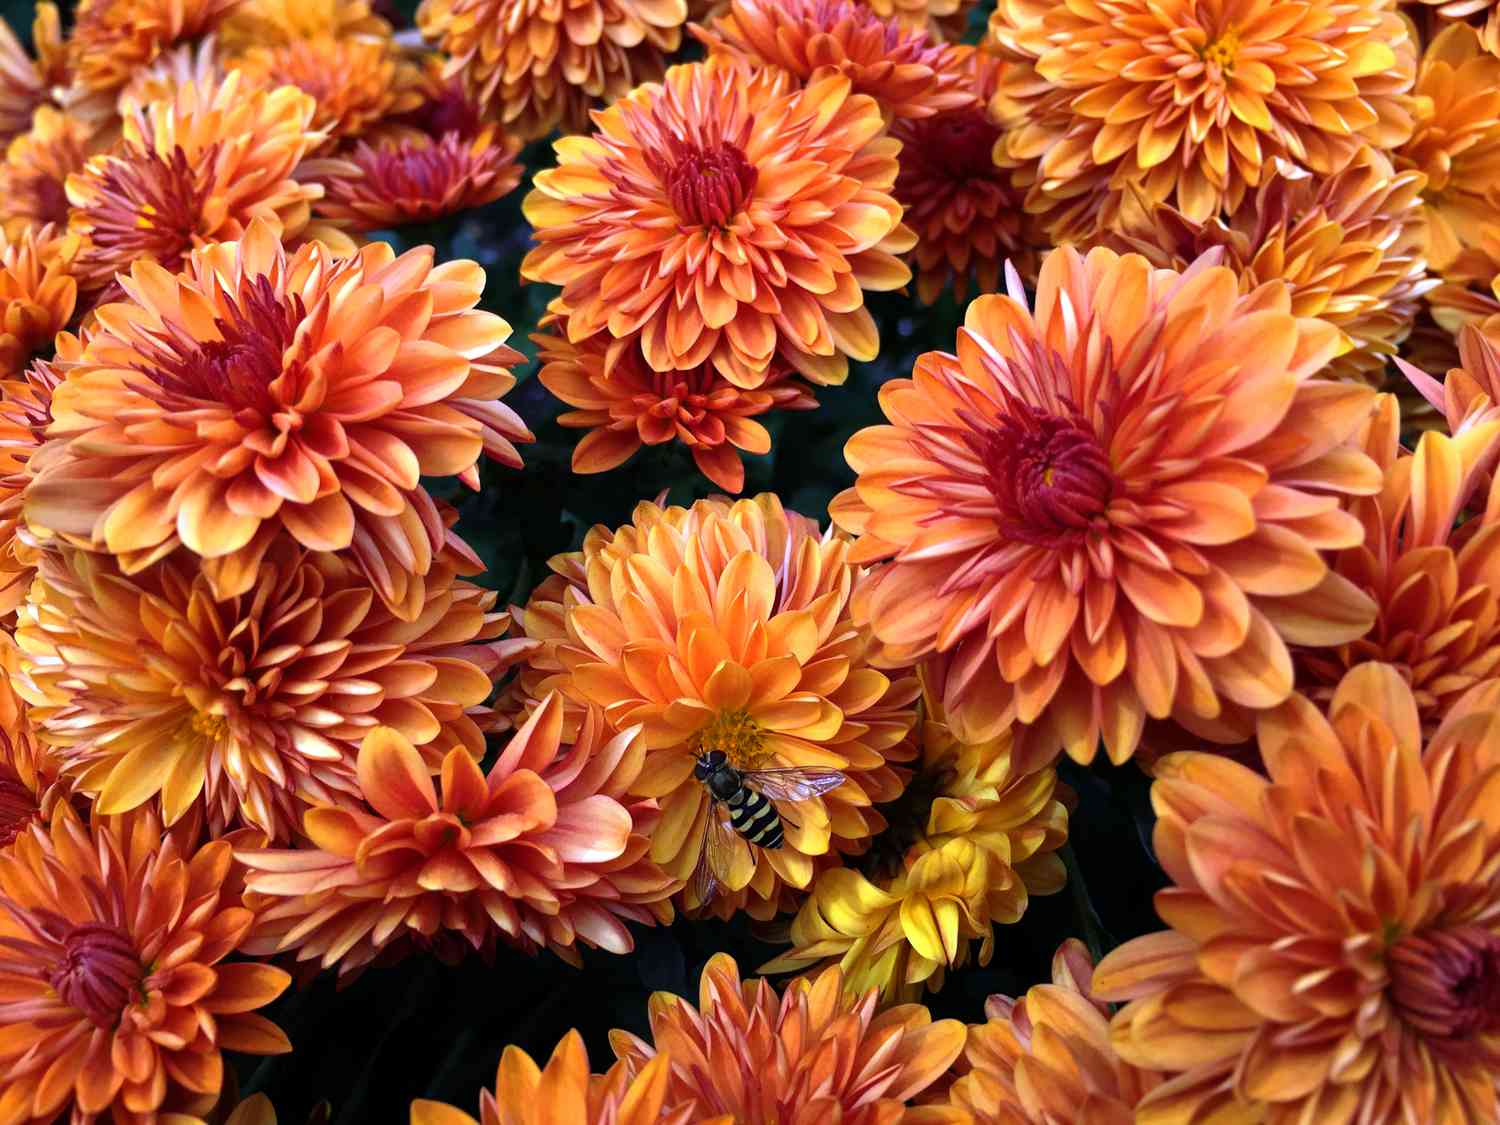
Few plants say “fall is here” louder than mums. They show up in garden centers like they own the place, wearing bright yellow, bronze, burgundy, and purple blooms like tiny floral fireworks. And honestly? They’ve earned the swagger. Chrysanthemums (usually just called mums) are easy to love, but they’re also one of the most misunderstood plants in home gardens.
Plenty of people buy a pot in autumn, enjoy it for a few weeks, then wonder why it didn’t return the next year. The short answer: not all mums are created equal, and timing matters more than most plant tags admit. The good news is that once you know the basics, growing and caring for mums is refreshingly doableeven if your current gardening style is “water things and hope.”
This guide covers everything you need to know about how to grow mums, how to care for mums in pots and in the ground, when to plant mums for the best results, and how to keep hardy mums blooming year after year.
What Are Mums, Exactly?
Mums are flowering plants in the chrysanthemum group, prized for their late-season color. They come in many bloom forms (including pompon, decorative, and daisy-like types), which is why one mum can look like a tidy button and another looks like a floral sea creature in a good way.
Garden mums vs. florist mums
This is the distinction that saves gardeners a lot of disappointment:
- Garden mums (hardy mums): These are bred for outdoor landscapes and are the best choice if you want a perennial display.
- Florist mums: These are often sold for seasonal décor and gift arrangements. They can be beautiful, but they’re commonly treated as annuals and may not overwinter well outdoors.
If your goal is a plant that comes back, shop specifically for garden mums or hardy mums. If your goal is “make the porch look fantastic until Thanksgiving,” florist mums are still perfectly valid. No judgment. Seasonal glamour is a real gardening strategy.
When to Plant Mums for the Best Long-Term Results
If you want mums to survive winter and return, the best time to plant hardy garden mums is usually spring. That gives them a full growing season to establish a stronger root system before cold weather arrives.
Can you plant mums in fall? Yesespecially for seasonal colorbut fall planting gives roots less time to settle in before hard freezes. If you’re planting in fall and hoping they return, aim to get them in the ground well before your first hard frost (a common rule is around six weeks ahead).
Quick timing guide
- Spring: Best for perennial success (garden mums).
- Late summer to early fall: Great for instant color; survival depends on timing, drainage, and winter conditions.
- Mid to late fall: Fine for decoration, but less reliable for overwintering.
One more pro tip: store-bought mums are often root-bound. If you leave them in the nursery pot too long, watering becomes harder and buds may decline faster. Repot or plant them soon after purchase for happier plants.
Where to Plant Mums
Sunlight requirements
Mums generally perform best in full sun, with at least 6 hours of direct light per day. More light usually means fuller plants and more flowers. Too little sun can lead to leggy stems, fewer blooms, and a sad “I tried” look.
In hotter regions, some afternoon shade can help reduce stress, especially for potted mums. But if you’re choosing between “bright shade” and “real sun,” pick the sunnier spot.
Soil requirements
The best soil for chrysanthemum care is:
- Well-drained
- Rich in organic matter
- Moist but not soggy
Mums dislike wet feet. Poor drainage is one of the biggest reasons they struggle or fail to survive winter. If your soil stays damp after rain, improve it with compost or plant mums in a raised bed.
Air circulation matters
Give your plants enough spacing so air can move around them. Good airflow helps reduce fungal issues, especially in humid weather. Translation: don’t plant them shoulder-to-shoulder like they’re in a flower elevator.
How to Plant Mums Step by Step
- Choose the right plant. Look for healthy foliage and lots of buds (not just fully open flowers). More buds = longer bloom display.
- Prep the planting area. Loosen the soil and mix in compost if needed.
- Check the root ball. If roots are circling tightly, gently loosen them before planting.
- Plant at the right depth. Set the mum about the same depth it was growing in the pot (some gardeners plant very slightly deeper, but avoid burying the crown too much).
- Water thoroughly. Give it a deep soak right after planting.
- Mulch lightly. Add mulch around (not piled against) the stems to help conserve moisture and reduce weeds.
Spacing tips
Spacing depends on the variety, but many garden mums mature around 1–3 feet tall and spread as they grow. When in doubt, give them room. You can always fill gaps with pumpkins later. Nature and décor can coexist.
How to Care for Mums All Season
Watering mums
Consistent watering is the secret sauce. Mums need evenly moist soil, especially when they’re setting buds and blooming. Letting them wilt repeatedly can shorten bloom time and stress the plant.
- Water deeply after planting.
- Check soil regularly (especially in containers).
- Aim for roughly about 1 inch of water per week in the landscape, adjusting for heat and rainfall.
- Water the soil, not the leaves, when possible.
Container mums dry out much faster than garden-planted mums. A decorative pot on a sunny porch can go from “gorgeous” to “dramatic fainting” in a day or two during warm weather.
Fertilizing mums
Mums appreciate feeding during active growth. For spring-planted hardy mums, a balanced fertilizer or slow-release fertilizer can support strong roots and bud production. Some gardeners also use regular light feedings during the growing season.
General rule: feed during active growth, then ease off as fall approaches and blooming begins. You want flowers, not a late-season leafy growth spurt.
Deadheading (removing spent blooms)
Deadheading helps mums look tidy and can encourage continued flowering. Pinch or snip off faded blooms above a leaf set or healthy side shoot. It’s a small task with a big payoffand oddly satisfying if you enjoy tiny acts of floral justice.
Weeding and cleanup
Mums have relatively shallow roots, so weeds compete with them quickly. Keep the area around plants weeded and mulched so your mums don’t have to fight for water and nutrients.
The Pinching Trick for Bushier, Bloomier Mums
If you’ve ever wondered how garden centers get those perfect dome-shaped mums, the answer is pinching. Pinching means removing the growing tips so the plant branches more. More branches = more flowers and a fuller shape.
How to pinch mums
- Start when new shoots are about 6 inches tall.
- Pinch off the top inch or two of growth.
- Repeat every few weeks as the plant regrows.
- Stop pinching by early July (many gardeners remember this as the “July 4 rule”).
Pinch too late, and you can delay flowering or reduce fall blooms. Skip pinching entirely, and your mums may become taller, looser, and more top-heavy. (Still lovely, just less “garden catalog cover.”)
How to Grow Mums in Pots
Container mums are wildly popular for porches, steps, patios, and front entriesand for good reason. They provide instant impact with very little setup.
Container mum care checklist
- Repot after purchase if the plant is root-bound.
- Use a container with drainage holes.
- Use fresh, well-draining potting mix.
- Place in full sun (or bright sun with some heat protection in very hot climates).
- Water oftencontainers dry out quickly.
- Deadhead regularly.
For décor, mums pair beautifully with ornamental kale, pansies, pumpkins, gourds, and trailing ivy. If your vibe is “cozy front steps, but make it intentional,” mums are your MVP.
Can potted mums be planted later?
Yes. If you buy a potted mum in early fall and want to try planting it in the ground, do it sooner rather than later so the roots have time to establish. Late planting into cold, wet soil is a gamble.
How to Winterize Hardy Mums
Overwintering mums successfully comes down to three things: drainage, timing, and protection. Even hardy mums can struggle in poorly drained soil or extreme cold.
Winter care steps
- Wait until after a hard frost to begin winter prep.
- Mulch around the plant (often 2–4 inches) using straw or shredded leaves/wood mulch.
- Leave the stems in place through winter if possible; many gardeners report better survival than cutting everything back in fall.
- In spring, pull back mulch as temperatures warm and trim away old dead growth.
If your winters are harsh, consider planting mums in a sheltered spot and prioritizing spring planting for the best return rate.
Common Mum Problems and Easy Fixes
“My mums look leggy.”
Cause: Not enough sun or missed pinching.
Fix: Move to a sunnier location (for future plantings) and pinch regularly in spring/early summer.
“The buds dried up before opening.”
Cause: Inconsistent watering, especially in root-bound nursery pots.
Fix: Water deeply and consistently; repot or plant in the ground sooner.
“They came back, but they’re floppy.”
Cause: No pinching, too much shade, or overcrowding.
Fix: Pinch earlier next season, divide crowded clumps, and improve light exposure.
“They didn’t survive winter.”
Cause: Fall planting too late, poor drainage, or not a true hardy garden mum.
Fix: Buy garden mums in spring, improve drainage, and mulch for winter protection.
How to Divide Mums (So They Stay Vigorous)
Hardy mums can spread and become crowded over time. Dividing them helps refresh growth, improve airflow, and create free plants (the best kind of plants).
When to divide
Divide mums in spring when new growth appears and frost danger is easing.
Basic division method
- Dig up the clump carefully.
- Separate healthy outer sections with roots attached.
- Discard weak or woody center portions if needed.
- Replant divisions at the same depth and water well.
Depending on growing conditions, you may divide mums every couple of years to keep them at their best.
Conclusion
If you remember only three things about mum care, make it these: buy the right type (garden vs. florist), give them sun and drainage, and pinch on time. Those three habits solve most mum problems before they start.
Mums can be simple seasonal stars or reliable perennials, depending on how you grow them. Plant hardy mums in spring for the best long-term success, keep the soil evenly moist, deadhead spent blooms, and stop pinching by early July so they can set up that glorious fall show. Add a little winter mulch and some spring cleanup, and your mums may return year after year like cheerful overachievers.
And if one season doesn’t go perfectly? Welcome to gardening. Mums are forgiving, colorful, and usually happy to give you another shot.
Experience-Based Tips From Real-World Mum Growing (Bonus 500+ Words)
One of the most common experiences gardeners share with mums goes like this: they buy a gorgeous, fully blooming plant in September, place it on the front steps, admire it daily, and then assume it’s “done” when the blooms fade. The next year, they discover there are hardy mums and florist mums and feel personally betrayed by a plant tag. If this has happened to you, congratulationsyou’ve had a very normal mum experience.
Another frequent lesson comes from watering. Mums in nursery pots can look fine in the morning and wilted by afternoon, especially during warm early-fall weather. Many gardeners say the plant seemed “dramatic,” but the reality is usually a compacted, root-bound root ball that sheds water instead of absorbing it well. The fix that people report working best is simple: repot into fresh mix or plant in the ground quickly, then water deeply. Once the roots have room, the plant usually settles down and behaves like a respectable porch guest.
Gardeners also tend to learn the pinching rule the hard way. Year one: the plant returns in spring, everyone celebrates, and then it shoots upward into a lanky green octopus by late summer. Year two: they start pinching when the stems are about six inches tall and stop around early July, and suddenly the plant becomes that nice rounded mound they wanted all along. This is one of those rare gardening tricks that feels almost too easy for how effective it is.
There’s also a big difference between “porch mums” and “landscape mums” in how people use them. Some gardeners keep a split strategy: they buy a few florist mums for instant curb appeal and separately maintain hardy mums in the garden for long-term blooms. That approach works beautifully because it removes the pressure to make every store-bought mum become a perennial hero. Sometimes a plant’s job is just to look fantastic next to a pumpkin. That is honorable work.
In colder climates, overwintering success often comes down to site selection. Gardeners who plant mums in raised beds or areas with excellent drainage usually report better survival than those who plant in heavy soil that stays wet through winter. Many also notice improved results when they avoid cutting stems back too early and instead wait until spring cleanup. It can feel untidy, yesbut mums care more about survival than neatness, and that’s a fair point.
Experienced gardeners often mention that mum color planning matters more than expected. A single bold color can look elegant and intentional from a distance, while too many mixed colors in a small space can feel visually busy. Grouping mums in drifts or repeating the same color in several spots tends to create a stronger landscape effect. In other words, mums are not only easy to grow; they’re also excellent teachers in garden design.
Finally, one of the best mum-growing experiences is realizing how much confidence they build. They reward attention, but they don’t demand perfection. If you improve your sunlight, watering consistency, and timing just a little each season, your results improve fast. That makes mums a great plant for beginners and a satisfying one for experienced gardeners who still enjoy a dependable fall win. And honestly, every garden deserves at least one dependable fall win.