Note: This article is written as original, web-ready content based on widely accepted U.S. home improvement, drywall repair, paint-prep, and manufacturer guidance. It is designed for publication without source-code clutter, citation placeholders, or unnecessary technical labels.
Introduction: Your Wall Is Not RuinedIt Is Just Being Dramatic
A dent in the wall can make an otherwise clean room look like it has been through a tiny indoor tornado. Maybe a chair bumped the drywall. Maybe a doorknob got a little too enthusiastic. Maybe someone moved a bookshelf with the confidence of a professional mover and the accuracy of a shopping cart with one bad wheel. Whatever happened, the good news is simple: most wall dents are easy to fix with basic tools, a little patience, and the ability to resist poking the repair while it dries.
Learning how to fix a dent in the wall is one of the most useful DIY home repair skills you can have. Small dents, shallow gouges, nail pops, and minor drywall damage usually do not require hiring a contractor. With spackle or joint compound, a putty knife, sandpaper, primer, and matching paint, you can make the wall look smooth again. The secret is not brute force. It is preparation, thin layers, drying time, sanding, and blending the final paint so the repair does not shout, “Hello, I was patched on Tuesday.”
This guide walks you through 12 practical steps to repair a dent in drywall or plaster-style interior walls. You will learn how to inspect the damage, choose the right filler, apply compound cleanly, sand without creating a dust storm, prime the patch, and paint it so the finish blends with the surrounding wall. Let us rescue that wall before guests start asking awkward questions.
What Counts as a Wall Dent?
A wall dent is usually a shallow depression where the surface has been pushed inward but not fully broken through. In drywall, the paper face may be scuffed, crushed, torn, or slightly cracked. In plaster, the surface may show a chip or shallow crater. Dents are different from large holes because the wall usually still has enough backing to support a simple filler repair.
For small dents, lightweight spackling is often the fastest option because it dries quickly, spreads easily, and sands smoothly. For deeper dents, wider damaged areas, or places that need a stronger build-up, all-purpose joint compound may be a better choice. If the dent has become an actual hole, especially one larger than a couple of inches, you may need a mesh patch, wall patch kit, or a piece of replacement drywall.
Tools and Materials You Will Need
Before you begin, gather everything so you are not wandering around the house with wet spackle on a putty knife like a confused frosting chef.
- Lightweight spackle or joint compound
- Flexible putty knife or drywall knife
- Fine-grit sandpaper or sanding sponge, such as 180- to 220-grit
- Utility knife
- Clean cloth or microfiber rag
- Drop cloth or old towel
- Primer or primer-in-one patching product
- Matching wall paint
- Small paintbrush or mini roller
- Damp sponge
- Dust mask, especially when sanding
- Self-adhesive mesh patch, if the dent has opened into a hole
How to Fix a Dent in the Wall: 12 Steps
Step 1: Inspect the Dent Carefully
Start by looking closely at the damaged area. Is it a shallow dent, a deep gouge, a cracked surface, or a hole? Run your hand gently over the wall. If the damage is mostly a depression with no loose pieces, you can usually fill it with spackle or joint compound. If the drywall paper is torn, bubbling, or peeling, you will need to trim it first. If the wall is soft, damp, moldy, or crumbling, stop and investigate the cause. Water damage and structural problems need more than cosmetic patching.
A simple dent should feel firm around the edges. If the area flexes when you press it lightly, the drywall may be weakened behind the surface. In that case, a stronger patch may be needed instead of a basic skim repair.
Step 2: Choose the Right Repair Material
For a small wall dent, use lightweight spackle. It is easy to apply, dries faster than many joint compounds, and works well for minor dings, nail holes, and shallow damage. For a larger or deeper dent, use joint compound because it can be applied in thin layers and feathered over a wider area. Joint compound usually takes longer to dry, but it gives you more working time and can create a very smooth finish.
For dents near corners, recurring cracks, or areas with damaged drywall paper, choose a higher-quality patching compound that sands well and resists shrinking. If the dent is actually a hole, use a self-adhesive mesh patch or drywall repair patch before applying compound. The patch gives the filler something to grip so it does not cave in later.
Step 3: Protect the Floor and Nearby Surfaces
Place a drop cloth, old towel, or scrap cardboard under the repair area. Wall repair is not extremely messy, but spackle dust and paint drips have a magical talent for landing exactly where you do not want them. Remove nearby furniture if possible, or move it away from the wall. If you are repairing a dent close to trim, electrical plates, or built-ins, protect those edges with painter’s tape.
Good preparation saves cleanup time. It also lets you focus on the repair instead of trying to remove dried joint compound from your baseboard with the emotional intensity of a detective solving a cold case.
Step 4: Clean the Damaged Area
Wipe the dent and surrounding wall with a clean, slightly damp cloth. Remove dust, loose paint, dirt, cobwebs, or mystery smudges that nobody in the house will admit making. Patching compound sticks best to a clean, stable surface. If the wall is greasy, such as in a kitchen, use a mild cleaner and then wipe again with plain water. Let the area dry before applying filler.
Do not skip this step. Dust and grime can prevent spackle from bonding properly. A patch that does not bond well may crack, peel, or pop loose after painting, which is the wall repair version of a plot twist nobody requested.
Step 5: Trim Loose Paper, Paint, or Crumbled Drywall
If the dent has torn drywall paper or lifted paint, use a utility knife to carefully cut away the loose material. Do not rip it with your fingers, because drywall paper can peel farther than expected. Your goal is to create a clean edge around the damaged spot. If the surface has rough ridges, lightly sand them before filling.
For exposed brown drywall paper, consider sealing the paper with primer before applying compound. Raw drywall paper can absorb moisture from spackle or paint, causing bubbling or fuzzy edges. Sealing it first helps create a more stable repair.
Step 6: Lightly Sand the Dent and Edges
Use fine-grit sandpaper or a sanding sponge to smooth the dent’s edges. You are not trying to excavate the wall. Just knock down raised paint, rough drywall paper, or sharp ridges. Sand slightly beyond the dent so the filler can feather into the surrounding surface.
After sanding, wipe away dust with a clean cloth. Dust left behind can mix into the compound and make the repair gritty. Wear a dust mask if you are sanding more than a tiny spot, especially in older homes where previous coatings may be unknown.
Step 7: Apply the First Thin Layer of Spackle or Joint Compound
Scoop a small amount of spackle or joint compound onto your putty knife. Press it firmly into the dent, making sure the low spot is filled. Hold the knife at a slight angle and pull it across the dent in one smooth motion. Remove excess compound while keeping enough material in the depression.
The best wall repairs usually happen in thin layers. A giant blob of spackle may look satisfying at first, but thick filler can shrink, crack, or take forever to dry. Apply a coat that is slightly higher than the dent or nearly flush with the wall, depending on the product instructions. Feather the edges outward so there is no hard ridge.
Step 8: Let the Patch Dry Completely
Drying time depends on the product, the thickness of the patch, humidity, and room temperature. Some lightweight spackles are ready quickly, while joint compound may need several hours or overnight. Read the product label and do not rush. A patch that feels dry on the surface may still be soft underneath.
If you sand too early, the repair can smear, tear, or crumble. That is frustrating and somehow always happens when you are wearing dark clothing. Let the compound dry until it is firm, pale, and ready for sanding.
Step 9: Sand the First Coat Smooth
Once the patch is dry, sand it lightly with fine-grit sandpaper or a sanding sponge. Use gentle circular motions or light strokes. The goal is to level the repair with the surrounding wall, not to sand all the filler away. Run your hand over the patch. Your fingertips are excellent at finding ridges your eyes might miss.
After sanding, wipe away all dust. Look at the repair from different angles. If you can still see a dip, edge, or shadow, you need another coat. This is normal. Professional-looking repairs often require more than one pass.
Step 10: Add a Second Coat if Needed
Apply a second thin coat of spackle or joint compound over the repair, extending it slightly beyond the first coat. This technique is called feathering, and it helps the patch blend into the wall. The wider and thinner the feathered edge, the less obvious the repair will be after painting.
For deeper dents, you may need a third coat. Do not be discouraged. Drywall repair is not a race; it is a quiet negotiation between patience and gravity. Let each coat dry fully, then sand lightly before adding the next one.
Step 11: Prime the Repaired Area
Primer helps seal the patched area so paint absorbs evenly. Without primer, the repair may flash, meaning it looks duller, shinier, or slightly different from the rest of the wall after painting. Even if the patch feels perfectly smooth, unprimed spackle can show through paint, especially under bright light.
Use a small brush or mini roller to apply primer over the patch and slightly beyond the sanded area. Let it dry according to the label. Some spackling products include primer or claim they can be painted directly, but spot-priming is still a smart move when you want the most invisible finish.
Step 12: Paint and Blend the Repair
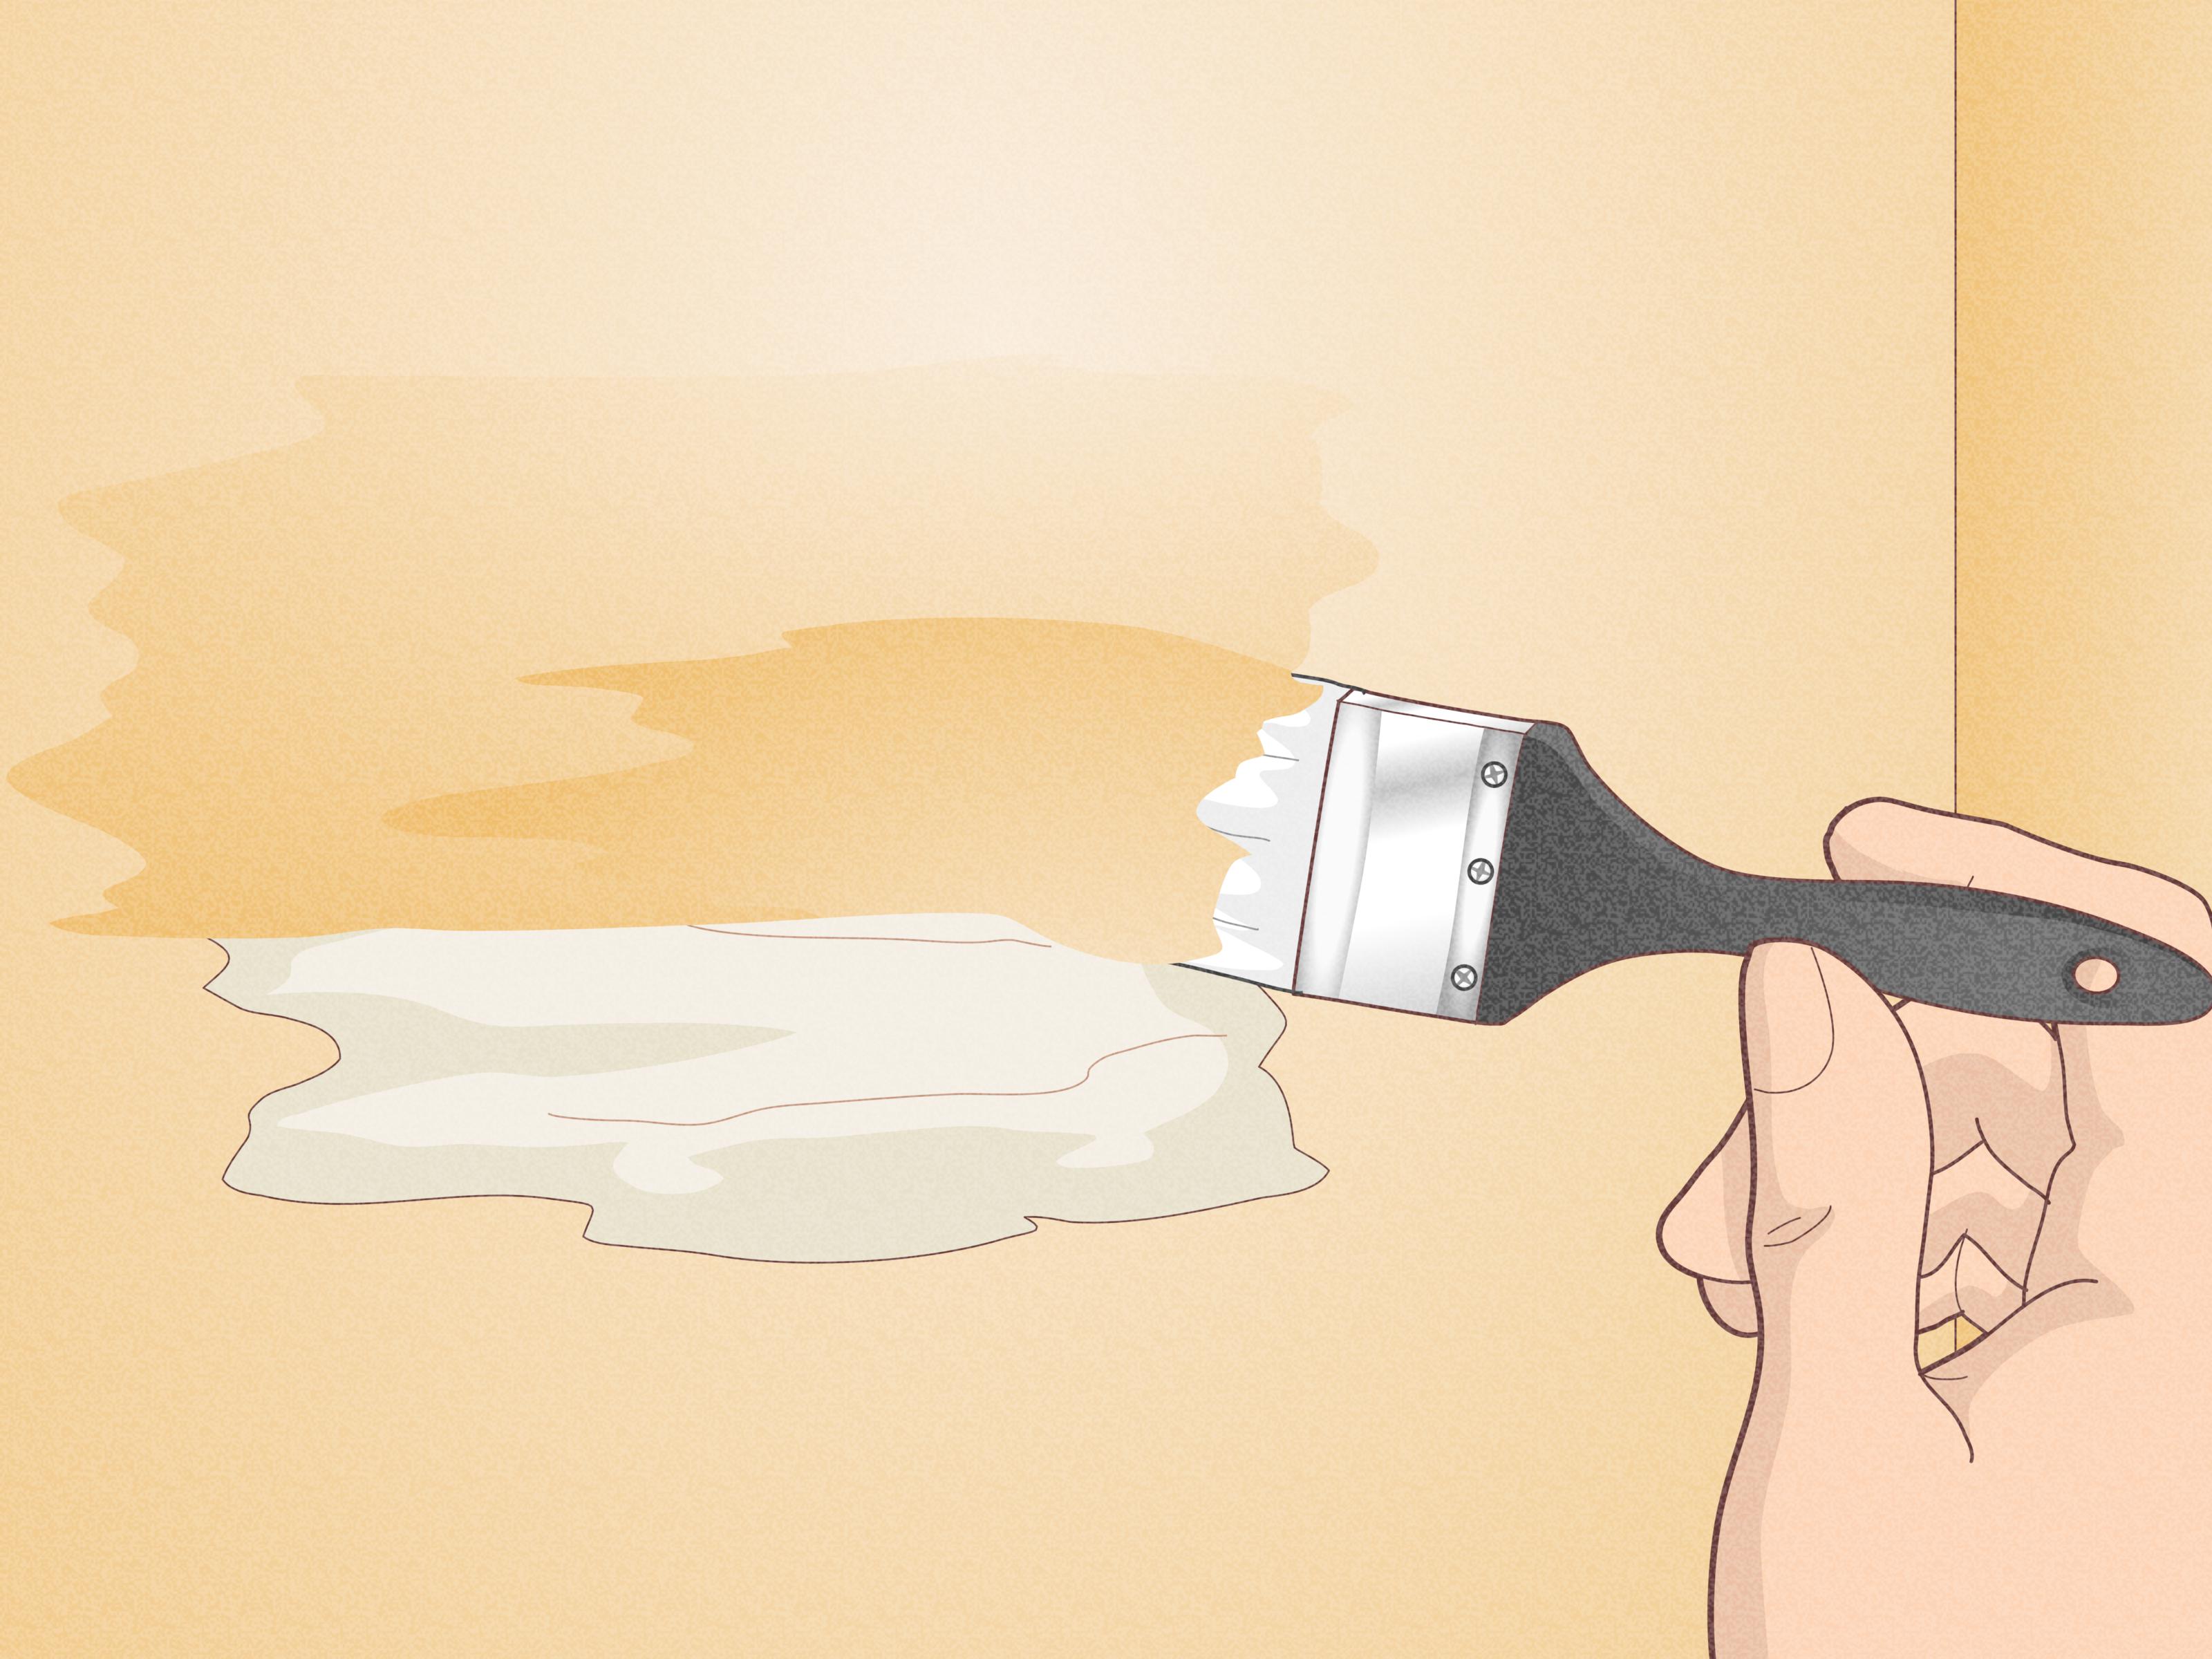
Finish by painting the repaired area with matching wall paint. For tiny repairs, a small brush may work. For a smoother blend, use a mini roller with a nap similar to the original wall texture. Roll lightly beyond the primed patch so the new paint feathers into the old paint.
If the wall paint is old, the touch-up may not match perfectly because sunlight, dust, cleaning, and time can change the color. In that case, painting from corner to corner may create a better result than touching up one small spot. Corners and trim lines naturally hide slight color differences better than a random patch in the middle of a wall.
Common Mistakes to Avoid When Repairing Wall Dents
Using Too Much Compound
More filler does not mean a better repair. Thick layers take longer to dry and are harder to sand. Thin, controlled coats create a smoother finish.
Skipping Primer
Paint often absorbs differently over bare patching compound than over painted wall surfaces. Primer helps prevent flashing and improves the final appearance.
Sanding Too Aggressively
If you sand too hard, you can remove the repair or damage the surrounding paint. Sand gently and check the surface often with your hand.
Painting Before the Patch Is Dry
Paint traps moisture. If the compound is not fully dry, the repair may bubble, crack, or look uneven. Patience wins here.
How to Fix a Dent in Textured Walls
Textured walls require one extra step: matching the texture before painting. After the patch is sanded and primed, compare the surrounding wall. Is it orange peel, knockdown, sand texture, or brush texture? Small texture repairs can often be recreated with a texture spray, sponge, stiff brush, or specialty roller. Practice on cardboard first. Texture products can be enthusiastic, and your wall is not the place to discover that the spray nozzle has chosen chaos.
Once the texture dries, lightly prime it and paint. The better the texture match, the less visible the repair will be. In strong side lighting, even a smooth patch on a textured wall can stand out, so take time to blend the surface.
When Should You Use a Wall Patch Instead?
Use a wall patch if the dent has broken through the drywall, if the damaged area is soft, or if the hole is too wide for filler alone. Self-adhesive mesh patches work well for small holes. Larger holes may require cutting out the damaged drywall, adding backing support, installing a new drywall piece, taping the seams, applying joint compound, sanding, priming, and painting.
A dent is usually a simple cosmetic repair. A hole is a structural surface repair. Knowing the difference helps you choose the right method and avoid a patch that fails later.
Helpful Experience: What Actually Makes a Wall Dent Repair Look Professional
After fixing a few wall dents, you learn that the repair itself is only half the job. The other half is making the repair disappear. The first practical lesson is that lighting matters. A patch can look perfect when you stand directly in front of it, then look like a tiny mountain range when sunlight hits the wall from the side. Before you paint, check the repair from several angles and under different lighting. If you see a ridge before painting, you will probably see it after painting too. Paint is talented, but it is not a miracle blanket.
Another experience-based tip is to keep your putty knife clean while working. Wipe it often. Dried crumbs of compound on the blade can drag lines through fresh spackle, creating more sanding later. A flexible putty knife is easier for beginners because it glides over small dents and helps feather the edges. For wider dents, a larger drywall knife can make the repair smoother because it bridges the damaged area and spreads compound more evenly.
One of the biggest beginner mistakes is trying to finish the repair in one heavy coat. It feels efficient, but it usually backfires. Thick compound shrinks as it dries, leaving a shallow dip. Then you sand, notice the dent is still visible, sigh dramatically, and start over. Two thin coats are almost always better than one thick coat. For deeper dents, three thin coats may be the cleanest path. It takes longer, but the final wall looks much better.
Paint matching is another real-world challenge. Even if you still have the original paint can, the paint on the wall may have aged. Before touching up the wall, stir the paint thoroughly. Apply a small test area and let it dry completely. Wet paint can look different from dry paint. If the color is close but the sheen is off, try using the same application method as the original paint. A brushed patch on a rolled wall often stands out because the texture is different. A mini roller usually blends better on larger patches.
For rental homes, take photos before and after the repair. This is useful for move-out records and gives you proof that the wall was repaired properly. For homeowners, keep a small labeled container of leftover wall paint for future dents and scuffs. Write the room name, paint brand, color, finish, and date on the container. Future you will be grateful, probably while holding a putty knife and wondering how a laundry basket dented the hallway.
Finally, do not panic if the first repair is not perfect. Wall repair is a skill, and it improves quickly. The key is to slow down, use thin layers, sand gently, prime properly, and blend the paint carefully. A small dent may look annoying now, but with the right process, it can vanish so well that only you remember where it was.
Conclusion: A Smooth Wall Is Only 12 Steps Away
Fixing a dent in the wall is one of those DIY jobs that looks intimidating until you do it once. Most small dents can be repaired with spackle, a putty knife, light sanding, primer, and paint. The process is simple: clean the area, remove loose material, fill the dent in thin layers, let everything dry, sand smooth, prime, and paint. The real secret is patience. Rushing the drying time or skipping primer can make the repair more visible, while careful feathering and blending can make the wall look almost new.
Whether the dent came from furniture, a doorknob, moving day, kids, pets, or a mysterious household incident that everyone suddenly “knows nothing about,” you now have a reliable way to fix it. With these 12 steps, your wall can return to its former smooth, respectable selfand you can enjoy the quiet satisfaction of solving a home repair problem without turning it into a weekend disaster.