Removing a door can make a room feel bigger, calmer, and a lot less “why is there a door here?” But once the slab, hinges, and jamb are gone, you are left with a not-so-charming reminder that a doorway used to live there. The good news is that filling in a door opening is absolutely doable if you plan carefully, frame it correctly, and finish the drywall with patience instead of wild optimism.
Whether you are closing off a formal dining room, turning a pass-through into a solid wall, or reclaiming space from a door that swings like it owns the house, this guide walks you through how to fill in a door opening when you remove a door. We will cover the tools, materials, framing basics, drywall finishing, paint prep, and the real-world mistakes that love to show up when you least want them to.
Why homeowners choose to close in a doorway
There are plenty of practical reasons to fill in a doorway instead of leaving it open. Sometimes the goal is privacy. Sometimes it is better furniture placement. Sometimes you want more wall space for shelving, art, or a sofa that no longer has to compete with a random swing path. In older homes, removing a little-used interior door can also make the floor plan feel simpler and more intentional.
Closing a doorway can also improve sound control between rooms. A finished wall with insulation often blocks noise better than an old hollow-core door that basically functions like a polite suggestion of privacy.
Before you start: check the stuff that can ruin your weekend
1. Make sure the wall is not load-bearing
This is the big one. If the wall is load-bearing, you should not treat the project like a casual Saturday craft. A load-bearing wall supports weight from above, which means changes to the opening may affect the structure. If you are unsure, have a contractor, carpenter, or structural engineer look at it before you remove framing members.
2. Look for wiring, switches, and plumbing
Doorways are often near light switches, outlets, or thermostat wiring. Some wall cavities also hide plumbing, especially in remodeled homes where logic occasionally took a day off. Turn off power to the area, remove nearby cover plates, and inspect carefully before cutting or drilling. A stud finder with wire detection can help, but nothing beats opening the area carefully and actually looking.
3. Think about permits and building rules
If the door is part of an egress route, a bedroom requirement, or a wall with structural significance, check local building requirements before you close it in. Interior layout changes can be simple, but “simple” gets less simple the moment code enters the chat.
4. Test for lead paint in older homes
If your home was built before 1978, assume painted trim, jambs, or nearby walls may contain lead-based paint until you know otherwise. That does not mean panic. It means use lead-safe work practices, contain dust, and avoid turning your room into a surprise powder factory.
Tools and materials you may need
The exact list depends on how the opening was built, but most projects use some version of the following:
- Pry bar and utility knife
- Hammer or drill/driver
- Reciprocating saw or handsaw
- 2×4 or matching framing lumber
- Level and tape measure
- Drywall to match existing thickness
- Drywall screws
- Insulation or soundproofing batt
- Drywall tape and joint compound
- Drywall knives
- Sanding sponge or pole sander
- Primer and paint
- Baseboard, trim, caulk, and finish nails if needed
- Drop cloths, dust mask, eye protection, and gloves
Step-by-step: how to fill in a door opening
Step 1: Remove the door slab, casing, and jamb
Start by taking the door off its hinges. Then score the caulk or paint lines around the casing with a utility knife so you do not peel half the wall paper face off with it. Gently pry off the trim on both sides. If you want to reuse the casing elsewhere, slow and steady wins. If the trim is already beat up, your pry bar can be slightly less diplomatic.
Once the trim is off, remove the jamb. This usually means cutting or pulling fasteners and working the jamb pieces loose from the rough opening. Clean out old shims, nails, and debris so you can see the framing clearly.
Step 2: Inspect the rough opening
Now you can see what you are really working with. Measure the width, height, and wall thickness. Check the surrounding studs for damage, twisting, or gaps. If the old opening has king studs, jack studs, and a header, decide what stays and what can be modified. In a non-load-bearing wall, you often keep much of the existing framing and simply add infill studs and backing.
This is also the time to verify the drywall thickness on both sides of the wall. Many interior walls use 1/2-inch drywall, but older homes and some fire-rated assemblies may differ. Matching thickness matters if you want the patch to disappear instead of waving hello forever.
Step 3: Frame in the opening
Think of this step as building a small section of wall where the doorway used to be. Your goal is to create a solid, flat structure that lines up with the existing wall plane and gives the drywall good edges to land on.
If the opening extends from floor to header, install a bottom plate between the existing studs if needed. Then add vertical studs to match the wall’s spacing pattern. In many homes, studs are 16 inches on center, though some non-load-bearing walls use 24-inch spacing. Matching the existing layout makes drywall installation easier and helps the finished wall feel consistent.
Fasten the new studs securely to the top and bottom framing. Use a level. Use it again. Then use it one more time because drywall is extremely honest about crooked framing. If the original jamb area left uneven surfaces, sister a stud or add shims so the finished framing sits flush with the rest of the wall.
Step 4: Add insulation for sound and comfort
If the doorway separated a bedroom, office, bathroom, laundry room, or any place where noise likes to travel, add insulation in the cavity before closing the wall. Fiberglass batt, mineral wool, or another suitable wall insulation can improve sound control and make the space feel more finished.
This is also a smart moment to seal obvious air gaps around adjacent framing. Even on interior projects, little drafts and sound leaks can sneak through wall cavities. A modest amount of air sealing can make the patch perform better than the old doorway ever did.
Step 5: Hang the drywall
Cut drywall pieces to fit the opening. Whenever possible, use pieces large enough to span neatly and land on framing. Tiny strips can work, but they increase the odds of future cracking if the backing is weak or the seams are poorly placed.
Screw the drywall into the studs with the heads set slightly below the surface without tearing the paper. Keep the panels aligned with the existing wall. If one side of the old opening meets another wall at a corner, make sure your drywall edges are supported and straight.
If the patch meets old drywall with rough or damaged edges, trim them clean before taping. A crisp edge is much easier to finish than a fuzzy one that looks like it lost a fight with a raccoon.
Step 6: Tape, mud, and let patience do its job
This is the step that separates “solid repair” from “obvious former doorway.” Apply joint compound over the seams, embed drywall tape, smooth it out, and let it dry fully. Then apply a second coat that extends wider than the first. A third skim coat is often what makes the patch blend instead of announce itself from across the room.
Sand lightly between coats. The goal is smooth, not scorched earth. Over-sanding can fuzz the drywall paper and create extra work. Under-sanding leaves ridges that paint will happily spotlight.
Do not forget screw heads. Each one gets a small coat of compound, then a quick sand once dry.
Step 7: Rebuild the trim details
At the bottom of the wall, reinstall or patch the baseboard so it runs continuously across the former doorway. If the removed door had casing, you will usually not reinstall it unless you intentionally want a framed wall panel look. Most homeowners want the doorway to vanish, not become a historical reenactment.
Caulk the trim joints, fill nail holes, and sand any patched woodwork. These little finish details matter more than people expect. A perfect drywall patch next to sloppy trim still looks unfinished.
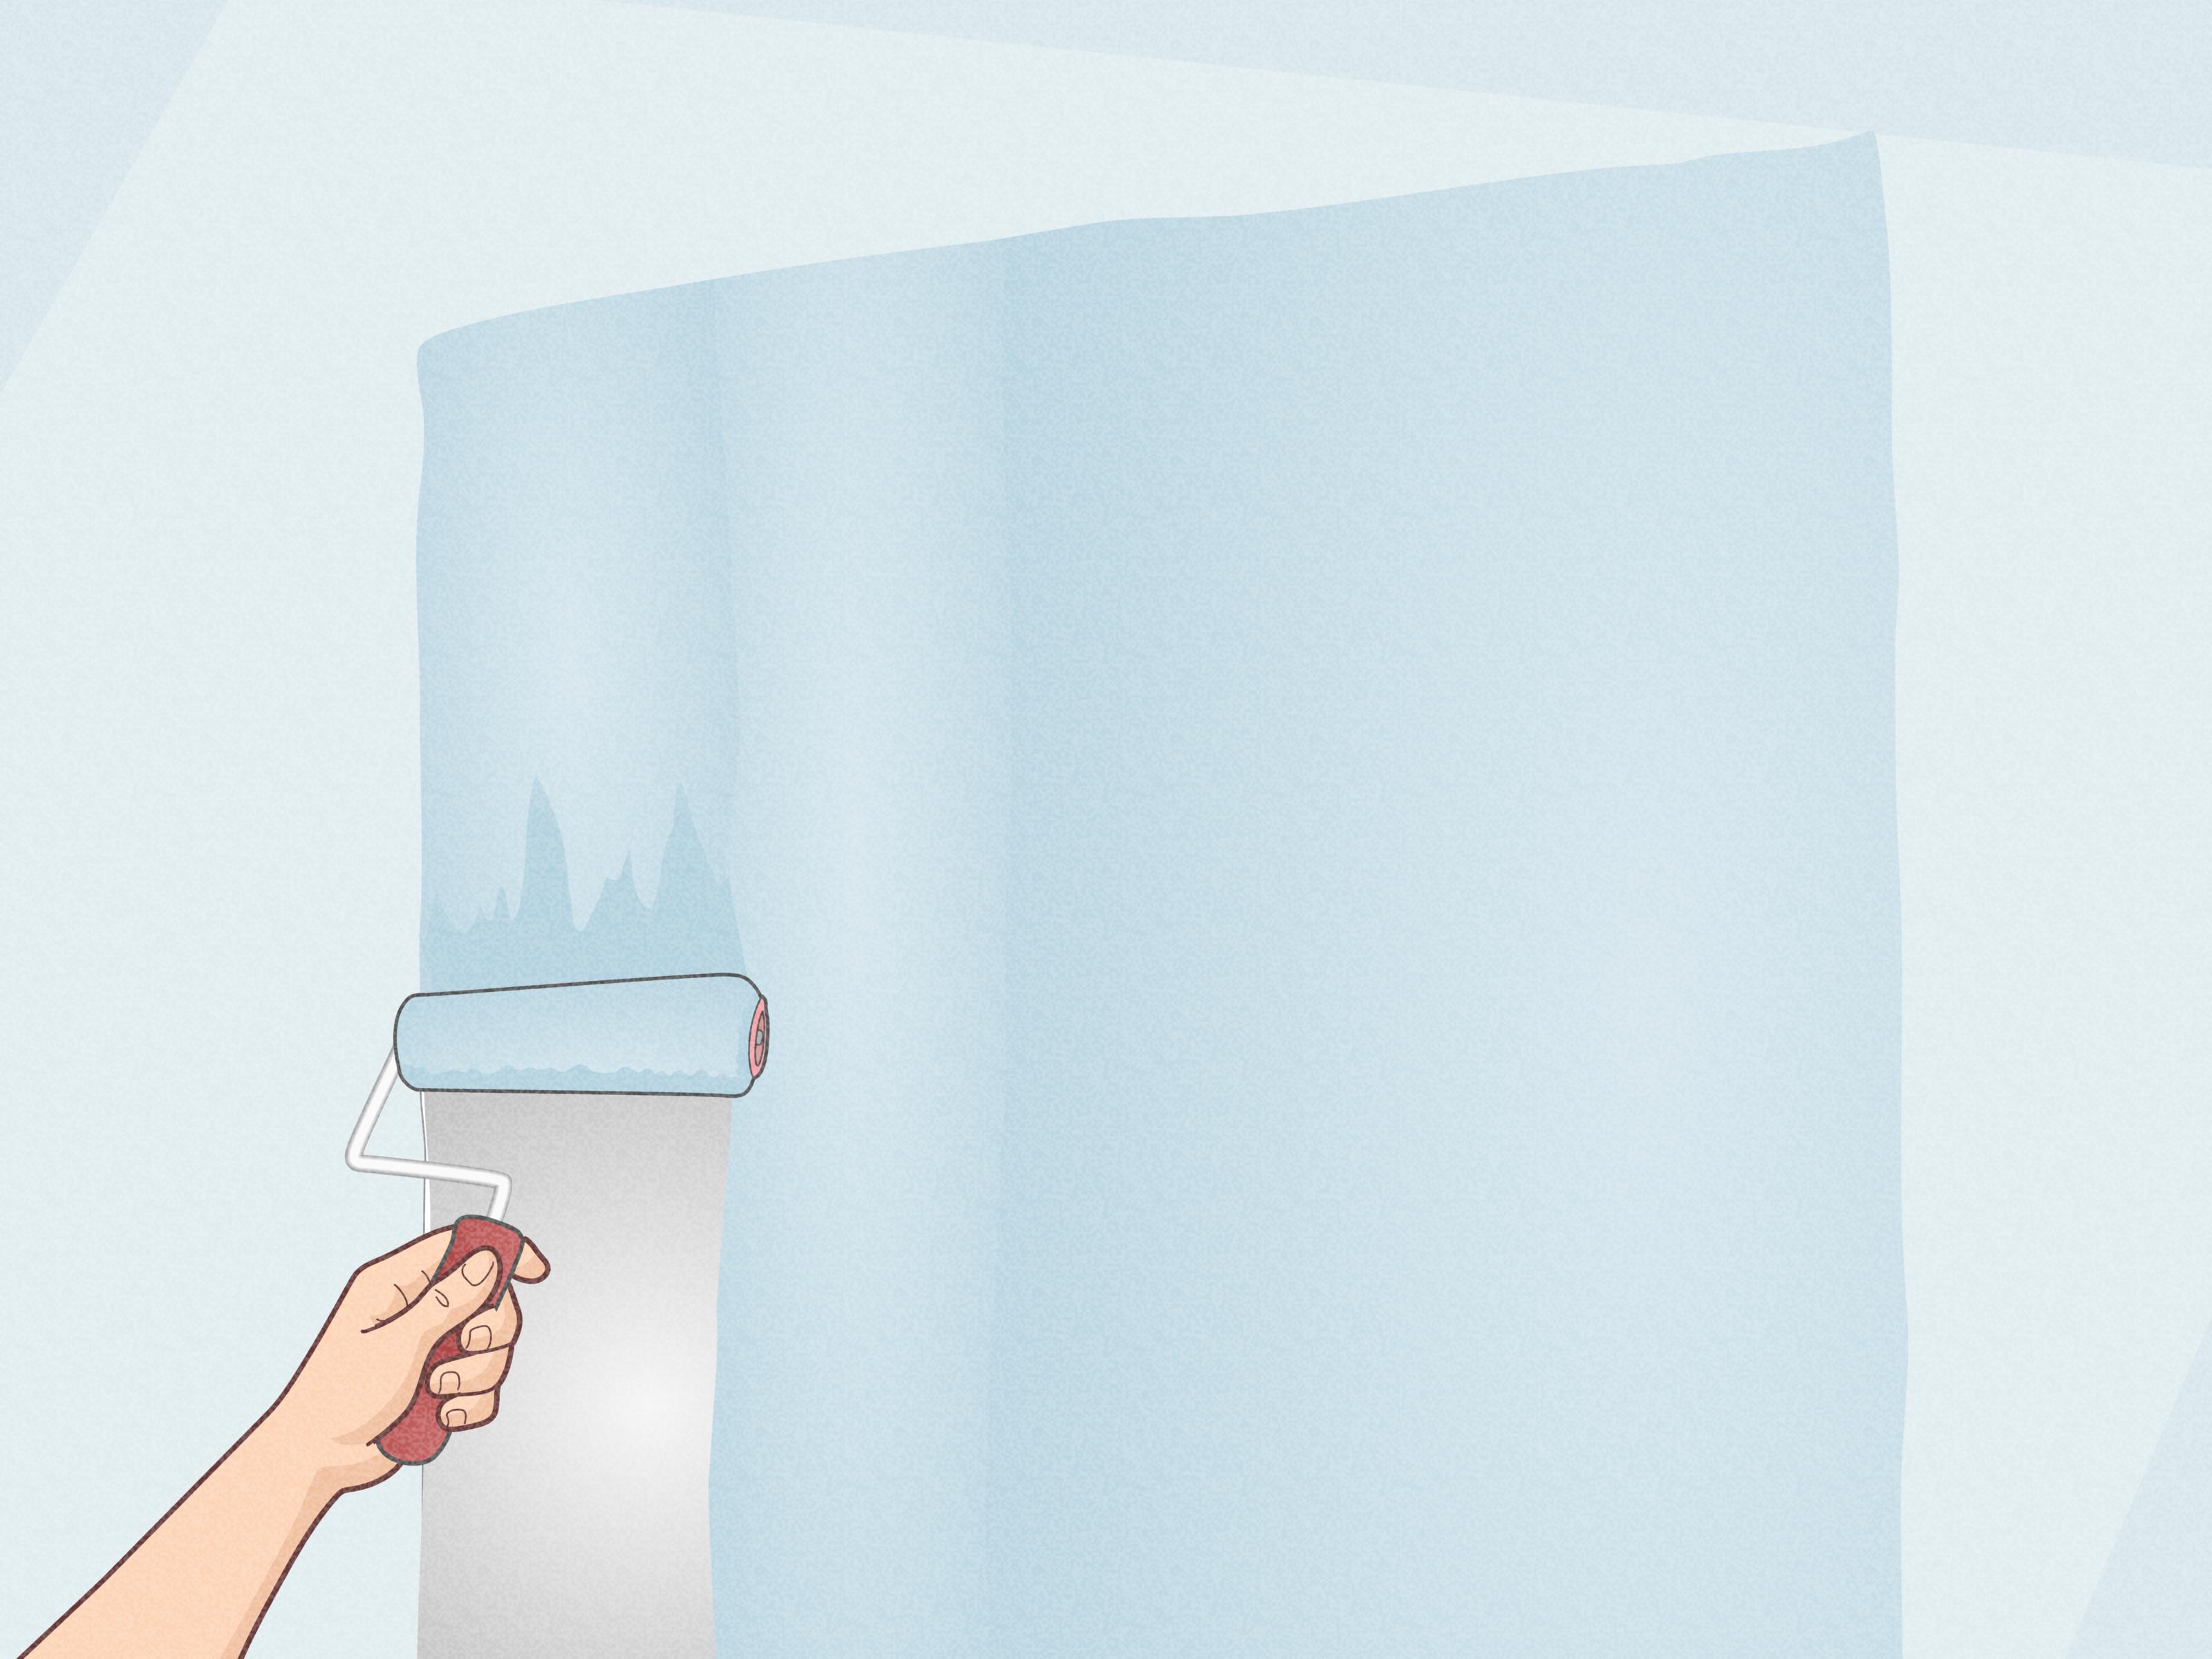
Step 8: Prime and paint the entire area
Fresh joint compound is thirsty. If you paint directly over it without primer, the sheen difference will often make the patch visible even if the wall is perfectly smooth. Use drywall primer on the repaired area, then paint.
For the best blend, many pros recommend painting the entire wall rather than only the patched section. Spot painting can work in ideal conditions, but walls love to age in subtle ways. Even the exact same paint color can dry slightly different over old and new surfaces.
Common mistakes when filling in a doorway
Skipping structural caution
If you are not sure whether the wall carries load, stop and verify. Confidence is not the same thing as engineering.
Using weak backing or too few studs
Drywall needs solid support. If seams float or flex, cracks often appear later.
Ignoring insulation
Once the wall is closed, adding sound control becomes much more annoying. This is the easiest time to do it right.
Rushing the mudding process
Thick coats, poor drying time, and lazy sanding create bumps, shrinkage, and visible seams. The wall remembers everything.
Only painting the patch
You may save a little time, but you often trade it for a ghost rectangle that remains visible in certain light.
How much does it cost to close in a door opening?
If you do the project yourself, the cost is often fairly reasonable. A basic interior door opening patch may require framing lumber, drywall, screws, insulation, compound, tape, primer, paint, and trim materials. For a simple non-load-bearing opening, many DIYers can complete the materials list without blowing the remodeling budget into another dimension.
If you hire a contractor, the cost rises based on finish quality, electrical relocation, paint matching, trim work, and local labor rates. A doorway that looks easy can become more involved if the wall is out of plumb, the existing texture is hard to match, or the opening contains wiring that needs rerouting.
When hiring a pro is the smarter move
Call in help if any of the following apply:
- The wall may be load-bearing
- You found electrical wiring that must be moved
- The wall has plumbing or HVAC components
- You are matching difficult textures like heavy orange peel or skip trowel
- You need a flawless finish in a high-visibility room
- Your confidence level is currently being held together by a single YouTube video and a dream
Design ideas after the doorway is gone
Once the opening is filled, you suddenly gain usable wall space. That can change the whole room. A former door wall can become the perfect place for built-in shelves, a reading chair, a desk, a credenza, a gallery wall, or a better furniture layout that no longer has to leave a weird empty landing strip for door clearance.
In small homes, removing an unnecessary door can make circulation feel simpler and quieter. In larger homes, it can help define zones more clearly. Either way, the payoff is not only visual. It is functional.
Real-world experiences and lessons from closing in a doorway
In real remodeling projects, the most memorable part of filling in a door opening is rarely the framing. It is the moment the room starts behaving differently. Homeowners often expect the project to be mostly cosmetic, but the experience is usually more dramatic than that. Once a doorway is gone, furniture placement improves, traffic patterns calm down, and the room often feels more deliberate. It is a small change that can have suspiciously big “why didn’t we do this sooner?” energy.
One common experience is surprise at how much trim removal affects the timeline. People think, “I’ll just pop off the casing.” Then the casing fights back, the paint tears, the drywall paper lifts, and suddenly a simple opening patch includes wall repair beyond the opening itself. That is why careful scoring and slow prying matter so much. The extra ten minutes here can save two hours later.
Another frequent lesson is that old houses are wonderfully creative in all the wrong ways. Homeowners open a former doorway and find studs that are not quite straight, shim stacks that look improvised, or headers that make perfect sense only to the person who installed them in 1974. In those situations, success comes from refusing to rush. Measure everything. Check for flush surfaces. Dry-fit materials. Pretend the wall is grading you personally.
Sound control is another area where experience changes people’s priorities. Plenty of homeowners only think about insulation after the patch is closed and the room still sounds hollow. Adding batt or mineral wool before the drywall goes up is one of those upgrades that feels minor during the project and brilliant afterward. A bedroom, home office, or nursery especially benefits from that extra step.
Drywall finishing also teaches humility. Many first-time DIYers do a solid job framing the opening, then get tripped up by mudding because they assume the compound will magically level itself like a well-trained dessert topping. It will not. Thin coats, wider knives, drying time, and gentle sanding are what make the repair disappear. The people happiest with their final result are usually the ones who stopped trying to finish everything in one pass.
Painting creates one more common surprise. Even when the patch is smooth, spot painting often leaves a visible difference in sheen or color. Homeowners who repaint the whole wall almost always feel better about the final look. It is not the glamorous part of the job, but it is the step that often turns “pretty good” into “you cannot tell there was ever a door there.”
The biggest overall lesson is simple: a doorway patch is not difficult because it is mysterious. It is difficult because it combines several smaller skillsdemo, framing, drywall, trim, and paintand every one of them affects the final appearance. When homeowners respect each stage, the result can look original to the house. When they rush one stage, the wall tattles.
If you approach the work methodically, filling in a door opening is one of those satisfying home improvement projects that improves both form and function. You gain wall space, often reduce noise, and make the room easier to use every single day. Not bad for the former location of a door nobody even liked.
Conclusion
If you want to fill in a door opening when you remove a door, the key is simple: verify safety first, frame the opening like a proper wall section, add insulation if it makes sense, and take your time with drywall finishing. The finished result should not look like a patched doorway. It should look like the doorway never existed. That is the real win.