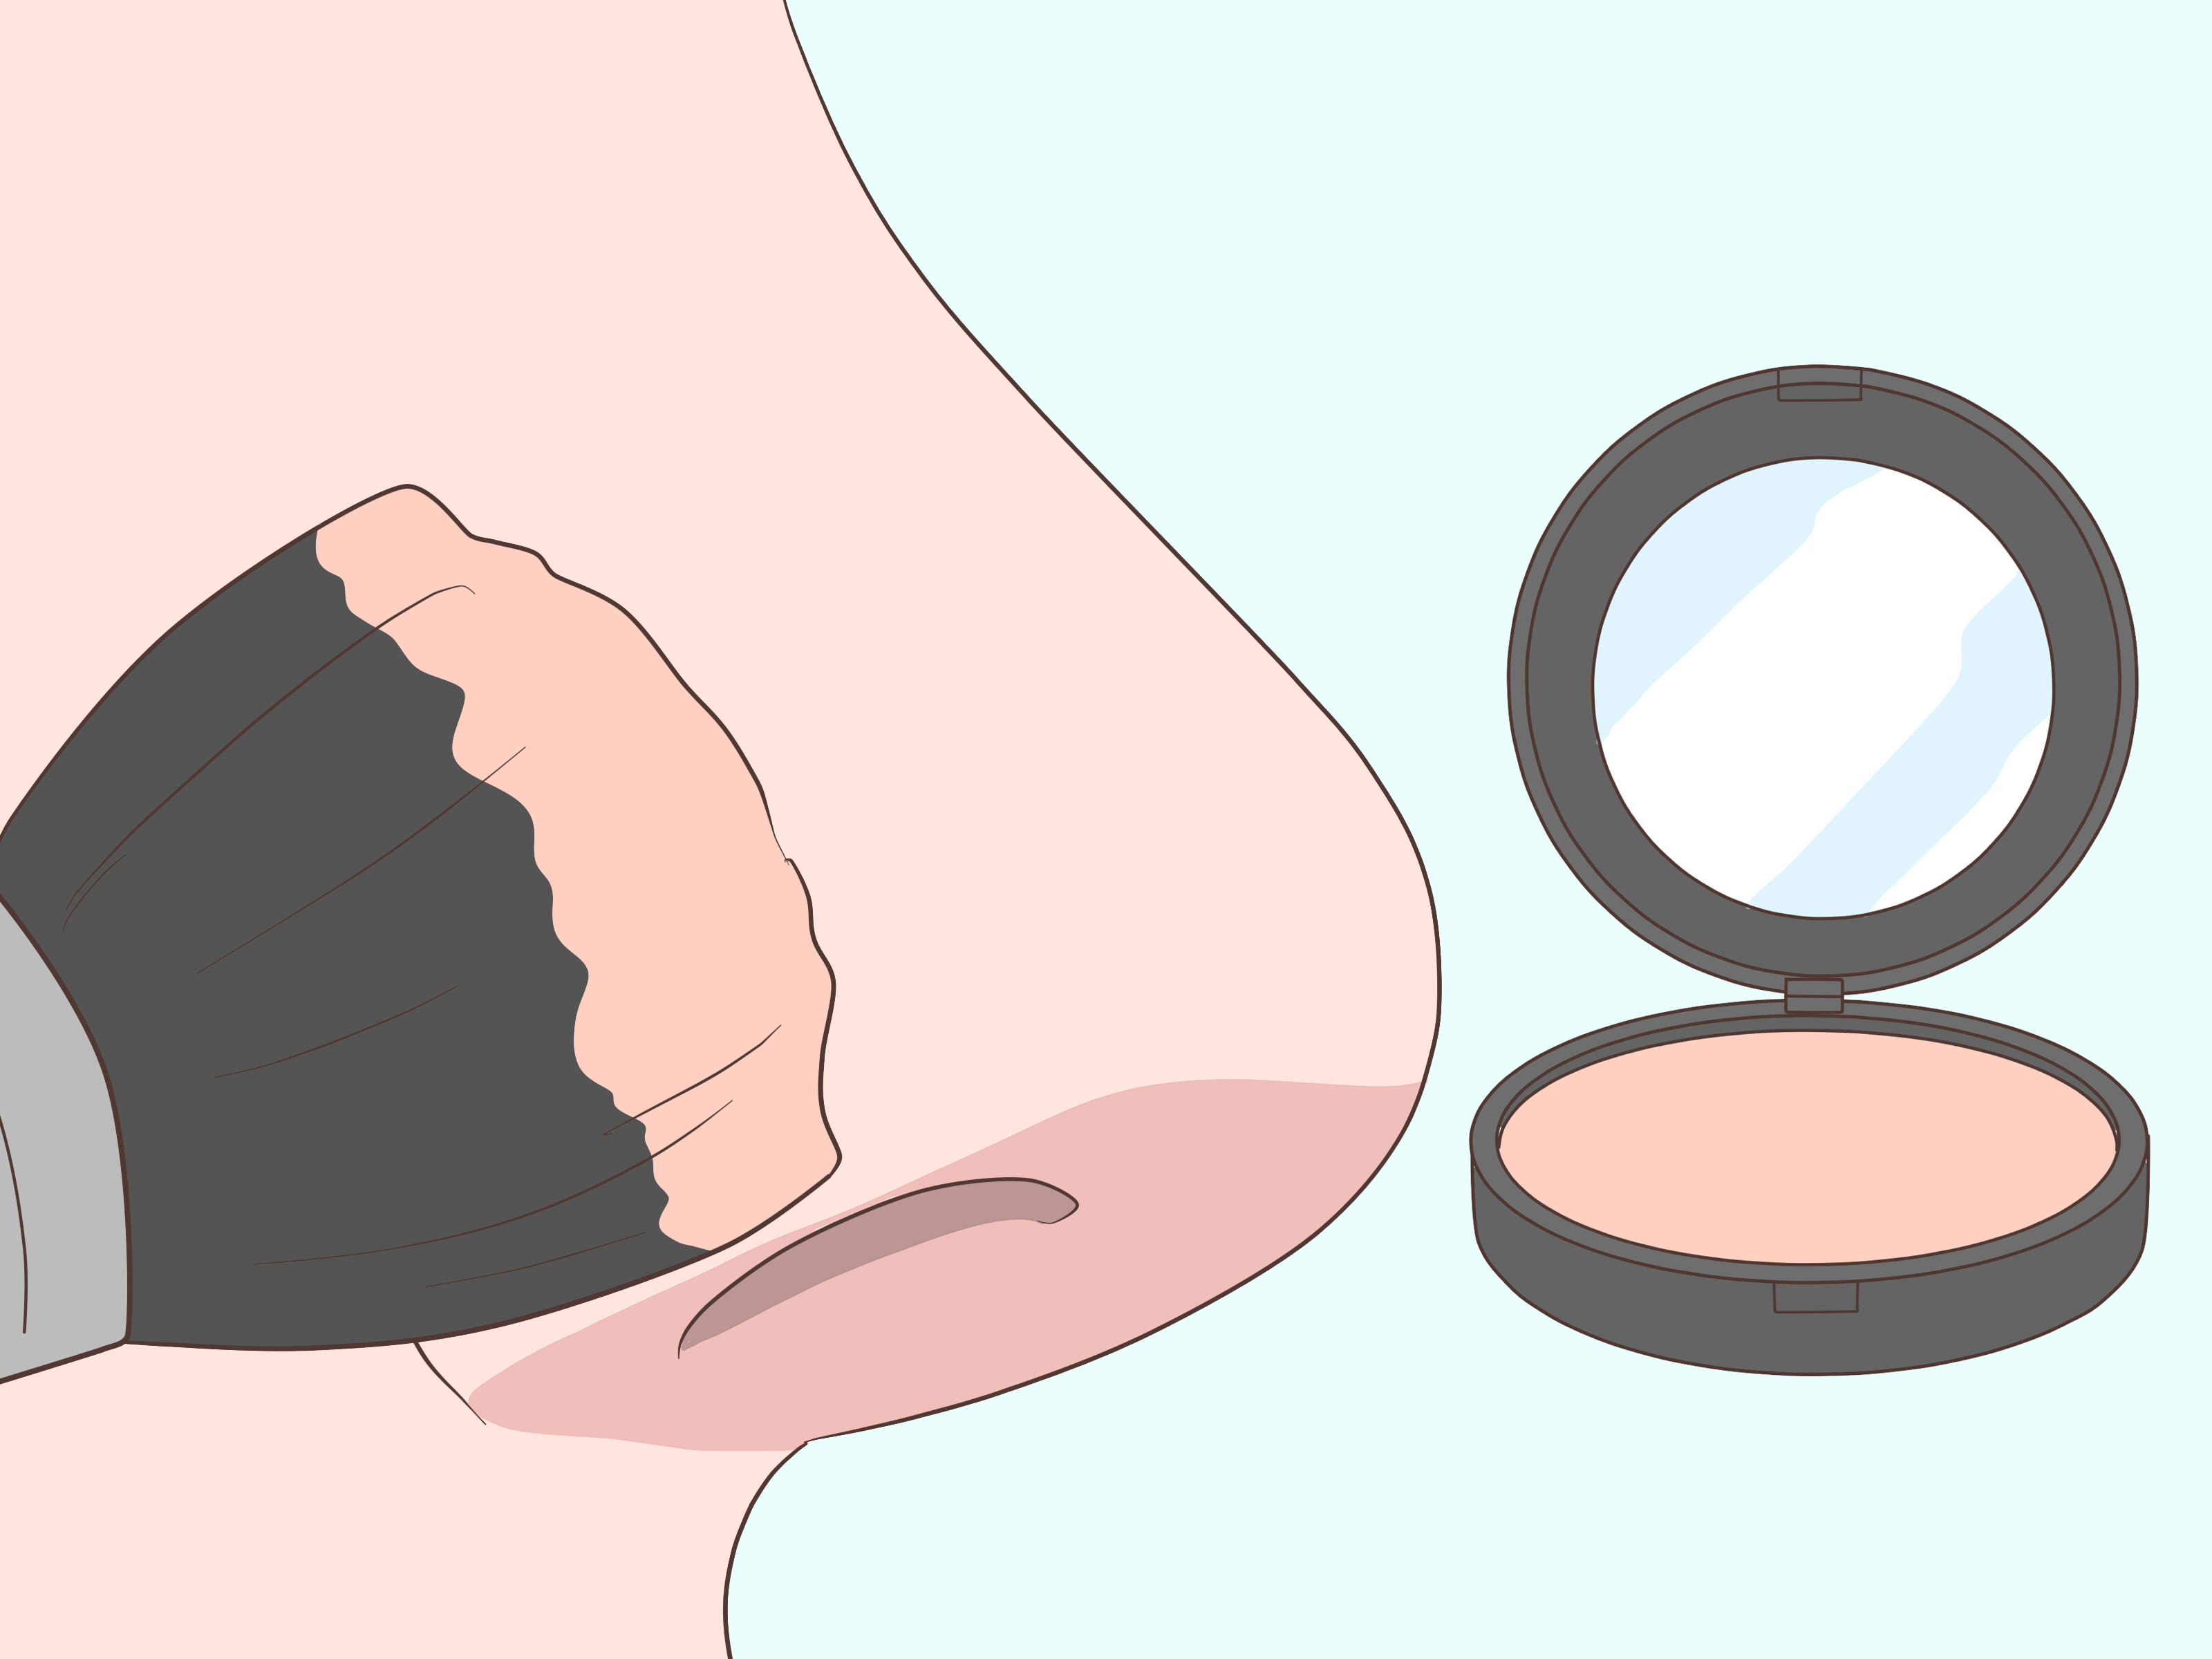
Moles are completely normal skin features, but sometimes you may prefer a more even-looking complexion for a wedding, photo shoot, job interview, stage performance, or ordinary Tuesday when your concealer suddenly decides to earn its place in the makeup bag.
Learning how to cover moles with makeup is less about piling on foundation and more about using precise color correction, thin layers, and patient blending. The goal is to neutralize the mole’s color without creating a thick patch that announces, “Hello, something dramatic happened here.”
There is one realistic limitation: makeup can disguise color much more effectively than texture. A flat brown mole may become almost invisible, while a raised mole will still have dimension when light hits it. Trying to bury that texture under a mountain of concealer usually makes it more noticeable, not less.
Before You Cover a Mole, Check It
Most common moles are harmless. However, dermatology organizations recommend paying attention to spots that change in size, shape, color, height, sensation, or behavior. The familiar ABCDE guide stands for asymmetry, border irregularity, color variation, diameter, and evolving appearance. A mole that looks noticeably different from the rest is sometimes described as an “ugly duckling.”
Diameter alone does not diagnose melanoma, and suspicious spots can be smaller than a pencil eraser. More important warning signs include evolution, itching, spontaneous bleeding, persistent crusting, a new growth, or any lesion that refuses to heal. When in doubt, take the makeup off and let a dermatologist take a look.
What You Need to Cover Moles with Makeup
You do not need a suitcase of professional cosmetics. A small, carefully selected kit usually produces better results than twelve layers of whatever happens to be within arm’s reach.
- A gentle cleanser
- A lightweight moisturizer
- An optional smoothing or gripping primer
- A peach, orange, yellow, or green color corrector
- A highly pigmented, full-coverage concealer
- A small precision concealer brush
- A clean fingertip, sponge, or soft blending brush
- Translucent or skin-toned setting powder
- An optional long-wear setting spray
Choose products designed for your skin type. Creamy formulas generally sit more comfortably on dry skin, while self-setting or soft-matte formulas may last longer on oily areas. For sensitive skin, patch-test unfamiliar cosmetics on a small area before using them extensively. Cosmetic ingredients can occasionally cause irritation or allergic contact dermatitis.
How to Cover Moles with Makeup in 9 Steps
Step 1: Start with Clean, Dry Skin
Wash the area with a gentle cleanser to remove oil, sunscreen residue, old makeup, and skin-care products that may cause concealer to slide. Pat the skin dry instead of rubbing it. Rubbing can temporarily redden the area, which makes accurate color matching more difficult.
Look at the mole before applying anything. If it has recently changed, feels sore, is bleeding, or looks significantly different from your other moles, stop here and arrange a professional skin examination. Makeup is a camouflage tool, not a diagnostic device wearing a tiny cape.
It can also help to take a clear photograph of the mole on bare skin, especially when you frequently cover it. A dated photograph gives you a visual reference for monitoring obvious changes over time.
Step 2: Apply a Lightweight Moisturizer
Spread a thin layer of moisturizer over the surrounding skin and allow it to absorb for several minutes. Hydrated skin helps concealer blend without catching on dry flakes, but too much moisturizer can turn your carefully applied coverage into a miniature landslide.
Avoid coating a raised mole with a thick, greasy cream immediately before makeup. Instead, moisturize the general area and gently press away any visible excess with a clean tissue. The surface should feel comfortable but not slippery.
If the mole is on a sun-exposed area, use an appropriate broad-spectrum sunscreen as part of your normal daytime routine. Let it form an even film before moving to the next step. Makeup should not replace sun protection.
Step 3: Use Primer Only Where It Helps
Primer is optional, but it can improve wear when the mole is located on an oily or high-movement area such as the nose, chin, jawline, or forehead. Choose a thin smoothing primer for uneven texture or a gripping primer when products tend to disappear by lunchtime.
Press a very small amount around the mole instead of aggressively rubbing it across the surface. For raised moles, excessive rubbing can cause products to collect around the base, creating a visible ring.
Allow the primer to settle before adding pigment. Applying everything immediately, one wet layer on top of another, is the cosmetic equivalent of building a house on pudding.
Step 4: Select the Right Color Corrector
Color correction reduces the amount of skin-toned concealer needed. The best shade depends on the mole’s visible undertone and the depth of your complexion.
- Light to medium brown or bluish-brown moles: Try a pale peach or salmon corrector.
- Very dark brown, gray-brown, or nearly black moles: Use a deeper peach, terracotta, red-orange, or orange corrector appropriate for your skin tone.
- Red or pink areas: Use a tiny amount of green corrector.
- Purple or blue discoloration: A yellow or peach-toned corrector may help.
These are starting points, not rigid laws. Correctors should neutralize discoloration without leaving an obvious green, orange, or red dot. Beauty guides generally recommend using peach or orange tones on dark discoloration and green tones on redness, followed by a skin-matching concealer.
Step 5: Apply a Pinpoint Amount of Corrector
Use a fine concealer brush to place a tiny amount of corrector directly on the mole. Stipple it into place with short tapping motions. Do not paint a large circle around the spot unless you are aiming for a tiny abstract sunset.
For a flat mole, cover the pigmented area without extending far beyond its border. For a raised mole, focus on correcting the darkest visible surface while keeping the layer extremely thin. Heavy cream can settle around the edges and exaggerate the mole’s shape.
Let the corrector sit briefly. If it remains too bright, tap it with a clean fingertip or sponge to remove excess pigment. You want a muted base, not a perfectly opaque orange patch.
Step 6: Apply Foundation Around the Area
Apply your regular foundation in a light layer, blending around and gently over the corrected spot. Use pressing or stippling motions rather than long swipes. Dragging a sponge or brush across the mole may lift the color corrector you just placed.
Foundation creates an even base and reduces the contrast between the mole and the surrounding skin. It usually should not provide all the coverage by itself. Adding several heavy coats of foundation can make the entire area look thick while the mole still peeks through like an especially determined understudy.
After applying foundation, check the mole in natural light. You may discover that only a small amount of additional concealer is necessary.
Step 7: Pinpoint Conceal with a Matching Shade
Choose a high-pigment concealer that closely matches the skin surrounding the mole. Do not automatically choose a lighter shade. Bright under-eye concealer may be excellent for making you look awake, but on a mole it can create a pale spotlight.
Pick up a minute amount with a clean precision brush. Press it onto the center of the mole and build outward only as needed. Let the first layer set for several seconds before deciding whether to add another.
Thin layers are more flexible, natural-looking, and resistant to cracking than one thick blob. Full-coverage concealers are highly pigmented, so a pin-sized amount may be enough for a small spot. Professional beauty advice also commonly recommends precise application and very thin layers when concealing concentrated discoloration.
Step 8: Blend Only the Outer Edges
This is the step that separates convincing coverage from a beige polka dot. Keep the product over the mole intact and blend only the perimeter into the surrounding foundation.
Use the tip of a damp makeup sponge, a small fluffy brush, or a clean fingertip. Tap around the outside edge with light pressure. Avoid pressing repeatedly in the center because that removes the pigment where you need it most.
For raised moles, blend in the direction of the surrounding skin rather than trying to flatten the feature visually with more product. Some texture will remain, and that is normal. A natural-looking finish is usually more flattering than a rigid patch of makeup attempting to defy three-dimensional geometry.
Step 9: Set the Coverage Without Over-Powdering
Dip a small brush or powder puff into translucent or skin-toned setting powder, remove the excess, and press it lightly onto the concealed area. Do not sweep the powder back and forth, as this may disturb the layers underneath.
Use less powder on dry or mature skin. Too much can make the mole’s texture look rough or create a chalky halo. On oily skin, a second whisper-thin application may improve longevity after the first layer has settled.
Finish with setting spray when you need extended wear. Mist it over the face from the distance recommended on the product, then leave the makeup alone until dry. Color-correcting and concealer brands commonly recommend setting finished coverage with powder or spray to improve wear.
How to Cover a Raised Mole Without Making It More Obvious
A raised mole presents a texture challenge. Makeup can soften its color, but it cannot remove its physical shape. The most effective strategy is to reduce contrast while preserving a skin-like finish.
Use a small brush and minimal product. Place pigment on the upper surface, then feather the edges where the mole meets the skin. Avoid surrounding it with heavy powder, which may collect around the base. A satin or natural finish is often more forgiving than an extremely matte formula because flat matte products can emphasize every contour.
Also consider the lighting. Strong side lighting highlights raised texture, while softer frontal light reduces shadows. For photography, adjusting the angle of the face or light source can sometimes make more difference than adding another layer of concealer.
Common Mistakes to Avoid
Using a Concealer That Is Too Light
A lighter color may turn a brown mole gray, lavender, or strangely ashy. Match the surrounding skin as closely as possible. When choosing between two shades, test them beside the mole and check the result in daylight.
Applying Too Much Color Corrector
A corrector should neutralize, not completely replace, the mole’s color. If the orange or green shade remains obvious after foundation, you probably used too much. Remove the excess rather than burying it under additional concealer.
Blending Across the Center
Buffing the entire area may erase coverage from the mole while spreading concealer around it. Concentrate blending on the outer border.
Covering an Irritated or Changing Mole
Do not camouflage a concerning lesion and forget about it. New, changing, itching, bleeding, or non-healing spots deserve medical attention. Healthcare organizations also warn against attempting to cut, burn, or chemically remove moles at home.
Using Dirty Brushes
Because pinpoint concealing involves concentrated product and close contact with the skin, clean tools matter. Wash reusable brushes regularly, avoid sharing them, and replace cosmetics that smell unusual, separate unexpectedly, or have been kept beyond their recommended period. Old makeup can perform poorly and may contribute to irritation or breakouts.
Real-World Experience: What Actually Works
The first time many people try to cover a mole, they approach the project with the enthusiasm of someone frosting a cupcake. Concealer goes on. More concealer goes on. Powder arrives. Foundation returns for an encore. Five minutes later, the mole is still visible, but now it is wearing a small cosmetic helmet.
A more successful approach begins with accepting that coverage and invisibility are not always the same thing. On a flat mole, careful color correction can produce near-complete camouflage. On a raised mole, the realistic target is reducing the color contrast so the feature no longer attracts immediate attention.
During trial applications, the biggest improvement usually comes from downsizing the tools. A regular foundation brush is far too large for a small mole. Even a standard concealer wand may deposit more product than necessary. A clean eyeliner brush, lip brush, or precision concealer brush provides much better control. It lets you place pigment exactly where it belongs instead of creating an oversized patch.
Another useful discovery is that waiting matters. When corrector, foundation, and concealer are applied in rapid succession, the layers mix into one muddy color. Allowing each thin layer to settle for 20 to 30 seconds helps preserve coverage. You do not need to stand dramatically in front of a fan; simply work on another area of the face while the product sets.
Shade matching can also be surprisingly tricky. A concealer that matches your forehead may be wrong for a mole near your jaw, chest, neck, or shoulder. Skin tone changes subtly across the body. Testing the shade beside the mole produces a more accurate result than testing it on the wrist or relying on the label’s optimistic description of “universal beige.”
For long events, carrying a tiny touch-up kit is useful. You generally need only the matching concealer, a precision brush, and a small amount of powder. Before touching up, blot oil with a tissue. Adding fresh concealer directly over sweat or facial oil can create a thick ring. After blotting, tap on the smallest possible amount and soften the edge.
Photographs reveal details that bathroom lighting politely ignores. After finishing, take one picture in natural daylight and another with flash. Flash photography may expose a pale powder cast or a concealer mismatch. If the covered area looks lighter in the picture, remove a little powder or use a setting powder without a strong white cast.
It is also worth practicing before an important event. Wedding mornings and professional photo sessions are not ideal laboratories for discovering that your new full-coverage concealer dries in seven seconds and blends like sidewalk cement. Test the complete routine on an ordinary day, wear it for several hours, and observe whether it fades, cracks, transfers, or becomes shiny.
Most importantly, remove the makeup gently at the end of the day. Soak a cotton pad with makeup remover or cleansing balm, press it against the area briefly, and wipe without vigorous scrubbing. Follow with a mild cleanser and moisturizer. Once the skin is clean, take another look at the mole. Regular bare-skin observation makes it easier to notice meaningful changes rather than keeping the spot permanently hidden beneath cosmetics.
The best result often comes from restraint. A tiny amount of corrector, one or two thin concealer layers, and precise edge blending usually outperform heavy foundation. Your makeup should look like skin, not like a home-repair project that accidentally wandered into the beauty aisle.
Frequently Asked Questions
Can Foundation Alone Cover a Mole?
Sheer or medium-coverage foundation may soften a light mole, but darker spots generally need color correction or a concentrated concealer. Applying more foundation across the entire face may create heaviness without providing enough targeted coverage.
What Color Concealer Covers a Brown Mole?
Start with a concealer matching the surrounding skin. If the mole still appears gray or dark beneath it, use a small amount of peach, salmon, terracotta, or orange corrector first. Deeper skin tones usually require a richer corrector than fair skin tones.
Can Makeup Completely Hide a Raised Mole?
Makeup may conceal much of the color, but the raised shape will remain visible under certain lighting. Thin products and softly blended edges usually make it less noticeable than heavy, opaque layers.
Is It Safe to Put Makeup on a Mole?
Applying cosmetics to an ordinary, intact mole is generally a cosmetic decision, but avoid makeup on skin that is open, bleeding, infected, recently treated, or healing after a procedure. Follow your clinician’s aftercare instructions for biopsied or removed lesions.
How Can I Make the Coverage Last All Day?
Prepare the skin without making it greasy, use thin pigment-rich layers, press setting powder onto the spot, and add setting spray when appropriate. Blot oil before performing touch-ups.
Conclusion
Knowing how to cover moles with makeup comes down to precision rather than quantity. Begin with clean skin, neutralize discoloration, apply a matching full-coverage concealer in thin layers, blend only the edges, and set the area carefully.
Remember that makeup can camouflage a mole’s color but may not fully conceal raised texture. More importantly, cosmetics should never replace routine skin awareness. Check your moles on bare skin and consult a healthcare professional about spots that are new, evolving, bleeding, painful, itchy, crusted, or slow to heal.