Leather sandals are the unofficial uniform of warm weather: breezy, stylish, and just fancy enough to make you feel like you have your life togethereven if your footbed currently looks like it survived a desert expedition. The good news? Learning how to clean leather sandals is simple when you use the right tools, a gentle touch, and absolutely no “let’s just toss them in the washing machine” energy.
Leather is durable, but it is also a natural material. Too much water can dry it out, harsh cleaners can stain it, and high heat can turn a beloved pair into sad little foot-shaped crackers. This guide walks you through 13 practical steps to clean leather sandals safely, refresh the footbeds, remove odors, condition the straps, and keep them looking polished for many sunny seasons ahead.
Before You Start: Know What Kind of Leather You Have
Not all leather sandals should be cleaned the same way. Smooth leather can usually handle a slightly damp cloth, leather cleaner, and conditioner. Suede and nubuck need a dry brush and specialty products. Oiled or waxed leather may darken if you use the wrong cleaner, while patent leather needs a very light wipe and shine-focused care.
Check the care label, brand website, or product description before cleaning. If you are unsure, test any cleaner on a hidden spot first. This tiny test patch is the leather-care equivalent of reading the recipe before dumping hot sauce into dessert.
What You’ll Need to Clean Leather Sandals
- Soft-bristled brush or clean toothbrush
- Microfiber cloths
- Mild soap, saddle soap, or leather cleaner
- Small bowl of lukewarm water
- Leather conditioner
- Baking soda or cornstarch for odors and oily spots
- White vinegar for salt or mineral stains, used carefully
- Cotton swabs for seams and buckles
- Newspaper or paper towels for shaping while drying
- Leather protector spray, if suitable for your sandal type
How to Clean Leather Sandals: 13 Steps
Step 1: Remove Loose Dirt First
Start with dry sandals. Use a soft-bristled brush, old toothbrush, or dry microfiber cloth to remove dust, sand, dried mud, and debris from the straps, seams, buckles, soles, and footbeds. This step matters because rubbing wet dirt into leather can create stains instead of removing them.
Pay attention to the edges where straps meet the sole. That area tends to collect grime, sunscreen residue, and mystery crumbs from your last “quick snack” walk.
Step 2: Wipe the Leather Straps with a Damp Cloth
Dampen a microfiber cloth with lukewarm water. It should be damp, not dripping. Wipe the smooth leather straps gently to lift surface grime. Avoid soaking the leather, especially around glued areas or cork soles.
For lightly dirty sandals, this may be enough. Leather does not always need a full spa day. Sometimes it just needs a polite wipe and a little respect.
Step 3: Use Mild Soap or Leather Cleaner for Deeper Dirt
If water alone does not remove the dirt, mix a tiny amount of mild soap with lukewarm water or use a dedicated leather cleaner. Dip your cloth into the solution, wring it out well, and clean the leather using small circular motions.
Do not pour cleaner directly onto the sandal. Work slowly and evenly. Spot-cleaning too aggressively can leave one suspiciously clean patch that screams, “Something happened here.”
Step 4: Clean Around Buckles and Hardware
Use a cotton swab or soft toothbrush to clean around buckles, metal rings, stitching, and strap holes. These small areas trap sweat, dust, and dried lotion. If the hardware is metal, dry it immediately after wiping to reduce the chance of tarnish or rust.
For decorative sandals, avoid scrubbing beads, metallic finishes, painted leather, or glued embellishments. A light touch is your best friend.
Step 5: Clean the Leather Footbed Gently
The footbed usually gets the dirtiest because it collects sweat, oils, dust, and the emotional history of every summer errand. For leather footbeds, use a slightly damp cloth with mild soap or leather cleaner. Rub gently in circular motions, then wipe with a clean damp cloth to remove soap residue.
If the footbed is suede, nubuck, cork, foam, or another material, adjust your method. Suede and nubuck footbeds should be brushed dry with a suede brush. Cork should not be soaked. Foam or synthetic footbeds may tolerate mild soap better, but still avoid drowning them.
Step 6: Treat Odor Without Over-Wetting
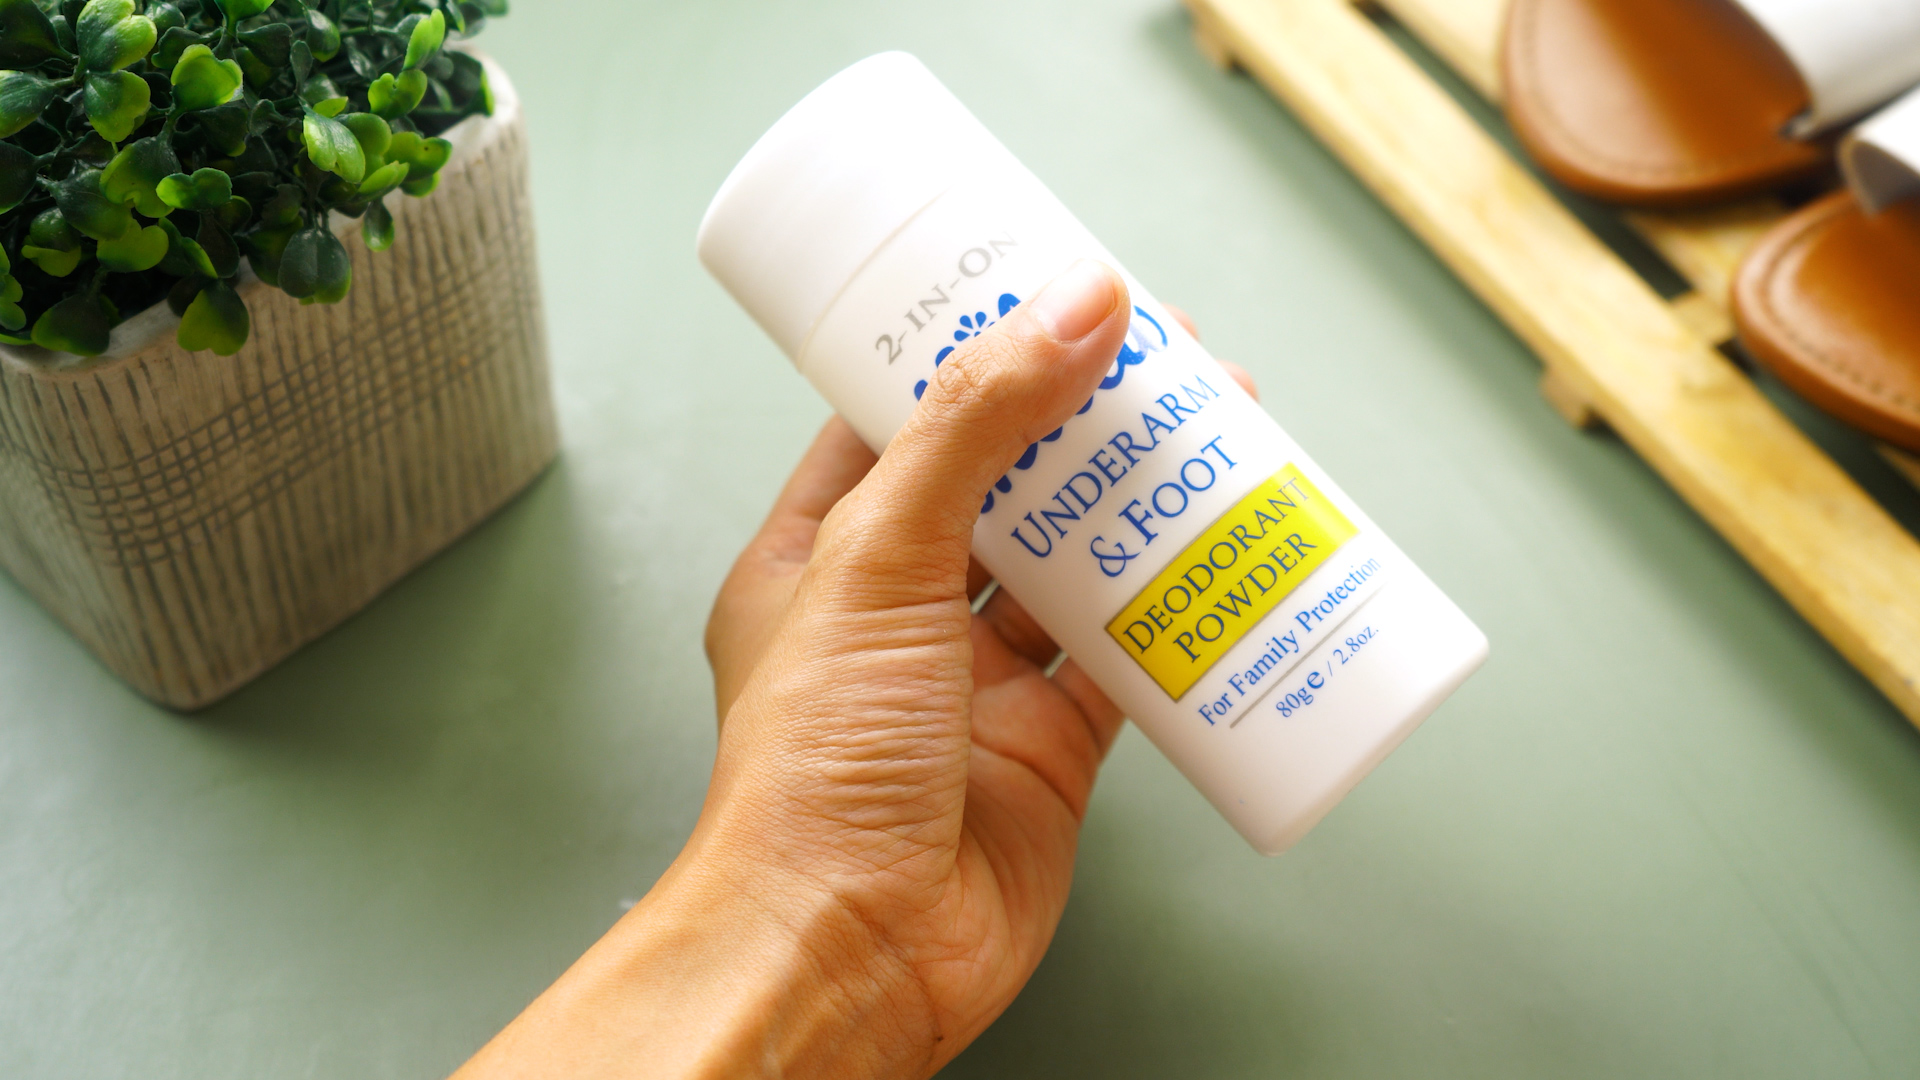
To deodorize leather sandals, sprinkle a small amount of baking soda onto the dry footbed and let it sit overnight. Shake it out the next day and brush away residue. This helps absorb odor without soaking the sandal.
For stronger smells, wipe the footbed lightly with a cloth dampened with diluted white vinegar, then wipe again with plain water and dry thoroughly. Use vinegar sparingly because it can dry leather if overused.
Step 7: Handle Oil or Grease Stains with Cornstarch
If your sandals have an oily spot from food, sunscreen, or lotion, sprinkle cornstarch or baking soda over the stain. Let it sit for several hours or overnight so the powder can absorb the oil. Brush it away gently.
Avoid scrubbing oil stains with water right away. Water can spread the mark or push it deeper into the leather. Grease stains require patience, not panic.
Step 8: Remove Salt or Water Marks Carefully
Salt stains and mineral marks can appear after beach days, sweaty walks, or rainy commutes. Mix equal parts white vinegar and water, dampen a cloth lightly, and dab the stained area. Follow with a clean damp cloth, then dry with a towel.
Do not saturate the leather. Vinegar can help dissolve salt, but it can also dry leather if used too often. After the sandals dry, conditioning becomes especially important.
Step 9: Wipe Away Soap and Cleaner Residue
After cleaning, use a separate cloth dampened with plain water to remove leftover soap or cleaner. Residue can make leather sticky, dull, or more likely to attract dirt.
Think of this step as rinsing without rinsing. Leather sandals do not want a bath. They want a respectful sponge moment.
Step 10: Dry the Sandals Naturally
Pat the sandals with a dry towel and let them air-dry in a well-ventilated area. Keep them away from direct sunlight, radiators, hair dryers, clothes dryers, and other heat sources. High heat can shrink, stiffen, crack, or warp leather.
If the sandals are damp inside, stuff them lightly with paper towels or newspaper to help absorb moisture and hold their shape. Replace the paper if it becomes too wet.
Step 11: Condition the Leather
Once the sandals are completely dry, apply a small amount of leather conditioner to a clean cloth. Rub it into smooth leather straps in thin, even layers. Let it absorb, then buff with another cloth.
Conditioner helps restore moisture and flexibility, especially after cleaning. However, do not use regular leather conditioner on suede or nubuck unless the product specifically says it is safe for those materials.
Step 12: Protect the Sandals Before Wearing
After cleaning and conditioning, consider applying a leather-safe water and stain repellent. Choose one made for your sandal material, especially if your sandals include suede, nubuck, cork, or delicate finishes.
Spray protectors should be used in a ventilated area and allowed to dry fully before wear. Protection will not make leather invincible, but it can help reduce stains from water, dirt, and daily grime.
Step 13: Store Leather Sandals Properly
Store leather sandals in a cool, dry place away from direct sun. Avoid tossing them into a damp closet, gym bag, or hot car. Use a shoe bag, breathable box, or shelf where they can keep their shape.
If you wear the same pair often, give them time to air out between uses. Leather appreciates rest. Honestly, after surviving your errands, it has earned it.
Common Mistakes to Avoid When Cleaning Leather Sandals
Do Not Put Leather Sandals in the Washing Machine
The washing machine may be fine for some fabric shoes, but leather sandals usually do not belong there. Water, agitation, and detergent can damage leather, loosen glue, warp soles, and fade finishes.
Do Not Soak Leather in Water
Leather can tolerate light moisture during cleaning, but soaking is risky. Too much water can make leather stiff, stained, or misshapen after drying.
Do Not Use Harsh Chemicals
Bleach, ammonia, strong detergents, and abrasive cleaners can strip color and damage leather fibers. If the cleaner sounds like it belongs in a garage emergency kit, it probably does not belong on your sandals.
Do Not Skip the Patch Test
Leather colors and finishes vary. Even a gentle product can darken or alter certain leathers. Test first on a hidden area, wait for it to dry, and then decide whether to continue.
How Often Should You Clean Leather Sandals?
For regular wear, wipe leather sandals every one to two weeks and do a deeper cleaning once a month during sandal season. If you wear them to the beach, on dusty trails, or during sweaty city walks, clean them sooner.
Condition smooth leather every few months, or whenever it begins to look dry. Over-conditioning can make leather greasy or attract dirt, so use small amounts and buff well.
How to Clean Different Types of Leather Sandals
Smooth Leather Sandals
Smooth leather is the easiest to maintain. Brush away dirt, wipe with a damp cloth, clean with mild soap or leather cleaner, dry naturally, and apply conditioner.
Suede Sandals
Suede needs a dry approach. Use a suede brush to lift dirt and restore texture. For stains, use a suede eraser or a cleaner made specifically for suede. Avoid water whenever possible because it can leave marks.
Nubuck Sandals
Nubuck is similar to suede but usually has a finer texture. Use a nubuck brush and specialty cleaner. Do not apply standard leather conditioner unless the product clearly says it is safe for nubuck.
Patent Leather Sandals
Patent leather has a glossy coated finish. Wipe it with a damp cloth, dry it immediately, and buff gently. Avoid abrasive brushes that can scratch the shine.
Cork Footbed Sandals
Many leather sandals have cork footbeds or midsoles. Clean the leather straps separately and avoid soaking cork. If the cork looks dry or cracked, use a cork sealer recommended by the brand.
Extra Tips for Keeping Leather Sandals Fresh
Rotate your sandals instead of wearing the same pair every day. This gives sweat and moisture time to evaporate. After each wear, let sandals air out before storing them. If foot odor is a frequent issue, use moisture-absorbing shoe sachets or a light sprinkle of baking soda between wears.
Clean stains quickly. Fresh dirt is easier to remove than old grime that has settled in like it signed a lease. Keep a small shoe brush and microfiber cloth near your entryway so maintenance feels easy instead of dramatic.
Experience-Based Advice: What Actually Works in Real Life
After cleaning many pairs of leather sandals, one lesson becomes obvious: the best results usually come from doing less, but doing it correctly. People often damage leather not because they ignore their sandals, but because they attack them with too much water, too much soap, or too much confidence. Leather care rewards patience.
For example, a pair of tan leather sandals with dark foot marks may not become brand-new again in one cleaning. That is normal. Leather develops character, especially on footbeds. The goal is to remove dirt, reduce odor, and keep the material healthynot erase every sign that your feet have ever existed.
The most useful habit is dry brushing before any wet cleaning. It seems boring, but it prevents dirt from turning into muddy streaks. On sandals worn to the beach, this step is especially important. Sand hides in stitching, strap holes, and sole edges. If you skip brushing and go straight to a damp cloth, you may grind tiny particles into the leather.
Another real-world tip: clean both sandals evenly. If only one sandal has a stain, it is tempting to clean that spot alone. But leather can slightly change tone after cleaning, especially lighter brown, beige, or natural leather. Wiping both sandals lightly keeps the pair looking balanced.
Conditioner is also easy to overdo. A pea-sized amount can go a long way on sandal straps. When too much conditioner is applied, leather can feel tacky and attract lint. Apply thin layers, let them absorb, and buff. If the leather still looks dry, add a little more later. Treat conditioner like seasoning in soup: you can add more, but removing too much is annoying.
For odors, overnight baking soda is one of the simplest fixes. It is not glamorous, but it works well for everyday freshness. Just make sure to brush it out completely, especially from textured footbeds. Nobody wants to leave a mysterious white footprint trail across the house.
One mistake people make is drying sandals in direct sun because it feels “natural.” Air drying is good; baking them like cookies is not. Strong sunlight can fade leather and make it stiff. A shaded, breezy spot is much safer.
Finally, professional repair is worth considering for expensive or sentimental sandals. A cobbler can replace worn soles, tighten loose straps, refresh cork, and sometimes improve stains that home cleaning cannot handle. If the sandals cost more than a casual dinner or carry vacation memories you refuse to let go of, repair may be smarter than replacement.
The biggest takeaway is simple: clean leather sandals gently, dry them slowly, condition them lightly, and store them wisely. Do that, and your sandals can stay handsome, comfortable, and ready for every warm-weather planfrom beach walks to patio dinners to “I only came out for coffee and somehow walked five miles” adventures.
Conclusion
Cleaning leather sandals is not complicated, but it does require the right method. Start dry, use minimal moisture, choose leather-safe products, treat stains carefully, and always let sandals air-dry away from heat. Finish with conditioner and protection when appropriate, and your sandals will look better, smell fresher, and last longer.
Whether your sandals are smooth leather, suede, nubuck, patent leather, or cork-footbed favorites, the golden rule is the same: gentle care beats aggressive scrubbing every time. Your sandals carried you through summer. The least you can do is not throw them into the washing machine like a villain.
Note: Always check the manufacturer’s care instructions and test any cleaner, conditioner, or protector on a hidden area before applying it to the entire sandal.