A clean saltwater tank is not a sterile saltwater tank. That is the first rule, and honestly, it saves a lot of beginners from accidentally turning “maintenance day” into “why does everything suddenly look offended?” Saltwater aquariums thrive on stability. Fish, corals, cleanup crews, live rock, and beneficial bacteria all do better when you clean with intention instead of attacking the tank like you are power-washing a driveway.
If you want sparkling glass, healthier livestock, better water quality, and fewer mystery algae parties, the answer is not random deep cleaning. It is smart, bacteria-friendly, routine cleaning. In this guide, you will learn how to clean a saltwater tank in 12 practical steps, plus what to avoid, what tools help most, and how experienced hobbyists make the job easier over time.
Why Saltwater Tank Cleaning Is Different
Cleaning a reef or marine aquarium is not just about appearances. Yes, clear glass is lovely, and yes, nobody wants to admire a masterpiece through a film of green fuzz. But the real goal is to control waste, remove detritus, support stable water chemistry, and protect the biological filtration that keeps ammonia and nitrite at zero.
Unlike a bowl of cereal, a saltwater aquarium is a living system. Beneficial bacteria live in your filter media, substrate, and live rock. Those bacteria help process waste. So when people scrub everything, replace all filter media at once, or dump in a giant batch of new water with the wrong salinity, the tank tends to respond like a diva denied its dressing room snacks.
That is why the best saltwater tank cleaning routine is gradual, organized, and consistent. You are not trying to make the tank “perfect” in one afternoon. You are trying to keep it balanced every week.
What You Need Before You Start
Before cleaning day, gather your aquarium-only tools: algae scraper or magnet cleaner, siphon or gravel vacuum, clean buckets, towels, soft brush, turkey baster or small powerhead for rockwork, refractometer or hydrometer, thermometer, and premixed saltwater. If your system uses filter socks, floss, or a protein skimmer, have replacement or backup parts ready.
The phrase “aquarium-only” matters. Do not use household buckets that have touched soap, cleaners, or mystery garage liquids. A tiny chemical residue can cause huge problems in a marine tank. Saltwater systems are beautiful, but they are not forgiving.
How to Clean a Saltwater Tank: 12 Steps
Step 1: Mix replacement saltwater ahead of time
The best cleaning session starts before you touch the tank. Prepare your replacement saltwater in advance so the salt fully dissolves and the water has time to circulate and reach the right temperature. Use purified water if that is part of your normal routine, then add marine salt mix according to the product instructions.
Your goal is to match the display tank as closely as possible, especially salinity and temperature. In many saltwater systems, stable salinity matters just as much as clean water. If the new batch is too salty, too fresh, too cold, or too warm, your “helpful water change” can become a stress event.
Step 2: Test the water before cleaning
Before cleaning, test the tank so you know what story the water is telling. At minimum, check salinity, temperature, ammonia, nitrite, nitrate, and pH if that is part of your routine. Reef tanks may also need regular alkalinity, calcium, magnesium, and phosphate checks.
This step matters because a dirty-looking tank and an unhealthy tank are not always the same thing. Sometimes the glass is ugly, but the water is stable. Other times the tank looks decent while nitrate and phosphate are quietly planning a mutiny. Testing first helps you clean with purpose instead of guessing.
Step 3: Observe your fish, corals, and equipment
Take two minutes to look closely before you unplug anything. Are fish breathing normally? Are corals extending as usual? Is the return pump running well? Is the heater working? Is the skimmer behaving, or doing its usual impression of a cappuccino machine?
This quick visual check helps you catch problems early. A cleaning session is the perfect time to notice slow flow, stuck pumps, salt creep, clogged filter socks, or unusual livestock behavior.
Step 4: Turn off equipment that should not run dry
Before lowering the water level, turn off or unplug equipment that should not operate without water. This usually includes heaters, return pumps, skimmers, and some filters. Heaters especially dislike being exposed to air while still hot, and they tend to express that dislike in expensive ways.
If you run an all-in-one or sump system, make sure you know which components can safely stay on and which should be shut down during maintenance.
Step 5: Clean the inside glass first
Use an algae scraper, pad, or magnetic cleaner that matches your tank material. Glass and acrylic are not interchangeable here. Using the wrong tool on acrylic can leave scratches that will glare at you forever, like bad decisions in high school.
Start with the viewing panes and remove algae from the inside walls. Cleaning the glass first lets loosened debris fall into the water column, where it can later be siphoned out during the water change. That makes the whole session more efficient and keeps you from cleaning the same mess twice.
Step 6: Gently blow detritus off live rock
Live rock is excellent at hiding detritus in crevices like a tiny underwater attic. Use a turkey baster or small powerhead to blow debris out of the rockwork and into open water. Do this gently. Live rock is home to beneficial bacteria, and the point is to free trapped waste, not blast the tank into a sandstorm.
This step is especially useful if nitrate seems to rise despite regular maintenance. Rockwork can trap organics, uneaten food, and fine debris that eventually break down and fuel algae problems.
Step 7: Clean mechanical filtration in a bacteria-friendly way
Now move to the filter socks, floss, pads, or sponges. Mechanical media collects visible waste, so it needs regular cleaning or replacement. If it stays dirty too long, all that trapped gunk breaks down and releases nutrients back into the system. Congratulations, your filter becomes a compost bin.
If you are rinsing reusable sponges or bio media, use old tank water or dechlorinated water, not soapy water and not scalding hot water. Gently swish biological media instead of scrubbing it aggressively. Also, avoid replacing all filter media at once unless the manufacturer specifically directs otherwise. The beneficial bacteria living there are doing free labor, so let them keep their jobs.
Step 8: Empty and wipe the skimmer cup and check equipment buildup
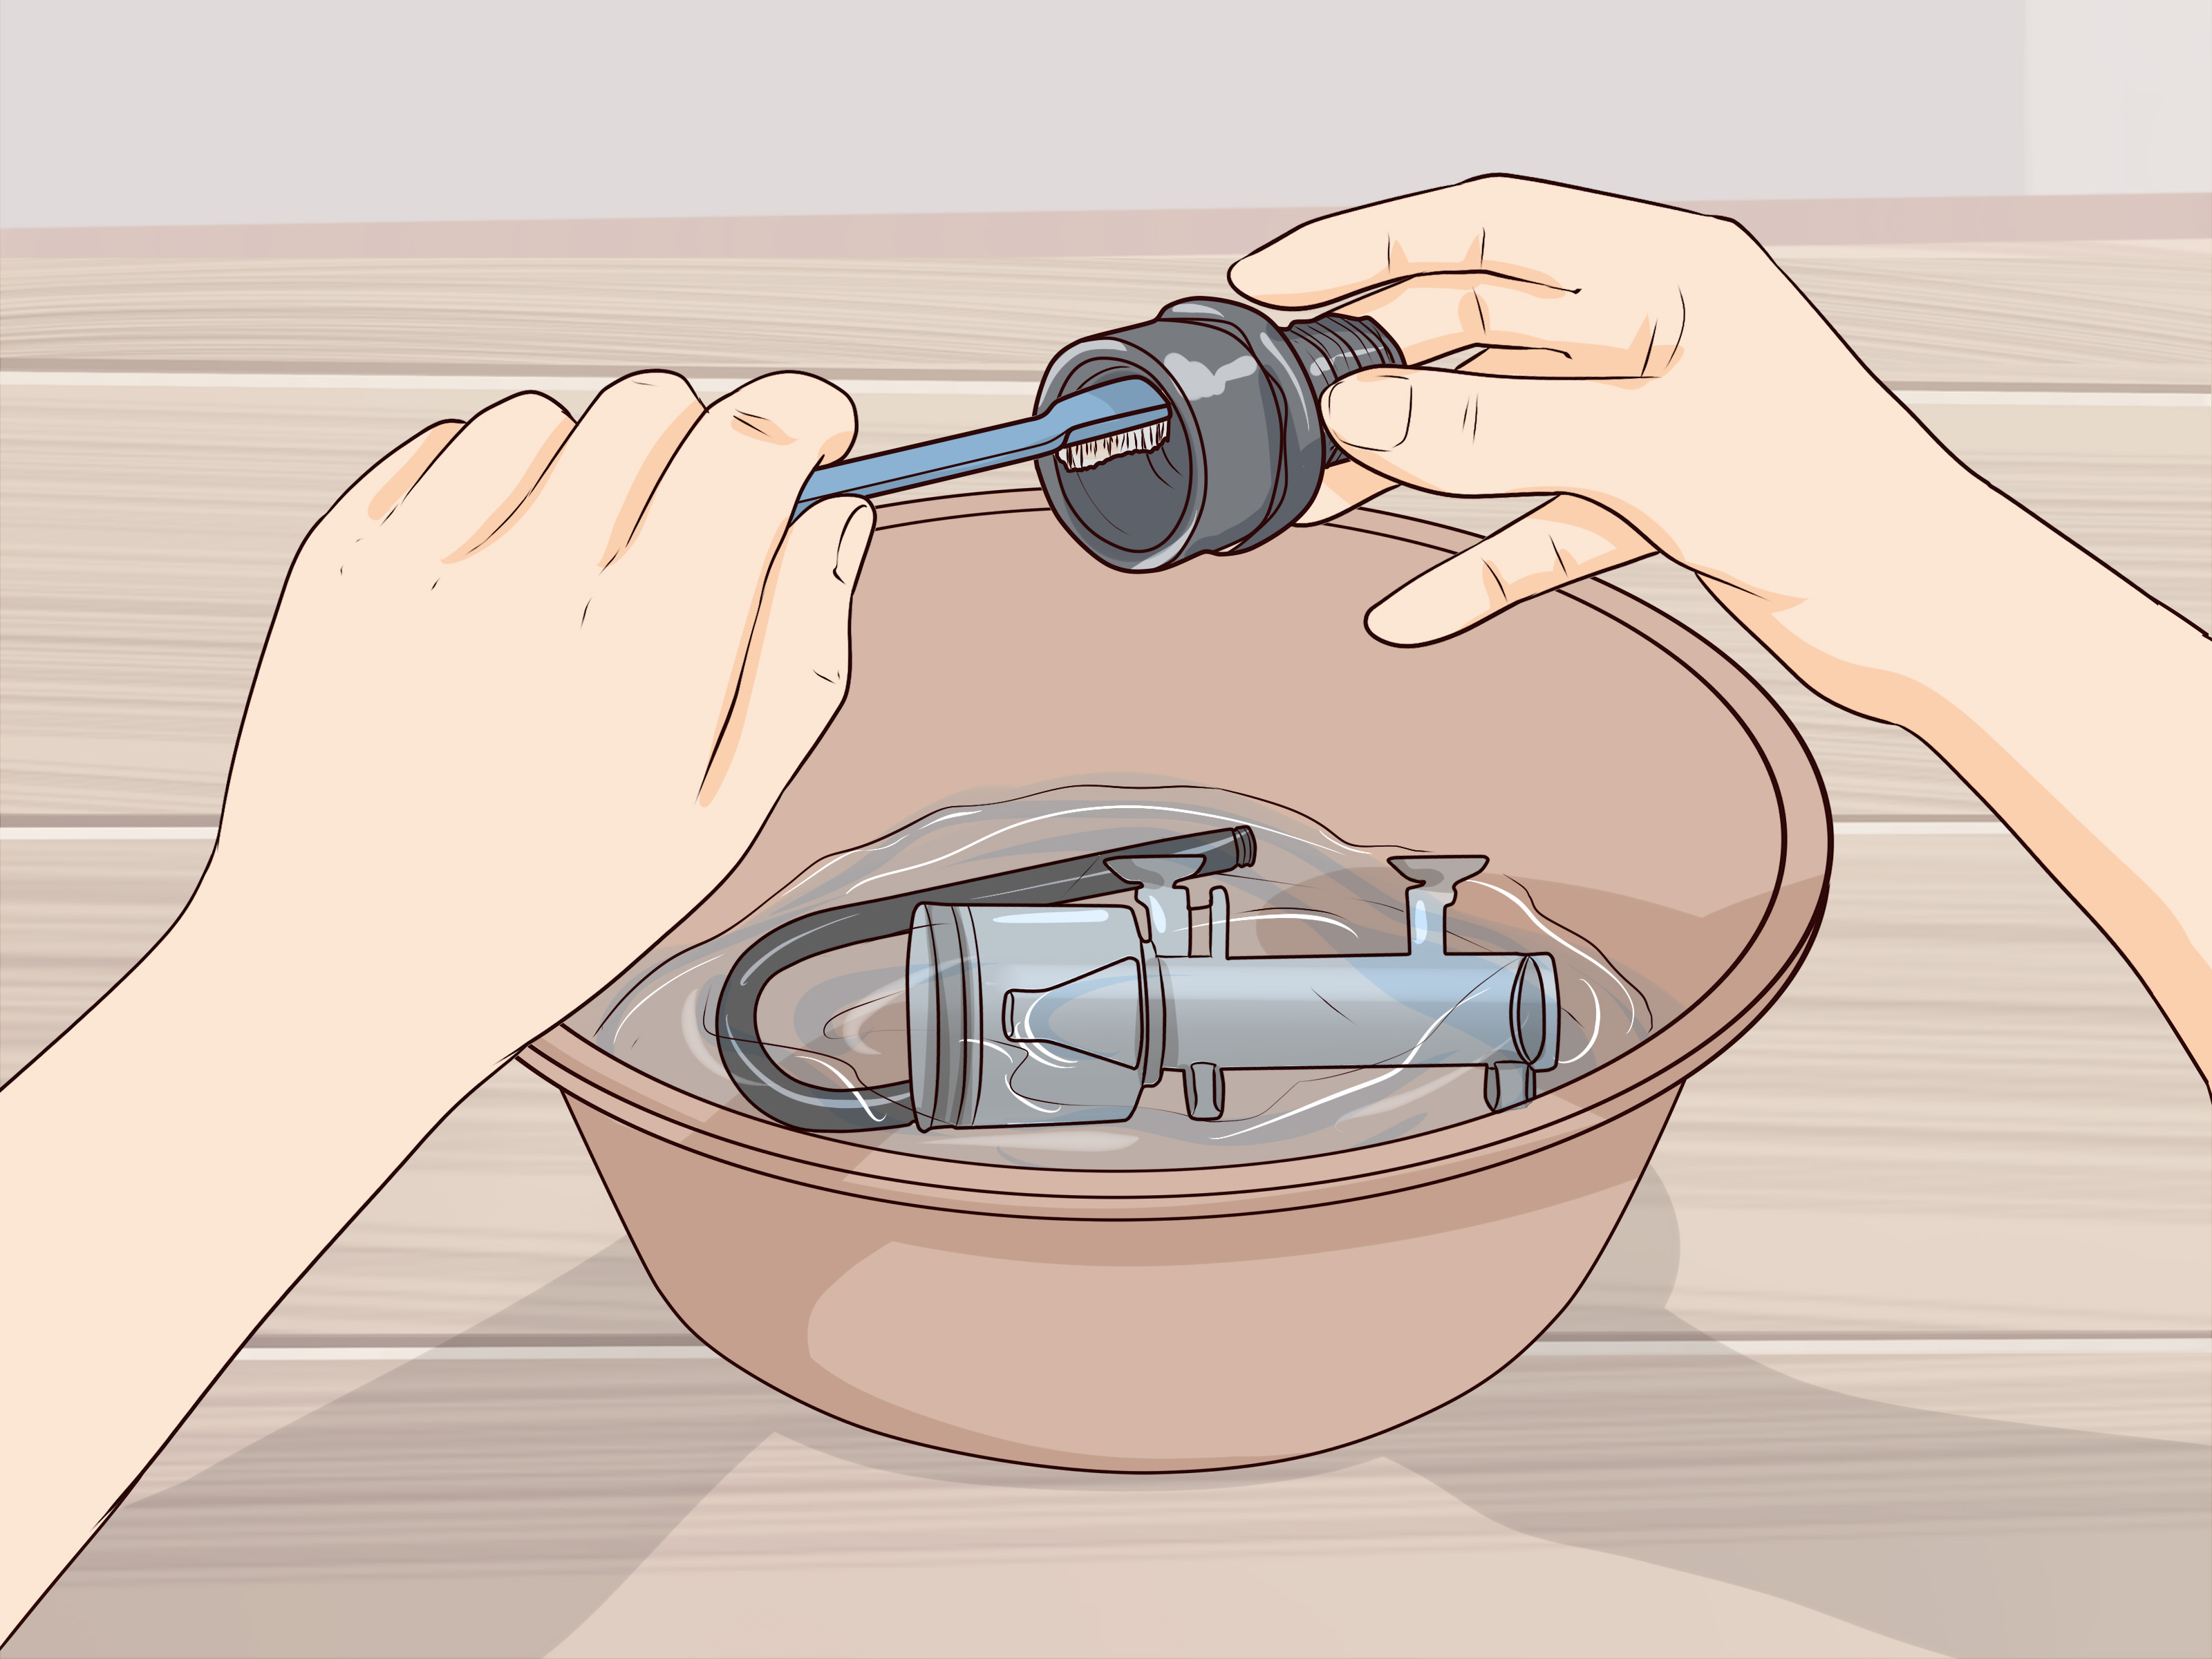
If your tank has a protein skimmer, clean the collection cup and neck. This helps the skimmer work more efficiently and keeps it from producing that lovely blend of smell and slime reef keepers know too well. Check pump intakes, impellers, tubing, and overflow areas for buildup while you are at it.
If you notice calcium deposits or salt creep on removable parts, clean them according to the equipment instructions. For exterior crusting on accessible parts, hobbyists often use vinegar-based cleaning outside the tank or on removed equipment only, followed by a thorough rinse. Never let cleaning agents drift into the aquarium.
Step 9: Siphon detritus and remove a partial amount of water
Use a siphon or gravel vacuum to remove loose debris from the substrate, bare bottom, or low-flow areas while draining water. In many marine systems, a partial water change of about 10% to 25% is a common routine range, depending on stocking, nutrient levels, and maintenance style.
The key word is partial. Do not strip out huge amounts of water during normal cleaning unless you are responding to a specific emergency and know exactly why. Sudden large changes can stress fish, corals, and invertebrates. Steady wins in saltwater tanks.
Step 10: Spot-clean decorations and problem areas without overdoing it
If you have non-living décor, pumps, lids, light mounts, or salt creep around the rim, clean them as needed. For removable items that are especially dirty, rinse and scrub them outside the tank with warm water only. Never use soap or household cleaners on anything that goes into the aquarium.
Do not deep-clean every inch just because you are in the mood. If you scrub every surface spotless, replace media, vacuum the entire substrate, and rearrange rockwork all in one session, you risk destabilizing the tank. Saltwater tanks reward restraint. They really do.
Step 11: Refill slowly with matched saltwater
Once the dirty water is removed, refill the aquarium slowly with the prepared saltwater. Double-check temperature and salinity before adding it. Pouring or pumping the water back in slowly helps avoid blasting sand, stressing fish, or creating a mini snow globe effect.
After refilling, restart equipment and confirm everything is working normally. Check that the return pump has resumed flow, the skimmer is not overflowing like it just heard shocking gossip, and the heater is fully submerged before powering it back on.
Step 12: Recheck the tank and set your next maintenance date
After cleaning, take another look at the tank. Does the water clear within a reasonable time? Is flow normal? Are the fish calm? Is the skimmer stable? Did you accidentally leave the algae scraper in the sump again? This is the final quality-control step.
Then write down what you did. A simple maintenance log can be incredibly useful. Record the date, water change amount, test results, media changes, and anything unusual you noticed. Over time, patterns become obvious. You will start to see whether your tank prefers weekly light cleaning, biweekly water changes, or more frequent glass scraping during brighter lighting periods.
Common Mistakes to Avoid
One of the biggest mistakes in saltwater aquarium maintenance is treating the tank like a kitchen counter. It is not something you sanitize. It is something you balance.
Avoid these classic errors: replacing all filter media at once, using soap on equipment, making large untested water changes, ignoring salinity drift from evaporation, leaving mechanical media dirty for too long, and overfeeding right after cleaning because the fish “look hungry.” Fish always look hungry. That is part of the act.
Another common mistake is waiting too long between cleanings. Small, regular maintenance sessions are easier on the tank and easier on you. If you wait until algae covers the glass, detritus fills the sump, and nitrate climbs, cleaning becomes harder and the risk of overcorrecting goes way up.
How Often Should You Clean a Saltwater Tank?
There is no single schedule that fits every marine aquarium, but a practical routine works well for most hobbyists. Daily, do a quick visual inspection and check that equipment is running properly. Weekly, scrape glass, test water, inspect the skimmer, and deal with any obvious buildup. Every one to four weeks, perform a partial water change and clean mechanical filtration according to the tank’s needs.
Heavily stocked tanks, messy feeders, and coral systems may need more frequent attention. Lightly stocked fish-only systems may cruise longer between bigger jobs. The tank decides. Your job is to notice what it is saying before it starts shouting.
Real-World Experience: What Cleaning a Saltwater Tank Actually Feels Like
Anyone who has kept a saltwater tank for more than a few months knows the funny truth: cleaning day is part science, part routine, and part detective story. At first, it feels intimidating. You worry that every scrape, siphon, and bucket of new water could cause disaster. You stand there with a refractometer in one hand and a towel in the other, looking like a very nervous ocean intern.
But after a while, the process becomes familiar. You begin to recognize the tank’s patterns. Maybe the front glass needs attention every four days because the lights are strong. Maybe detritus collects behind one particular rock because the flow there is weak. Maybe the skimmer acts dramatic for fifteen minutes after every water change and then settles down, just because that is who it is as a machine.
One of the most useful lessons hobbyists learn is that appearance can be deceiving. A tank can look a little messy and still be healthy, while a crystal-clear tank can hide water chemistry problems. Experienced keepers stop chasing “perfectly polished” and start chasing “stable and clean enough.” That shift saves time, stress, and livestock.
Another common experience is learning not to do too much at once. Almost every saltwater hobbyist eventually has a moment where they get ambitious, clean every filter chamber, disturb the rockwork, replace media, and perform a giant water change in one heroic afternoon. The tank usually responds with cloudy water, irritated animals, or a skimmer that foams like it is auditioning for a bubble commercial. That is when the real lesson sticks: gentle consistency beats dramatic rescue missions.
Over time, cleaning a saltwater tank starts to feel less like a chore and more like a check-in with a living ecosystem you understand. You notice tiny details: a snail trail on the glass, new coralline growth, a fish claiming a different cave, a coral extending a little farther than usual. Maintenance becomes the moment when you catch problems early and appreciate progress you would otherwise miss.
There is also something deeply satisfying about a freshly cleaned saltwater tank. The water looks brighter, the flow seems better, the fish come out more confidently, and the whole aquarium feels like it took a deep breath. It is not just cleaner. It feels reset.
So yes, there will be splashes. There will be damp sleeves. There may be one suspicious smell from the skimmer cup that makes you reconsider your life choices. But there is also a rhythm to it, and once you find that rhythm, saltwater tank cleaning becomes one of the most rewarding parts of the hobby.
Final Thoughts
If you want to know how to clean a saltwater tank the right way, think less about “deep cleaning” and more about “smart maintenance.” Mix your water in advance, test first, clean in stages, protect beneficial bacteria, and keep every change as stable as possible. That approach keeps the tank healthier, the livestock calmer, and your weekends a lot less chaotic.
In other words, do not wage war on your aquarium. Work with it. Your fish, corals, and cleanup crew will thank you by doing the very modest thing they always do: silently judging you from behind the glass.