A hydration bladder is one of those brilliant outdoor inventions that makes hiking, biking, running, and camping feel easierright up until you take a sip and taste something that can only be described as “old pond with notes of plastic.” The good news? Learning how to clean a hydration bladder is simple, cheap, and much less dramatic than discovering suspicious floaties halfway up a trail.
Whether you call it a hydration bladder, water reservoir, hydration reservoir, CamelBak-style bladder, or the squishy water bag hiding in your backpack, the cleaning rules are similar: rinse it often, wash it gently, scrub the awkward parts, dry it completely, and never let sugary drink mix sit in it like a science fair project.
This guide walks you through everyday cleaning, deep cleaning, odor removal, tube and bite valve care, mold prevention, and real-world experience tips that make the whole process less annoying. Your future trail-self will thank you.
Why Cleaning a Hydration Bladder Matters
A hydration bladder is basically a flexible water tank with a hose attached. That design is convenient, but it also creates three cleaning challenges: moisture hides in corners, the drinking tube is narrow, and the bite valve gets touched by your mouth, dust, sunscreen, snack crumbs, and whatever mystery particles live in the bottom of your backpack.
If you only use plain water and dry the reservoir well after every trip, your bladder may stay fresh for a long time. But if you add electrolyte mix, sports drink, flavored tablets, or juice, cleaning becomes much more important. Sugars and flavorings can leave residue, and residue can create odors, cloudiness, and unpleasant tastes.
The goal is not to treat your hydration bladder like surgical equipment. The goal is to keep it clean enough that your water tastes like water, not like the inside of a forgotten gym sock.
What You Need to Clean a Hydration Bladder
You do not need a fancy laboratory. A few simple tools will handle most cleaning jobs.
Basic Supplies
- Mild dish soap
- Warm water
- A reservoir cleaning brush or soft bottle brush
- A long flexible tube brush
- A small brush or clean toothbrush for the bite valve
- A clean towel or drying rack
- A hanger, drying frame, or clean object to hold the bladder open
Optional Deep-Cleaning Helpers
- Hydration reservoir cleaning tablets
- Baking soda for odor control
- Lemon juice for stubborn smells
- Unscented household bleach only if your bladder manufacturer allows it
Before using bleach, cleaning tablets, hot water, or a dishwasher, check the care instructions for your specific reservoir. Some brands allow certain methods; others warn against them. When in doubt, use mild soap, warm water, brushing, and complete drying. That boring method wins surprisingly often.
How to Clean a Hydration Bladder After Every Use
The easiest way to avoid a gross hydration bladder is to clean it before it becomes gross. A quick rinse after every hike or ride takes only a few minutes and prevents most odors.
Step 1: Empty the Reservoir
Pour out any leftover water. Do not store water in the bladder between trips, especially if the bladder will sit in a warm garage, car trunk, or closet. Warmth plus moisture is the unofficial invitation for funk.
Step 2: Add Warm Water and Mild Soap
Fill the bladder about one-third to one-half full with warm water. Add a small drop of mild dish soap. More soap does not mean more clean; it usually means more rinsing and a soapy aftertaste that makes every sip feel like punishment.
Step 3: Shake It Like You Mean It
Close the reservoir and shake it for 20 to 30 seconds. Turn it upside down, sideways, and upright again so the soapy water reaches seams, corners, the cap area, and the top edges.
Step 4: Flush the Tube and Bite Valve
Hold the bladder above the sink. Pinch or open the bite valve and let the soapy water flow through the drinking tube. This step is essential. Cleaning only the bag while ignoring the tube is like washing your car and leaving the windshield covered in mud.
Step 5: Rinse Thoroughly
Drain the soapy water, then rinse the reservoir several times with clean water. Flush clean water through the tube and bite valve until there are no bubbles or soap smell.
Step 6: Dry Completely
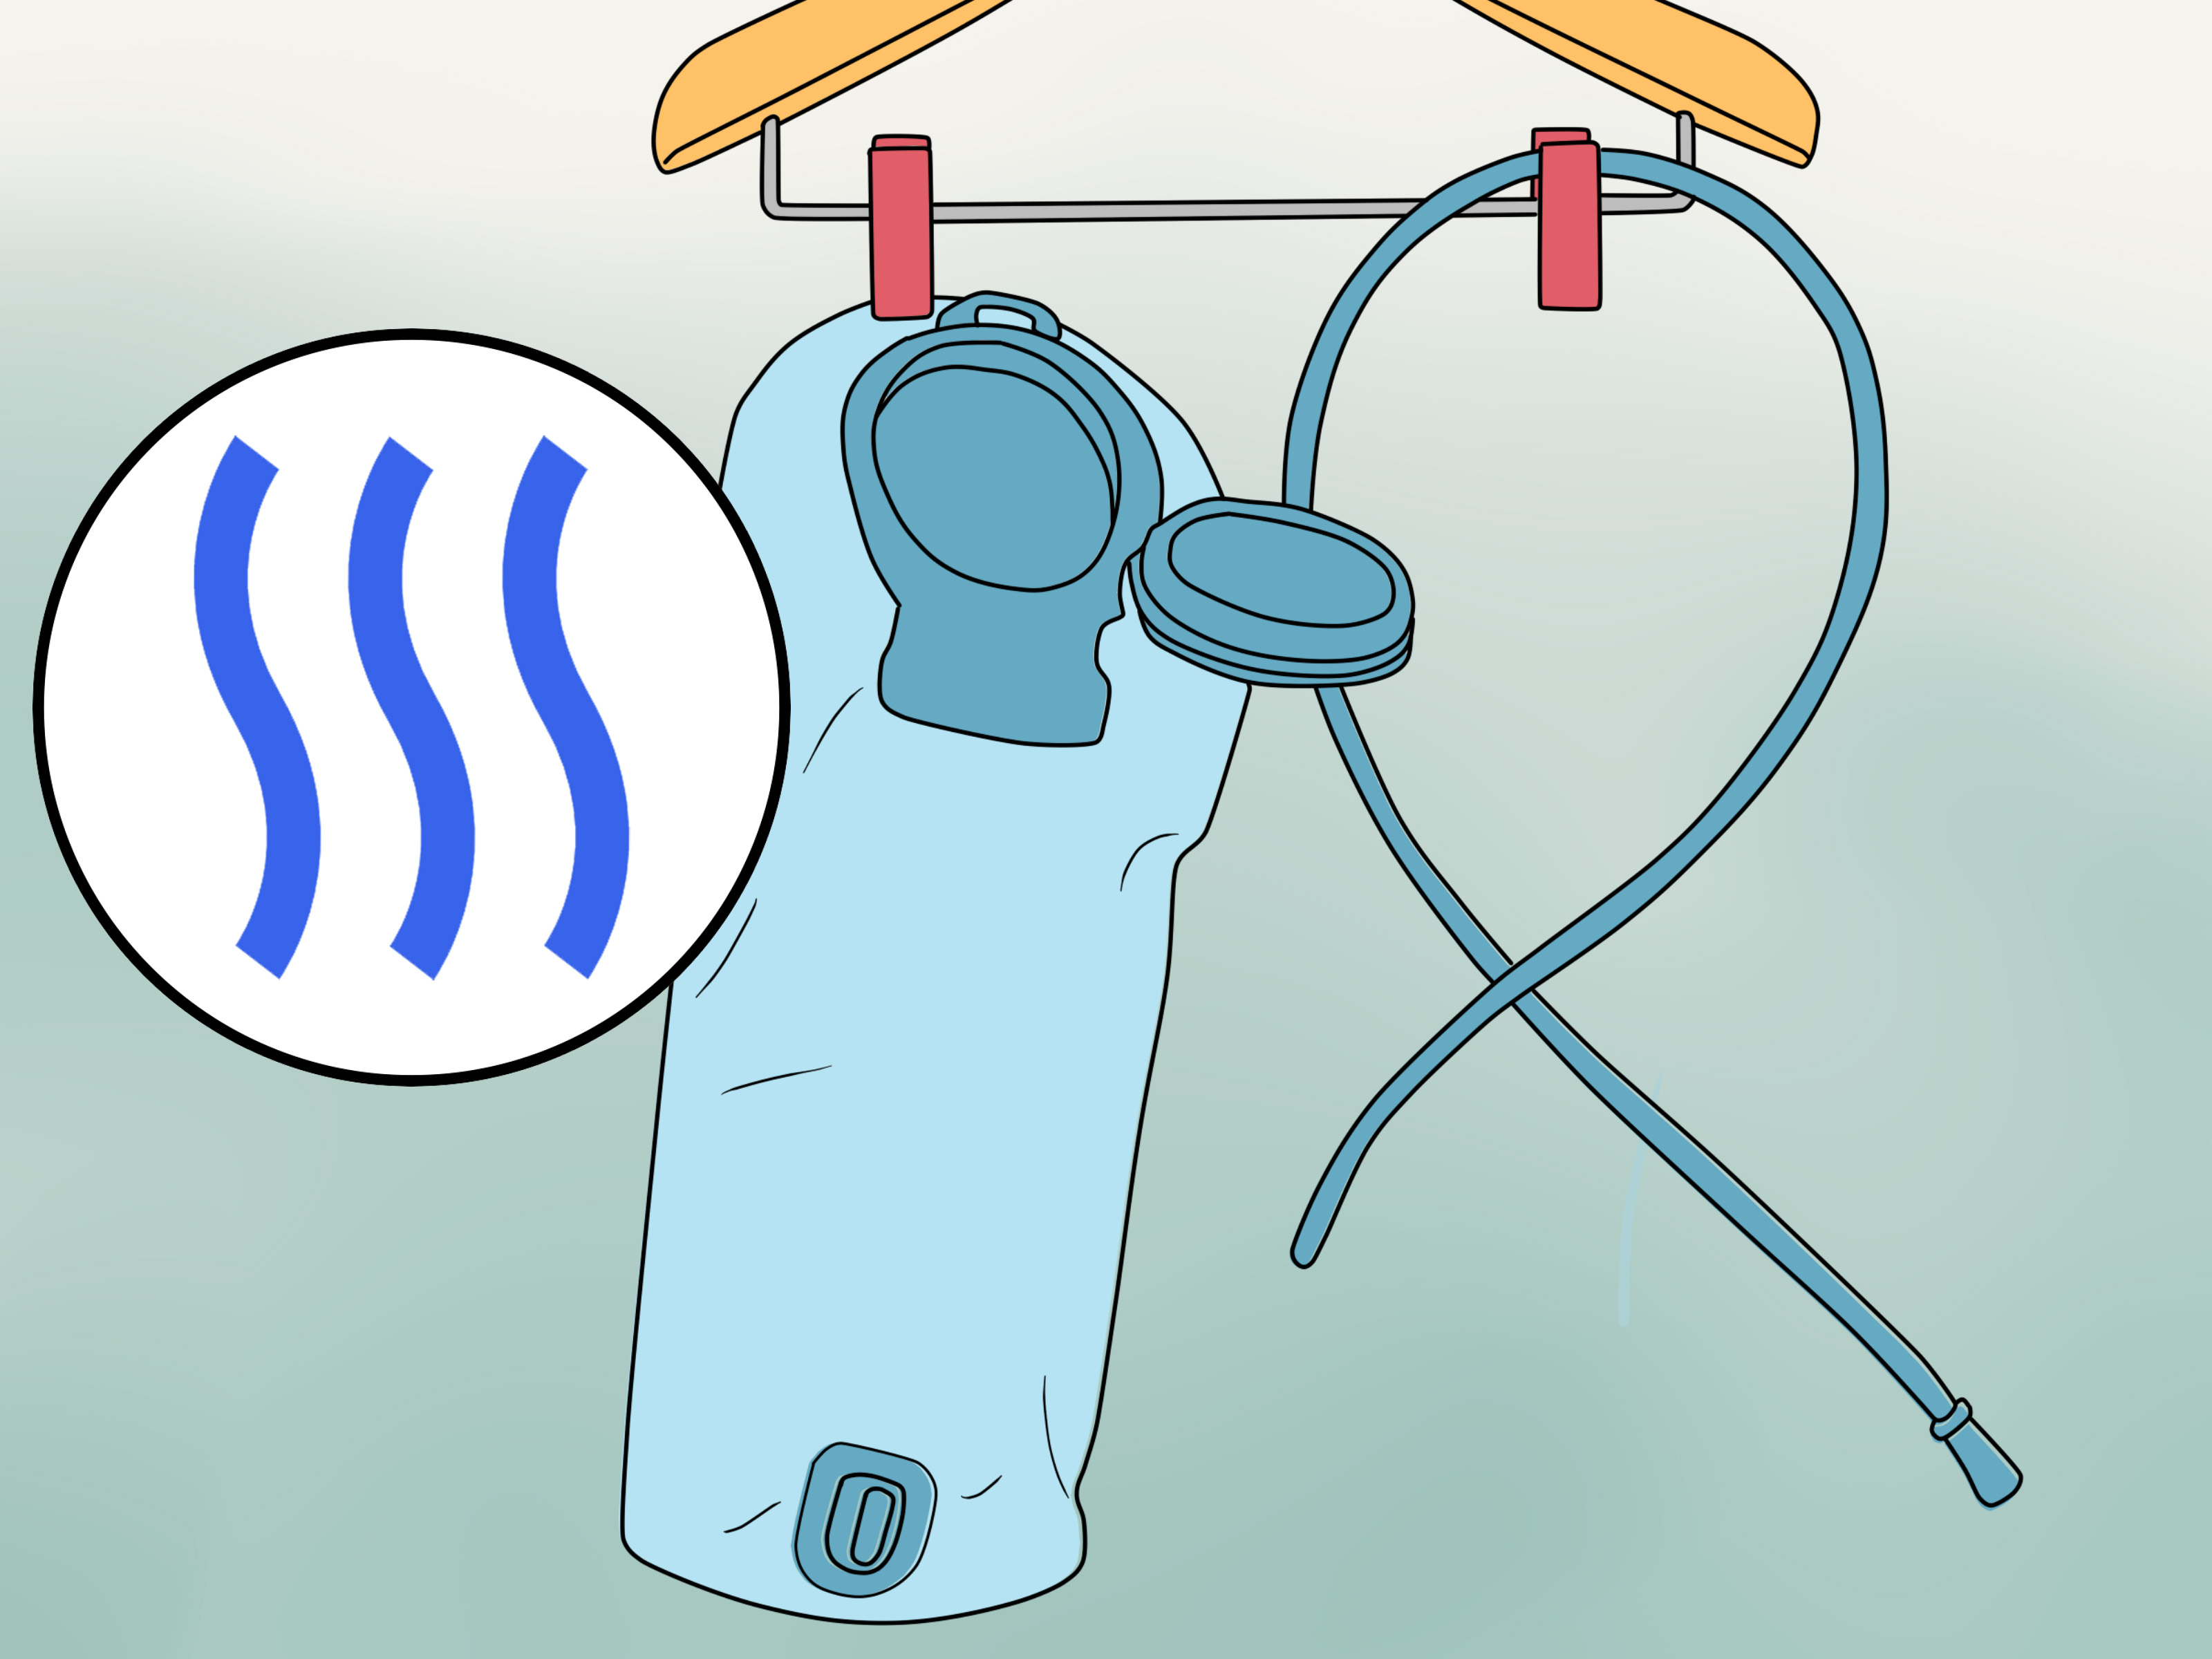
Drying is the step people skip, and it is also the step that prevents most problems. Hang the bladder upside down with the opening spread apart. Remove the tube and bite valve if possible, then let all parts air-dry in a well-ventilated place. The bladder should be completely dry before storage.
How to Deep Clean a Hydration Bladder
A deep clean is useful after several uses, after using sports drinks, before long-term storage, or whenever the reservoir smells weird. If you use your hydration bladder regularly, a monthly deep clean is a practical routine. If you use it occasionally, deep clean it before storing it away for the season.
Step 1: Disassemble Everything
Remove the drinking tube from the reservoir. Take off the bite valve and any silicone covers if your model allows it. Keep small parts together so they do not disappear into the alternate universe where missing socks and tent stakes live.
Step 2: Soak with a Cleaning Solution
Fill the bladder with warm water and add a hydration reservoir cleaning tablet, or use a gentle baking soda solution. Cleaning tablets are convenient because they are designed for reservoirs and require less guessing. Baking soda is helpful for mild odors and everyday freshness.
Let the solution sit according to the cleaning tablet directions, or for about 20 to 30 minutes if using a mild baking soda mixture. Do not use boiling water, which can damage some reservoirs, seals, or plastic parts.
Step 3: Scrub the Reservoir Interior
Use a soft reservoir brush or bottle brush to scrub the inside. Pay attention to bottom corners, seams, the cap threads, the slide closure, and any area where residue collects. If your bladder can safely be turned inside out, that can make scrubbing and drying much easier. Not all models are designed for this, so check first.
Step 4: Clean the Drinking Tube
Run warm soapy water through the tube, then use a long flexible tube brush to scrub the inside. This is where many bad tastes begin. The tube can look clean from the outside while quietly hosting yesterday’s electrolyte mix inside.
Step 5: Clean the Bite Valve
Wash the bite valve with warm soapy water. Use a small brush to clean grooves and openings. Rinse it carefully. If your bite valve has a silicone cover, remove and clean it separately when possible.
Step 6: Rinse Again and Again
Rinse the bladder, tube, and bite valve with clean water until no cleaner remains. Flush water through the hose. Taste matters here: leftover soap or cleaning solution can make your next hike feel like you are sipping from a dishwasher.
Step 7: Air-Dry Every Part
Hang the bladder open and upside down. Hang the tube so water can drain out. Place the bite valve somewhere clean with good airflow. Do not reassemble the system until everything is fully dry.
How to Remove Bad Smells from a Hydration Bladder
Odor usually comes from trapped moisture, leftover drink mix, or a bladder stored before it dried completely. The fix depends on how stubborn the smell is.
For Mild Odors
Use warm water, mild dish soap, and a thorough brushing. Flush the hose and bite valve, then dry everything completely. Many odors disappear once residue is removed and airflow does its job.
For Plastic Taste
A baking soda soak can help reduce plastic taste. Fill the bladder with warm water and baking soda, shake it well, let it sit, then rinse thoroughly. Some new reservoirs have a slight taste at first, but it usually fades after a few rinses.
For Strong Odors
Lemon juice mixed with water can help neutralize strong smells. Rinse carefully afterward so your water does not taste like lemonade’s shy cousin. If odor remains after repeated cleaning, inspect the tube and bite valve closely. Sometimes the reservoir is fine, but the tube is the culprit.
Can You Use Bleach to Clean a Hydration Bladder?
Sometimes, but only with caution. Some hydration reservoir makers provide instructions for disinfecting with a very small amount of unscented household bleach diluted in water. Other brands warn against bleach because it may damage their materials. That is why the best answer is: check your specific manufacturer’s care instructions first.
If bleach is allowed, use only unscented household bleach in the recommended dilution, rinse multiple times, and air-dry completely. Never mix bleach with vinegar, ammonia, dish soap, cleaning tablets, lemon juice, or any other cleaner. Mixing cleaning products can create dangerous fumes. One cleaner at a time is the rule.
If you are unsure, skip bleach and use a cleaning tablet made for hydration reservoirs, or rely on mild soap, brushing, and drying.
How to Prevent Mold in a Hydration Bladder
Mold prevention is mostly about moisture control. A clean bladder stored wet can still develop spots and smells. A slightly used bladder that dries completely often stays in better shape.
Dry It Open
After rinsing, keep the bladder open while it dries. Use a reservoir drying frame, a clean whisk, a paper towel tube, or a purpose-made hanger to prevent the sides from sticking together. Avoid sharp objects that could puncture the bladder.
Dry the Tube Separately
Disconnect the tube when possible and hang it vertically. Swinging the tube carefully outdoors can remove extra droplets, but do not turn it into a backyard lasso unless you want your neighbors to ask questions.
Store It Unsealed
Once dry, store the bladder with the cap off or loosely closed. A sealed bladder with hidden moisture can become stale. Store it in a clean, cool, dry place away from direct sunlight.
Use Only Water When Possible
Sports drinks are useful during long efforts, but they make cleaning more important. If you use electrolyte mix, clean the bladder the same day. For easier maintenance, carry plain water in the bladder and keep flavored drinks in a separate bottle.
Common Mistakes to Avoid
Using Boiling Water
Very hot or boiling water can damage some reservoirs, hoses, seals, or valves. Warm water is usually enough.
Forgetting the Hose
The drinking tube is not decorative. It needs cleaning, flushing, and drying. A dirty tube can ruin clean water faster than you can say, “Why does this taste like swamp?”
Using Too Much Soap
A little soap goes a long way. Too much soap creates residue and aftertaste.
Storing It Wet
This is the big one. If you remember only one rule, remember this: dry the bladder completely before storing it.
Mixing Cleaning Products
Do not mix bleach with anything else. Do not create your own “super cleaner.” The internet is full of cleaning hacks; your lungs do not need to beta-test them.
How Often Should You Clean a Hydration Bladder?
For plain water, rinse and dry the bladder after every use. Give it a deeper cleaning every few uses or at least once a month if you use it regularly. If you use electrolyte drinks, clean it after each trip. If the bladder smells, looks cloudy, has visible residue, or has been stored wet, deep clean it before using it again.
Before long-term storage, wash, rinse, and dry every part completely. Before the next season, inspect the bladder, tube, seals, and bite valve. Replace parts if they are cracked, sticky, permanently stained, or impossible to clean.
When Should You Replace a Hydration Bladder?
Cleaning can fix odors, residue, and normal trail grime. It cannot fix everything. Replace your hydration bladder if it has deep mold staining that does not clean away, cracks, leaks, a sticky interior, damaged seams, a broken closure, or a bite valve that no longer seals properly.
Also replace the tube if it remains cloudy, smells bad after cleaning, or has buildup that a tube brush cannot remove. A replacement tube is often cheaper than replacing the whole reservoir and can make the system feel new again.
Experience-Based Tips for Cleaning a Hydration Bladder
After enough hikes, bike rides, and rushed Sunday-night gear cleanups, one truth becomes obvious: the best hydration bladder cleaning routine is the one you will actually do. A complicated process involving seven bowls, three timers, and a level of patience normally reserved for sourdough bread will not survive real life. Keep the routine simple, and you will do it more often.
The most useful habit is rinsing the bladder the moment you get home. Do it before unpacking snacks, before checking photos, and definitely before collapsing on the couch. Once the bladder disappears into a backpack, it becomes invisible. Three days later, you discover it again and begin negotiating with the smell. A quick rinse immediately after the trip prevents that entire tragic storyline.
Another practical trick is to separate “water trips” from “flavor trips.” For short hikes, plain water in the bladder is easiest. For long, hot days when electrolytes are necessary, consider carrying the flavored drink in a bottle and keeping the bladder for water. Bottles are easier to scrub aggressively, toss in a dishwasher if allowed, and inspect for residue. Your hydration bladder will live a calmer, cleaner life.
If you do put sports drink in the bladder, clean it the same day. Do not wait until tomorrow. Tomorrow has a way of becoming next weekend, and next weekend has a way of becoming “Why is this tube orange?” Sugary residue can cling inside the hose and around the bite valve, so flushing the line matters as much as washing the reservoir.
For drying, the best setup is whatever keeps the bladder open. A dedicated drying hanger works well, but you can improvise with a clean whisk, a non-sharp plastic utensil, or a rolled paper towel placed carefully near the opening. The goal is airflow. If the two sides of the bladder stick together, moisture hides between them and drying slows down.
The hose is usually the most annoying part, but it is also where a lot of funk begins. A flexible tube brush is worth owning if you use your hydration bladder often. It turns a mysterious cleaning problem into a 30-second task. After rinsing, hang the tube vertically. If water droplets remain trapped, gently swinging the tube outside can help clear it, but do this away from windows, pets, and anyone holding coffee.
For stubborn smells, baking soda is a friendly first step. It is inexpensive, easy to rinse, and helpful for mild odors. Cleaning tablets are even easier when you want a low-effort deep clean. The key is still rinsing and drying afterward. No tablet can save a bladder that gets cleaned beautifully and then stored damp in a zipped pocket.
Finally, make inspection part of your routine. Before filling the bladder for a trip, hold it up to the light. Look at the corners, seams, tube, and bite valve. Smell the opening. If anything seems off, clean it before you go. Trail water should be boring in the best possible way: clear, fresh, and completely free of surprises.
Conclusion
Cleaning a hydration bladder is not glamorous, but it is one of the easiest ways to make every hike, ride, and run more enjoyable. The routine is simple: rinse after use, wash with mild soap, scrub the reservoir and tube when needed, clean the bite valve, rinse thoroughly, and dry everything completely before storage.
Deep cleaning with reservoir tablets or baking soda helps control odors, while careful disinfecting may be appropriate only when your specific manufacturer allows it. The real secret is consistency. A few minutes of cleaning today prevents bad taste, stubborn smells, and the terrifying discovery of mystery growth before your next adventure.
Note: This article is written for general outdoor gear care. Always follow the cleaning instructions for your specific hydration bladder brand and model, especially before using bleach, a dishwasher, boiling water, or chemical cleaning products.