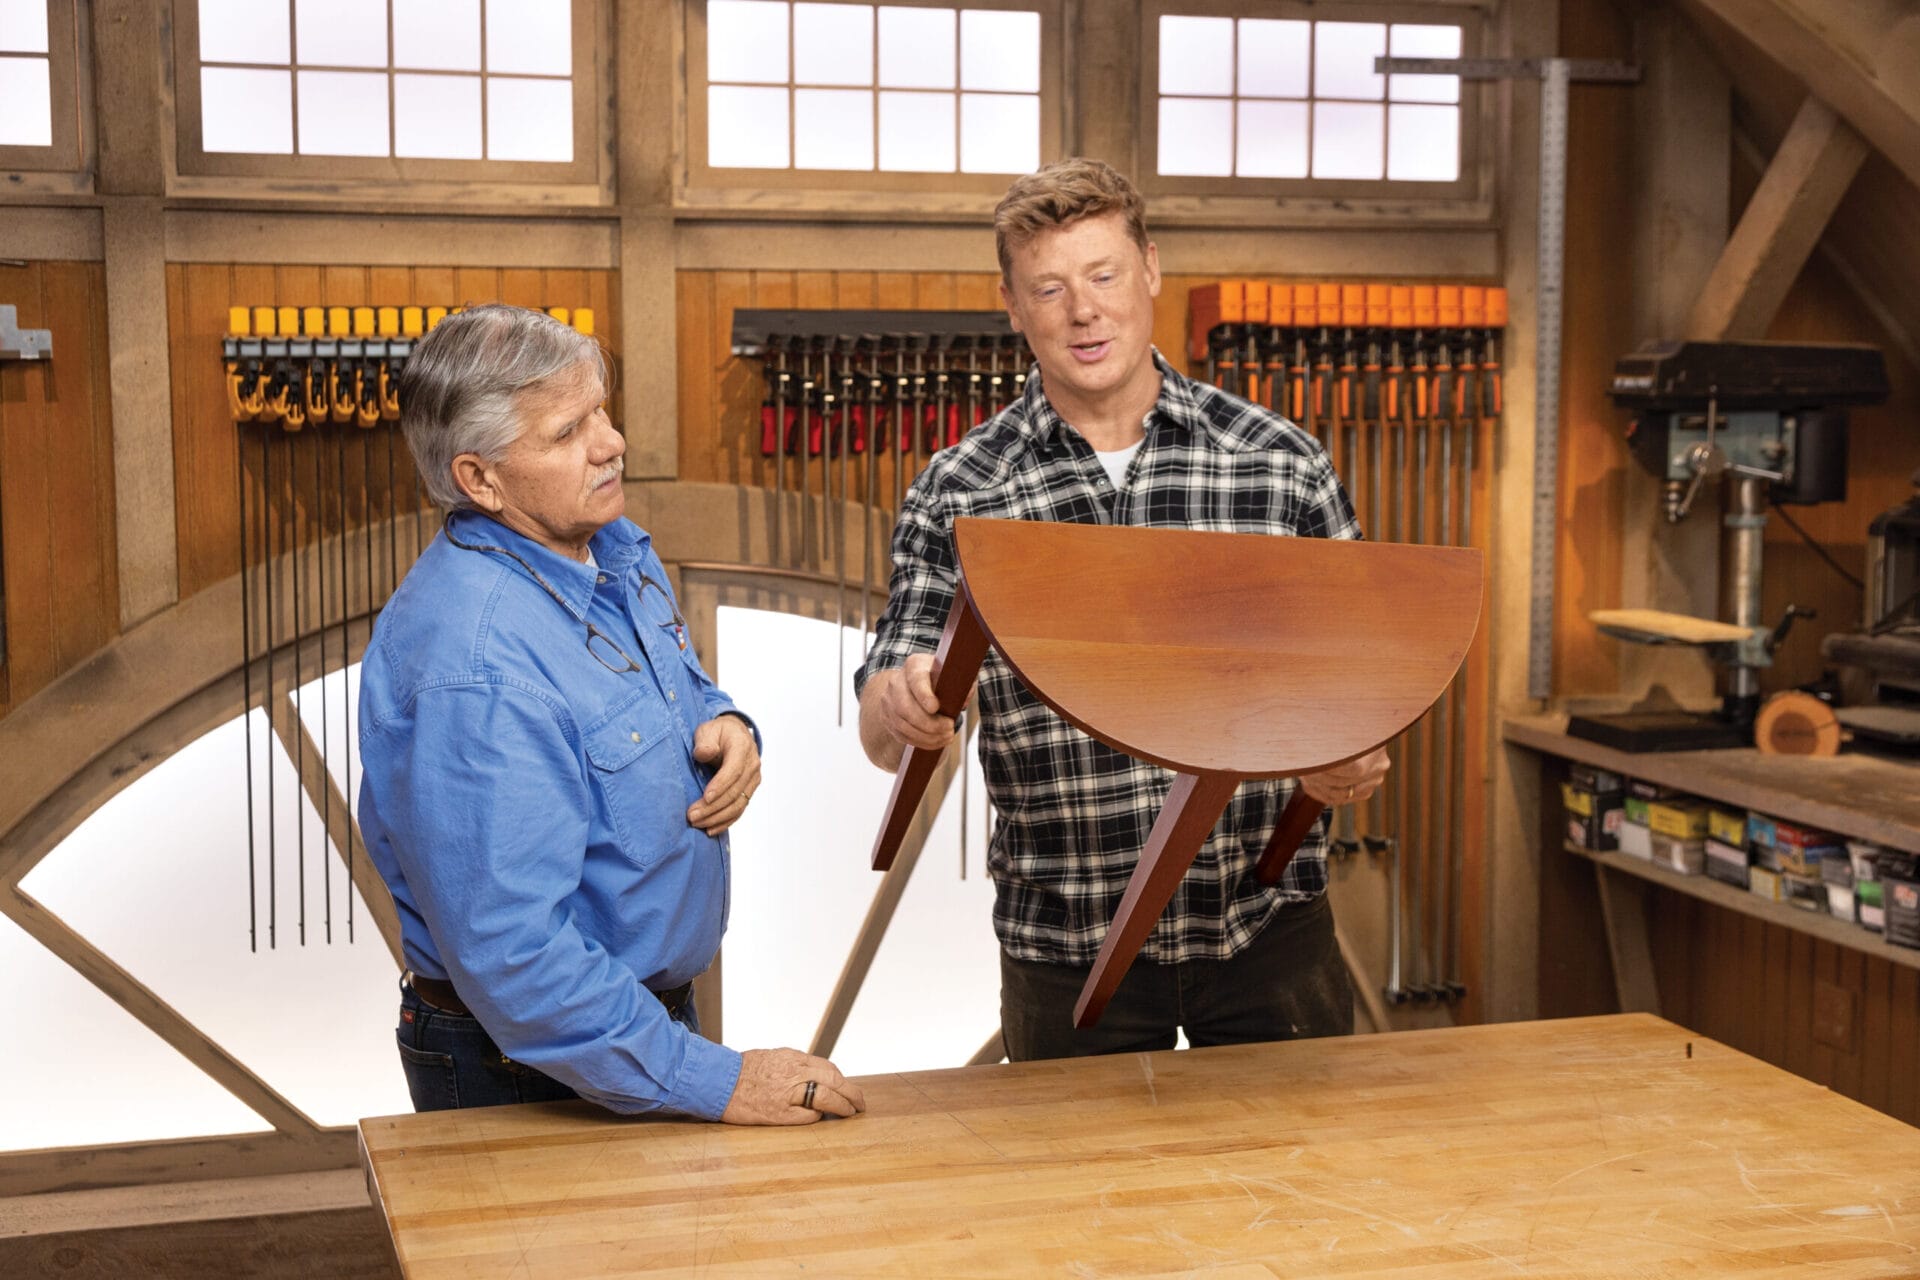
Note: This indoor DIY demilune table plan uses a beginner-friendly plywood top and a laminated curved apron. Read through every step before cutting, wear appropriate eye and hearing protection, and test each setup on scrap wood first.
A demilune table is one of those furniture pieces that looks like it belongs in a historic mansion with a butler named Winston, yet it can fit beautifully in a modern hallway, entryway, dining room, or awkward little wall space that has been begging for a purpose. Its defining feature is simple: a flat back that rests against a wall and a graceful half-moon front that makes the table look far more expensive than the lumber receipt suggests.
Building a DIY demilune table is a satisfying woodworking project because it teaches several useful skills at once: making a template, cutting a clean curve, laminating a curved apron, assembling a sturdy table base, and applying a finish that does not scream “first attempt.” The project below creates a compact console table measuring approximately 36 inches wide, 18 inches deep, and 30 inches tall.
The best part is that you do not need to carve ornate French legs or summon the ghost of an eighteenth-century cabinetmaker. A clean curve, strong joinery, careful sanding, and a good finish will do plenty of heavy lifting.
What You Will Need to Build a Demilune Table
Suggested Materials
- One sheet of 3/4-inch furniture-grade plywood for the tabletop
- Six strips of 1/8-inch flexible plywood or bending plywood for the curved front apron
- Four hardwood legs, approximately 1 1/2 inches square by 29 1/4 inches long
- Hardwood stock for one rear rail and two side rails
- 1/4-inch MDF or hardboard for templates
- 3/4-inch MDF or plywood for the bending form
- Wood glue
- Pocket-hole screws or dowels for base assembly
- Figure-eight tabletop fasteners or tabletop clips if using a solid-wood top
- Wood filler, sandpaper, stain or paint, and a durable clear finish
- Iron-on edge banding or solid hardwood edging for the plywood top
Recommended Tools
- Jigsaw or band saw
- Router with a flush-trim or pattern-routing bit
- Drill and drill bits
- Pocket-hole jig, doweling jig, or mortising tools
- Random-orbit sander
- Clamps, including several long bar clamps
- Combination square, tape measure, pencil, and straightedge
- Utility knife, chisel, and sanding block
How To Build a Demilune Table in 12 Simple Steps
Step 1: Choose Your Finished Dimensions
Before you cut anything, decide where the table will live. For a hallway or entry, a demilune table around 30 inches high is usually comfortable. This plan uses a tabletop that is 36 inches wide from end to end, 18 inches deep at its center, and 30 inches high after assembly.
Picture the top as a half-circle with an 18-inch radius. The flat side sits against the wall, while the curved edge faces the room. Make a full-size sketch on cardboard, kraft paper, or MDF. This is not busywork. A full-size drawing lets you judge the proportions before expensive wood enters the chat.
Step 2: Make a Full-Size Curved Template
Cut a piece of 1/4-inch MDF or hardboard slightly larger than the tabletop. Mark the center of the flat rear edge. Drive a small nail or screw at that point, tie a string to it, and set the string length to 18 inches. Hold a pencil at the other end and swing a half-circle from one side of the back edge to the other.
Cut just outside the pencil line with a jigsaw. Then refine the curve with a sanding drum, rasp, sanding block, or router. The goal is a smooth, fair curve with no flat spots. A curve should look intentional, not like it escaped from a potato chip factory.
Take your time here. This template will guide the tabletop and help shape the curved apron, so every tiny wobble can become a repeat offender later.
Step 3: Build a Bending Form for the Curved Apron
The front apron is the piece that gives the demilune table its elegant bow. The simplest reliable way to create it is by laminating several thin strips over a curved form.
Trace the tabletop curve onto three or four layers of 3/4-inch MDF or plywood. Shift the curve inward by about 1 1/4 inches so the apron will sit slightly back from the tabletop edge. Cut each layer, stack them, and screw them together to create a thick bending form.
Sand the form smooth. Any bump on the form may print itself into your finished apron, and nobody wants a table that appears to have swallowed a garden hose.
Step 4: Cut and Shape the Demilune Tabletop
Place your MDF template on the 3/4-inch furniture-grade plywood. Trace around it, then cut the plywood roughly 1/8 inch outside the line with a jigsaw or band saw. Attach the template securely with double-sided tape or small screws placed where they will later be hidden.
Use a flush-trim router bit to bring the tabletop precisely to the template shape. Move steadily and take shallow passes if your bit is working hard. A router can make beautiful curves, but it also has the emotional stability of a caffeinated squirrel if pushed too aggressively.
Apply edge banding around the curved front and both side edges. For a more furniture-like appearance, use 3/4-inch solid hardwood strips bent around the curve and glued in place. Trim the edging flush after the glue dries.
Step 5: Prepare the Curved Apron Laminations
Cut six strips of 1/8-inch flexible plywood or bending plywood approximately 3 3/4 inches wide and 54 to 56 inches long. The extra length gives you room to trim both ends square after the glue cures.
Dry-fit all strips around the bending form before adding glue. Set out your clamps, cauls, wax paper, and anything else you may need. Once glue is involved, time begins moving at a suspiciously fast speed.
Cover the bending form with packing tape or wax paper so the apron does not become permanently attached to your form. That is technically a successful glue-up, but not the kind you will enjoy explaining.
Step 6: Glue and Clamp the Curved Apron
Apply an even coat of wood glue to one face of each thin strip. Stack the strips, place them against the form, and begin clamping from the center outward. Use curved cauls or scrap blocks to spread clamping pressure evenly.
Make sure the laminations do not slide upward or downward as you tighten the clamps. Check the assembly from both ends. The strips should remain flush along the top edge, because fixing a crooked apron later is an excellent way to practice new vocabulary.
Allow the laminated apron to cure fully according to the glue manufacturer’s instructions. Remove it from the form only after the glue has reached full strength.
Step 7: Trim and Reinforce the Curved Apron
Once the curved apron is dry, trim both ends square so they will meet the front legs cleanly. Use your template to check the curve and refine it with a router, rasp, or sanding block.
Add small hardwood blocks inside both ends of the curved apron. These blocks provide extra material for screws, dowels, loose tenons, or pocket-hole joinery when connecting the apron to the front legs. Glue the blocks firmly and let them dry before assembly.
If you want a richer appearance, apply a thin hardwood veneer to the outer face of the apron. Walnut, oak, maple, cherry, and mahogany all create handsome results. Veneer is optional, but it can turn flexible plywood from “smart construction choice” into “where did you buy that table?”
Step 8: Cut the Legs, Side Rails, and Rear Rail
Cut four legs to approximately 29 1/4 inches long. If you want a traditional look, taper the inside faces of the legs beginning a few inches below the apron. For a more modern demilune table, leave the legs square and add a small round-over to soften the edges.
Cut one rear rail to fit between the two back legs. Cut two side rails to connect the rear legs to the front legs. A rail height of about 3 1/2 inches creates a strong, balanced base.
For a beginner-friendly build, pocket-hole joinery works well when the screw holes face inward and remain hidden. For a more traditional furniture construction method, use mortise-and-tenon joints, dowels, or loose tenons. The table will not care which method you use, provided the joints are snug, square, and properly glued.
Step 9: Assemble the Demilune Table Base
Assemble the two side rails between the front and rear legs first. Use glue and your preferred joinery method. Check each side assembly for square before the glue sets.
Next, connect the two side assemblies with the rear rail. Then install the curved front apron between the front legs. Clamp carefully and check the base on a flat surface. All four legs should sit solidly without rocking.
Add interior corner blocks where the rails meet the legs. These blocks strengthen the base and provide convenient attachment points for the tabletop. They are hidden, hardworking, and essentially the furniture equivalent of a good stage crew.
Step 10: Test-Fit and Attach the Top
Place the tabletop upside down on a protected work surface. Center the assembled base on the underside, making sure the curved apron follows the tabletop curve evenly and the rear rail sits parallel with the straight back edge.
If you used plywood for the tabletop, you can attach it with screws through the corner blocks and rails after drilling pilot holes. If you use a solid-wood top instead, do not glue it rigidly to the base. Solid wood expands and contracts across its width as humidity changes, so use tabletop clips, Z-clips, or figure-eight fasteners that allow movement.
Check your overhang before driving the screws. A consistent reveal around the front curve is one of the small details that makes a handmade piece look deliberate rather than merely victorious.
Step 11: Sand, Stain, and Finish the Table
Sand all visible surfaces beginning with 120-grit sandpaper, then move through 150-grit and 180-grit. Use 220-grit for the final pass on surfaces that will receive a clear finish. Sand with the grain whenever possible, and use a flexible sanding pad around the curved apron.
Vacuum the dust thoroughly before staining or painting. If you want a classic entry-table appearance, use a medium walnut, warm oak, or deep espresso stain. For a brighter modern look, paint the base and use a natural wood finish on the top.
Apply two or three thin coats of a durable clear finish, lightly sanding between coats once they are dry. Water-based polyurethane keeps pale woods lighter, while oil-based polyurethane adds warmer amber tones. Test your finish on scrap first, because wood has a charming habit of changing its personality once stain arrives.
Step 12: Level the Table and Add the Final Details
Set the completed table on a level floor and check for wobble. If one leg is slightly long, mark it carefully and sand or trim only a tiny amount at a time. Add felt pads to the feet to protect flooring and make moving the table less dramatic.
Stand back and inspect the curve from several angles. Look for glue squeeze-out, sharp edges, uneven sheen, and any spot that needs a little more sanding or finish. Then place the table against a wall, add a lamp, framed art, a bowl for keys, or a plant that you are reasonably confident will survive.
Common Demilune Table Building Mistakes to Avoid
Rushing the Template
A lumpy template creates a lumpy tabletop, a lumpy apron, and eventually a lumpy mood. Smooth the template until the curve looks graceful from every angle before you copy it onto expensive material.
Skipping the Dry Run for Bent Laminations
Curved laminations need planning. Run through the clamping sequence without glue so you know where every clamp, caul, and strip belongs. The dry run may feel slow, but it is much faster than trying to manage wet glue with three hands.
Forgetting About Wood Movement
Plywood tops are relatively stable, but solid-wood tabletops move as seasonal humidity changes. A solid top must be attached in a way that lets it expand and contract. Screwing it tightly to every rail can lead to cracks, warping, or a future repair project you did not order.
Using Too Much Finish at Once
Thick finish coats often create drips, bubbles, and a surface that looks like it is wearing a raincoat. Thin coats dry more evenly, sand more easily, and usually create a better result after two or three applications.
Workshop Experience: Lessons That Make a Demilune Table Easier to Build
Building a demilune table teaches an important woodworking lesson: curves are not difficult because they are curved; they are difficult because they reveal every shortcut. A straight board can hide a small measuring error. A half-moon tabletop cannot. Your eye immediately notices a flat spot, a lopsided edge, or an apron that seems to wander off course like it has an appointment elsewhere.
One of the most useful experiences from projects like this is learning to trust a template more than a pencil line. A pencil line is only the beginning of the process. The template is what turns a rough idea into repeatable parts. Once the template is fair and smooth, cutting the tabletop becomes less stressful. The router follows the pattern, the sanding block follows the router, and suddenly the curve looks like it was always supposed to be there.
The laminated apron is another memorable part of the build. The first dry fit usually feels easy. Then the glue-up begins, clamps multiply, strips slide around, and the project briefly becomes a live demonstration of why woodworkers enjoy coffee. The experience teaches you to organize clamps before opening the glue bottle, use wax paper or tape on forms, and apply pressure gradually from the center outward. Those habits transfer directly to bent chair parts, curved cabinet doors, arched valances, and almost any future project involving a graceful line.
Another lesson comes from choosing the right level of complexity. It is tempting to add carved legs, inlay, drawers, hand-cut dovetails, and a finish schedule requiring a small laboratory. Those details can be beautiful, but they are not required for a demilune table to look elegant. A simple table with a clean curve, properly proportioned legs, hidden joinery, and a smooth finish often looks better than an overcomplicated project with too many competing details.
Finishing also tends to change a builder’s perspective. Before finish, a project may look plain, dusty, and slightly disappointing. After the first clear coat, the grain appears, the color deepens, and the table begins looking like furniture instead of a collection of ambitious rectangles. This is why sanding matters so much. Finish does not hide scratches; it introduces them to everyone in the room.
Finally, a demilune table is a useful reminder that handmade furniture does not need to be flawless to be successful. A tiny variation in the curve, a subtle grain change, or a nearly invisible patch can become part of the piece’s character. The goal is not machine-made perfection. The goal is a sturdy, useful, beautiful table that fits your space and gives you a small burst of pride every time you walk past it.
Conclusion
A DIY demilune table is a practical woodworking project with a surprisingly polished result. By working from a smooth template, laminating the curved apron carefully, building a rigid base, and finishing the surface patiently, you can create a half-moon console table that looks custom-made for your home. Start simple, measure twice, keep your curve fair, and remember that clamps are temporary roommates with very strong opinions.