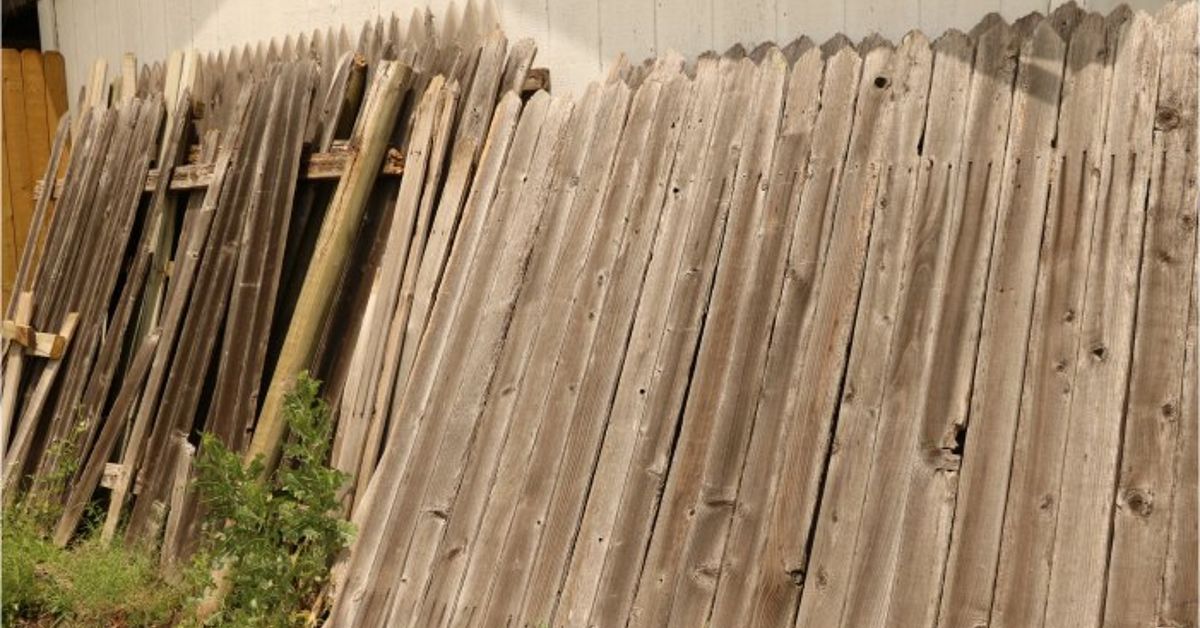
An old fence panel may look ready for retirement, but those weathered boards still have one excellent backyard job left in them: holding a mountain of banana peels, dry leaves, coffee grounds, and garden trimmings while nature performs its slowest magic trick.
Building a DIY compost bin with repurposed fence panels saves usable lumber, reduces project costs, and creates a sturdy enclosure that looks more intentional than a wandering heap of yard debris. This guide explains how to inspect reclaimed wood, choose a suitable location, build an accessible three-sided bin with a removable front, and manage the compost once the sawdust settles.
The finished design is approximately 3 feet wide, 3 feet deep, and 3 feet high. That volume is large enough to retain useful heat while remaining manageable with a garden fork. Dimensions can be adjusted to suit the fence materials available, but avoid making the bin so deep that turning its contents becomes an accidental full-body workout.
Why Repurpose Fence Panels for a Compost Bin?
Fence boards are naturally suited to compost-bin construction. They are designed for outdoor use, provide a tidy vertical enclosure, and can be spaced to admit oxygen. Reusing them also keeps serviceable lumber out of the waste stream.
A wooden bin has several practical advantages over a loose pile:
- It prevents leaves and lightweight debris from blowing around the yard.
- It helps the pile retain a compact shape and useful internal heat.
- Slatted walls allow passive airflow through the compost.
- A removable front makes turning and harvesting easier.
- The exterior can coordinate with nearby fencing or garden beds.
A container is not what makes compost happen. Microorganisms do the actual work, and they demand carbon, nitrogen, moisture, and oxygen rather than fancy carpentry. The bin simply gives that hardworking microbial crew a better office.
Inspect the Reclaimed Fence Wood First
Not every discarded fence panel belongs beside compost that may eventually feed a vegetable garden. Use boards only when their origin and previous treatment are reasonably known.
Good Candidates
- Sound, untreated cedar, redwood, cypress, or other naturally durable lumber
- Clean boards with ordinary weathering but no oily residue or chemical odor
- Panels with localized rot that can be trimmed away
- Boards thick enough to accept exterior screws without splitting
Materials to Avoid
- Wood coated with peeling paint of unknown age, especially material that may predate 1978
- Creosote-treated lumber, railroad-tie material, or wood with an oily appearance
- Boards exposed to pesticides, industrial chemicals, sewage, or contaminated soil
- Severely rotted, insect-damaged, or structurally weak pickets
- Wood containing hidden nails, staples, or broken screws that cannot be removed safely
If the treatment history is uncertain and the finished compost will be used around edible crops, choose different lumber. Free wood loses its charm when it arrives carrying a chemistry mystery.
DIY Compost Bin Plan and Dimensions
This project uses three fixed walls and a front opening fitted with removable horizontal boards. The open bottom allows drainage and contact with soil organisms. An optional hardware-cloth floor and lid can be added where rodents are a concern.
- Recommended interior size: Approximately 36 by 36 by 36 inches
- Wall ventilation: Gaps of roughly 1/2 to 1 inch between boards
- Front access: Removable slats or a hinged gate
- Base: Open soil or 1/4-inch galvanized hardware cloth
- Lid: Optional but helpful in very wet climates and pest-prone areas
Measure the available fence sections before cutting. Reclaimed boards rarely cooperate with perfect plans, so treat 36 inches as a target rather than a sacred number carved into a cedar tablet.
Tools and Materials
Reclaimed Materials
- Enough fence pickets or panel sections for three 3-foot walls
- Four sound 2-by-4s, 2-by-2s, or sturdy fence rails for corner supports
- Additional pickets for the removable front
- Two narrow boards for front retaining channels
New Hardware and Supplies
- 2 1/2- to 3-inch exterior-rated deck screws
- 1 1/4- to 1 5/8-inch exterior screws for thin pickets
- Galvanized corner brackets, if extra reinforcement is needed
- Optional 1/4-inch galvanized hardware cloth
- Optional hinges and a latch for a gate or lid
- Optional low-VOC exterior wood finish for outside surfaces only
Tools
- Tape measure, pencil, and carpenter’s square
- Circular saw, miter saw, or handsaw
- Drill and driver bits
- Pry bar, hammer, and pliers
- Level and garden rake
- Sandpaper or an orbital sander
- Work gloves, safety glasses, hearing protection, and a dust mask
How to Build a Compost Bin From Fence Panels
Step 1: Choose a Convenient, Well-Drained Site
Select level ground with good drainage and convenient access from the kitchen and garden. Partial shade helps prevent the pile from drying excessively during hot weather, while protection from strong wind reduces moisture loss. Place the bin within reach of a hose but away from wells, streams, drainage channels, and areas where runoff collects.
Leave at least 3 feet of working space in front of the bin. Check municipal rules, homeowners association requirements, and property-line setbacks before building. Do not fasten the composter directly against an existing wooden fence; the constant moisture can shorten the life of both structures.
Step 2: Dismantle and Clean the Fence Panels
Place each panel flat on stable supports. Remove screws, nails, staples, brackets, and wire before cutting. A magnetic sweep can help locate stray metal after dismantling.
Brush away soil and organic residue, then scrub dirty boards with mild soap and water. Allow them to dry completely. Inspect both faces for cracks and rot. A screwdriver that sinks easily into the wood is delivering bad news: cut away that section or reject the board.
Step 3: Sort and Cut the Lumber
Reserve the straightest boards for the corner supports and front opening. Cut the side and back rails to create panels about 36 inches square. Cut fence pickets to the desired wall height, typically 36 inches.
If the original fence panels are already close to the correct size, trim them as complete sections. Otherwise, build three smaller wall frames from the recovered rails and attach individual pickets. Sand sharp edges and predrill near board ends to prevent splitting.
Step 4: Build the Back Wall
Lay two horizontal rails on a flat work surface, spacing them about 28 to 30 inches apart. Arrange the pickets across the rails with 1/2- to 1-inch ventilation gaps. Check that the assembly is square, then drive two exterior screws through each picket into every rail.
Do not create huge openings in the name of airflow. Gaps wider than an inch allow leaves and half-finished compost to escape whenever the pile is turned.
Step 5: Assemble the Side Walls
Build two matching side panels using the same method. For greater rigidity, attach vertical corner supports to the front and back edges. Keep the bottom ends even so the structure rests flat.
Dry-fit all three panels on the prepared site. Confirm that the side walls are square to the back wall and that the front opening is wide enough for a garden fork or wheelbarrow.
Step 6: Join the Three Fixed Walls
Stand one side panel against the back panel and fasten the corner with exterior screws driven through the rails into the vertical support. Galvanized corner brackets can reinforce thin or uneven reclaimed lumber. Attach the second side and check the entire structure with a level.
If the bin rocks, correct the ground rather than forcing the frame out of square. Remove high spots, add compacted gravel where appropriate, and check again.
Step 7: Make a Removable Front
A removable front is more useful than a permanently enclosed fourth wall. Fasten narrow vertical strips to the inside faces of the two front supports, creating channels into which horizontal fence boards can slide.
Measure the completed opening before cutting the front slats. Make each board about 1/4 inch shorter than the clear width so it can be inserted and removed despite seasonal swelling. Stack the slats to contain the pile, then remove them one at a time when turning or harvesting compost.
A hinged gate is another option, but it requires clearance to swing and may sag as wet wood ages. Removable slats are simple, strong, and remarkably uninterested in drama.
Step 8: Add Pest Protection if Needed
Where rats or other digging animals are common, lay 1/4-inch galvanized hardware cloth beneath the bin before placing it. Extend it several inches beyond the walls or bend the edges upward and staple them securely inside.
Cover larger wall openings with the same mesh. Wear gloves when cutting it because trimmed wire has the social skills of an angry porcupine.
Step 9: Build an Optional Lid
A lid helps moderate heavy rainfall and discourages scavengers. Construct a lightweight frame slightly larger than the bin, cover it with closely spaced fence boards or exterior roofing material, and attach it to the back with galvanized hinges.
Slope the lid slightly so rain runs away. It should not seal the bin airtight; composting is an aerobic process. In mild conditions, a breathable tarp secured loosely over the top can provide enough weather protection.
Step 10: Protect the Exterior
Leave the interior unfinished whenever possible. If desired, apply a low-VOC, water-resistant exterior finish only to the outside faces and exposed end grain. Allow it to cure according to the manufacturer’s directions before filling the bin.
Wood touching moist compost will eventually deteriorate. That is normal. Exterior-rated fasteners and replaceable slats make future repairs much easier.
How to Start the Compost Pile
Begin with a 4- to 6-inch base of coarse brown material such as small twigs, dry stalks, or untreated wood chips. This porous layer absorbs excess liquid and encourages airflow near the ground.
Add approximately two to three buckets of carbon-rich “browns” for every bucket of nitrogen-rich “greens.” This volume-based rule is easier for home composters than calculating the scientific carbon-to-nitrogen ratio.
Useful Brown Materials
- Dry leaves and small twigs
- Shredded, non-glossy paper
- Plain cardboard with tape and labels removed
- Straw and untreated wood chips
- Dried plant stalks
Useful Green Materials
- Fruit and vegetable scraps
- Coffee grounds and paper filters
- Fresh grass clippings in thin layers
- Green garden trimmings
- Crushed eggshells
Keep meat, bones, dairy products, grease, pet waste, diseased plants, invasive weeds with seeds, glossy paper, treated wood, and produce stickers out of a typical backyard pile. Home systems may not remain hot enough for long enough to destroy every pathogen or weed seed.
Cover fresh food scraps with 4 to 8 inches of brown material. Moisten dry ingredients as they are added. The pile should feel like a wrung-out sponge: damp throughout, but not dripping. Turn it periodically with a fork to restore oxygen and move outer material toward the warmer center.
Troubleshooting Your New Compost Bin
The Pile Smells Rotten
It is probably too wet, compacted, or low in oxygen. Mix in dry leaves, shredded cardboard, or coarse wood chips, then turn the pile thoroughly.
The Compost Smells Like Ammonia
There is too much nitrogen-rich material. Add more browns and mix them through the pile rather than dropping them on top like a decorative hat.
The Pile Is Not Heating
Check its size, moisture, and ingredient balance. A small, dry pile made mostly of leaves decomposes slowly. Add greens, water lightly, and turn it. Cold weather can also reduce microbial activity.
Animals Are Visiting
Stop adding meat, dairy, oily food, and large quantities of cooked leftovers. Bury plant-based kitchen scraps in the center and cover them generously with dry material. Repair openings and add fine hardware cloth where necessary.
The Fence Boards Are Rotting
Replace individual slats before structural rails fail. Improve drainage around the base and keep soil from banking against the exterior. A compost bin is allowed to age; it just should not collapse dramatically during tomato season.
When Is the Compost Finished?
A well-managed pile may produce usable compost in roughly three to five months, while a pile turned infrequently can take a year or longer. Finished compost is dark, loose, crumbly, and earthy-smelling. Recognizable food scraps should be gone, although woody pieces may remain.
Once the pile stops reheating after turning, let it cure for at least four weeks. Screen out sticks, fruit pits, and other unfinished material, then return those pieces to the next batch. Use mature compost as a soil amendment, garden mulch, or ingredient in a balanced container mix rather than as pure potting soil.
Practical Experience: Lessons From Building and Using a Reclaimed-Wood Bin
The first practical lesson is that salvaging lumber often takes longer than assembling the bin. A fence panel can hide an impressive collection of bent nails, stripped screws, and pickets that appear healthy until lifted. Sorting the boards into “structural,” “slat,” and “kindling-shaped disappointment” piles prevents weak pieces from ending up at load-bearing corners. Removing every metal fastener before cutting is also nonnegotiable; a saw blade meeting an old screw creates excitement of exactly the wrong kind.
Dry-fitting the walls reveals problems that measurements alone may miss. Reclaimed rails are rarely perfectly straight, and a nominally square panel can lean several inches when stood upright. Placing the three walls on the actual site before final fastening makes it easier to trim a rail, shim a low corner, or reverse a bowed board. The most reliable approach is to square the back panel first, attach one side, and then align the second side to the real front opening.
Front access matters more than expected. A solid fourth wall looks tidy on construction day but becomes an obstacle when dense, wet compost must be turned. Removable boards allow the opening to follow the height of the pile. With the upper slats installed, loose leaves stay contained. When it is time to work, removing two or three boards creates comfortable fork access without releasing the entire contents in a compost avalanche.
Ventilation gaps also require balance. Closely fitted pickets retain moisture but can leave a soggy pile starved of oxygen. Very wide gaps improve airflow but scatter dry leaves across the lawn. Gaps near 1/2 inch work well for most wooden bins, especially when the pile contains a mixture of coarse twigs and finer material. In windy or dry regions, smaller gaps and a loose cover help conserve moisture. In rainy climates, good drainage and a simple lid become more important.
The first batch usually teaches more about composting than carpentry. A bin filled entirely with freshly cut grass may heat quickly, mat together, and develop an odor capable of starting neighborhood negotiations. Mixing each load of grass with dry leaves or shredded cardboard keeps the pile porous. Storing a bag or separate cage of dry leaves beside the composter makes this habit easy throughout the year.
Kitchen scraps create another useful routine. Instead of dumping them on top, open a pocket in the center, add the scraps, and cover them with several inches of browns. This reduces flies, odors, and animal interest. Chopping tough stems, melon rinds, and corn cobs into smaller pieces noticeably shortens their residence in the pile.
Moisture is best judged by hand rather than by schedule. A pile may need water during a hot, windy week and none after several rainy days. Squeeze a handful from the center while wearing gloves. It should hold together and feel damp without releasing a stream of water. If it crumbles, add water while turning. If it drips, mix in dry carbon-rich material and leave the lid open briefly.
Finally, reclaimed fence lumber will not last forever. The lower boards and front slats usually deteriorate first because they remain closest to damp compost. Designing those parts to be replaceable turns decay into routine maintenance instead of a complete rebuild. Even after several seasons, the project remains economical because a few new slats can extend the life of the original structure. The best compost bin is not the prettiest one; it is the one that remains convenient enough to use every week.
Conclusion
A compost bin made from repurposed fence panels combines two satisfying forms of recycling: salvaging useful wood and transforming household organic material into a valuable soil amendment. Careful lumber inspection, a roughly 3-foot-square design, ventilated walls, and removable front slats produce a bin that is durable, accessible, and easy to maintain.
Keep the pile moist but aerated, combine two to three volumes of browns with each volume of greens, bury food scraps, and turn the contents periodically. Before long, yesterday’s fence and last week’s vegetable peels will be working together to improve tomorrow’s garden.