Mousse foundation is the “whipped cream” of base makeup: airy, cushiony, and usually designed to dry down to a soft-matte finish that looks like it has its life together.
It’s awesome when you want smooth-looking skin fastespecially if you’re oily, live somewhere humid, or you’re trying to look “well-rested” in fluorescent office lighting (a brave goal).
The catch? Mousse formulas can set quickly and go from “flawless” to “why do I look like a powdered donut?” if you apply too much, rush your blending, or skip skin prep.
The good news: mousse foundation is easy once you treat it like a thin-layer, blend-as-you-go product. In this guide, you’ll learn exactly
how to apply mousse foundation in eight practical steps, plus tool options (fingers vs. brush vs. sponge), common mistakes, and fixesso you end up with a smooth,
soft-focus finish instead of a cakey situation.
What You’ll Need (No, Not a Master’s Degree)
- Mousse foundation (your shade, your finish)
- Moisturizer (and SPF for daytime)
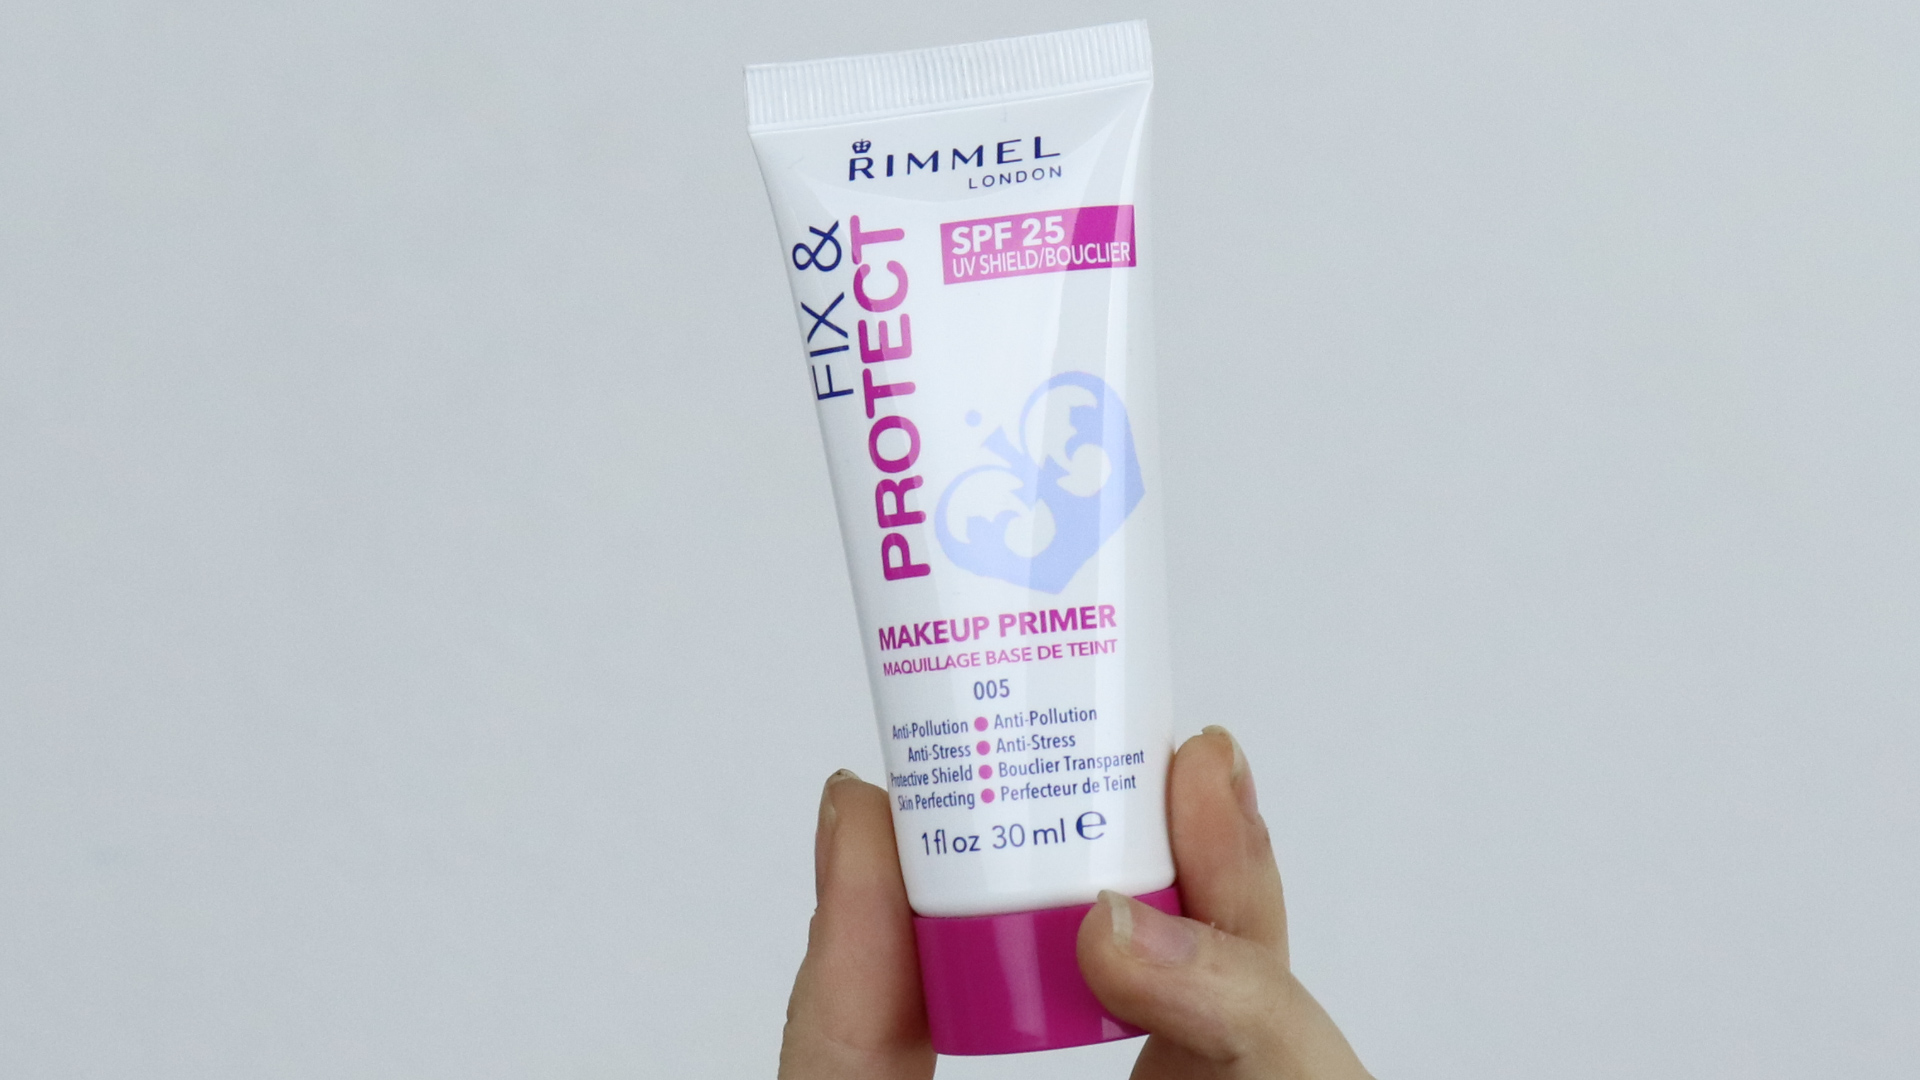
- Optional primer (mattifying or hydrating, depending on your skin)
- One tool: clean fingers, a dense synthetic foundation brush, or a damp makeup sponge
- Optional helpers: concealer, translucent setting powder, setting spray, blotting paper
- Hygiene bonus: a small spatula (especially if your mousse comes in a jar)
How to Apply Mousse Foundation: 8 Steps
Step 1: Prep Your Skin Like You Actually Like It
Mousse foundation tends to highlight dry patches and texture if your skin is thirsty. Start with a clean face, then apply moisturizer and let it sink in for a few minutes.
If it’s daytime, finish skincare with sunscreen (give it time to set, too). If your skin is oily, you don’t need to skip moisturizeryou just need the right one:
lightweight, non-greasy, and fully absorbed before makeup.
Quick test: press a tissue onto your face. If it sticks like a Post-it note, your skincare is still too wet. Wait another minute, or gently blot.
A slightly “settled” base helps mousse glide and blend instead of grabbing and clumping.
Step 2: Prime With a Purpose (Optional, But Powerful)
Primer isn’t mandatory, but it can be the difference between “soft matte” and “sliding off my face by lunch.”
Choose based on your real-life skin behavior:
- Oily or humid-day skin: a mattifying or pore-blurring primer in the T-zone.
- Dry or textured skin: a hydrating primer (especially around cheeks) to prevent patchiness.
- Combo skin: use two primersmattify where you shine, hydrate where you flake.
Keep primer thin. Thick primer + mousse foundation can sometimes pill (that annoying rolling-up effect). If pilling happens, it’s usually a “too much product” issue,
not a “your face is cursed” issue.
Step 3: Nail Your Shade and Prep the Product
Shade matching matters more with mousse because it often dries down quickly and can look more “fixed” than a dewy liquid foundation. If you’re between shades,
consider matching your neck/chest (not just your face). For many people, the most natural look happens when your foundation matches your neck, then you add warmth back with bronzer.
Now prep the mousse: scoop a pea-size amount (seriously) onto the back of your clean hand. Warming it slightly makes it spread more evenly.
If the product comes in a jar, use a small spatula to avoid dipping fingers directly inless bacteria, longer product life, fewer “why am I breaking out?” mysteries.
Step 4: Start Small and Dot Strategically
Mousse foundation rewards restraint. Begin with a pea-size amount for the whole face, then add more only where needed.
Dot the product on the center of your face first (cheeks near the nose, forehead center, chin), because that’s where most people want the most coverage.
You can always pull the remaining product outward toward the hairline and jaw.
Pro move: work in sections. Mousse can set faster than some liquids, so blending half your face at a time prevents “stuck” patches and streaks.
Step 5: Blend Using the Right Tool for the Finish You Want
There’s no single “correct” tooljust tradeoffs. Here’s how each option behaves with mousse texture:
-
Fingers (fast, natural): warmth helps melt mousse into skin. Use gentle tapping and short, light strokes. Great for everyday,
but wash hands first (future you will thank you). -
Dense synthetic brush (more coverage): stipple (press) first, then buff in tiny circles to avoid streaks.
A flat-top or kabuki-style brush works especially well for mousse because it “pushes” product into the skin. - Damp sponge (smooth, airbrushed): bouncedon’t swipe. The dampness helps prevent that heavy, cakey look and softens edges around the nose and hairline.
If you want the best of all worlds, try a combo: apply with fingers or a brush to place coverage, then tap with a damp sponge to melt everything together.
That “final bounce” is like hitting the blur filter in real life.
Step 6: Build Coverage Only Where You Actually Need It
The biggest mousse mistake is treating it like spackle. Instead, build in micro-layers:
apply one thin layer everywhere, then add a second only on redness, discoloration, or areas where you want more evenness.
For blemishes, try this: apply foundation normally, then use a tiny bit of mousse or concealer and press it onto the spot with a sponge tip or clean finger.
Pressing keeps coverage in place; rubbing lifts it right back off (makeup is petty like that).
Around smile lines and the sides of the nose, use less product and more tapping. Heavy layers there love to crease.
Step 7: Set Strategically (Not Like You’re Powdering a Donut)
Many mousse foundations dry down matte on their own, so you don’t always need powder everywhere.
Instead, set based on your skin type and your plans for the day:
- Oily skin / long day: light translucent powder on the T-zone and under the eyes (if you crease there).
- Normal / combo: powder only where you shine, leave cheeks more natural.
- Dry skin: skip powder on dry areas; use it sparingly or not at all.
Press powder in with a puff or sponge for longevity, or dust lightly with a fluffy brush for a softer look. Finish with setting spray if you want extra wear time or a more skin-like finish.
If you go heavy on powder, setting spray can help take the “too matte” edge off.
Step 8: Do a Final Reality Check (Lighting Does Not Forgive)
Before you declare victory, check your foundation in a window or bright light. Look for:
unblended edges at the jawline, build-up around the nose, and patchiness on dry spots.
Tap those areas with your damp sponge (even if you used a brush) to smooth everything out.
Blend a little onto the ears and down the neck if neededespecially if you’re wearing your hair up. Then add the rest of your makeup:
bronzer for warmth, blush for life, and highlighter if you want to look like you drink water and mind your business.
Troubleshooting: Fix Common Mousse Foundation Problems
If it looks cakey…
Use less product and switch to tapping. Mousse can look heavy when it sits on top of skin instead of being pressed in. A damp sponge can rescue cakiness fast:
bounce gently over the area to lift excess and re-meld the foundation.
If it’s patchy or clinging to dry spots…
Your prep needs more hydration (or more time to absorb). Try a richer moisturizer at night, a hydrating primer on dry zones, and avoid powder there.
In the moment, tap a tiny amount of moisturizer between fingers and press lightly on the patchthen re-tap foundation on top.
If it’s separating or pilling…
Usually: too many layers (skincare + primer + foundation) applied too quickly. Let each layer set, use thinner amounts, and avoid rubbing.
Silicone-heavy products can also pill when layered aggressivelyless is more.
If it oxidizes or turns darker…
Let mousse dry down for a few minutes before judging the shade. If it consistently deepens, try a slightly lighter shade or use a brightening concealer in the center of the face.
Also make sure your moisturizer or SPF isn’t overly oily, which can change how pigment develops on skin.
Tool & Hygiene Tips (Because Your Brushes Have a Backstory)
Clean tools help your foundation look better and keep skin happier. Wash foundation brushes regularly (weekly is a solid rule for tools used with wet products),
and clean sponges oftenespecially if you’re acne-prone. Let sponges dry in a breathable spot (not sealed in a damp makeup bag like a tiny mildew terrarium).
Also: track product age. If your mousse foundation smells off, separates strangely, or starts performing differently, it may be past its prime.
Makeup expiration isn’t glamorous, but neither is a mysterious rash.
Conclusion
Learning how to apply mousse foundation is mostly learning how to be pleasantly stingy with product. Prep your skin, start small,
blend in sections, and build coverage only where needed. Finish with strategic setting, and you’ll get that smooth, soft-matte look mousse is famous forwithout the “makeup mask” vibe.
Once you find your favorite tool combo (many people love brush + damp sponge), mousse foundation becomes one of the quickest ways to look polished in minutes.
Experience Notes (500+ Words): What Applying Mousse Foundation Is Really Like
Here’s the part nobody tells you when you first pick up a mousse foundation: your first application is basically a personality test.
Are you the “I use a pea-size amount like a responsible adult” person? Or are you the “one more scoop can’t hurt” person who ends up blending for 45 minutes,
late for everything, questioning your life choices in the mirror?
In real life, mousse foundation shines when you need speed and reliability. On busy mornings, it’s the kind of base you can apply with clean fingers,
tap out around the nose, and still look put-together on a video call. The texture is forgiving in the sense that it spreads easilybut it’s also quick to set,
which means you learn fast not to dot your entire face and then answer a text. If you do, you come back to little foundation “islands” that have started drying,
and now you’re blending in hard mode.
One of the most useful “experience upgrades” is learning where mousse foundation doesn’t need to go. A lot of us automatically apply foundation everywhere,
including places that are already smooth and even. But mousse looks best when it’s used like a soft-focus equalizer: center of the face, blended outward.
The first time you intentionally use less on the outer cheeks and more on redness around the nose, you’ll notice your face looks more like skin and less like a uniform.
It’s a subtle change that reads as “naturally polished,” which is basically the holy grail.
Another real-world lesson: the tool matters, but the finishing pass matters more. You can apply mousse with a brush and get great coverage,
but if you stop there you might see faint brush texture in bright light. That’s why so many people swear by the final bounce with a damp sponge.
Think of it as the difference between ironing a shirt and then smoothing the collareverything looks more intentional.
On days when you’re running late, that 15-second sponge pass is the shortcut that makes the whole look feel expensive.
Mousse foundation is also a weather negotiator. In humid conditions, it can hold up better than very dewy formulas that never fully set.
If you’ve ever stepped outside and felt your makeup turn into “face soup,” mousse can be a pleasant surprise.
The trick is setting only where necessaryusually the T-zoneso you don’t end up too matte everywhere.
For photos or events, mousse can look incredibly smooth if you keep layers thin and avoid over-powdering.
And if you’re someone who gets shiny by midday, you’ll appreciate how mousse tends to blur pores when paired with a light dusting of translucent powder.
The final experience-based tip is the most boringand therefore the most powerful: hygiene.
If your mousse comes in a jar, using a tiny spatula feels extra… until you realize you’re not reintroducing skin oils and bacteria every day.
Cleaner product often means more consistent performance, and your skin is less likely to start a complaint department.
Combine that with regular brush washing and letting sponges fully dry, and you’ll notice fewer random breakouts that mysteriously appear right where you buff foundation the most.
So yes, mousse foundation has a learning curvebut it’s short. Once you master “less product, more tapping,” it becomes one of the easiest ways to get a smooth,
matte-but-not-flat finish that survives real life: heat, errands, meetings, and the occasional “why is this restaurant lighting so aggressive?” moment.