Exterior paint has one of the toughest jobs around the house. It must look attractive while enduring blazing sunlight, driving rain, freezing temperatures, humidity, dirt, mildew, and the occasional basketball launched by someone who absolutely promised to be careful.
A successful exterior painting project is therefore about much more than choosing a pleasant color. The paint must suit the surface, local climate, architectural style, and condition of the building. Preparation, weather, application technique, and ongoing maintenance matter just as much as the brand printed on the can.
This complete guide explains how exterior paint works, which finish to choose, when primer is necessary, how to prepare different materials, and what separates a long-lasting paint job from one that begins peeling before the ladder has been returned to the garage.
What Makes Exterior Paint Different?
Interior and exterior paints may sit beside each other in the store, but they are formulated for very different environments. Interior paint is designed to resist stains, scuffs, and routine cleaning. Exterior paint must expand and contract as temperatures change while resisting ultraviolet light, moisture, mildew, dirt, and weather-related deterioration.
The Basic Ingredients
Most architectural paints contain four main components:
- Pigments provide color, opacity, and hiding power.
- Binders form the film that attaches the pigments to the surface.
- Liquids or carriers keep the paint workable until they evaporate.
- Additives improve properties such as flow, mildew resistance, adhesion, drying time, and durability.
The binder is especially important in exterior paint. High-quality acrylic resins generally remain flexible as siding expands and contracts. That flexibility helps the coating resist cracking, peeling, and blistering through changing seasons.
Water-Based Acrylic Paint
Water-based acrylic, often casually called latex paint, is now the standard choice for many residential exteriors. It dries relatively quickly, cleans up with soap and water, retains color well, and works on properly prepared wood, fiber-cement siding, stucco, masonry, vinyl, and previously painted surfaces.
The word “latex” does not mean the paint contains natural rubber. It usually refers to a water-based emulsion containing synthetic acrylic or vinyl-acrylic binders. Products labeled “100% acrylic” are commonly selected for demanding exterior applications because of their adhesion, flexibility, and weather resistance.
Oil-Based and Alkyd Coatings
Oil-based and alkyd paints dry to a hard, smooth finish and may still be useful for certain doors, trim, railings, and metal surfaces. However, they usually dry more slowly, produce stronger odors, require solvents for cleanup, and may become brittle with age.
Compatibility also matters. Before applying water-based paint over an old glossy oil-based coating, the surface generally needs thorough cleaning, sanding, and a suitable bonding primer. Skipping that step can turn your front door into an oversized sheet of peeling confetti.
How to Choose the Best Exterior Paint
Match the Paint to the Surface
There is no single exterior paint that is ideal for every material. Begin by identifying what you are painting.
- Wood siding: Choose a flexible exterior acrylic paint and use an appropriate primer on bare wood, repairs, knots, or tannin-prone species.
- Vinyl siding: Use paint approved for vinyl and avoid colors that may absorb excessive heat unless the manufacturer specifically permits them.
- Fiber cement: High-quality acrylic exterior paint is usually appropriate after cleaning and priming exposed or repaired areas.
- Stucco and masonry: Use breathable coatings intended for mineral surfaces. New masonry may require a curing period and masonry primer.
- Brick: Confirm that painting is appropriate before proceeding. Once painted, brick becomes an ongoing maintenance surface.
- Metal: Remove rust and oxidation, then use a corrosion-resistant primer and compatible topcoat.
Always read the technical data and application instructions for the exact product. A paint label may not be thrilling literature, but it is considerably more entertaining than repainting an entire wall because the coating was incompatible.
Understand Paint Quality
Premium exterior paint usually contains better binders, stronger pigments, and a higher proportion of useful solids. These characteristics can improve coverage, adhesion, color retention, mildew resistance, and long-term durability.
The cheapest gallon is not necessarily the least expensive choice. A lower-priced paint that requires extra coats or fails early can cost more in labor, equipment rentals, and future repainting. On a large exterior, labor is usually the biggest commitment, even when that labor is provided by family members who were lured to the project with pizza.
Select the Right Sheen
Paint sheen affects appearance, washability, moisture resistance, and how clearly surface defects can be seen.
- Flat or matte: Hides imperfections well and creates a traditional appearance. It is often used on older siding, stucco, and broad wall areas.
- Low-luster or eggshell: Adds a subtle glow while remaining forgiving on exterior walls.
- Satin: Offers a balance of durability, moderate shine, and easier cleaning. It is popular for siding and high-exposure areas.
- Semi-gloss: Commonly used on doors, window trim, shutters, gutters, and architectural details.
- Gloss: Produces a crisp, reflective finish but highlights dents, brush marks, and uneven preparation.
A practical combination is flat, low-luster, or satin paint on the main body of the house, with semi-gloss paint on trim and doors. The modest contrast in sheen helps architectural details stand out without making the house resemble a freshly polished bowling ball.
Choosing an Exterior Paint Color
Exterior color is affected by sunlight, landscaping, neighboring homes, roofing, brick, stone, and other permanent materials. A color chip viewed under store lighting may look completely different on a south-facing wall at noon.
Start With Fixed Elements
Roof shingles, masonry, stonework, garage doors, and unpainted wood create the starting palette. Look for their dominant undertones. Warm brown roofing may coordinate naturally with cream, olive, taupe, or muted red, while cool gray stone may favor blue-gray, charcoal, or crisp off-white.
Test Large Samples
Paint sample boards or large sections on more than one side of the house. Observe them in morning light, afternoon sun, shade, and cloudy conditions. Exterior colors often appear lighter and more intense than expected because they are viewed across a large area under natural light.
Use a Simple Color Scheme
Many homes look balanced with three main colors: one for the body, one for trim, and one accent color for the front door or shutters. Elaborate Victorian architecture may support more colors, while a modern house often benefits from a restrained palette.
Before purchasing gallons of paint, check local historic-district rules, city requirements, or homeowners association restrictions. Discovering that “Midnight Volcano” is prohibited is much less painful before it covers 2,000 square feet of siding.
Exterior Paint Preparation: The Step That Controls Everything
Paint performs best on a surface that is clean, dry, stable, and properly repaired. It cannot permanently correct rot, active leaks, failed flashing, trapped moisture, or crumbling masonry. Painting over those problems merely gives them a nicer outfit.
Inspect Before Cleaning
Walk around the building and look for peeling paint, chalking, mildew, cracked caulk, open joints, rust, soft wood, damaged siding, failing gutters, and signs of water intrusion. Determine why the coating failed before covering it.
Moisture may come from leaking roofs, defective gutters, poorly sealed windows, plumbing problems, sprinklers, or indoor vapor moving through exterior walls. Correcting the moisture source is essential; otherwise, the new paint may blister or peel just like the old coating.
Clean the Surface
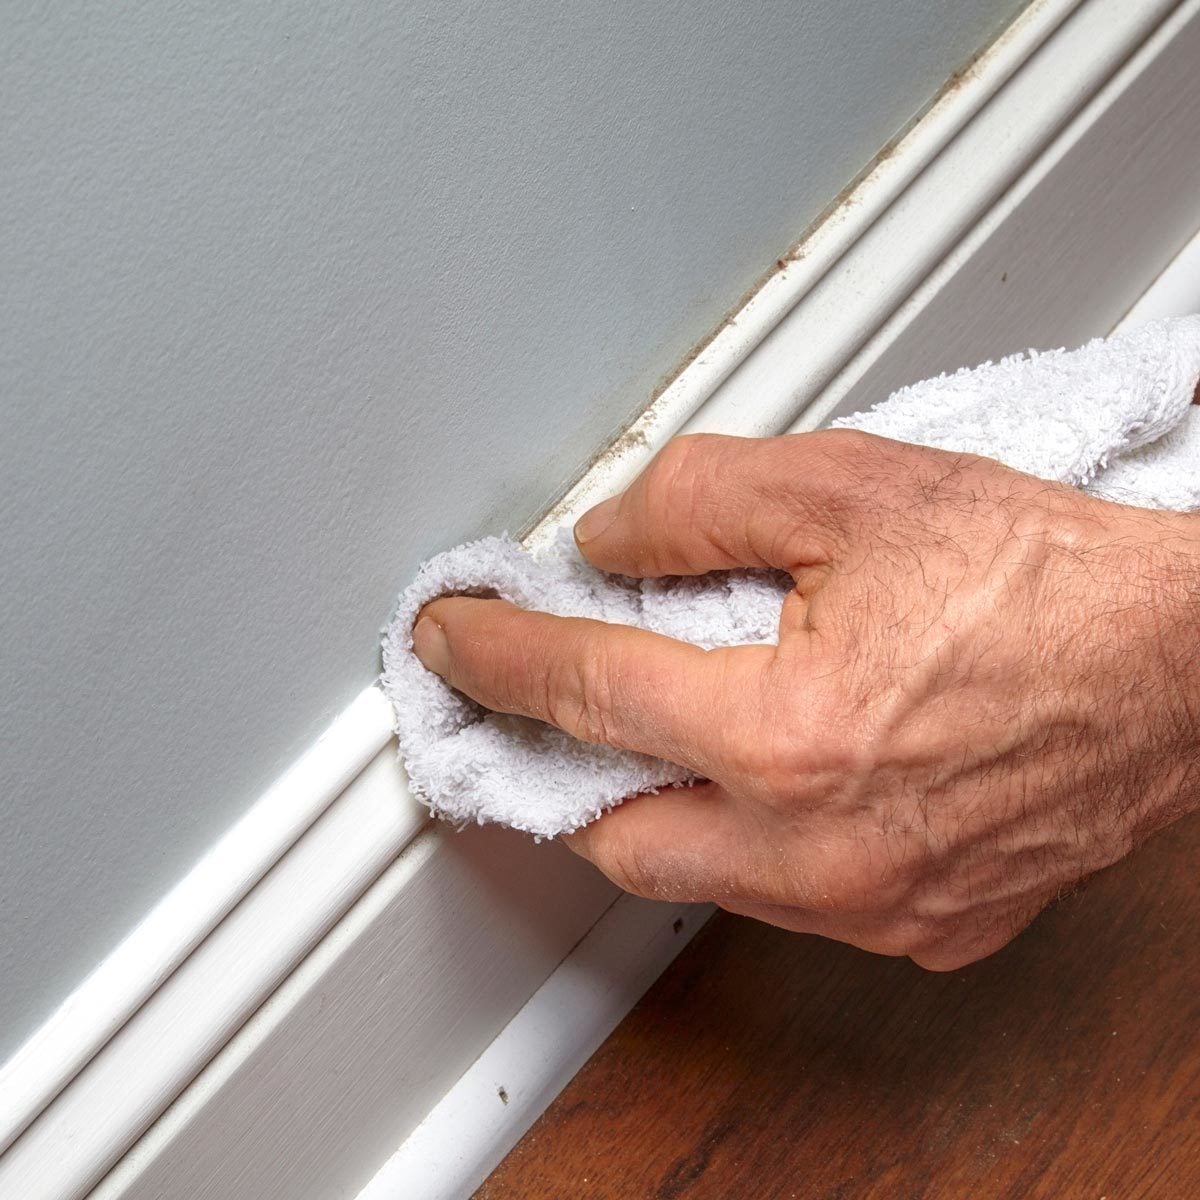
Remove dirt, chalk, mildew, cobwebs, grease, and loose material. A garden hose, soft brush, siding cleaner, or carefully operated pressure washer may be appropriate, depending on the surface.
Pressure washing should not be treated like an action movie. Excessive pressure can gouge wood, force water behind siding, damage window seals, and create a long drying delay. Use the lowest effective pressure and allow the exterior to dry thoroughly before painting.
Scrape, Sand, and Repair
Scrape away loose and failing paint until the remaining edges are firmly attached. Feather rough edges with sandpaper so they do not show through the finish coat. Replace badly rotted wood rather than filling large deteriorated sections with hopeful quantities of patching compound.
Use exterior-grade fillers for holes and minor defects. Replace failed window glazing where necessary. Remove deteriorated caulk and apply paintable exterior caulk around appropriate trim joints, penetrations, and gaps.
Do not seal intentional drainage openings, siding laps, weep holes, or ventilation paths. Buildings need controlled ways to release moisture. Caulking every visible line can trap water and create new problems behind the paint film.
Take Lead Paint Seriously
Homes built before 1978 may contain lead-based paint. Sanding, scraping, drilling, or pressure washing these coatings can release hazardous dust and chips. Use lead-safe work practices and consider hiring an EPA Lead-Safe Certified contractor, especially when extensive paint disturbance is expected.
Ordinary dust masks, open shop vacuums, and vigorous dry sanding are not substitutes for proper containment and cleanup. Protect occupants, pets, neighboring property, soil, and workers before beginning the project.
When Exterior Primer Is Necessary
Primer is designed to improve adhesion, seal porous surfaces, block stains, and create a consistent foundation for the finish coat. Paint-and-primer products can simplify some projects, but they do not eliminate the need for specialized primer in difficult conditions.
Primer is commonly recommended for:
- Bare or weathered wood
- Unpainted masonry and stucco
- Rust-prone metal
- Glossy or difficult-to-bond surfaces
- Repairs, patches, and exposed substrate
- Heavy stains or wood tannins
- Major changes from dark colors to light colors
- Surfaces with uneven porosity
If the existing coating is sound, clean, dull, and compatible with the new paint, spot-priming exposed and repaired areas may be sufficient. Follow the paint manufacturer’s system recommendations instead of mixing random products and hoping they become friends.
The Best Weather for Exterior Painting
Weather affects application, drying, curing, adhesion, and film formation. Check the forecast for the entire drying period, not just the moment when the first brush touches the wall.
A mild, dry day with moderate humidity, limited wind, and stable temperatures is ideal. Many traditional exterior coatings perform best when air and surface temperatures are roughly between 50°F and 85°F. Some modern products are formulated for application at temperatures as low as 35°F or under hotter conditions, but the exact limits on the label must control the decision.
The surface temperature may differ significantly from the air temperature. Dark siding in direct sunlight can become extremely hot, causing paint to dry too quickly and leaving lap marks or weak adhesion. In cool weather, evening dew can settle on a coating that has not formed a proper film.
Avoid painting immediately after rain, during heavy fog, in strong wind, or when rain and dew are expected before the coating becomes weather-resistant. Work around the house in the shade when possible rather than chasing direct sunlight with a roller.
How to Apply Exterior Paint Correctly
Choose the Right Tools
Brushes provide control around trim, joints, corners, and detailed woodwork. Rollers cover broad, relatively flat surfaces. Sprayers can apply paint quickly but require extensive masking, careful technique, appropriate safety equipment, and favorable wind conditions.
On textured, porous, or rough siding, sprayed or rolled paint is often back-brushed or back-rolled. This mechanical action works the coating into irregularities and helps produce more complete contact with the surface.
Work From the Top Down
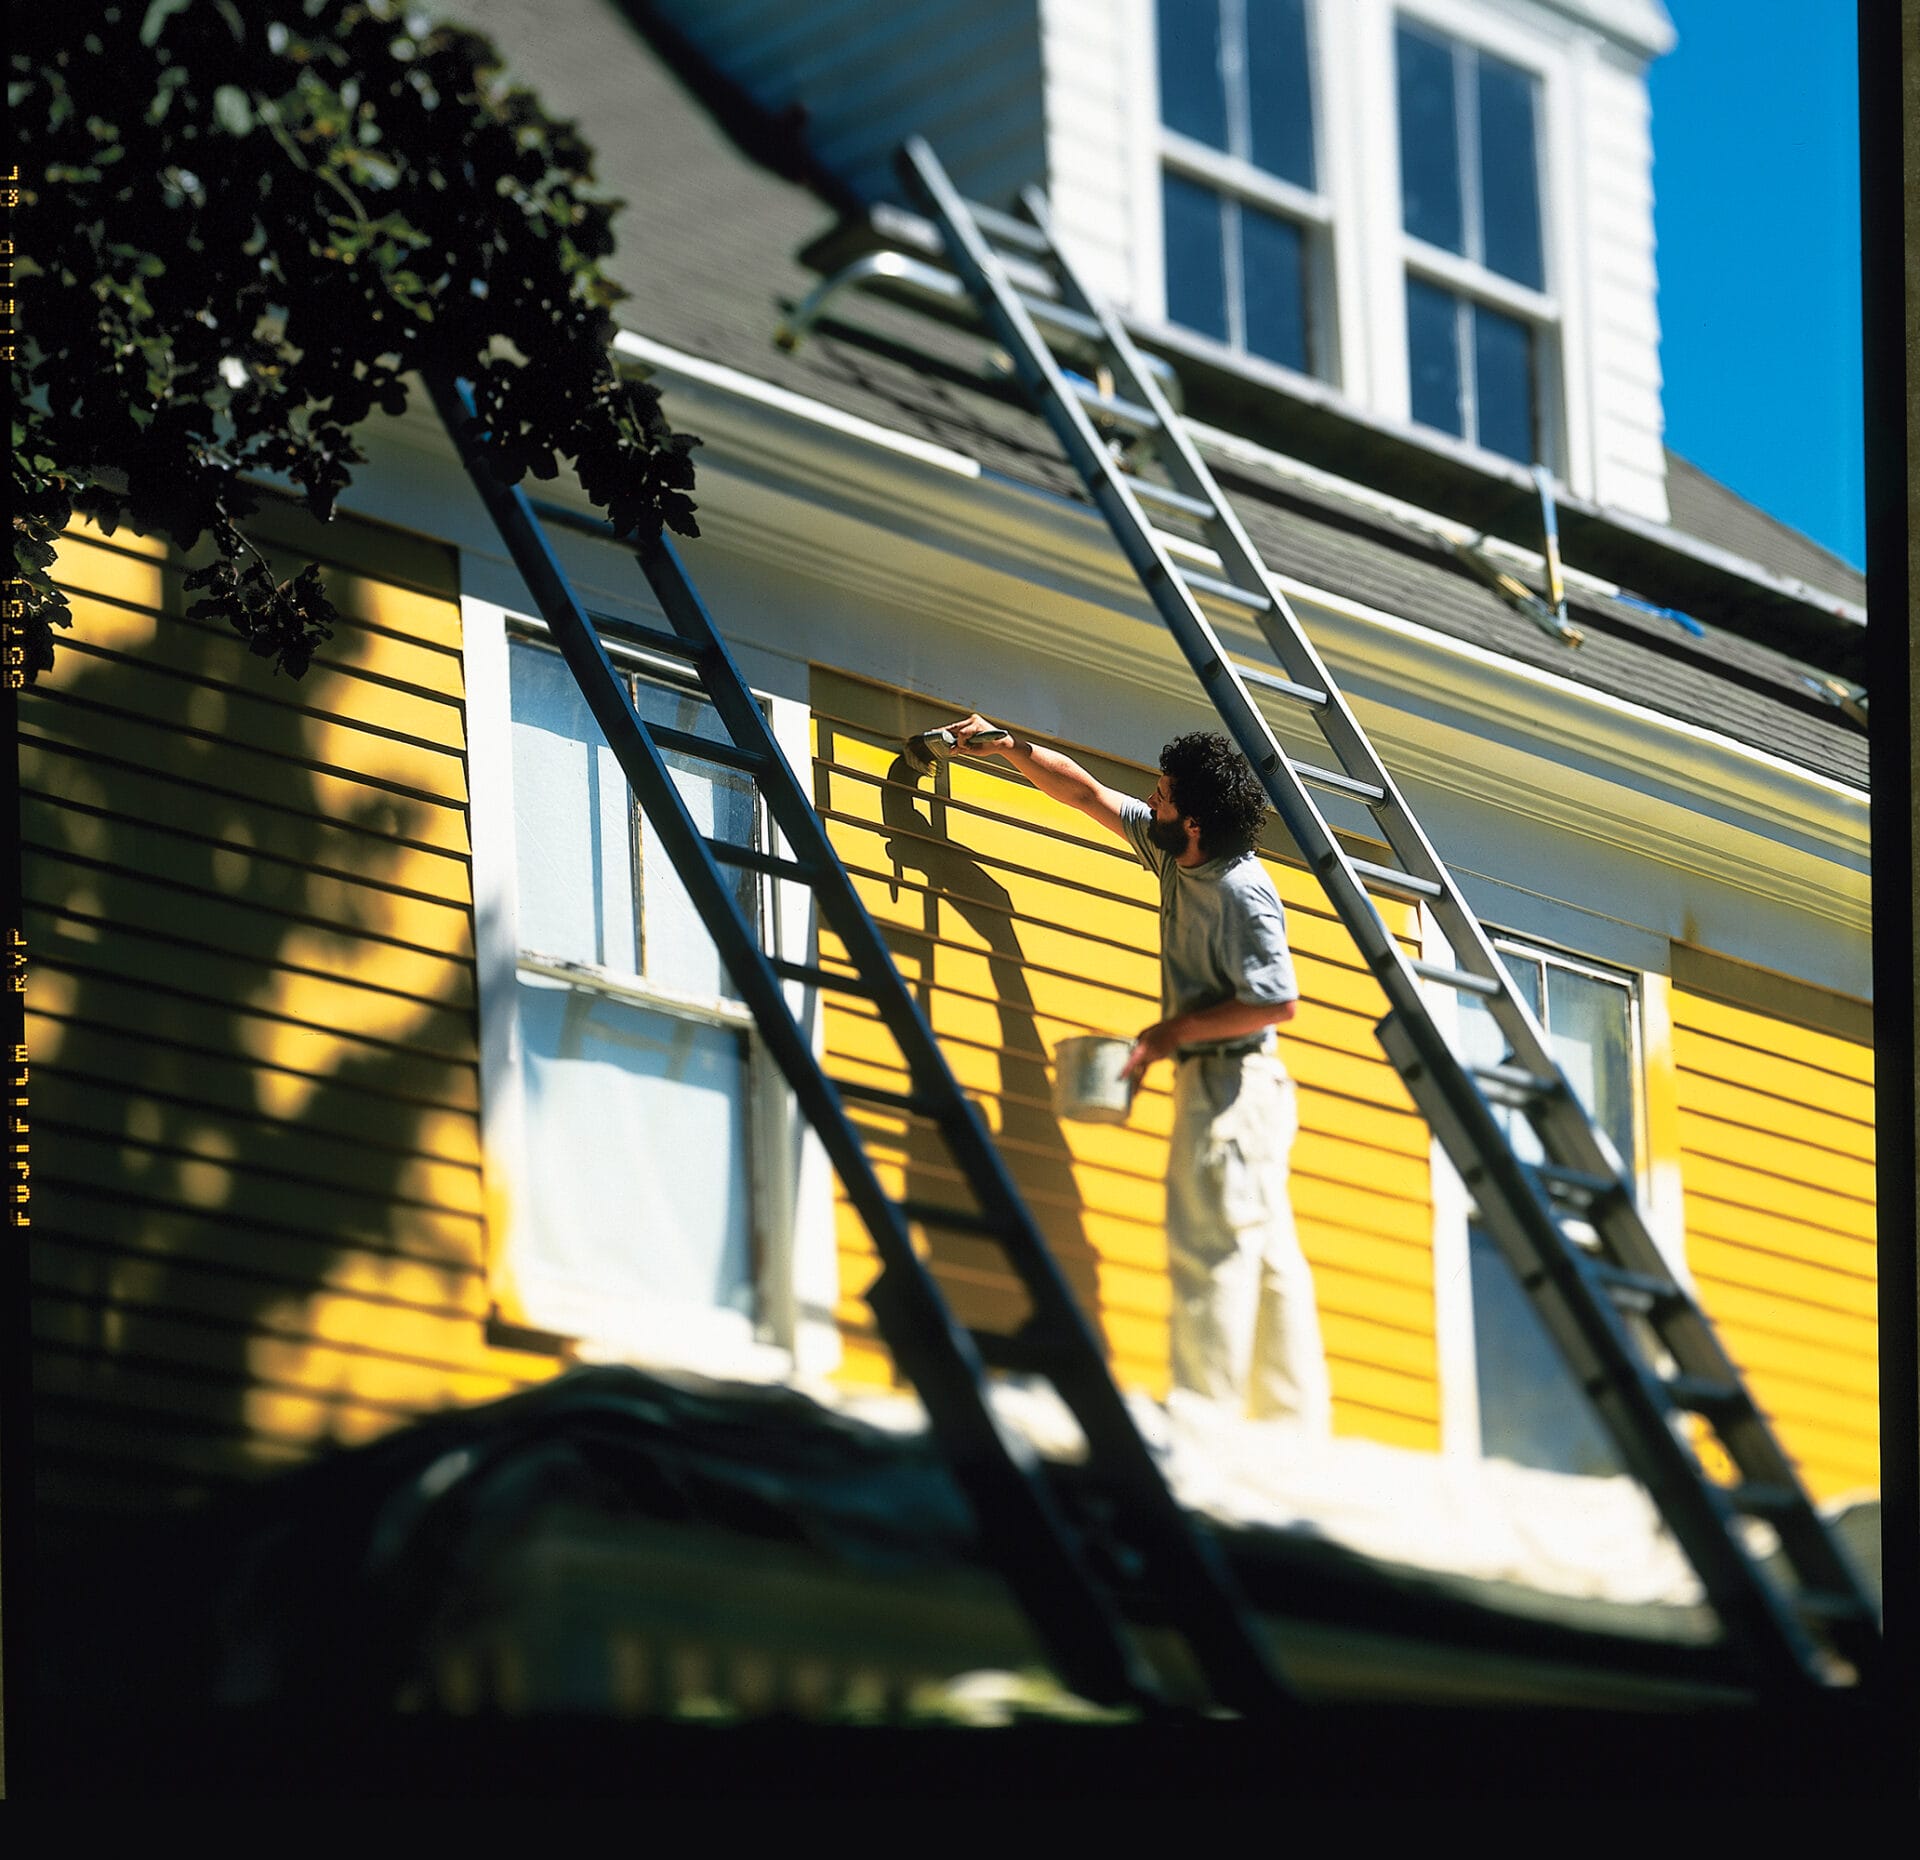
Begin with high areas and progress downward so drips can be corrected as the work continues. Paint manageable sections, maintain a wet edge, and finish at natural breaks such as corners, trim boards, or siding joints.
Follow the recommended spread rate. Stretching one gallon across too much area creates a thin film that may not provide the intended protection. Applying paint too heavily can cause sagging, wrinkling, slow drying, and uneven curing.
Plan for Two Finish Coats
Some premium paints may cover a similar color in one coat under ideal conditions, but two properly applied finish coats often provide more uniform color and better long-term protection. Porous surfaces, dramatic color changes, rough materials, and weathered siding may require additional product.
Respect the listed recoat time. Paint may feel dry while still being soft underneath. Applying another coat too early can interfere with curing and produce an uneven film.
Estimate Paint Carefully
Calculate the paintable wall area by multiplying the building perimeter by wall height, then subtract large windows and doors. Add gables, dormers, trim, porches, and other features separately.
Many paints cover approximately 350 to 400 square feet per gallon on smooth, sealed surfaces, but rough wood, brick, stucco, and unpainted masonry may consume considerably more. Use the coverage figure printed on the specific product and add a modest allowance for touch-ups, texture, waste, and future repairs.
Common Exterior Paint Failures
Peeling
Peeling commonly results from poor adhesion, moisture, inadequate cleaning, painting over loose material, or applying incompatible coatings. Repairs must address the underlying cause before repainting.
Blistering
Blisters may form when moisture or vapor becomes trapped under the paint film or when paint is applied to a hot surface in direct sunlight. Removing the blister alone will not help if water continues entering the wall.
Chalking
A small amount of chalking can be a normal part of weathering, but heavy powdering may indicate coating breakdown. The residue must be thoroughly removed so the next layer can bond to a firm surface.
Fading
Sun exposure, lower-quality pigments, unsuitable colorants, and intense colors can contribute to fading. South- and west-facing walls generally receive the strongest sunlight and may age faster.
Mildew and Algae
Shaded, damp areas with limited airflow are more likely to develop biological growth. Clean the surface with an appropriate product, correct moisture and landscaping problems, and choose a coating suitable for the environment.
Maintaining an Exterior Paint Job
Inspect the exterior at least once a year. Look closely at windowsills, trim joints, lower siding, roof intersections, shaded walls, and areas near sprinklers. These locations often show trouble first.
Wash away dirt and organic debris before they become embedded. Touch up small chips, repair failed caulk, treat minor rust, and correct water problems promptly. A ten-minute repair today may prevent a weekend spent scraping an entire wall next year.
The lifespan of exterior paint varies with product quality, climate, substrate, preparation, exposure, color, and workmanship. Instead of repainting according to a rigid calendar, monitor the coating for widespread fading, cracking, exposed substrate, failing adhesion, and loss of water protection.
Should You Paint the House Yourself or Hire a Professional?
A one-story home with sound siding and easy access may be manageable for an experienced do-it-yourselfer. The job becomes more demanding when it involves steep roofs, multiple stories, extensive wood repair, complicated trim, lead paint, masonry problems, or large-scale spraying.
Professional painters should be able to explain their preparation process, coating system, number of coats, repair responsibilities, cleanup plan, and safety procedures. A detailed written estimate should identify the products and areas included rather than promising only to “paint the house.”
Hiring a professional is often worthwhile when fall protection, scaffolding, hazardous coatings, or major repairs are involved. Saving money is less impressive when it requires balancing on the top rung of a ladder while holding a paint tray and reconsidering every life choice that led to that moment.
Real-World Exterior Painting Experiences and Lessons
Exterior painting tends to teach the same lessons repeatedly, whether the project involves a compact bungalow, a suburban two-story home, or a weathered porch that appears to have survived several minor historical events.
The Color Sample Is Never Big Enough
One of the most common homeowner experiences is choosing a color from a small chip, applying it to the house, and discovering that the “quiet blue-gray” has transformed into something closer to a tropical swimming pool. Large exterior surfaces amplify color, while direct sunlight can make it look lighter and brighter.
The practical lesson is to test at least two coats on large movable boards. Place them beside the roof, brick, trim, and landscaping. Move the boards around the house and observe them over several days. This modest experiment is much cheaper than trying to convince the family that electric turquoise was intentional.
Preparation Takes Longer Than Painting
Homeowners often expect the exciting partthe actual paintingto consume most of the schedule. In reality, washing, drying, scraping, sanding, repairing, masking, caulking, and priming may require far more time than applying the finish coats.
This can feel frustrating because the house may look worse during preparation. Bare patches appear, old caulk disappears, and drop cloths spread across the yard. Yet this unglamorous phase determines whether the result lasts. Experienced crews do not judge progress only by how many gallons have been opened; they judge whether the substrate is ready.
Weather Has a Sense of Humor
Another familiar experience is watching a forecast labeled “zero chance of rain” while dark clouds assemble directly over the freshly painted garage. Reliable painters build a weather buffer into the schedule. They check humidity, overnight temperatures, wind, dew, and the manufacturer’s rain-resistance time rather than glancing only at the daytime high.
Working in shade also makes a noticeable difference. Paint applied to sun-baked siding may become sticky, drag under the brush, and dry before it can level. Moving around the house ahead of direct sunlight usually produces a smoother finish and a less frantic workday.
Cheap Tools Create Expensive Frustration
A quality brush holds more paint, releases it evenly, and creates cleaner lines. A suitable roller cover reaches into the texture instead of skating over the surface. Sturdy extension poles reduce ladder movement, while proper drop cloths stay in place better than thin plastic sheets that immediately attempt to join the neighboring county.
Good equipment does not replace skill, but it makes consistent work easier. It also reduces drips, missed areas, loose bristles, uneven coverage, and the temptation to throw a bargain brush into the shrubbery.
The Final Five Percent Takes Forever
Large siding areas create dramatic progress, but the final details often consume surprising amounts of time. Window edges, utility penetrations, porch posts, foundation lines, door frames, and touch-ups can stretch across several sessions.
Successful projects reserve time and paint for this final stage. They also label leftover cans with the color, sheen, product line, date, and location used. Months later, that information prevents the classic mystery known as “Which of these seven almost-white cans belongs to the trim?”
Maintenance Protects the Original Effort
The most valuable experience may occur after the project is finished. Homeowners who rinse dirty walls, control sprinklers, clean gutters, repair caulk, and address chips early often preserve the coating much longer than those who ignore it until large sections peel.
Exterior paint is not a permanent shell. It is a renewable protective layer. Treating it as part of routine home maintenance turns one enormous future project into a series of small, manageable tasks.
Conclusion
Choosing the best exterior paint requires more than matching a color to the front door. The coating must be compatible with the building material, applied within the correct weather conditions, and supported by careful cleaning, repairs, priming, and application.
High-quality paint is valuable, but preparation is what gives that paint a fair chance to perform. Solve moisture problems, remove weak material, use the correct primer, follow the product instructions, and apply a full, even film. The reward is not only stronger curb appeal but also a durable protective barrier that helps defend the home from weather and wear.
In other words, exterior painting is equal parts design project, maintenance job, chemistry lesson, and outdoor endurance event. Plan it well, and the finished house will look polished long after the final paint-splattered T-shirt has been retired.
Note: Product requirements vary by formulation, surface, climate, and local regulations. Always follow the paint manufacturer’s current label instructions and applicable EPA lead-safe requirements before beginning an exterior painting project.