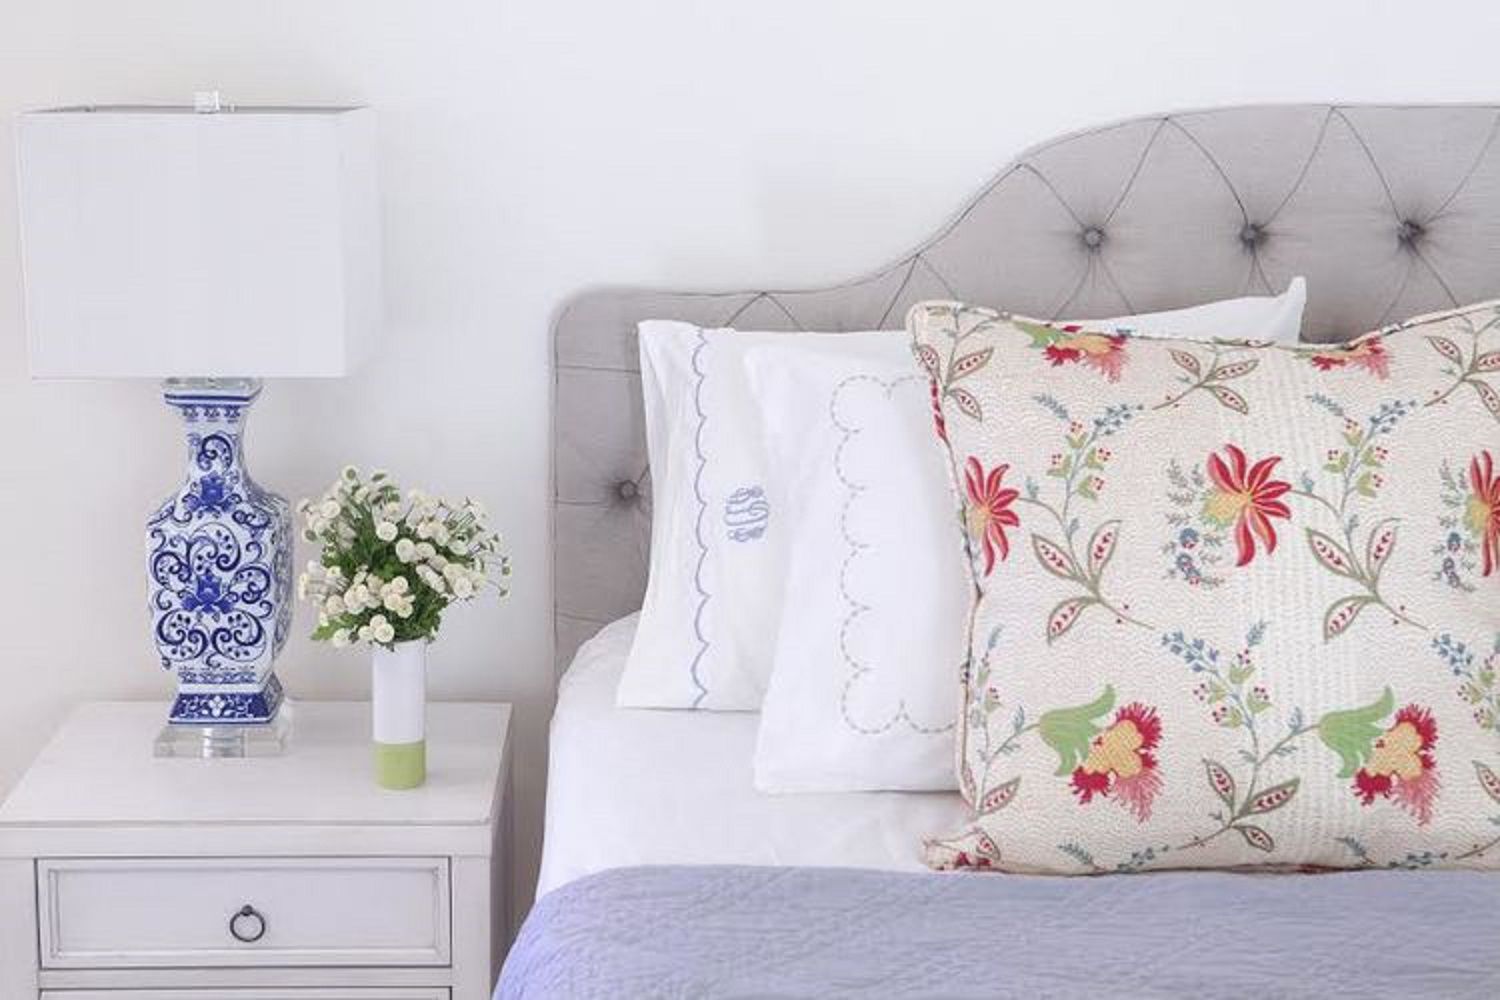
Your bedroom should feel like a calm retreatnot a storage unit that learned how to whisper. If your space currently says,
“I’m relaxing… right after I fold this pile,” you’re in the right place.
A pro decorator doesn’t start with throw pillows. We start with a plan: function first, mood second, pretty things last.
That order is the difference between a bedroom that looks good in a photo and one that feels good on a random Tuesday night.
Below is a five-step bedroom makeover you can do in a weekend (or in two evenings if your life is basically a group chat with chores).
Step 1: Do a Quick Room “Diagnosis” (and a Ruthless Reset)
Before you buy anything, figure out what’s actually wrong. Most bedrooms don’t need “more décor.” They need fewer obstacles,
better light, and a vibe that doesn’t involve tangled charging cords and mystery socks.
The 15-minute pro checklist
- Sleep function: Is it dark enough? Quiet enough? Comfortable enough? (Your room should help you rest, not host a spotlight.)
- Traffic flow: Can you walk from the door to the bed without doing parkour?
- Clutter hotspots: Identify the “doom zones” (chair pile, nightstand chaos, floor wardrobe).
- Visual noise: Too many small items on open surfaces makes a room feel busyeven if everything is “cute.”
- Missing anchors: No rug, no curtains, no headboard, no artthese gaps make a room feel unfinished.
Reset rules that actually work
Here’s the pro secret: you don’t have to become a minimalist. You just need to be strategic. Clear the tops of your nightstands
and dresser. Put daily-use items in trays or drawers. Move anything that doesn’t belong in a bedroom (work paperwork, random
kitchen stuff, that one screwdriver that has lived on your windowsill since 2022).
If decision fatigue hits, try this: create three binsKeep Here, Move Elsewhere, Donate/Recycle.
This turns “decluttering” from an emotional saga into a sorting mission. (Yes, the “Keep Here” bin can include your emotional-support hoodie.)
Step 2: Fix the Layout Like a Pro (Your Bed Is the CEO)
A bedroom makeover lives or dies by layout. You can buy gorgeous bedding, but if your bed is crammed into a corner like it’s in time-out,
the room will always feel a little off. The bed is the biggest object in the room, so it needs the best position and the most support.
Start with the “Command Position” (without getting weird about it)
Designers often use a simple principle: place the bed where you can see the door, but you’re not directly in line with it.
In real-life terms: don’t shove your bed behind the door swing, and don’t block the main walkway.
Use these layout moves for instant improvement
- Center the bed on the main wall when possible. Symmetry is calming, and bedrooms love calm.
- Give yourself clearance on both sides when you canaim for a comfortable walkway. Even a few extra inches can change the feel.
- Add a pair of nightstands (they don’t have to match). This creates balance and adds functional landing space.
- Float furniture, don’t hug every wall if it breaks flow. Sometimes pulling a dresser a few inches forward improves door clearance.
Small bedroom example: “I have exactly 11 inches of space”
If your bedroom is small, prioritize the bed’s placement and then scale everything else. Choose slimmer nightstands, wall-mounted shelves,
or plug-in sconces instead of table lamps. If you can’t fit two nightstands, use one nightstand and one wall shelfyour room will still feel
intentional, not “unfinished.”
Step 3: Choose a Color Plan (Paint Is the Fastest Makeover Cheat Code)
Paint is the biggest visual change for the least money and effortespecially in a bedroom, where the goal is atmosphere.
But picking paint is also where good people go to spiral. The trick is to choose a palette, not just a color.
A simple, designer-friendly palette formula
- Main color (about 60%): walls and large surfaces
- Secondary color (about 30%): bedding, curtains, rug, large textiles
- Accent color (about 10%): art, pillows, throws, small décor
Three “safe but not boring” bedroom color directions
- Warm calm: creamy off-white walls + oatmeal linens + brushed brass accents
- Nature quiet: soft warm white + muted green textiles + light wood + black details
- Moody cozy: deep blue-gray or olive wall + crisp bedding + warm lighting + natural textures
Pro paint tips so it looks expensive (not “I tried my best”)
Prep matters more than paint brand. Patch holes, lightly sand rough spots, and clean dusty trim before you start. Use painter’s tape
where it helps you stay neat, but don’t trust it with your whole lifepress it down firmly and remove it carefully.
Also: paint needs time to cure. Be gentle with freshly painted walls for a bit (no aggressive scrubbing or leaning furniture into it immediately).
This is how you keep your finish looking smooth instead of “scuffed modern.”
Step 4: Upgrade Lighting in Layers (Because One Ceiling Light Is Not a Mood)
If your bedroom lighting can double as an interrogation room, we need to talk. Great bedrooms use layered lighting so you can switch
from “get dressed” to “wind down” without feeling like you’re under a stadium spotlight.
The three layers of bedroom lighting
- Ambient: overall light (ceiling fixture, flush mount, or a soft floor lamp)
- Task: reading or getting-ready light (bedside lamps, sconces, desk lamp)
- Accent: glow and drama (picture light, small lamp on a dresser, LED strip behind a headboard, candlesreal or flameless)
Bulb basics that change everything
Bedrooms usually look best with warm, soft light. If your bulbs are too cool or too bright, your wall color will look harsher,
and your room will feel less cozy. Choose a warm tone for evenings and consider dimmable options if you can.
Easy upgrades (renter-friendly, weekend-friendly)
- Add plug-in wall sconces to free up nightstand space and make the room feel custom.
- Use matching lampshades even if your lamps don’t match. Repeating shapes calms the room down.
- Put lights on simple routines (smart plugs or timers). Your bedroom starts feeling “designed” when it behaves predictably.
Step 5: Finish with Textiles and Surfaces (This Is Where the “Ahhh” Happens)
This step is why hotel rooms feel instantly better: the soft layers are doing heavy lifting. Textiles add warmth, absorb sound,
and visually connect everything. The goal is not “more stuff.” The goal is better layers.
Start from the floor: choose the right rug size
A too-small rug is the number-one way to make a bedroom feel awkward. Your rug should relate to the bed’s scalethink of it as
the stage the bed is performing on. In many rooms, you’ll want a rug large enough that it extends beyond the sides and foot of the bed,
so your feet land on something soft when you get up.
If a big rug isn’t in the budget, you can still cheat the look: place a properly sized rug under the lower two-thirds of the bed,
or use runners on both sides. The key is making it feel intentional, not accidental.
Window treatments: hang them like you mean it
Curtains can instantly make a bedroom feel taller and more polishedif they’re installed correctly. Mount the rod higher than the window
and extend it wider than the frame so the curtains can stack back without blocking light. And yes, length matters: curtains that are too short
make a room feel cheaper fast.
If you’re serious about sleep quality, consider room-darkening or blackout options. They’re not just for daytime napsthey help reduce
early-morning glare and streetlight glow.
Bedding: the easiest “expensive” upgrade
If you only change one thing, change the bedding. A bedroom makeover loves fresh, layered bedding because it’s both functional and highly visible.
Try this simple stack:
- Base: sheets you actually like
- Volume: duvet with a cover (easier to wash, instantly crisp)
- Texture: a quilt or coverlet folded at the foot
- Finish: one throw blanket and a couple of pillows with a different texture
The pro trick is mixing textures, not chaos. Keep a calm color palette, then add interest with linen, cotton, velvet, knit, or woven details.
Your eyes read it as “designed,” while your brain reads it as “please never make me leave this bed.”
The 10-Minute Styling Pass (Don’t Skip This)
Styling is the difference between “I bought some things” and “this room has a point of view.” Keep it simple:
- Anchor art over the bed or dresser (one larger piece often looks calmer than lots of tiny ones).
- Create a tray moment on a nightstand for small essentials (it hides clutter in plain sight).
- Add something alive (a plant or fresh stems) or something natural (wood, stone, woven basket).
- Edit surfaces: leave some breathing room. Empty space is not “wasted”it’s what makes the room feel restful.
Bonus: A Pro’s Weekend Timeline (So You Don’t End Up Painting at Midnight)
Day 1
- Declutter + diagnose
- Rework layout
- Patch walls + prep for paint
Day 2
- Paint (or refresh with removable wallpaper if you’re renting)
- Swap bulbs + add layered lighting
- Place rug, hang curtains, style bedding, finish with accessories
of Real-World Makeover Experience (What You Don’t Learn From “Perfect” Photos)
After helping with bedroom makeoverstiny apartments, suburban primary suites, guest rooms that somehow became storage, and a few
“I just moved and my boxes are now furniture” situationsI’ve noticed the same patterns. And honestly, they’re comforting, because
they mean your room isn’t “broken.” It’s just following predictable design physics.
First: the rug problem. People are almost always tempted to buy the smaller rug because it’s cheaper and easier to carry.
Then they put it beside the bed like a tiny postage stamp and wonder why the room feels a little… wobbly. The fix isn’t always “buy the biggest rug.”
Sometimes it’s placing the rug under the lower two-thirds of the bed so it relates to the bed’s footprint. Or using runners so both sides
of the bed feel finished. When the floor layer is right, the whole room suddenly looks intentionaleven if you didn’t change anything else.
Second: the one-light cave. So many bedrooms rely on one overhead fixture that’s either too bright, too cold, or both.
I’ve watched rooms transform with two bedside lamps and one warm bulb swap. Not fancy lampsjust the right light in the right place.
The minute you can turn on a soft lamp instead of blasting the ceiling light, your brain stops thinking “task mode” and starts thinking “rest mode.”
It’s design, yesbut it’s also comfort.
Third: curtains are emotional. I’ve seen people avoid curtains because rods feel complicated or because they assume curtains are
“formal.” But the moment you hang panels higher and wider, the room grows up. Windows look bigger. Ceilings look taller. The room feels
finished in a way that paint alone can’t do. And if you pick curtains that kiss the floor, the space reads as tailoredeven if your dresser is
from a thrift store and your nightstand is technically a stool (no judgment; stools are hardworking).
Fourth: layout beats shopping. The most dramatic “before and after” moments often come from moving the bed to a better wall and
clearing the pathways. That’s it. No purchase required. When you can walk through the room easily and the bed feels centered, your eye relaxes.
A bedroom is a rest space; it should never feel like an obstacle course.
Fifth: the best bedrooms have a little restraint. People assume “cozy” means adding more pillows, more candles, more objects.
But the rooms that feel the most luxurious almost always have fewer things on displayand better things in use. A tray on the nightstand.
A lamp that’s the right size. Bedding with texture, not clutter. One piece of art that actually fills the wall space. When you edit the room,
every remaining item looks more important. It’s like your room is saying, “I’m calm because I’m not trying so hard.”
If you take nothing else from my experience, take this: a pro bedroom makeover isn’t about trends. It’s about building a space that supports
your real lifegood sleep, easy mornings, and a vibe that feels like an exhale. Do the boring steps first (declutter, layout, lighting),
and the pretty steps will finally look as good as you hoped.
Conclusion
A pro decorator’s bedroom makeover is simple on purpose: reset the room, fix the layout, choose a calming color plan, layer your lighting,
and finish with textiles that feel as good as they look. Do those five steps well and your bedroom won’t just be “prettier”it’ll feel easier
to live in. And that’s the whole point of design: making real life better, not just more photogenic.