Note: Clean HTML body only for publishing. Unnecessary citation artifacts removed.
There are two kinds of winter decorators in this world: the ones who casually place a wreath on the window and call it a day, and the ones who look at a plain pane of glass and think, “You know what this needs? A tiny snow-covered village, soft lights, frosted branches, and just a hint of dramatic sparkle.” This article is for the second group, although the first group is warmly invited to stay and become more interesting.
A DIY winter wonderland window display is one of the easiest ways to make your home feel festive, cozy, and just a little magical without remodeling your entire life. It works whether you live in a big house, a small apartment, or a place where the windowsill is roughly the width of a cracker. The trick is not spending a fortune or throwing every shiny object you own at the glass. The trick is building layers: light, texture, shape, and a clear theme that looks charming from inside your home and from the street.
Done well, a winter window display can make your room feel warmer, brighter, and more personal during the coldest months of the year. Done poorly, it can look like a craft store exploded during a snowstorm. Let’s aim for the first option.
What Makes a Window Display Feel Like a Winter Wonderland?
The phrase winter wonderland window display sounds fancy, but the design recipe is refreshingly simple. Most beautiful winter windows rely on the same four ingredients: a limited color palette, natural-looking texture, soft lighting, and a focal point that gives the eye somewhere to land.
1. A simple color story
You do not need seventeen competing shades of holiday cheer. In fact, the best DIY winter decor usually looks more polished when the palette is restrained. White, silver, champagne, icy blue, evergreen, warm gold, and natural wood tones all work beautifully. Pick two or three main shades and repeat them throughout the display. That repetition creates harmony, and harmony is what separates “designer-inspired” from “I panic-bought glitter at 9 p.m.”
2. Texture that mimics winter
Think faux snow, pine branches, velvet ribbon, paper snowflakes, clear ornaments, frosted twigs, pinecones, glass jars, knit accents, or small ceramic houses. Winter is less about loud color and more about layers you want to stare at while holding a warm drink and ignoring your inbox.
3. Light that feels soft, not blinding
The glow matters as much as the decor. Warm white fairy lights, LED window candles, tiny lanterns, or battery-operated twinkle lights create the mood that makes a display feel magical after dark. If the display looks lovely at noon but lifeless at night, it is only doing half the job.
4. One star of the show
Every window display needs a main character. That might be a mini wreath, a trio of paper stars, a snowy village scene, hanging ornaments, or a dramatic garland framing the window. Once that centerpiece is in place, everything else becomes supporting cast. Even winter windows need a casting director.
Plan the Display Before You Start Hanging Things Everywhere
Before opening the glue gun drawer like a person possessed, pause for five minutes and make a plan. This will save money, time, and the emotional damage of realizing your garland blocks the window latch.
Measure first
Measure the width and height of the window, plus the depth of the sill. Write it down. This is not glamorous, but neither is buying a wreath that looks like it belongs on a castle gate when your window is apartment-sized.
Decide where the display needs to look best
Some windows are meant to impress from the street. Others are more about making your living room feel cozy. If your display is visible from outside, use larger shapes, clear silhouettes, and enough lighting to define the scene at night. If it is mainly for indoor enjoyment, smaller details and layered textures can shine.
Choose your style direction
Here are a few easy directions for winter window decorating:
- Classic Christmas: greenery, ribbon, wreaths, ornaments, candles
- Snowy neutral: white, cream, silver, wood, faux fur, paper stars
- Woodland winter: branches, pinecones, small trees, rustic bells, natural textures
- Modern minimal: simple garland, white lights, geometric paper decor, restrained palette
- Whimsical village: miniature houses, faux snow, bottlebrush trees, tiny lanterns
Best Materials for a DIY Winter Wonderland Window Display
You do not need a professional prop department. A beautiful winter window can be built from craft supplies, dollar-store basics, leftover ornaments, and a few natural or faux elements.
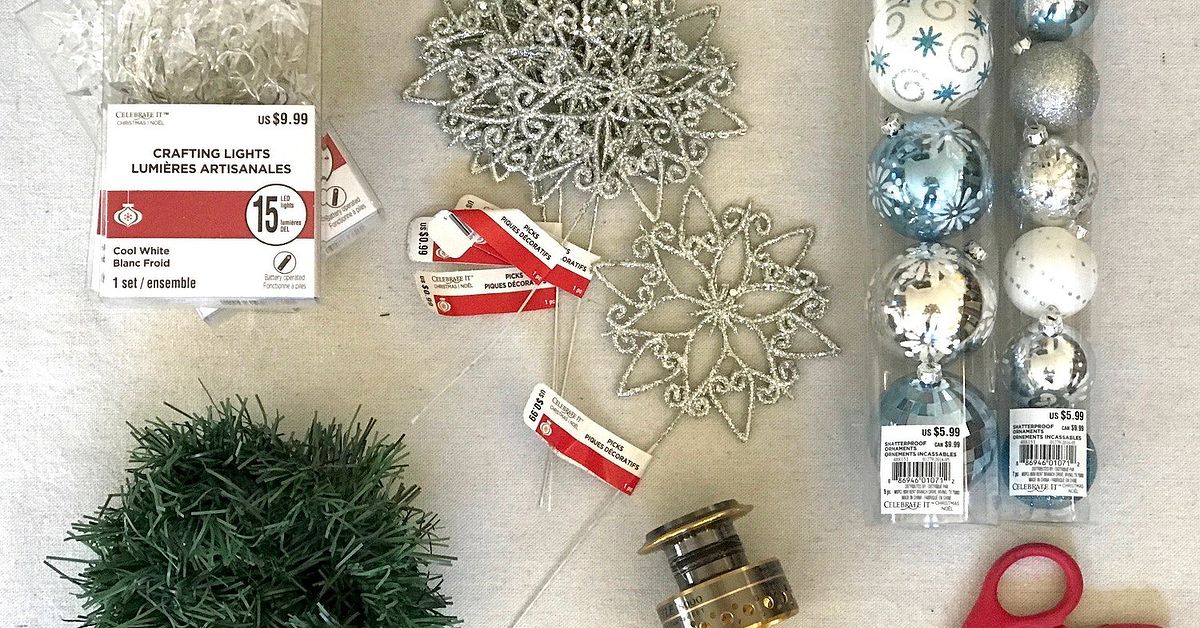
Helpful supplies to gather
- Battery-operated fairy lights or LED string lights
- Flameless window candles or small lanterns
- Faux pine garland or loose evergreen stems
- Ribbon in velvet, satin, or burlap textures
- Paper snowflakes, stars, or hanging ornaments
- Mini wreaths or one larger wreath
- Clear hooks, removable strips, or ribbon for hanging
- Faux snow blanket, cotton batting, or white fabric
- Bottlebrush trees, ceramic houses, pinecones, bells, or glass jars
- Scissors, wire, tape, floral stems, and a very honest storage bin
If you are decorating a rental, removable hanging methods are your best friend. If you are working on an exterior display, make sure the lights and materials are suitable for that location and won’t turn your winter wonderland into a weather-related regret.
How to Build the Display Step by Step
Step 1: Start with a clean frame
Clean the glass, wipe the sill, and remove visual clutter. A window display looks far more intentional when it is not competing with old receipts, one lonely charging cable, and a plant that has emotionally checked out.
Step 2: Create a soft backdrop
The backdrop gives your display depth. You can tape paper snowflakes to the upper corners, hang frosted stars from ribbon, or use a frosted window film in small sections for a snowy effect. Keep it airy. You want the display to feel layered, not like the window has been taken hostage.
Step 3: Frame the window
Now add the border. Use garland around the trim, a ribbon swag across the top, or lights outlining the frame. This immediately tells the eye, “Yes, this whole window is the event.” A framed window feels finished, and finished is always more convincing than “I ran out of steam halfway through.”
Step 4: Add your focal feature
This is where you install the display’s headline piece. Try one of these:
- A centered wreath with trailing ribbon
- Three hanging ornaments or bells at different heights
- A row of oversized paper snowflakes
- A branch arrangement with lights woven through it
- A suspended star made from twigs, paper, or wood
Keep scale in mind. Tiny ornaments on a huge picture window can disappear. One oversized focal element often works better than ten miniature ones fighting for attention.
Step 5: Style the windowsill like a tiny stage
The sill is where the magic becomes dimensional. Layer a snow-like base using white fabric or faux snow, then add mini houses, bottlebrush trees, pinecones, glass hurricanes, or small wrapped boxes. Vary the height so the arrangement feels dynamic. A few taller elements in the back and lower accents in the front will make the display read more like a scene and less like a line of waiting passengers.
If your sill is narrow, keep it simple with one lantern, two trees, and a string of lights. Small windows do not need less style; they need tighter editing.
Step 6: Light it for evening impact
Thread warm lights through the garland, behind the houses, or inside clear jars. Light should feel tucked in and atmospheric, not like a stadium trying to host a playoff game. Evening glow is what transforms a daytime craft into nighttime magic.
Winter Window Display Ideas for Different Homes
For apartments and rentals
Use removable hooks, lightweight garland, paper stars, and battery-powered lights. Focus on the inside frame and sill so you do not have to mess with outdoor installation. One of the smartest small-space moves is to decorate vertically by hanging snowflakes, ornaments, or ribbons from the top of the frame. It takes up almost no room and still looks festive.
For large front windows
Go bold with symmetry. Matching wreaths, repeated bows, or evenly spaced candles can create a classic and expensive-looking result. Large windows benefit from rhythm, so repeat shapes rather than introducing too many different decorative ideas at once.
For kitchen windows
Keep the sill practical. A simple greenery swag, a small wreath, tiny lights, and maybe a jar filled with pinecones or ornaments is plenty. You still need to open that window, look out of it, and avoid knocking a ceramic village into the sink.
For kid-friendly family spaces
Use unbreakable ornaments, paper crafts, felt snowflakes, wood accents, and battery-powered lights. Let kids make a few handmade elements so the display feels personal. A slightly crooked paper snowflake made by a proud child has more charm than a perfectly symmetrical one made by a machine.
Mistakes That Can Ruin the Look
Too many materials
When in doubt, remove one-third of the items. A good display leaves breathing room. Not every inch of glass needs a bow, a bell, a branch, and a tiny moose.
No contrast
If everything is white and flat, the display can disappear. Add contrast with greenery, metallic accents, wood tones, or warm lighting.
Ignoring nighttime appearance
A winter display should be checked after dark. This is when the lighting, silhouettes, and reflections really matter.
Using unsafe heat or overloaded plugs
Choose practical lighting, avoid crowding outlets, and skip real flames near greenery, paper, or fabric. A winter wonderland should inspire compliments, not a dramatic conversation with your smoke alarm.
Budget-Friendly Ways to Make It Look Expensive
- Use paper snowflakes in oversized shapes instead of buying lots of small decor.
- Buy one quality ribbon and repeat it throughout the display for cohesion.
- Gather pinecones and branches, then mix them with faux snow and lights.
- Group inexpensive bottlebrush trees in clusters to create a fuller scene.
- Repurpose ornaments in bowls, jars, or hanging strands near the glass.
- Use a neutral base palette so pieces can be reused year after year.
The secret to making budget holiday decor look elevated is consistency. Matching tones, repeated materials, and controlled layering make affordable items feel intentional. Randomness is the fastest route to “holiday clearance aisle chic,” and not in the good way.
A 500-Word Experience: What a DIY Winter Wonderland Window Display Actually Feels Like
There is something strangely satisfying about transforming a plain window into a winter scene, especially on a cold afternoon when the light outside starts fading earlier than feels reasonable. At first, the project can seem small. You bring out a few lights, a box of ornaments, maybe some branches, and tell yourself this will take an hour. That is adorable. Before long, you are on the floor surrounded by ribbon, debating whether the bottlebrush trees look better clustered in threes or fives, and speaking to a wreath as if it has the power to center itself.
But that is part of the charm. A DIY winter wonderland window display is not just decor. It becomes an experience. You start noticing things you normally ignore: how the late afternoon light hits the glass, how a strand of warm lights softens the whole room, how even a tiny paper snowflake can change the mood of a space when it is placed in the right spot. The window stops being background architecture and turns into a stage set.
One of the best parts is the gradual reveal. During the day, the display feels cheerful and textured. The greenery adds softness, the ornaments catch natural light, and the sill arrangement looks charming in a quiet, polished way. Then evening arrives, and suddenly the whole thing levels up. The lights reflect in the glass, the little houses glow, the faux snow looks less like craft fluff and more like a scene from a tiny storybook town. It feels cozy in a way that is hard to explain unless you have stood in a dim room and watched your own window sparkle back at you.
There is also a memory-making quality to the project. Maybe you cut paper snowflakes with kids who insist every snowflake needs more glitter. Maybe you hang ornaments that have been in the family storage bin for years. Maybe you make the whole display on your own with a playlist in the background and a mug of something hot nearby. However it happens, the finished window often holds more than decorative value. It holds the process. That is why handmade winter displays often feel warmer than store-bought perfection. They carry fingerprints, tiny decisions, and small stories.
And yes, there are usually a few ridiculous moments. Tape refuses to cooperate. One ornament hangs at a rebellious angle. A light strand develops selective employment and only works when the plug is held in precisely the wrong way. Yet none of that ruins the magic. In fact, it usually makes the result more lovable. A winter window display does not have to be flawless to be beautiful. It just has to feel cared for.
When the project is done, the room changes. It feels less like a normal corner of the house and more like a place where winter has been invited in politely, given a blanket, and told to behave itself. That is the real appeal of a DIY winter wonderland window display. It is not about impressing strangers from the sidewalk, though that is a fun bonus. It is about creating a view that makes home feel softer, brighter, and a little more joyful every time you pass by.
Final Thoughts
A beautiful DIY winter wonderland window display is less about spending big and more about styling smart. Start with a clear theme, choose a few layered materials, keep the lighting soft, and let one focal idea lead the design. Whether you go with a classic wreath-and-garland look, a snowy village scene, or a minimalist arrangement of paper stars and warm lights, the goal is the same: create a window that feels magical, welcoming, and unmistakably yours.
So gather your lights, fluff your garland, cut out those snowflakes, and give your window the winter glow-up it deserves. Your room will feel cozier, your curb appeal will get a seasonal upgrade, and your neighbors may suddenly start pretending they were “just out for a walk” past your house for the third time.