Note: Clean HTML body only, written for web publishing in standard American English, with placeholder citation artifacts removed.
Cabinet hinges are the unsung heroes of a kitchen, bathroom, laundry room, or workshop. They do not get the glory of a marble countertop or a dramatic paint color, but they do decide whether your doors close like a dream or act like tiny, stubborn mules. If your cabinet doors sag, rub, slam, or sit crooked enough to offend your inner perfectionist, the hinges are usually where the story begins.
The good news is that learning how to install cabinet hinges is absolutely doable for a careful DIYer. You do not need mystical powers, an expensive custom shop, or a PhD in “tiny screws disappearing into the void.” You just need the right hinge, a few basic tools, accurate measuring, and the patience to make small adjustments instead of dramatic ones. In this guide, you will learn how to choose the right hinge style, prepare your doors and cabinet frames, install the hinges correctly, and adjust everything until the gaps look neat and the doors swing smoothly.
Why Cabinet Hinge Installation Matters
A cabinet hinge does more than connect a door to a box. It controls alignment, opening angle, closing action, and long-term wear. A well-installed hinge keeps the reveal around the door even, prevents rubbing, and helps the door stay square over time. A poorly installed hinge, on the other hand, can turn a simple cabinet into a daily irritation. You know the type: one door sits too high, the other door crashes into it, and suddenly your kitchen feels like it is being held together by passive aggression.
Proper hinge installation also matters because cabinet construction varies. Some cabinets have face frames. Others are frameless. Some doors are full overlay, partial overlay, or inset. Some hinges are concealed European-style cup hinges, while others are surface-mounted, semi-concealed, or no-mortise hinges. In other words, cabinet hinges are not a one-size-fits-all situation. Choosing the right one is step zero, even before you touch a drill.
Know Your Cabinet Hinge Types Before You Start
Concealed European Hinges
These are the most common modern cabinet hinges, especially for kitchens and baths. They mount inside the cabinet and are hidden when the door is closed. They are popular because they look clean, offer generous adjustment, and are available in overlay, inset, soft-close, and face-frame versions. Many require a 35 mm cup hole bored into the back of the cabinet door.
Surface-Mount Hinges
Surface-mount hinges attach directly to the door and cabinet frame without a cup hole. They are simpler for some projects and are common on utility cabinets, vintage-inspired pieces, or situations where you want the hinge to be visible.
Semi-Concealed Hinges
These show part of the hinge when the door is closed, usually on face-frame cabinets. They are common in traditional kitchens and easy replacement projects because they can often match existing screw holes and door styles.
No-Mortise Hinges
No-mortise hinges sit on the surface and do not require you to chisel a recess into the wood. They can save time, which is helpful if your personal motto is “measure twice, avoid chiseling if possible.”
Tools and Supplies You Will Need
- Cabinet hinges and any matching mounting plates
- Screws supplied with the hinges or appropriate cabinet screws
- Tape measure or ruler
- Pencil
- Combination square or speed square
- Drill or driver
- Drill bits for pilot holes
- 35 mm Forstner bit or concealed hinge jig for European hinges
- Screwdriver
- Clamp
- Level
- Masking tape
- A helper, if the door is large or you prefer not to perform acrobatics in front of your cabinets
If you are installing concealed hinges on brand-new doors, a hinge jig can make the job much easier. It helps position the cup hole accurately and keeps the drilling depth consistent. This is one of those times when a jig is not just a “nice extra.” It is the difference between “professional-looking result” and “why does this door appear to be shrugging?”
Step 1: Confirm Your Cabinet Style and Overlay
Before installing cabinet hinges, figure out whether your cabinet is face-frame or frameless. Then determine whether the door is inset or overlay. Overlay doors cover part or all of the cabinet opening. Inset doors sit flush inside the opening. This affects which hinge you need and how the finished door will sit.
If you are replacing hinges on an existing door, measure the overlay before removing anything permanently. A simple way is to close the door, mark the edge position on the face frame, then open the door and measure the distance from the mark to the opening edge. That measurement helps you match the hinge and the door placement accurately.
Step 2: Mark the Hinge Locations
Most cabinet doors use two hinges, usually placed a few inches from the top and bottom of the door. A common layout is about 3 to 4 inches from each end, though exact placement depends on hinge style, door size, and manufacturer instructions. Taller or heavier doors may need a third hinge in the middle.
Use a tape measure and pencil to mark the hinge centerlines on the back of the door. Then use a square to draw the lines straight across the stile. If you are working with more than one door, create a consistent layout and repeat it carefully. Uniform placement makes final alignment much easier, and it helps neighboring doors look like they belong to the same family.
Step 3: Drill the Hinge Cup Holes if Needed
If you are using concealed European hinges, this is the part where accuracy matters most. The cup hole is usually 35 mm in diameter and bored into the back of the door. You must match the required setback and depth for your specific hinge. Follow the hinge manufacturer’s instructions closely, because even small errors can affect how the door hangs and adjusts later.
Use a concealed hinge jig or a carefully set 35 mm Forstner bit. Clamp the door securely before drilling. Drill slowly and check the depth stop so you do not punch through the front of the door. That would be memorable, yes, but not in a good way.
Once the holes are bored, test-fit the hinge cups. They should sit neatly and flat in the recesses without wobbling or forcing.
Step 4: Attach the Hinges to the Door
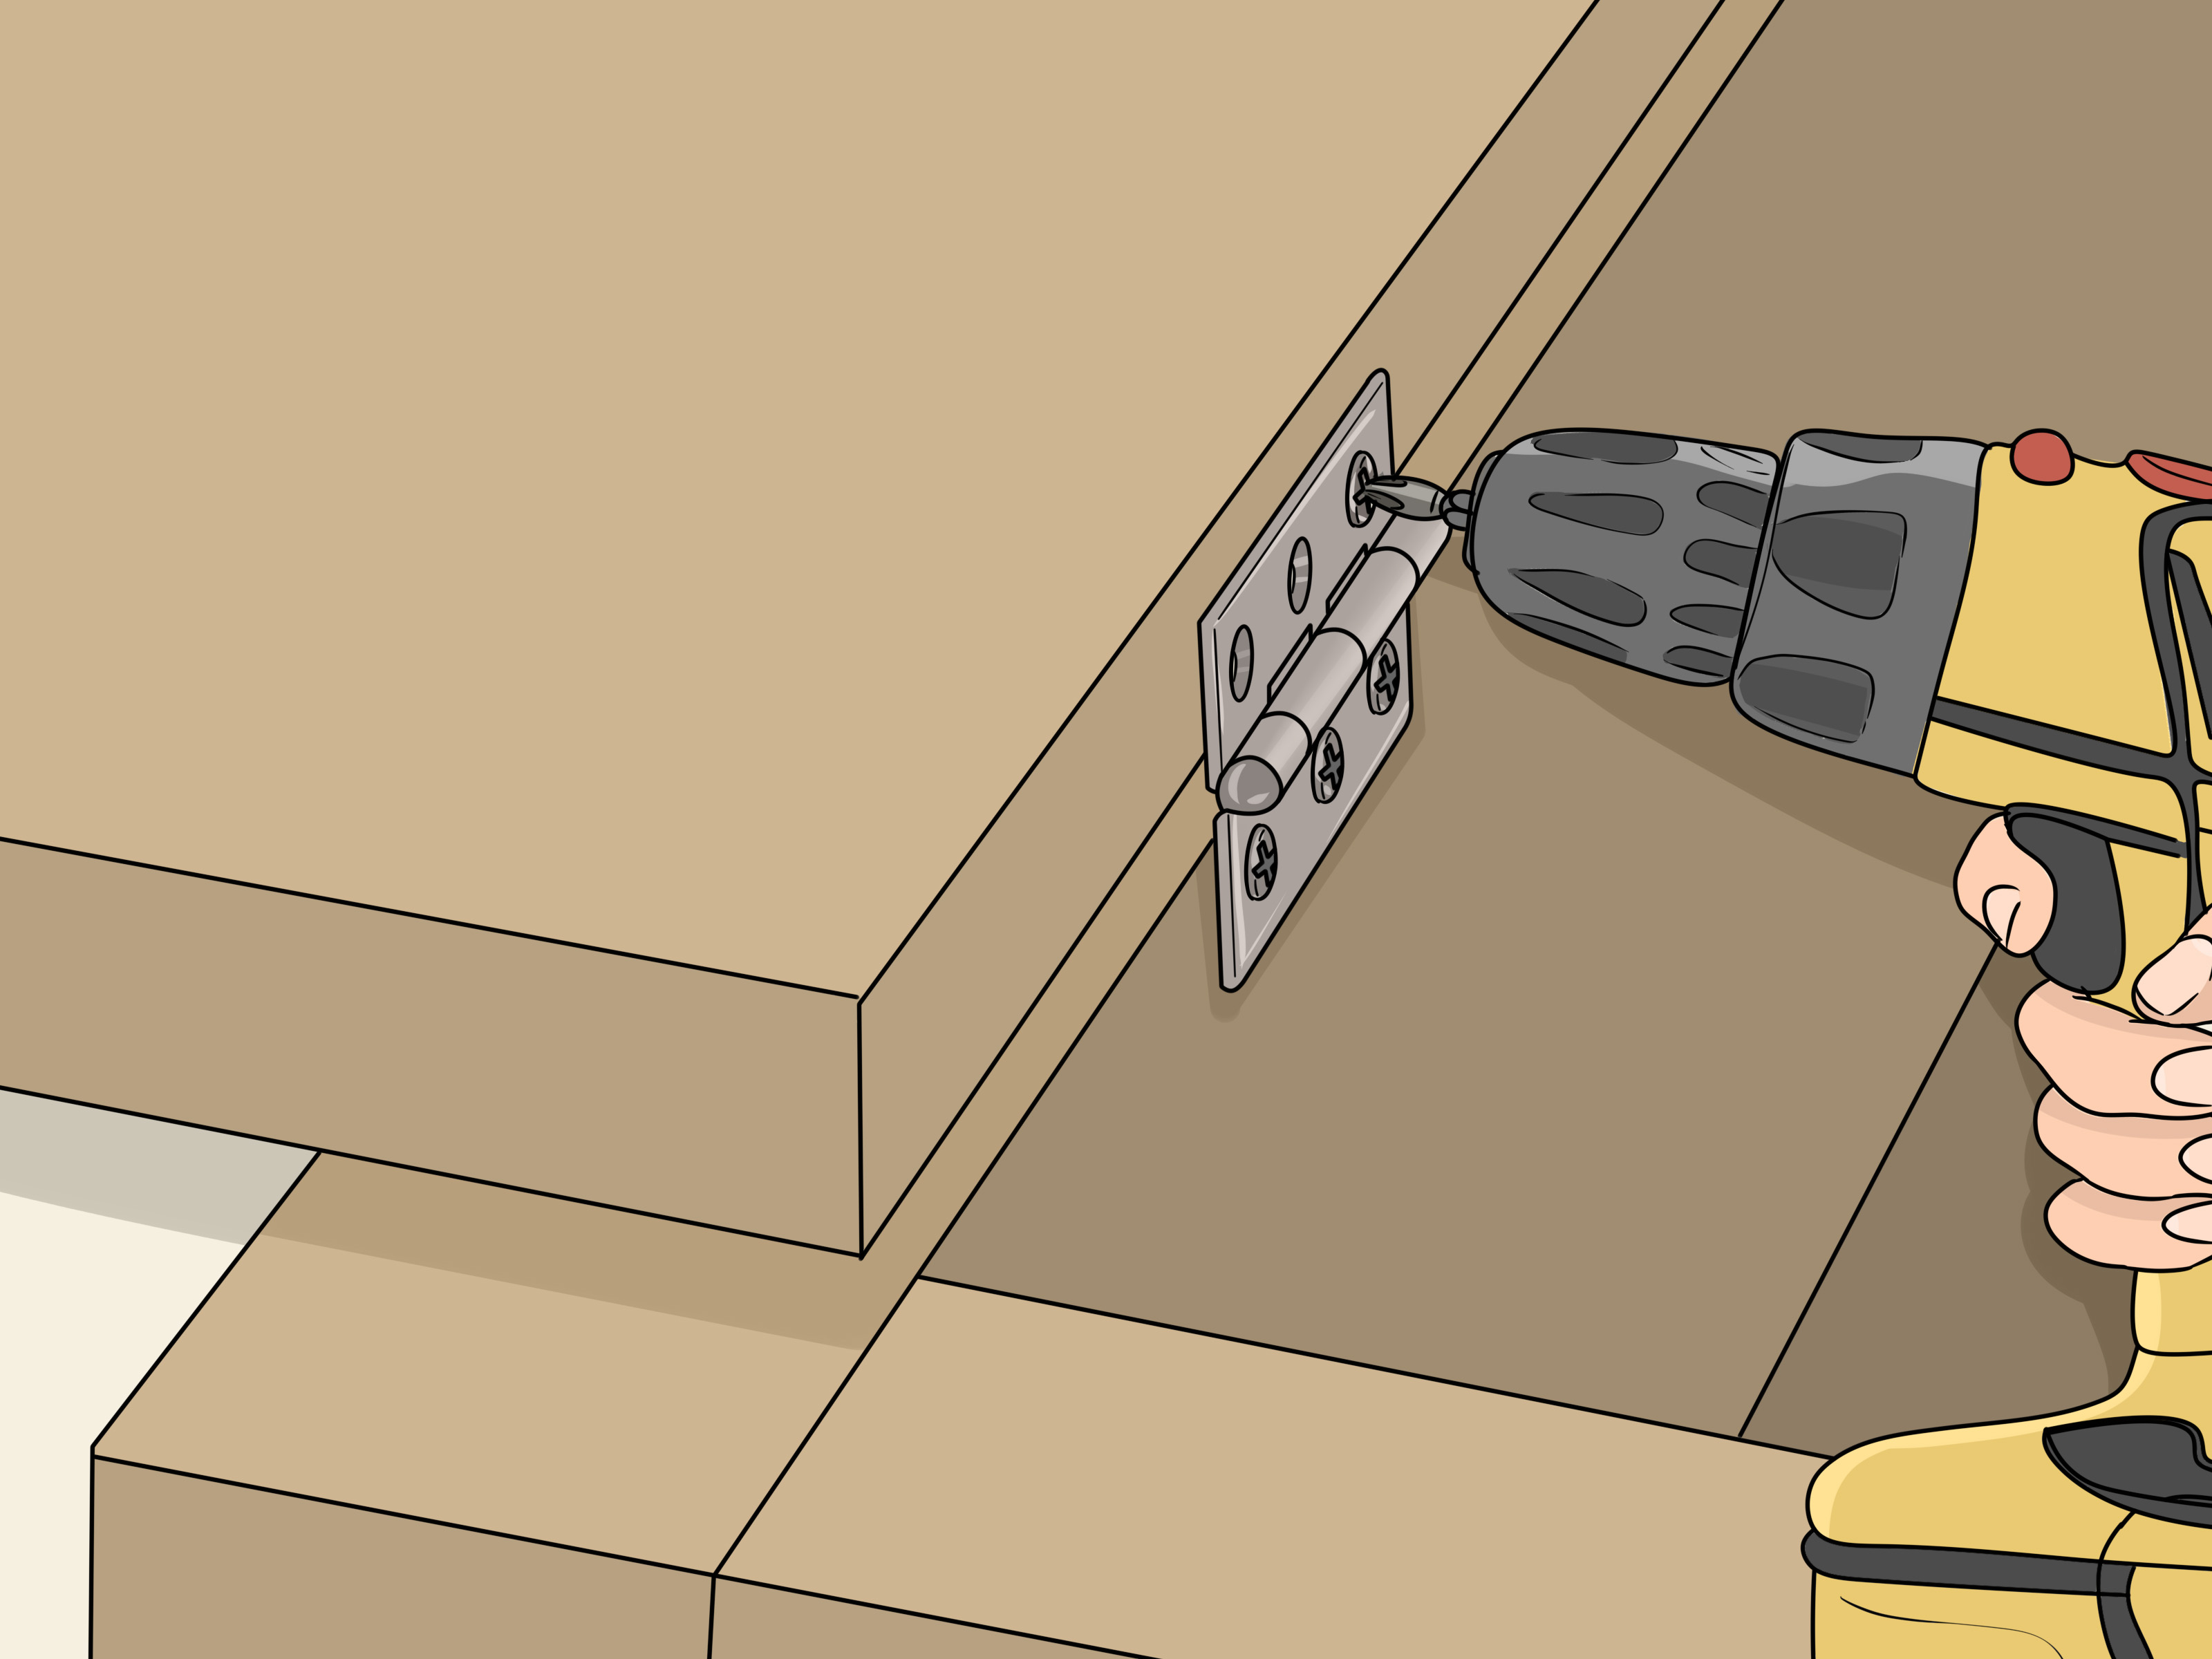
Place each hinge into its cup hole or align the hinge leaf on the marked position if you are using surface-mounted or semi-concealed hinges. Pre-drill pilot holes for the screws to reduce the chance of splitting the wood and to help the screws go in straight. Then secure the hinges to the door.
Do not overtighten the screws. Cabinet hardware is small, and overdriving fasteners can strip the hole or pull the hinge out of alignment. Snug is the goal. “One more turn until something regrets it” is not.
Step 5: Mark and Install the Mounting Plates or Cabinet-Side Screws
Now transfer the hinge positions to the cabinet. If you are using concealed hinges, attach the mounting plates inside the cabinet or on the face frame according to the hinge system. Many installers hold the door in place, align the reveals, and mark the plate positions from the hinge centerlines. Others use templates or jig systems to speed up multiple installs.
Mark the screw-hole locations carefully. Pre-drill pilot holes, then install the plates or cabinet-side screws. If you are hanging multiple doors, consistency is king. Tiny layout errors can stack up fast and turn a clean cabinet run into a geometry argument.
Step 6: Hang the Door
With the hinges attached to the door and the cabinet-side hardware in place, mount the door. For concealed clip-on hinges, snap the hinge arm onto the plate. For traditional hinges, hold the door in position and screw the hinge to the frame or cabinet.
It often helps to install the top hinge first, then the bottom. This gives you a little control while supporting the door and helps keep the alignment steady. If the door is wide, tall, or made from solid wood, ask a helper to hold it while you fasten the hardware. Cabinet doors are not impossibly heavy, but they do become surprisingly awkward the moment you are trying to line up screws with your third hand.
Step 7: Check the Fit and Adjust the Hinges
Once the door is mounted, close it slowly and inspect the gaps around it. Look for even reveals, smooth operation, and a door face that sits where it should. This is where adjustable hinges really shine.
Side-to-Side Adjustment
Use the adjustment screw that moves the door left or right to even out the gap between neighboring doors or between the door and frame.
Depth Adjustment
Adjust the door in or out so it sits properly against the cabinet and does not rub, bind, or stick out too far.
Height Adjustment
Some systems allow you to loosen mounting screws and slide the door up or down slightly. This helps line up the top and bottom edges with adjacent doors and drawers.
Make small adjustments and recheck after each one. Cabinet hinge tuning is not a wrestling match. It is more like fine seasoning in cooking. A tiny twist can make a big difference.
Step 8: Test Soft-Close and Final Operation
If your hinges have a soft-close feature, open and close the door several times to confirm it works smoothly. If the close feels weak or uneven, check that the hinge is tight, clean, and properly adjusted. On some hinge systems, the soft-close feature can be switched on or off.
Also test the opening swing. Make sure the door clears nearby trim, walls, appliances, and adjacent doors. A hinge that technically works but sends your door into a refrigerator handle is not a success story.
Common Cabinet Hinge Installation Mistakes to Avoid
- Choosing the wrong hinge: Overlay, inset, face-frame, and frameless setups need different hardware.
- Skipping pilot holes: This can split the wood or cause screws to wander.
- Misplacing hinge cups: Even slight layout errors can ruin alignment.
- Drilling too deep: This risks damaging the front face of the door.
- Ignoring adjustment screws: Many doors look wrong simply because they were never fine-tuned.
- Mixing hardware styles: One odd hinge in a run of cabinets can cause uneven reveals and inconsistent operation.
Tips for Better Results
If you are installing several doors, label each door and its location before removing old hardware. This saves confusion later. Work on a padded surface to protect painted or stained finishes. Use masking tape to mark drill depths if you do not have a stop collar. And if you are replacing older hinges, bring one old hinge to the store or compare manufacturer specs carefully before buying new hardware.
For new construction or a full cabinet refresh, concealed soft-close hinges are often the easiest to adjust and the most forgiving once installed. For a quick style-preserving replacement on older face-frame cabinets, semi-concealed or compact hinges may be the smarter route. The best hinge is not the fanciest one. It is the one that matches your cabinet construction and your patience level.
Real-World Experiences Installing Cabinet Hinges
The first time I installed cabinet hinges, I approached the job with the confidence of someone who had watched exactly one tutorial and owned a pencil. I figured, “How hard can it be? It is a hinge, not a spaceship.” About forty minutes later, one door was too high, another was too low, and a third seemed to be making a strong artistic statement about asymmetry. That was when I learned the first real lesson of cabinet hinge installation: the door is rarely the problem. The measurements are.
What changed everything was slowing down. Instead of rushing to drive screws, I started by checking the cabinet type, measuring the overlay, and marking both doors the same way. Suddenly, the job stopped feeling random. When I used a square to draw clean hinge centerlines and drilled pilot holes instead of “eyeballing with confidence,” the hinges went in straighter and the doors behaved like civilized members of society.
Another lesson came from working with concealed hinges on painted shaker doors. The 35 mm cup hole sounded intimidating at first, mostly because drilling a large hole in a finished door feels like a trust exercise. A hinge jig made that part dramatically easier. With the depth controlled and the position set correctly, the hinge cups dropped in cleanly and the doors mounted without the weird tilt I had battled on previous attempts. That experience taught me that a jig is not cheating. It is wisdom wearing plastic and metal.
I also learned that the final install is really won during the adjustment phase. One door looked terrible until I made a tiny side-to-side adjustment. Another needed a slight depth correction so it would sit flush instead of sticking out like it wanted attention. These were not big repairs. They were tiny turns of a screwdriver. But those tiny turns changed the whole look of the cabinet run. That is why experienced installers do not panic when the first close looks off. They adjust first, worry later.
One of my favorite hinge projects involved updating an older bathroom vanity. The original hinges were tired, squeaky, and slightly rusty, which is not the design statement most people want near a sink. Replacing them with modern soft-close hinges instantly made the cabinet feel newer and more expensive. The upgrade was small, but every time the doors closed quietly instead of slamming shut, it felt like the room had learned manners.
The biggest takeaway from all those installations is simple: cabinet hinges reward patience. They are not difficult in the dramatic, power-tool-flying, sawdust-everywhere sense. They are precise. If you respect the layout, drill carefully, and make measured adjustments, the results can look impressively professional. And once you have done one set successfully, the next set feels less like a mystery and more like a repeatable system. That is a satisfying shift. One day you are afraid to touch the cabinet doors. The next day you are explaining overlay measurements to a neighbor with the calm authority of someone who has fought the tiny screws and won.
Conclusion
Installing cabinet hinges is one of those projects that looks fussy from the outside but becomes manageable once you break it into steps. Start by matching the hinge to the cabinet style. Mark carefully. Drill accurately. Use pilot holes. Mount the hardware in a logical order. Then fine-tune the fit with small adjustments until the doors open, close, and align the way they should. The result is more than a functional cabinet door. It is a cleaner-looking room, smoother daily use, and the deep DIY satisfaction of fixing a problem that used to annoy you every morning before coffee.
Take your time, trust your layout, and remember: a crooked cabinet door is usually not a life crisis. It is just a hinge asking for better installation.