Fall decorating has a special talent for making even a random Tuesday dinner feel like an event. Add a plaid runner, a few mini pumpkins, and suddenly everyone starts acting like they live in a cozy cabin with perfect lighting and unlimited pie. If you want a project that looks charming, costs less than a fancy store-bought arrangement, and actually feels fun to make, a rustic tree round centerpiece is one of the best places to start.
A tree round centerpiece uses a wood slice as the base, then layers on seasonal details like pinecones, leaves, candles, dried wheat, mini gourds, acorns, berries, or a small vase of flowers. The result is warm, natural, and flexible enough for everything from a casual weeknight table to Thanksgiving dinner. Better yet, it can look beautifully imperfect. This is not a project that demands a ruler, a graphing calculator, or the patience of a museum conservator. It just needs a good eye, a few textures, and a willingness to move things around until the arrangement says, “Yes, I belong next to mashed potatoes.”
In this guide, you’ll learn how to make a rustic tree round centerpiece for your fall table step by step, how to choose the right materials, how to style it for different table sizes, and how to avoid common decorating mistakes. By the end, you’ll have a centerpiece that feels handmade in the best possible way: thoughtful, seasonal, and full of character.
Why Rustic Tree Round Centerpieces Work So Well for Fall
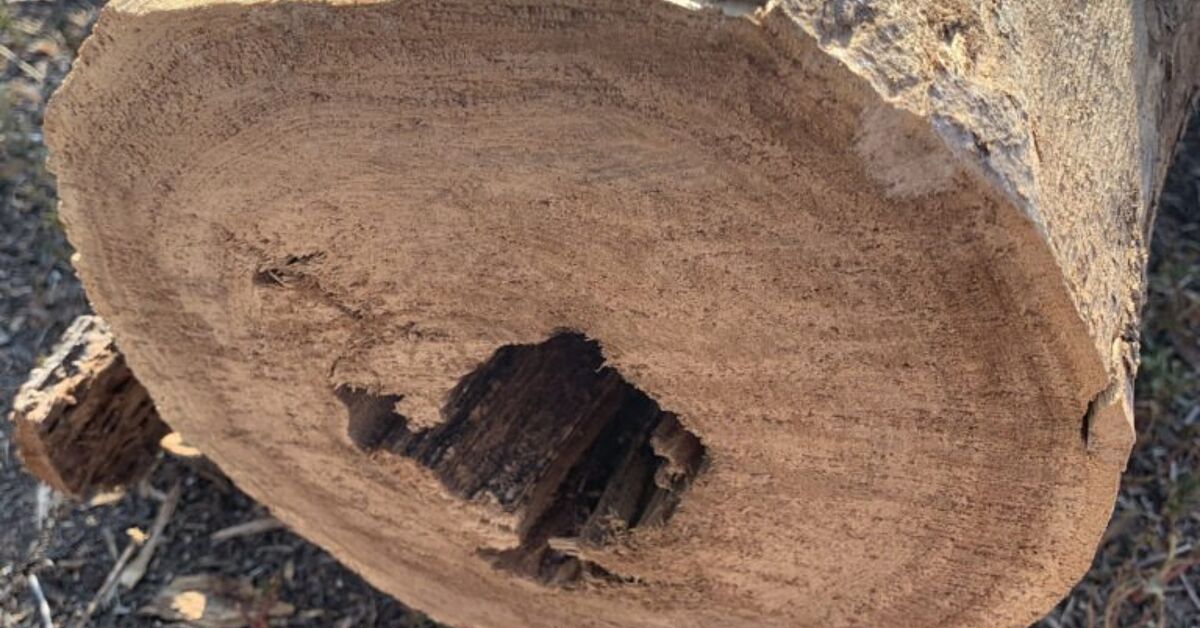
Fall decor is all about texture, color, and natural materials. Wood slices fit that mood perfectly. The visible growth rings, rough bark edges, and earthy tones instantly create a grounded, rustic look. Even before you add a single acorn or candle, the base already does half the decorating work for you.
Another reason these centerpieces work so well is balance. A tree round gives you structure without feeling stiff. It acts like a stage for your seasonal accents, helping all those little details feel intentional instead of scattered. A few pinecones can look accidental on a table. Put them on a wood round with a candle and a bit of greenery, and suddenly they look curated. That’s the magic trick.
Rustic tree round centerpieces are also versatile. You can make them minimalist with one candle and a ring of eucalyptus, farmhouse-inspired with burlap and mini pumpkins, elegant with brass candleholders and dried flowers, or family-friendly with faux leaves and battery candles. They can be wide and low for a long harvest table or small and simple for a breakfast nook. In other words, this project has range.
What You’ll Need
Basic Supplies
- 1 wood slice or tree round, roughly 10 to 16 inches wide
- Soft cloth for cleaning dust or bark bits
- Optional clear matte sealer if the wood is unfinished and sheds easily
- Felt pads for the bottom to protect your table
Decorative Elements
- Mini pumpkins or gourds
- Pinecones, acorns, nuts, seed pods, or dried moss
- Real or faux fall leaves
- Dried wheat, bunny tail grass, or preserved eucalyptus
- Small flowers in warm fall shades such as rust, cream, burgundy, or golden yellow
- Candleholder, pillar candle, hurricane vase, or LED candle
- Twine, velvet ribbon, or burlap ribbon for added texture
Helpful Tools
- Pruning shears or scissors
- Hot glue gun for securing lightweight accents if needed
- Floral wire or florist tape for tiny bundles
- Small glass jar or bud vase if using fresh flowers
If you’re buying a wood slice, look for one that feels dry, reasonably flat, and not too fragile around the bark. Small cracks are normal and often add to the rustic charm. Huge splits that make it wobble like a tired restaurant table, however, are less charming.
Step-by-Step: How to Make a Rustic Tree Round Centerpiece
Step 1: Start with the Right Wood Base
Your wood slice is the foundation of the whole project, so choose it carefully. For a dinner table centerpiece, a round between 10 and 16 inches usually works best. Smaller rounds are great for side tables, place settings, or grouped arrangements. Larger ones can hold more decor, but if they get too big, they may block conversation and start acting like the table’s main character.
Before decorating, wipe the wood clean and check the bottom. Add felt pads if needed so the centerpiece won’t scratch the table. If the slice feels flaky or unfinished, a very light clear matte sealer can help reduce mess while keeping the natural look.
Step 2: Choose a Focal Point
Every good centerpiece needs one visual anchor. This could be a candle, a lantern, a small vase of flowers, a cluster of mini pumpkins, or a hurricane glass filled with acorns. Pick one main element and place it slightly off-center for a more natural, styled look. A centered arrangement can work too, but asymmetry often feels more relaxed and designer-like.
If you’re using candles, make sure the holder is sturdy and nonflammable. If your centerpiece will sit out for several days or be used around kids or pets, LED candles are the easiest low-stress option.
Step 3: Add Height Without Building a Forest
Height makes a centerpiece look layered and interesting, but too much of it can make dinner guests feel like they’re peeking through shrubbery. Keep the arrangement low enough for conversation, especially on a dining table. A few stems of dried wheat, a short bundle of fall branches, or a compact floral arrangement can add just enough lift.
If you want more height, use a narrow vase so the arrangement rises vertically instead of spreading out too wide. This keeps the wood round visible and maintains the rustic base as part of the design.
Step 4: Layer Medium-Size Elements
Now comes the part where the centerpiece starts to feel full. Add medium-size pieces around the focal point. Mini pumpkins, small gourds, pinecones, or a few folded leaves work well here. Vary the shapes and surfaces so the display feels rich: smooth pumpkin, rough pinecone, feathery grass, papery leaf. Fall is basically the season of showing off textures, and your centerpiece should join the party.
Group items in odd numbers when possible. Three mini pumpkins usually look better than two. A cluster of pinecones looks more intentional than a lone pinecone sitting there like it got separated from its friends.
Step 5: Fill Gaps with Texture
Once the larger elements are in place, look for awkward empty spaces. Fill them with smaller textured accents such as acorns, preserved moss, berry sprigs, raffia, dried orange slices, or snippets of faux maple leaves. These details soften the arrangement and make it feel complete.
This is also a good time to add a little fabric or ribbon if you want more warmth. A loose twine bow around a vase, a strip of frayed linen, or a touch of velvet ribbon can make the centerpiece feel more styled without turning it into a craft-store explosion.
Step 6: Edit Ruthlessly
Yes, edit. The temptation with fall decor is to use every single adorable thing you own. Tiny pumpkin? Add it. Pinecone? Add it. Another pinecone? Of course. Four more candles? Why not. But the prettiest rustic centerpieces usually have some breathing room. Step back and remove anything that makes the arrangement look crowded or chaotic.
A good rule is to keep the wood slice at least partly visible. You want to see that beautiful natural surface. If every inch is buried under decor, you no longer have a rustic tree round centerpiece. You just have autumn traffic.
Step 7: Make It Practical for a Real Table
Before declaring victory, test the arrangement in real life. Can people see each other across the table? Is there room for serving dishes? Will a dangling branch catch someone’s sleeve while they pass the rolls? A centerpiece should add beauty, not become a minor obstacle course.
If needed, reduce the height, tighten the shape, or shift the decor closer to the center of the wood slice. Practical styling is still good styling.
Best Design Ideas for Different Fall Table Styles
Farmhouse Fall Table
Use a wood slice, white mini pumpkins, eucalyptus, burlap ribbon, and a creamy pillar candle. This look is soft, neutral, and easy to pair with plaid napkins or stoneware dishes.
Classic Harvest Table
Layer in orange and green gourds, pinecones, wheat stalks, acorns, and a warm amber candleholder. This version feels traditional and festive without going overboard.
Elegant Rustic Table
Choose a darker wood round, brass candlesticks, muted flowers, dried hydrangea, and a restrained color palette of rust, burgundy, olive, and cream. It’s rustic, but it clearly has opinions about table linens.
Budget-Friendly Everyday Table
Start with a craft-store wood slice, add faux leaves, one small vase, a few backyard pinecones, and a battery candle. It still feels cozy and seasonal, just without asking your wallet to make emotional sacrifices.
Common Mistakes to Avoid
- Making it too tall: Beautiful in photos, awkward in conversation.
- Using too many colors: Pick two to four fall tones and repeat them.
- Forgetting scale: Tiny decor disappears on a large table; oversized decor overwhelms a small one.
- Ignoring texture: Fall centerpieces look best when smooth, rough, soft, and crisp materials all work together.
- Over-gluing everything: A centerpiece should still feel organic, not permanently fused into one solid autumn sculpture.
Safety and Care Tips
If you’re using a real candle, keep flames away from dried leaves, ribbon, moss, bark, and other flammable materials. Use a stable holder, never leave the candle unattended, and keep the centerpiece away from curtains or anything that can be knocked over. LED candles are a smart alternative if you want the glow without the stress.
If you’re using fresh flowers, place them in a hidden water-filled vessel instead of laying wet stems directly on the wood. Water rings are charming on some things, but your dining table may disagree. For faux or dried arrangements, dust the centerpiece occasionally and store it in a dry place when the season ends.
If your wood slice develops a crack over time, don’t panic. That weathered look can make it even more appealing. Rustic decor is one of the few categories where a little imperfection can improve your reputation.
How to Make It Look Expensive Without Spending Much
The secret is restraint and texture. You do not need a mountain of supplies. One wood slice, one focal point, one soft filler, one rough natural element, and one seasonal accent is often enough. For example, pair a hurricane vase with a candle, add two mini pumpkins, tuck in eucalyptus, and finish with a few pinecones. That simple combination can look more sophisticated than a centerpiece packed with twenty random things.
Color also matters. Try a palette like cream, tan, olive, and muted orange instead of using every bright fall shade at once. Repeating the same colors in the centerpiece, napkins, and tableware creates a cohesive table that feels polished.
And don’t underestimate what foraging can do. A few fallen branches, acorns, or seed pods from your yard can bring authenticity that store-bought fillers sometimes lack. Nature is a very generous design assistant, though admittedly one that does not answer emails.
Experiences and Lessons From Making Rustic Tree Round Centerpieces
The best part about making a rustic tree round centerpiece is that it rarely feels like a formal craft project. It feels more like gathering pieces of the season and giving them a home. The first time I made one, I thought it needed to be “perfect,” which is a dangerous word in any DIY project. I arranged every pinecone with the seriousness of a museum curator. Then I stepped back, looked at it, and realized it felt stiff. Pretty, yes. But also a little nervous. Once I loosened the layout, angled the candle slightly off-center, and let a few leaves fall more naturally, the whole piece came to life.
That’s the lesson I keep coming back to: rustic decor works best when it feels collected, not forced. Some of the most beautiful centerpieces come together from humble materials that are easy to overlook. A branch from the yard. A few acorns scooped up during a walk. Leftover ribbon from another season. One lonely mini pumpkin that somehow survived three grocery trips without becoming pie. On their own, they’re just objects. On a wood round, they start telling a fall story.
I’ve also learned that these centerpieces create atmosphere far beyond the table itself. You make one for dinner, but it ends up changing the mood of the whole room. Suddenly the table feels warmer. The candles glow a little softer. Even takeout seems more intentional when it arrives next to a centerpiece that looks like you planned your life. It’s deeply satisfying.
Another experience worth mentioning is how adaptable this project becomes over time. One year you may want a fuller Thanksgiving look with gourds and wheat. The next year you may crave something simpler with a vase, dried stems, and lots of negative space. The same wood slice can evolve with your style. That makes it one of those rare seasonal pieces that doesn’t feel disposable.
There’s also something unexpectedly memorable about making centerpieces with other people. Kids can gather pinecones or help place acorns. Friends can vote on whether the tiny pumpkin belongs on the left or right. Family members who normally have zero interest in decor will suddenly develop very strong feelings about candle height. It becomes part of the ritual of the season, right alongside baking, hosting, and pretending the house is always this organized.
And perhaps my favorite part is that no two rustic tree round centerpieces ever look exactly alike. Even if you follow the same steps twice, the materials change. The leaves curl differently. The bark edge catches the light in a new way. The flowers sit a little looser. That individuality is what makes handmade decor feel special. It reflects a moment, a mood, and a season in a way mass-produced pieces rarely can.
So if your first centerpiece isn’t flawless, that’s not failure. That’s character. Move things around. Take one pumpkin away. Add one pinecone back. Light the candle. Sit down. See how it feels from across the room. The process is part of the charm. In the end, a rustic fall centerpiece isn’t just about decorating a table. It’s about making ordinary gatherings feel warmer, slower, and a little more beautiful.
Final Thoughts
If you want fall table decor that feels cozy, natural, and genuinely personal, a rustic tree round centerpiece is hard to beat. It’s simple enough for beginners, flexible enough for different decorating styles, and charming enough to look like you spent much more time on it than you actually did. With the right wood slice, a few layered textures, and a little editing, you can create a centerpiece that feels welcoming all season long.
Keep it practical, keep it balanced, and let the natural materials do what they do best. Fall already brings the color and mood. Your job is just to arrange the evidence attractively.