Note: This article is written for web publication and educational DIY use. Paints, aerosols, sanding dust, solvents, and clear coats can be hazardous, so always follow product labels, use proper protective gear, work in a well-ventilated area, and get experienced adult help if you are under 18 or new to finishing work.
Custom painting an electric guitar is one of the most satisfying ways to turn a normal instrument into something that looks like it escaped from a rock-and-roll art museum. Maybe your guitar has a tired factory finish, maybe you bought a bare body for a project build, or maybe you simply woke up and decided your Strat-style workhorse deserves a candy apple red sparkle job with attitude. Fair enough. Guitars have feelings toomostly through pickups, but still.
The good news is that you can custom paint your electric guitar at home if you plan carefully, respect the process, and avoid the classic beginner mistake of rushing the finish because “it looks dry.” The bad news is that guitar paint is not magic frosting. A great finish comes from preparation, patience, thin coats, safe working habits, and a willingness to sand until your playlist repeats three times.
This guide explains how to paint an electric guitar body from start to finish, including disassembly, sanding, sealing, priming, painting, clear coating, curing, polishing, and reassembly. You will also learn what paint works best, how to avoid orange peel and runs, and when a vintage or expensive guitar should be left to a professional instead of becoming your weekend science experiment.
Before You Paint: Should You Refinish This Guitar?
Before grabbing sandpaper like a person with a destiny, pause for a reality check. Not every guitar should be repainted. If the instrument is rare, vintage, collectible, signed, or already valuable, refinishing can reduce its resale value dramatically. In those cases, talk to a professional luthier or leave the finish alone. A few honest scratches can be cooler than a shiny repaint that accidentally turns a collectible into “customized by regret.”
For beginner projects, the best candidates are inexpensive electric guitars, unfinished replacement bodies, kit guitars, or parts builds. Solid-body electric guitars are much easier to paint than acoustics because you are mainly dealing with a wood body, hardware, cavities, and a bolt-on or set neck. A bolt-on neck guitar is especially friendly because you can remove the neck and work only on the body.
Choose Your Custom Guitar Paint Style
Your design choice affects the whole finishing process. A simple solid color is the easiest option for beginners. Metallic, sparkle, burst, relic, racing stripe, stencil, graphic, and transparent stain finishes can look incredible, but they require extra control and usually more testing.
Popular Electric Guitar Paint Ideas
A solid color finish is clean, classic, and forgiving. Black, Olympic white, surf green, shell pink, and butterscotch-style colors never really go out of style. Metallic finishes add depth but must be sprayed evenly because sanding the color coat can disturb the metallic particles. A transparent stain works best on attractive wood grain such as flame maple, quilted maple, ash, or mahogany. Graphic finisheslike flames, stripes, checkerboards, or comic-style artrequire masking, layering, and patience, but they can make the guitar unmistakably yours.
If this is your first custom guitar painting project, start with a solid color and clear coat. Once you understand sanding, spraying, curing, and polishing, you can level up to bursts and graphics without turning your guitar into modern art by accident.
Tools and Materials You Will Need
You do not need a professional spray booth to paint a guitar, but you do need the right basic supplies. A clean workspace, careful masking, and compatible finishing products matter more than buying every tool in the store.
Basic Supplies
- Screwdrivers and small containers for screws
- Painter’s tape and masking paper
- Sandpaper in multiple grits, such as 220, 320, 400, 800, 1000, 1500, and 2000
- Sanding block
- Tack cloth or clean lint-free cloth
- Wood filler or grain filler if needed
- Sanding sealer or compatible sealer
- Primer suitable for your paint system
- Color coat: guitar lacquer, acrylic lacquer, water-based finish, or compatible spray paint
- Clear coat in gloss, satin, or matte
- Polishing compound and microfiber cloths
- Nitrile gloves, eye protection, and a respirator appropriate for the products used
The keyword here is compatible. Do not randomly mix primer, paint, and clear coat from different systems unless the labels confirm they work together. Lacquer over the wrong enamel, for example, can wrinkle like a confused raisin. When in doubt, test the full finish schedule on scrap wood before touching your guitar.
Safety First: Your Guitar Should Look Cool, Not Your Lungs
Spray paint and clear coat can release fumes, mist, and fine particles. Sanding can also create dust from old finish, wood, filler, and primer. Work outdoors or in a properly ventilated area away from flames, heaters, pilot lights, pets, and people who did not volunteer to inhale your art project.
Wear eye protection, gloves, and a respirator rated for the products you are using. A paper dust mask is not the same as a proper respirator for solvent-based sprays. If you use solvent-based paint or lacquer, read the safety data sheet and label instructions carefully. Two-part automotive clear coats can be especially hazardous and are best left to properly equipped professionals.
Dispose of leftover paint, aerosol cans, solvent-soaked rags, and sanding waste according to your local hazardous waste rules. Do not pour solvents down the drain. Do not toss wet solvent rags into a random trash bag and hope for the best. Rock stars may be dramatic, but your garbage can does not need a fire solo.
Step 1: Disassemble the Guitar
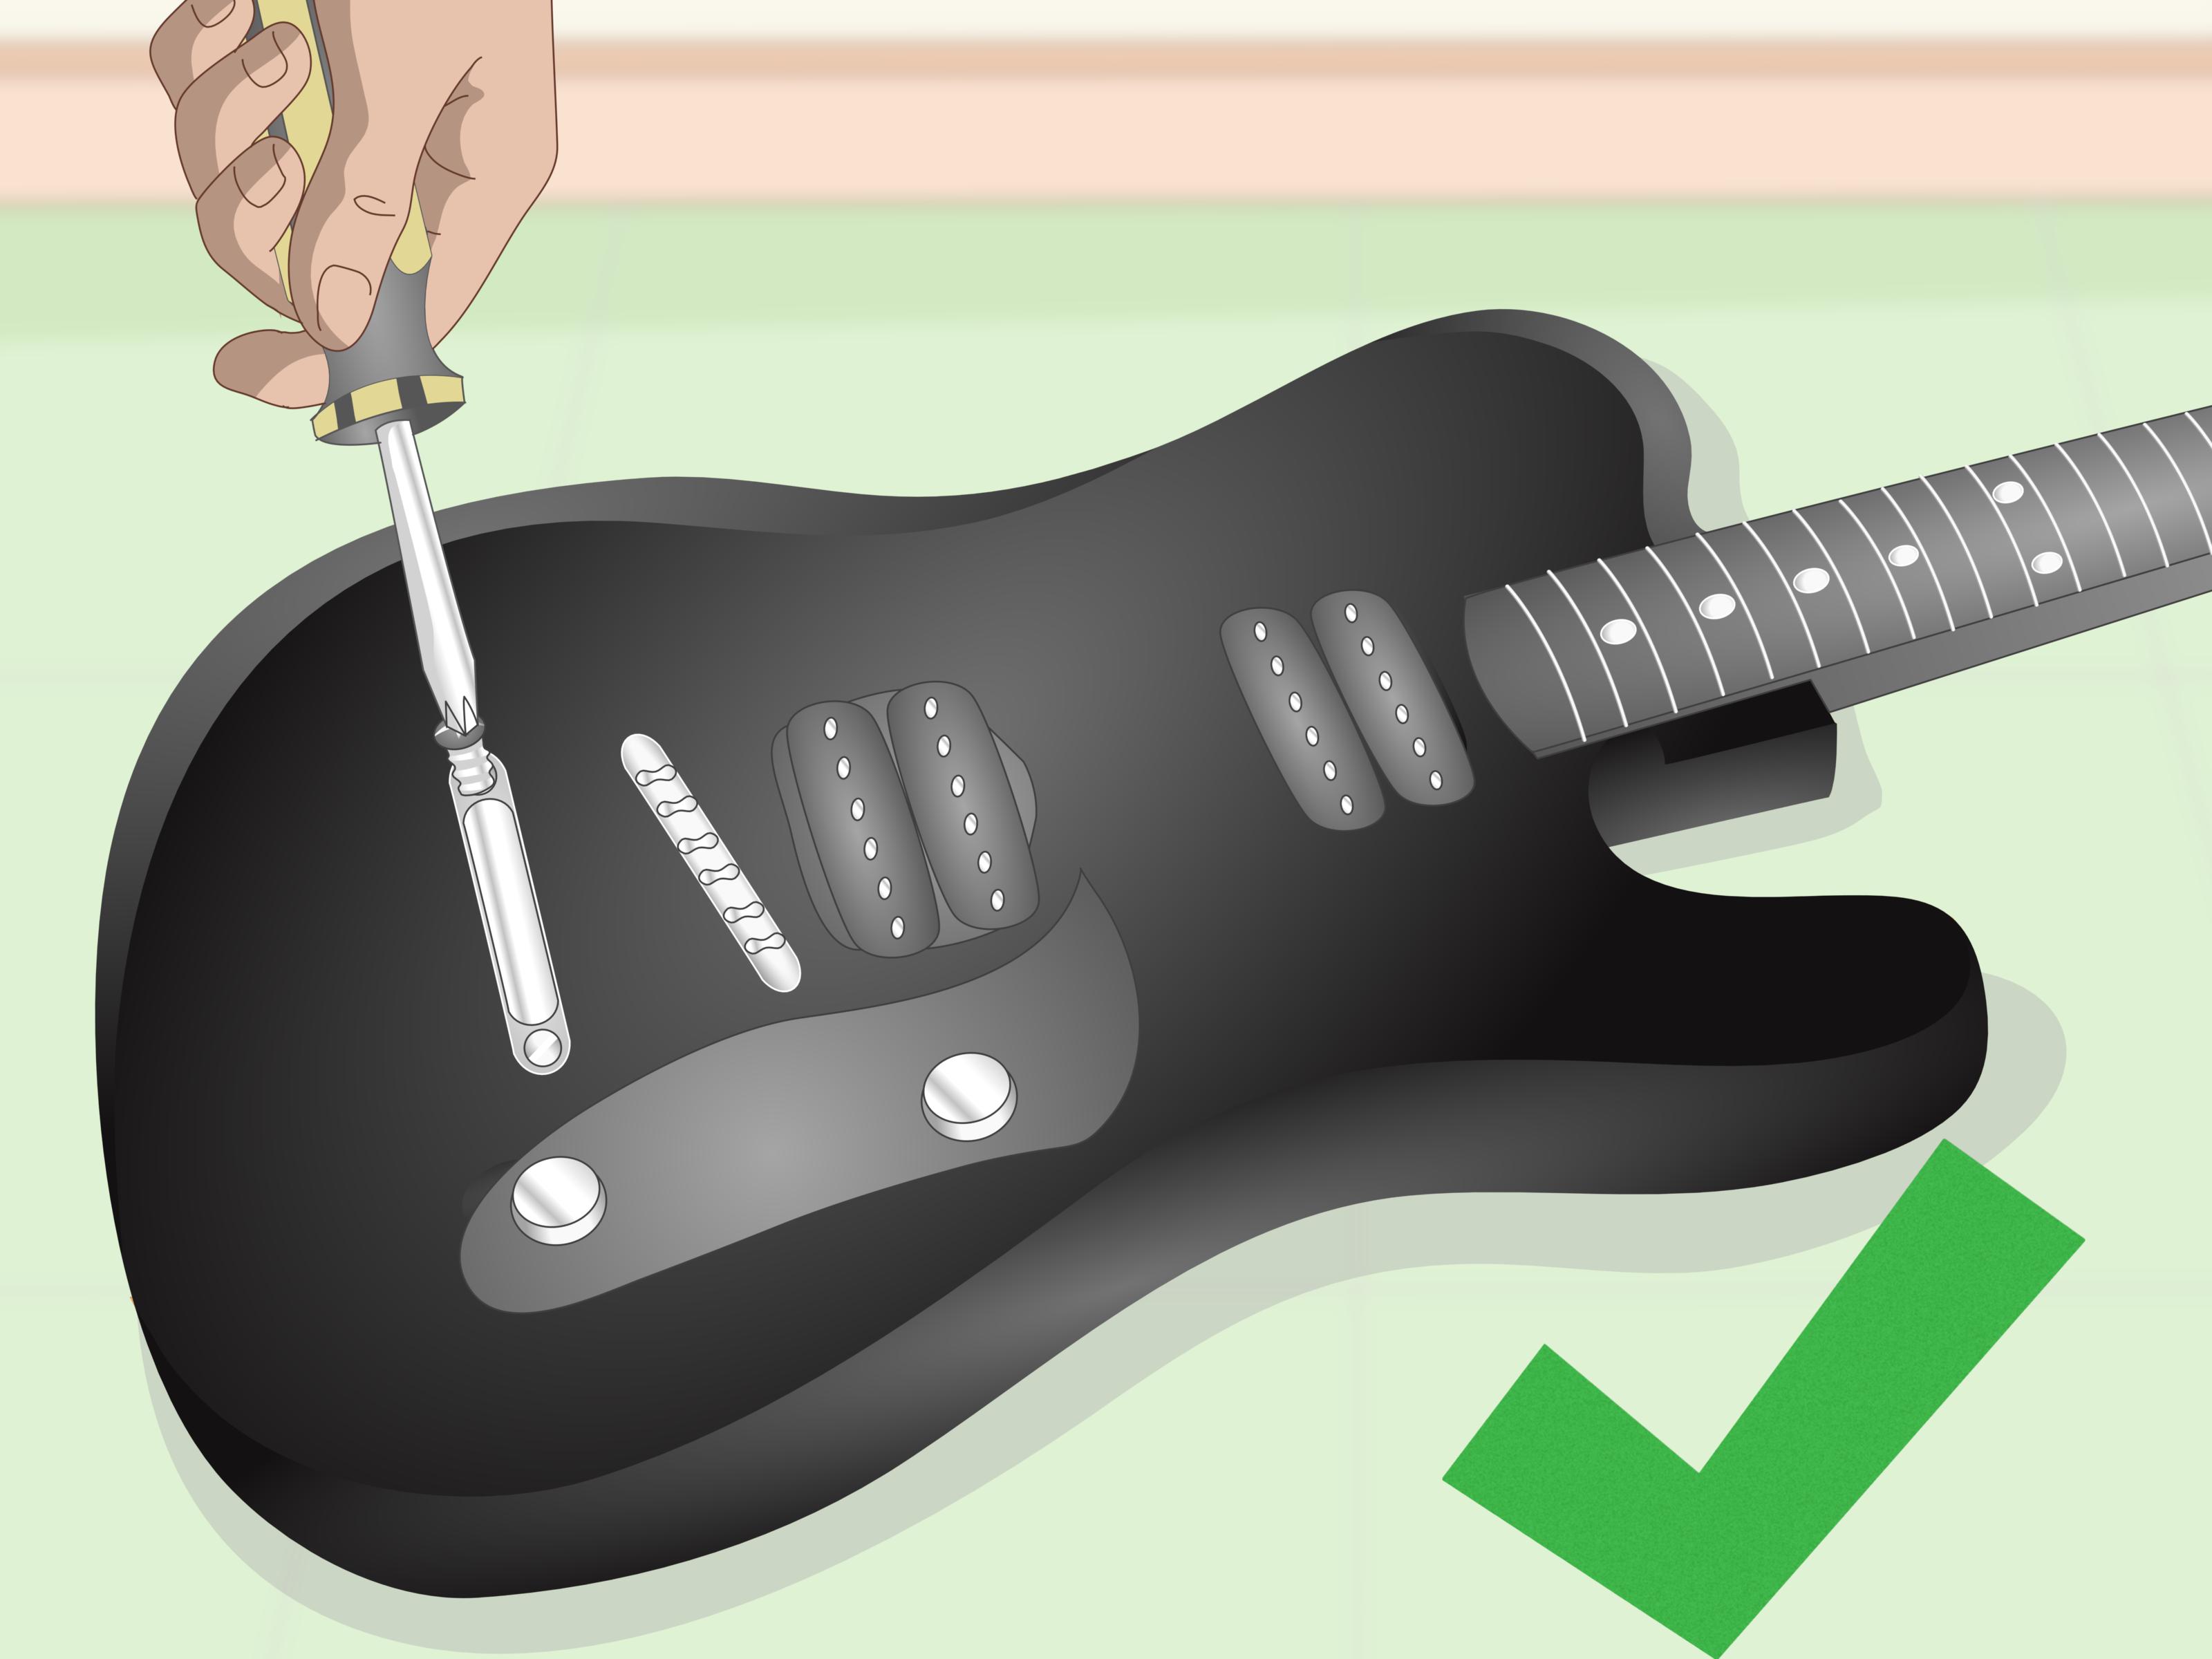
Remove the strings, neck if it is bolt-on, bridge, pickguard, pickups, output jack, strap buttons, tremolo claw, knobs, and electronics. Take clear photos before you remove anything, especially wiring. Label small bags for screws and parts. Future you will appreciate not having to solve “mystery screw bingo” during reassembly.
If you are painting only the body, remove everything possible. Paint buildup around hardware holes, bridge posts, neck pockets, and cavities can cause fit problems later. Mask the neck pocket, pickup cavities, control cavities, ground wire channels, and any threaded inserts. Do not paint the fretboard, frets, nut, bridge saddles, or electronics.
Step 2: Strip or Scuff the Old Finish
You have two main choices: remove the old finish completely or scuff it so the new finish can bond. Many modern electric guitars have thick polyurethane or polyester finishes. These can be tough to strip, but if the existing finish is stable, you may not need to remove every molecule of it. Scuff sanding the surface until it is uniformly dull can create a good base for primer.
If the old finish is cracked, peeling, bubbling, or incompatible with your planned paint, you may need to strip it. Avoid aggressive chemical strippers unless you know exactly what you are doing and have proper safety gear. Heat guns can also damage wood, glue joints, binding, and your patience. For most DIY painters, controlled sanding is safer and more predictable.
Step 3: Sand the Body Smooth
Sanding is where the finish is won or lost. Start by leveling chips, scratches, and rough areas. Use a sanding block on flat surfaces to avoid creating waves. Rounded edges should be handled carefully because it is easy to sand through them.
A common approach is to start around 220 grit for leveling, then move to 320 or 400 before primer. The goal is not to polish the wood like glass before primer; the goal is a smooth, even surface that allows the next layer to grip. Remove dust often and inspect under good light. If you can see a scratch before primer, there is a decent chance you will see it after paintonly now it will be wearing a shiny hat.
Step 4: Fill Dents and Grain
Small dents, chips, and low spots should be filled before primer. Use a suitable wood filler or automotive-style filler only where needed, and sand it level after it cures. Open-pore woods such as ash and mahogany often need grain filler if you want a smooth, glassy finish. Tighter-grain woods like alder, basswood, maple, and poplar may need less filling, depending on the result you want.
For transparent finishes, choose filler carefully because it can change the appearance of the grain. For solid colors, your main goal is flatness. A solid black gloss finish is brutally honest; it will reveal tiny surface flaws like a detective with a flashlight.
Step 5: Seal and Prime the Guitar Body
Sealer helps lock down the surface and prepare the wood for primer or color. Primer provides a uniform base, improves adhesion, and helps the color coat look even. White primer can brighten vivid colors, while gray primer can work well under darker colors. Always use primer compatible with your chosen paint and clear coat.
Apply thin coats rather than one heavy coat. Let each coat dry according to the label. After the primer has dried, sand it lightly with 400 grit or similar paper until the surface is smooth and even. If you sand through to wood or old finish in spots, add more primer and level again. The guitar should look boringly perfect before color. Boring at this stage is good. Excitement comes later.
Step 6: Spray the Color Coat
Shake aerosol cans thoroughly if using spray cans, and warm them slightly in room-temperature conditions if the product label allows. Do not spray in extreme heat, cold, or high humidity. Practice on cardboard or scrap wood to understand the spray pattern before aiming at your guitar.
Start spraying just before the spray reaches the guitar, pass smoothly across the body, and release after you clear the edge. This reduces spit marks at the beginning and end of each pass. Keep the can or spray gun moving at a steady speed. Overlap each pass slightly. Aim for light, even coats. A coat that looks slightly too thin is usually better than a coat that sags like a tired curtain.
How Many Color Coats Do You Need?
The number depends on the product and color, but most custom guitar paint jobs need several thin color coats. The surface should become evenly covered without heavy buildup. Do not sand metallic or sparkle color coats unless the product instructions say it is safe, because sanding can disturb the particles and create patchy areas. For solid colors, small dust nibs can sometimes be corrected carefully, but major leveling is usually saved for the clear coat.
Step 7: Add Graphics, Stripes, or Stencils
If your design includes racing stripes, geometric shapes, stencils, logos, or layered graphics, let the base color dry enough for masking. Use high-quality painter’s tape and press edges down gently to prevent bleed. Spray away from tape edges when possible and remove tape at the right stage according to the paint systemoften after the paint has set but before it becomes rock hard.
For a classic racing stripe, measure from the centerline of the body and mark lightly with removable tape. Do not trust your eyeballs unless your eyeballs have a degree in geometry. Symmetry matters, especially on guitar bodies where curves can make a straight line look suspicious.
Step 8: Apply Clear Coat
Clear coat protects the color and gives the final sheen. Gloss clear can be wet sanded and buffed to a mirror finish. Satin and matte clears are usually not polished the same way because polishing can make them shiny in uneven spots.
Apply multiple thin clear coats, allowing proper drying time between coats. The clear layer needs enough thickness for later leveling and polishing, but too much finish can look heavy and may chip more dramatically. Many guitar finishing schedules use multiple coats across sealer, color, and clear, but the exact number should follow your product instructions.
Watch the edges, horns, and contours. These areas often receive less finish or get sanded through later. A little extra attention around edges can prevent heartbreak during final sanding.
Step 9: Let the Finish Cure
Dry to the touch is not the same as cured. This is one of the most important lessons in guitar refinishing. A finish can feel dry on the surface while still being soft underneath. If you sand or polish too soon, the finish can smear, clog paper, shrink later, or develop witness lines.
Lacquer finishes often need weeks to cure before final wet sanding and buffing. Water-based and polyurethane products vary widely, so follow the manufacturer’s instructions. When in doubt, wait longer. Patience is the cheapest finishing tool you can buy, and unlike sandpaper, it does not wear out.
Step 10: Wet Sand and Polish
Once the finish has cured, wet sanding levels orange peel, dust nibs, and minor texture in the clear coat. Use a sanding block on flat areas, light pressure, and clean water with a tiny amount of mild soap if appropriate. Start with a grit that matches the condition of the finish. Many finishers work through 800, 1000, 1200, 1500, and 2000 grit before polishing, but you should adjust based on your finish and skill level.
Be extremely careful on edges, contours, and corners. These areas burn through quickly. If you sand through the clear into the color, you may need to repair and respray. That moment is not fun. It is the guitar-finishing version of stepping on a cable during a solo.
After wet sanding, use polishing compound and a clean microfiber cloth or foam pad to bring up the gloss. Work slowly and avoid overheating the finish. Clean residue from cavities and holes before reassembly.
Step 11: Reassemble and Set Up the Guitar
After polishing, let the body rest for a little while before bolting everything back together. Remove masking carefully. Reinstall hardware, electronics, pickups, bridge, strap buttons, pickguard, and neck. Use your reference photos to restore wiring and parts placement.
Once the guitar is assembled, install new strings and perform a setup. Check neck relief, string height, intonation, pickup height, and tremolo balance if applicable. A guitar that looks amazing but plays badly is basically wall art with output jack anxiety.
Common Mistakes to Avoid When Painting an Electric Guitar
Rushing the Prep Work
Most beginner paint problems start before the first color coat. Poor sanding, leftover wax, dust, grease, dents, and uneven primer can all show through the final finish. Prep work may feel slow, but it is faster than fixing a bad paint job later.
Spraying Heavy Coats
Heavy coats cause runs, solvent trapping, wrinkling, slow curing, and uneven texture. Thin coats are safer and easier to control. The finish should build gradually.
Ignoring Paint Compatibility
Primer, color, and clear must work together. Mixing random products can cause lifting, cracking, soft finish, poor adhesion, or cloudy clear coat. Use one finishing system when possible.
Painting in Bad Weather
Humidity, cold, and heat can create blush, rough spray, slow drying, or poor flow. Choose mild, dry conditions and avoid dusty or windy areas.
Skipping the Test Piece
A scrap test can reveal color, adhesion, drying time, and compatibility problems before they happen on your guitar. Testing is not wasted time. It is insurance with sawdust.
Best Paint Types for Custom Guitar Finishing
Nitrocellulose lacquer is associated with many vintage-style guitars and can be repaired and polished beautifully. It also tends to be softer and can age, yellow, check, or wear over time. Polyurethane and polyester finishes are durable and common on modern production guitars. Water-based finishes can reduce solvent odor and may be friendlier for some home setups, though they still require safety precautions and proper technique.
Acrylic lacquer and automotive-style finishes are also used by many DIY guitar painters, but product compatibility is crucial. If you want a traditional vintage look, lacquer may be attractive. If you want toughness, a modern poly-style finish may be more practical. If you want the easiest first project, use a complete guitar finishing system from the same product line and follow the instructions exactly.
Does Custom Paint Affect Guitar Tone?
This topic can start debates longer than some guitar solos. On a solid-body electric guitar, pickups, strings, bridge, setup, electronics, and playing technique usually have a much bigger effect on sound than a reasonable paint job. However, an excessively thick, poorly applied finish can look and feel clunky. The best approach is simple: build a durable finish, but do not bury the body under unnecessary layers.
Focus on playability first. Keep the neck pocket clean, avoid paint buildup in hardware areas, and do a proper setup after reassembly. A thin, neat finish and a well-set-up guitar will beat a thick glossy finish on an instrument that buzzes like an angry refrigerator.
Extra Experience: Real-World Lessons From Custom Painting an Electric Guitar
The first thing experience teaches you about painting a guitar is that the glamorous partthe coloris only about ten percent of the job. The rest is cleaning, sanding, waiting, inspecting, fixing, sanding again, and pretending you are not emotionally attached to the primer coat. If you want the finish to look professional, treat every early step as if it will be visible forever, because in many cases it will be.
One useful habit is to photograph the guitar before and during disassembly. Take pictures of the bridge, wiring, pickup orientation, ground wire, screw lengths, neck pocket, and control cavity. Even if you think you will remember, you probably will not. Guitar parts have a sneaky way of becoming tiny metal riddles once they are on the table. Labeled bags and photos can save hours when it is time to put the instrument back together.
Another practical lesson is to respect the edges. Flat areas are easy to sand and spray, but horns, belly cuts, arm contours, and roundovers are where many finishes fail. Edges receive less paint during spraying and lose paint faster during sanding. When applying clear coat, make sure these areas get enough coverage. When wet sanding, reduce pressure near edges and avoid lingering. A beautiful gloss body with a sand-through on the upper horn will make you stare into the distance like a guitarist in a dramatic music video.
Dust control matters more than beginners expect. You do not need a laboratory, but you do need a clean area. Sweep and let dust settle before spraying. Wear clean clothes. Keep pets away. Do not spray under trees unless you want the finish to include leaves, pollen, and one heroic insect fossilized forever in clear coat. Between coats, keep the guitar somewhere safe from dust and curious hands.
Color choice also affects difficulty. White and light colors can show dirt and sanding scratches. Black gloss shows every ripple and tiny flaw. Metallics and sparkles look amazing but demand even spray technique. Transparent finishes require attractive wood and careful staining. If you are painting your first guitar, a solid medium color with gloss clear is a smart choice. It gives you room to learn while still producing a stage-worthy result.
Do not underestimate curing time. This is where many otherwise good projects go wrong. The finish may feel dry, but if it has not cured deeply enough, polishing can create haze, drag marks, or soft spots. Hardware can also imprint into uncured finish. Waiting feels painful, especially when the guitar is hanging there looking almost finished, but patience pays off. Use that time to clean hardware, shield cavities, plan pickup height, or practice telling friends, “No, I cannot play it yet; it is curing,” in a mysterious artisan voice.
Finally, accept that small imperfections are part of DIY finishing. A tiny dust speck or slight ripple does not mean failure. Handmade instruments have personality. The goal is not to defeat every molecule of texture; the goal is to create a finish that protects the guitar, looks intentional, and makes you excited to pick it up. When you plug in the finished guitar for the first time and see your own paint job under the lights, the hours of sanding suddenly make sense. Your guitar is no longer just an instrument. It is your instrument, wearing a finish with a story.
Conclusion
Learning how to custom paint your electric guitar is part craft, part patience test, and part creative adventure. The core process is straightforward: disassemble carefully, prepare the surface, seal and prime, spray thin color coats, protect everything with clear coat, let the finish cure, then wet sand, polish, reassemble, and set up the guitar properly. The difference between a rough DIY repaint and a finish you are proud to show on stage usually comes down to preparation, compatibility, safety, and waiting long enough before final polishing.
If you are new to guitar refinishing, start simple. Choose a solid color, use compatible products, test on scrap, and work slowly. Once you master the basics, you can explore metallic finishes, transparent stains, bursts, stripes, stencils, relic looks, and full custom graphics. Your electric guitar is already built to make noise. With the right paint job, it can make an entrance before you even play the first chord.