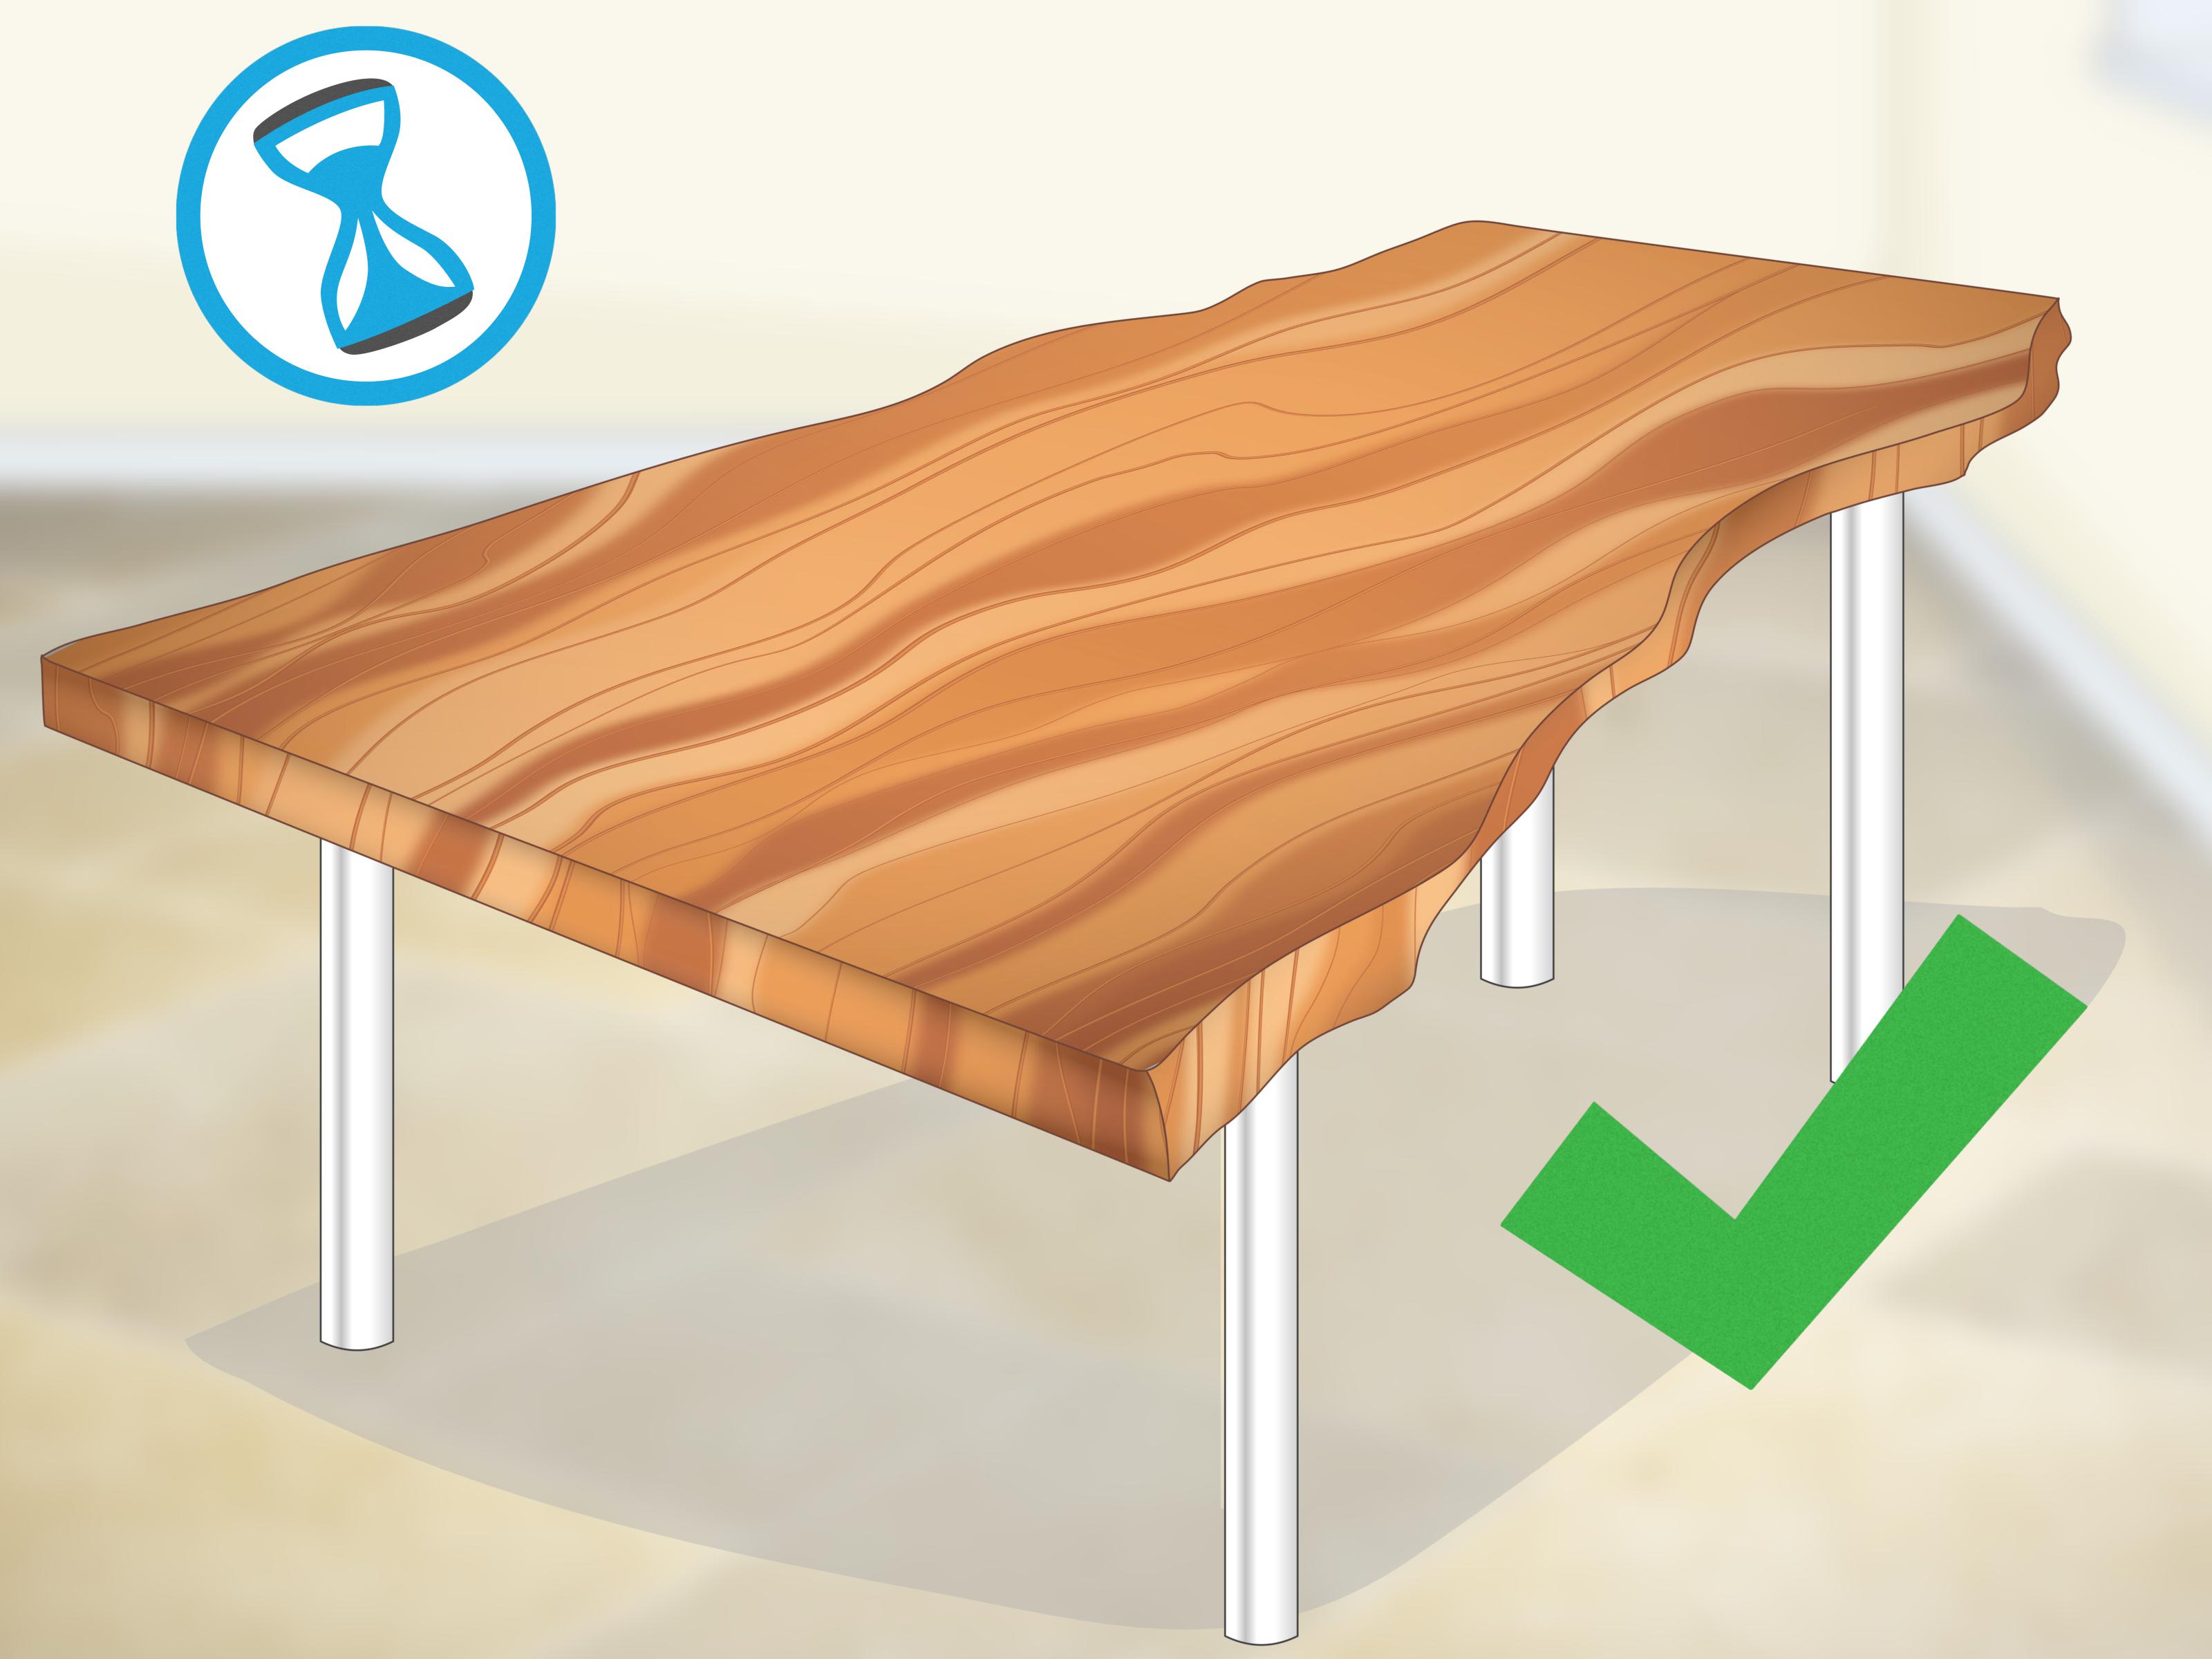
A live edge slab is the woodworking equivalent of a very attractive troublemaker. It looks dramatic, full of character, and wildly expensive once it lands in your dining room. It is also prone to rough bark, punky spots, thirsty end grain, surprise voids, and the occasional “why is there still sawmill grime in this crack?” moment. That is exactly why learning how to finish live edge slabs properly matters.
The good news is that finishing a slab is not mysterious. It just asks for a little more judgment than finishing a plain rectangular board. You are working with natural contours, uneven textures, and wood that wants to remind you it used to be a tree. If you respect that and choose the right finish for the slab’s real-life job, you can end up with a top that looks rich, feels smooth, and holds up beautifully.
This guide walks through the whole process, from cleaning and sanding to choosing the best topcoat. Whether you are finishing a walnut dining table, a maple desk, a floating shelf, or a smaller coffee table, the core approach is the same: stabilize what is loose, smooth what should feel smooth, preserve what makes the slab special, and do not drown the whole thing in glossy regret.
Why Finishing Live Edge Slabs Is Different
A normal tabletop has predictable edges, flat surfaces, and a polite willingness to behave. A live edge slab has texture, irregular grain, bark or cambium, voids, checks, and sometimes a dramatic crack that looks artistic right up until your coffee mug wobbles over it.
That means your finish has to do three jobs at once. First, it needs to protect the wood from moisture, fingerprints, spills, and everyday abuse. Second, it needs to highlight the figure and color that made you buy the slab in the first place. Third, it needs to preserve the edge’s natural shape without turning it into a crumbly dust trap.
In practice, that usually means spending more time on prep than beginners expect. That is not bad news. Prep is where the magic happens. Finishing is often sold as the glamorous final act, but the truth is less cinematic: the finish mostly reveals the work you already did. If the sanding is sloppy, the finish will lovingly spotlight every swirl mark like a museum curator with a laser pointer.
Before You Open the Finish Can
Check That the Slab Is Dry and Stable
If the slab is not dry enough for indoor use, no finish in the world will save you from movement, cupping, or fresh cracks later. A properly milled and dried slab is the best starting point. If you bought it from a reputable hardwood dealer, ask about moisture content and whether it was kiln-dried or thoroughly air-dried for interior furniture use. If you milled it yourself or bought it from “a guy with a chainsaw and confidence,” check it with a moisture meter before you go further.
You also want to inspect the slab for soft spots, loose bark, bug holes, crumbling sapwood, or old filler that is already failing. Finishing is not a substitute for fixing structural problems. It is more like good lighting: wonderful when the room is ready, cruel when it is not.
Decide Whether the Bark Stays or Goes
This is one of the biggest live-edge decisions. Many beautiful slabs are sold with bark attached, but bark is often the least stable part of the whole piece. If it is loose, brittle, or flaking, remove it. Do not try to trap bad bark under a heroic amount of finish and call it rustic. That is not rustic. That is delayed disappointment.
If the bark is solid and you truly want to keep it, stabilize only what is sound. Some woodworkers use thin CA glue or shellac to help secure loose areas. Others remove the bark but preserve the cambium layer or the edge’s natural contour for a cleaner, more durable look. For many furniture pieces, that bark-off, edge-preserved approach is the sweet spot.
Flatten, Clean, and Fill What Needs Filling
A slab top should be flat enough to function, even if the edge remains wild. If the faces are rough-sawn, flatten them with a planer, drum sander, router sled, or careful handwork before you think about finish. Remove grime from cracks with compressed air, a stiff brush, picks, or a vacuum.
Then decide what to do with voids and checks. Tiny cracks can often stay open if they are stable and you like the look. Larger voids usually need help. Clear or tinted epoxy is a common choice for stabilizing cracks and preserving a dramatic natural look. For some slabs, decorative bow ties plus epoxy work well. The important thing is to do the repair before final sanding, not after. Sanding cured filler flush is much easier than trying to blend it into a finished surface later.
How to Sand Live Edge Slabs Without Losing the “Live” Part
Sanding is where most slab projects become either refined and touchable or weirdly lumpy and overworked. Your goal is simple: flatten the faces, refine the edge, and remove scratches without erasing the slab’s personality.
Sand the Faces in a Logical Grit Progression
If the slab is rough, start coarse enough to remove milling marks. For rough-sawn faces or rough natural edges, that may mean 60- or 80-grit. For already-machined surfaces, 120 grit is often a better starting point. Then move up in a sensible progression: 120, 150, 180, and 220 are common stops for slab furniture. Going straight from 80 to 220 is like trying to go from pajamas to a tuxedo in one step. Technically ambitious, practically unwise.
If you plan to stain the slab, do not oversand. Very fine sanding can reduce stain absorption and create uneven color, especially on dense woods. For many hardwood slabs, stopping at 180 or 220 before stain is a smart range. If you are skipping stain and using a clear finish, 220 is a strong final grit for many projects.
Sand the Live Edge More Gently
The live edge needs a different touch than the flat surface. A soft sanding pad, flap wheel, contour sander, or careful hand sanding helps you follow the natural profile without flattening it into something lifeless. Work slowly. Remove splinters, dirt, loose fibers, and anything that feels unpleasant in the hand, but keep the natural undulations that make the slab special.
Also soften any sharp corners where the top meets the edge. Hard film finishes do not love knife-sharp corners, and neither do human thighs. A subtle eased edge improves durability and makes the piece feel more finished in the tactile sense, not just the visual one.
Clean the Dust Like You Mean It
After sanding, vacuum every surface, especially cracks, pores, and bark pockets. Then wipe the slab with the cleaner recommended for your finish, or use a clean lint-free cloth to remove the last dust. Most finishing disasters are less dramatic than people imagine. They are usually just dust, excess product, fingerprints, and impatience wearing fake mustaches.
How to Finish Live Edge Slabs Step by Step
Step 1: Choose the Right Finish for the Slab’s Job
Before you apply anything, answer one question honestly: what will this slab do all day?
If it is a decorative shelf, console, or occasional table, you can prioritize appearance and repairability. If it is a dining table, desk, or countertop, you need more protection from water, abrasion, and spills. Finish choice should follow function, not internet drama.
Step 2: Test on the Underside or an Offcut
Wood changes fast when finish hits it. Walnut gets deeper. Maple can warm up. Cherry starts plotting its future color shift immediately. Always test first. This matters even more if the slab has sapwood, filler, epoxy, or mixed grain that may react differently.
Step 3: Apply the First Coat Thinly
Whatever finish you choose, thin and even beats thick and hopeful. Wipe-on products should be worked into the wood and then wiped back so excess does not sit on the surface. Film finishes should be brushed or wiped in controlled, even coats. Flooding a slab does not make you efficient. It makes you the future owner of drips, gummy spots, and language your shop walls do not deserve.
Pay special attention to end grain and the live edge. Those areas often absorb finish faster than the faces. You may need to work them a little more carefully to keep the appearance even.
Step 4: Let the Coat Dry Properly
Dry time depends on the product, temperature, humidity, and how heavy-handed you were with the first coat. Follow the can, not your optimism. Some hardwax oils are ready for another step in about a day, while wipe-on polyurethane often calls for multiple thin coats with light sanding between them. Full cure usually takes longer than “dry to the touch,” which is why touching a slab and declaring victory is one of woodworking’s oldest emotional support habits.
Step 5: Scuff-Sand or Buff Between Coats When Needed
If your finish system requires it, lightly sand or buff between coats to improve adhesion and smooth out dust nibs. Use a fine grit or nonwoven pad, stay gentle, and clean the dust thoroughly afterward. The mission is refinement, not demolition.
Step 6: Build to the Sheen and Protection You Want
Two or three thin coats may be enough for a natural-look oil system on lighter-duty furniture. A heavier-use tabletop may need more build if you are using a wiping varnish or polyurethane. Stop when the surface looks even, feels smooth, and suits the project. More finish is not always better. Sometimes it just means your beautiful slab starts looking like it was laminated in maple-flavored candy shell.
The Best Finishes for Live Edge Slabs
Hardwax Oil
Hardwax oil is a favorite for live edge slabs because it keeps the wood looking natural rather than plasticky. It tends to enrich color, leave a low-sheen hand-rubbed look, and is easier to spot-repair than many film finishes. It is especially appealing for desks, shelves, side tables, and people who want to feel wood instead of a thick coating.
The tradeoff is maintenance. Some hardwax oil products are explicitly sold as maintenance finishes, which means they may need refreshing over time. That is not a flaw; it is part of the deal. You get beauty and easy repair, but not the “ignore me for a decade while spilling iced coffee” level of protection that some film finishes offer.
Wipe-On Polyurethane or Wiping Varnish
If the slab will see regular meals, laptops, water glasses, homework, elbows, and the occasional panicked scrub after taco night, wipe-on polyurethane or a wiping varnish is a very practical choice. It builds more protection, resists water and wear better than simple oil and wax finishes, and is accessible for DIY application.
The downside is time. You usually need multiple coats, light sanding between them, and a reasonably clean environment. It also creates more of a film on the surface. Done well, that film can still look elegant. Done poorly, it looks like sadness with dust nibs.
Shellac Plus Oil or a Traditional Warm Finish
If you love a warm, slightly amber, furniture-maker look, shellac followed by oil can be beautiful on a decorative slab table. It is especially appealing when the goal is depth and glow rather than maximum chemical resistance. This approach is less about brute-force protection and more about character.
Tung Oil and Food-Contact-Safe Oils
For serving boards, butcher-block-style surfaces, or specialty projects where food contact matters, use only a product specifically identified for that purpose. Pure tung oil and certain food-contact-safe oils can be appropriate depending on the product and application. Read the label carefully. “Natural” is not a technical standard, and “my neighbor swears by it” is not a certification.
Epoxy as a Filler or a Full Look
Epoxy is excellent for filling voids, stabilizing cracks, and preserving dramatic features that would otherwise collect crumbs or continue to break down. A full epoxy flood coat is more of a style choice. It can create a glossy, bar-top effect, but it also changes the look dramatically. On a gorgeous slab with fantastic figure, many woodworkers prefer epoxy in the cracks and a more natural finish everywhere else.
Common Mistakes to Avoid
- Keeping loose bark just because it looks cool: if it is not solid, it is temporary.
- Skipping grit steps: deep scratches do not disappear because you believe in them less.
- Oversanding before stain: the wood can take color unevenly or too lightly.
- Applying heavy coats: thick finish dries slower and causes more defects.
- Ignoring the underside: finishing both sides helps the piece respond more evenly to moisture changes.
- Using the wrong finish for the use case: a decorative oil finish on a hard-working dining table may lead to regret.
- Rushing cure time: “dry” is not always “ready for a stack of pizza boxes.”
How to Match the Finish to the Project
For a live edge dining table, a durable wiping varnish or polyurethane often makes the most sense. For a desk or coffee table where repairability and natural feel matter, hardwax oil is a strong choice. For a shelf, console, or decorative slab where you want rich figure and a hand-rubbed look, oil-heavy systems can be gorgeous. For food-contact surfaces, use only finishes specifically suited to that purpose.
In other words, there is no single best finish for every live edge slab. There is only the best finish for your slab, your taste, and the way people in your house actually behave around furniture. If that behavior includes wet planters, forgotten coasters, and one family member who treats every surface like a cutting board, choose accordingly.
Experience Section: What Finishing a Live Edge Slab Actually Feels Like in Real Life
The first real experience many people have with a live edge slab is surprise. The slab looked smooth enough in the lumberyard, but back in the shop it suddenly reveals tiny saw marks, fuzzy grain around the edge, dust-packed crevices, and a crack that seems to have appeared out of thin air. That is normal. Live edge slabs almost always ask for more prep than expected. The mistake is not discovering that. The mistake is getting impatient and deciding the finish will somehow hide it. It will not. It will magnify it with the confidence of a reality TV close-up.
Another common experience is the emotional roller coaster of sanding. At first, sanding feels productive. Then it feels repetitive. Then it feels suspiciously like you are learning life lessons from a plank. But there is a point when the slab starts to become tactile in a new way. The flat face feels calm, the edge feels intentional, and the whole piece stops feeling like raw lumber and starts feeling like furniture. That moment is worth the dust in your eyebrows.
People also tend to underestimate how different the live edge behaves from the main field of the slab. The face might sand quickly and predictably, while the edge demands slower, more thoughtful work. One pass too aggressive and you erase a nice contour. Too timid, and it still feels shaggy. The best results usually come when you stop trying to make the edge perfect and start trying to make it pleasant. Pleasant to touch, pleasant to clean, pleasant to live with. That is a much smarter goal than sterile perfection.
Then there is the finish itself, which tends to produce one of two reactions. Hardwax oil users often have the “oh wow, that looks like wood, only better” moment. Polyurethane users often have the “okay, this is more work, but this thing is going to survive dinner” moment. Both are valid. The project tells you which one matters more. The funny part is that nearly everyone becomes deeply philosophical after the first coat. Suddenly the slab is “revealing its figure” and “celebrating natural character.” Two hours earlier, that same person was angrily vacuuming bug dust out of a void with a dental pick.
Finally, the most useful real-world experience is learning restraint. New slab owners often want to fill every crack, polish every ripple, and coat every inch until it glows like a bowling alley. Experienced woodworkers usually move the other direction. They stabilize what needs stabilizing, refine what needs refining, and leave enough of the slab’s natural irregularity intact that it still feels honest. A great finished live edge slab does not look manufactured into submission. It looks like nature and craft shook hands and decided to make a table.