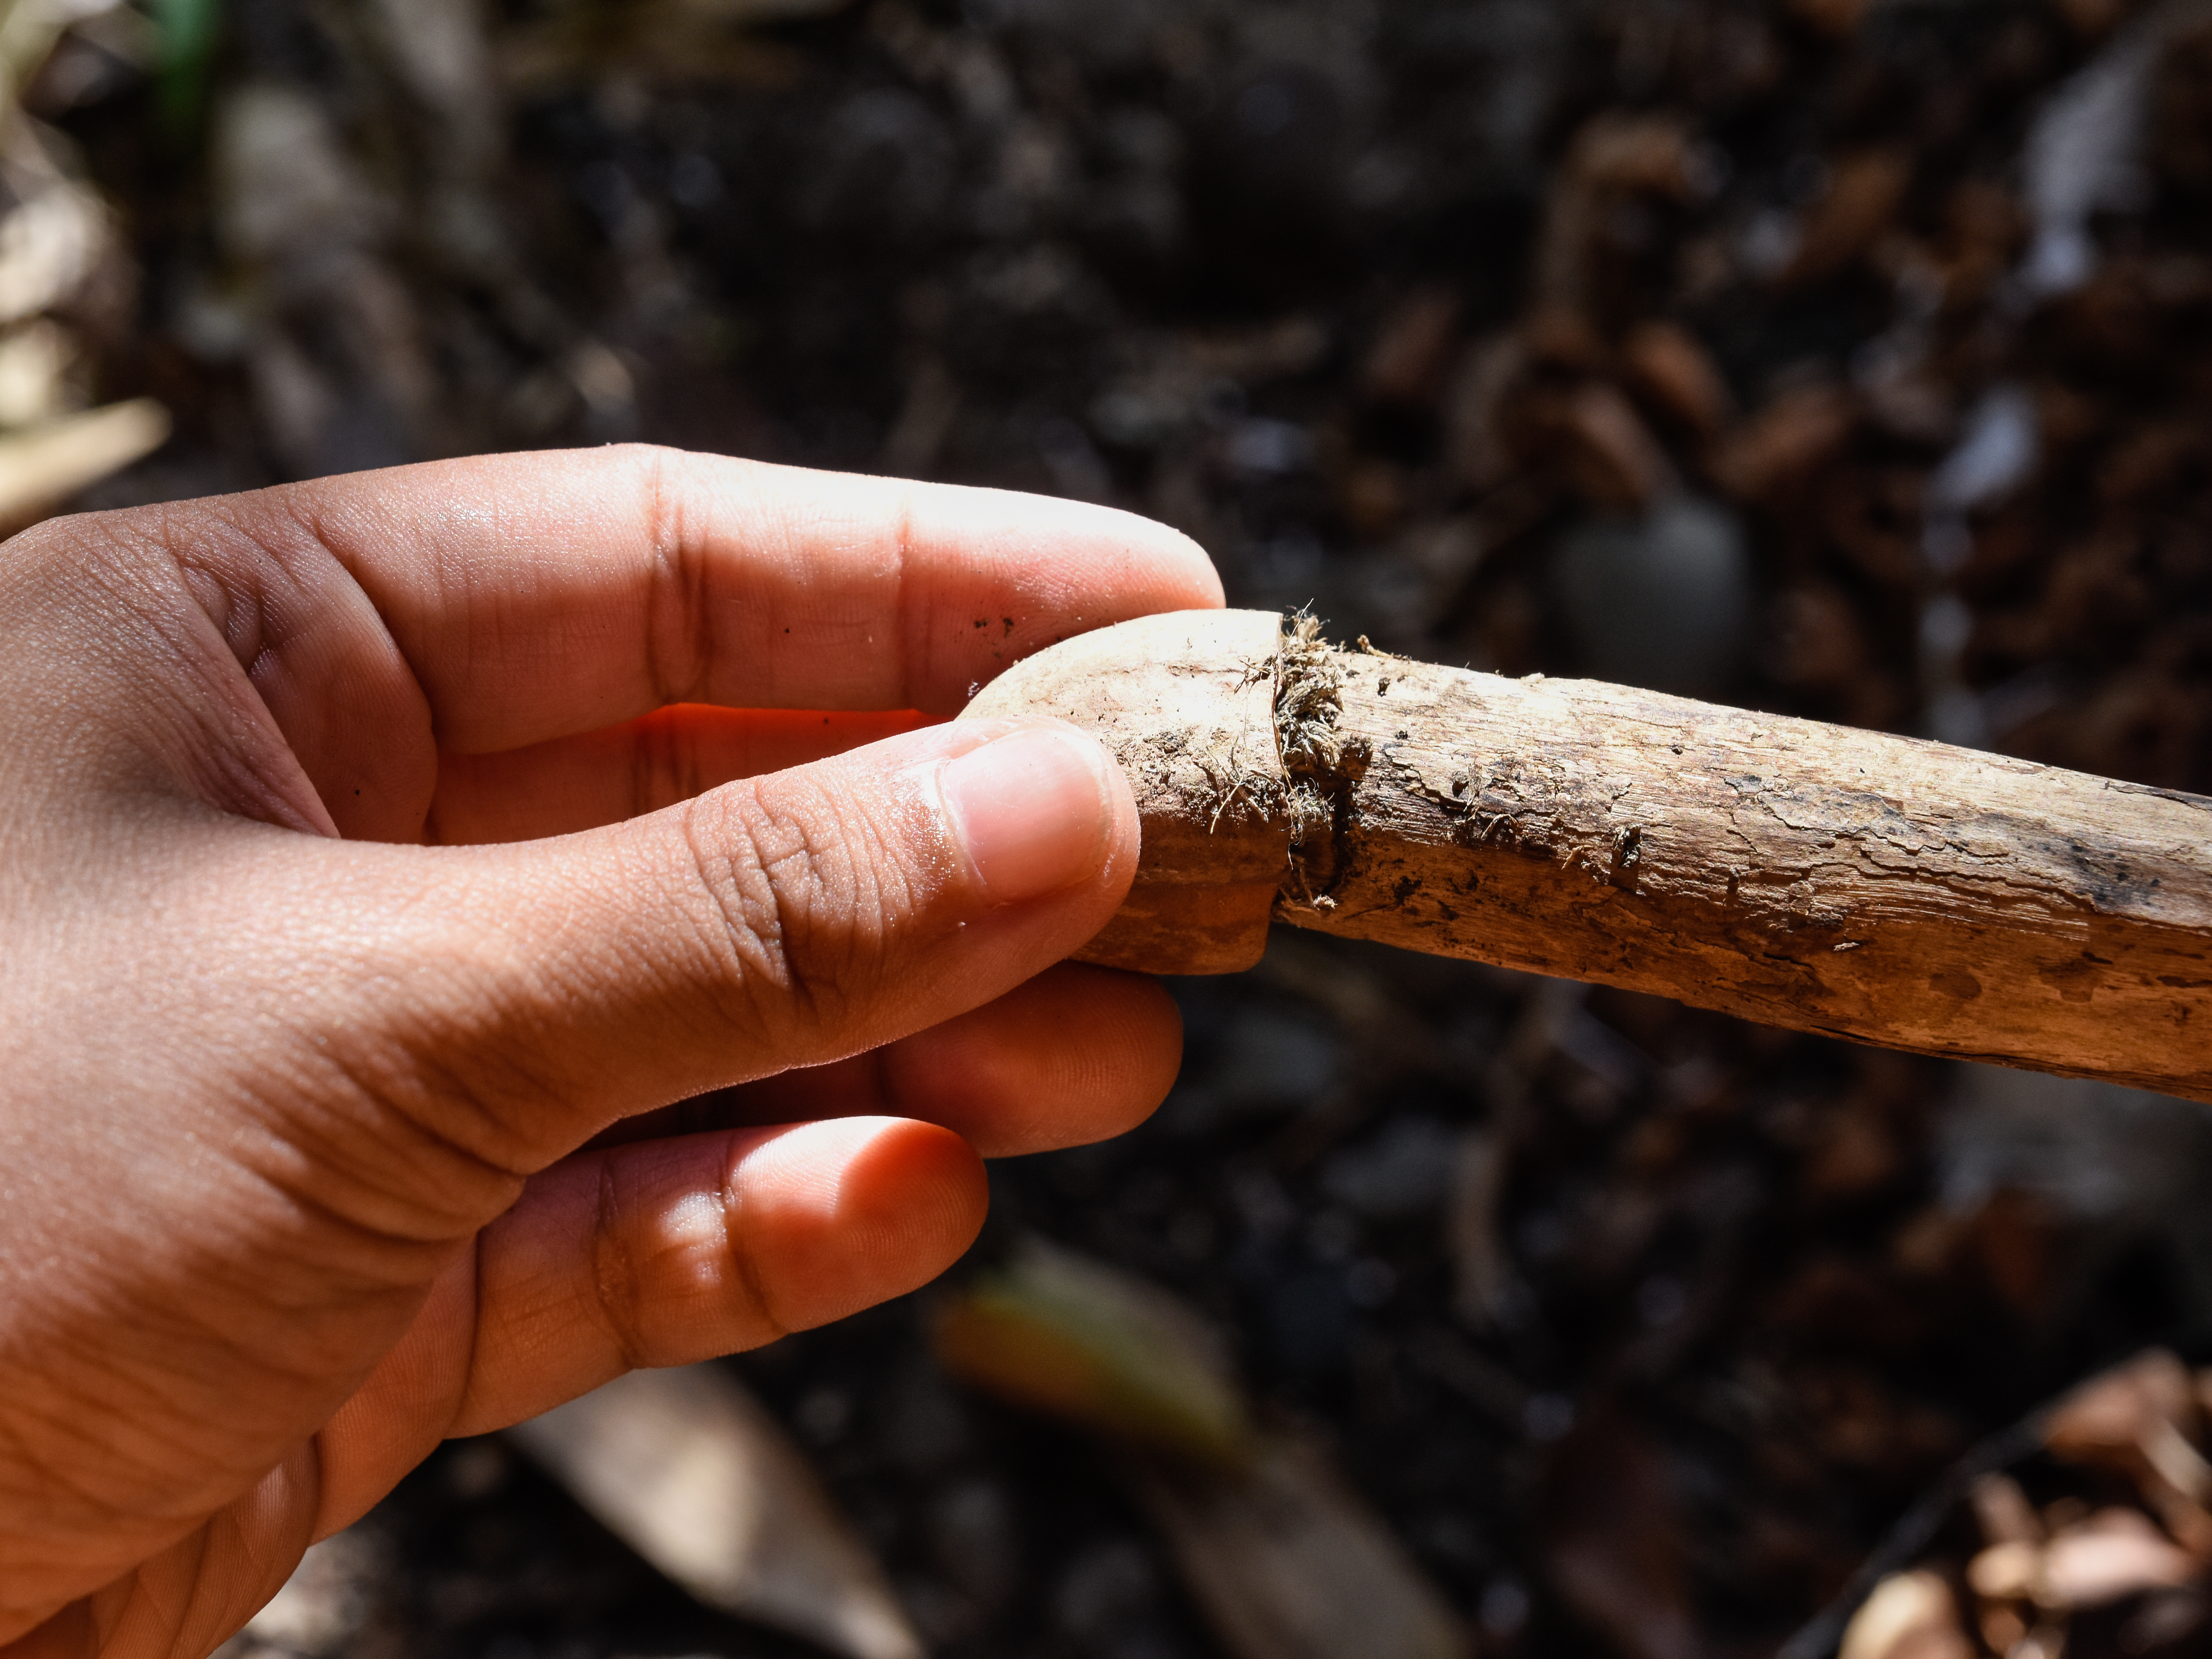
A good walking stick is more than a branch with ambition. It is a hiking helper, a balance booster, a conversation starter, and, if you make it well, the only piece of outdoor gear that can look rugged, elegant, and slightly wizard-like at the same time. Whether you want a simple hiking staff for weekend trails or a handmade wooden walking stick as a personal woodworking project, the process is surprisingly approachable.
The secret is patience. A walking stick should be straight enough to support you, smooth enough to hold comfortably, strong enough to survive rocky paths, and finished well enough to handle sweat, dirt, sun, and the occasional dramatic tap on the porch. You do not need a professional woodshop to make one. You need the right piece of wood, a few basic tools, safe work habits, and a willingness to sand longer than your impatient brain thinks is necessary.
In this guide, you will learn how to make a walking stick in eight clear steps, from choosing the best wood to adding a protective finish and trail-ready tip. We will cover sizing, drying, bark removal, shaping, sanding, staining, sealing, grip options, maintenance, and real-world lessons from using homemade walking sticks outdoors.
Why Make Your Own Walking Stick?
Buying a trekking pole is easy. Making a walking stick is personal. A homemade walking stick can be sized to your hand, shaped to your walking style, decorated with carvings or paint, and finished to match your taste. It can also be cheaper than many commercial hiking poles, especially if you already have basic tools.
More importantly, making one teaches you to notice wood. You start looking at branches differently. A fallen limb becomes potential. A straight sapling becomes a future hiking companion. Before you know it, you are judging sticks in the yard like a talent-show panel. “Good grain, nice taper, strong posture, questionable attitude.”
Tools and Materials You Will Need
For a beginner-friendly walking stick, gather these supplies before you begin:
- A straight hardwood branch or sapling, ideally 1 to 1.5 inches thick
- Hand saw or pruning saw
- Sharp knife, drawknife, or wood carving knife
- Work gloves and safety glasses
- Sandpaper in multiple grits, such as 80, 120, 180, and 220
- Wood stain, tung oil, linseed oil, polyurethane, or spar urethane
- Clean rags or foam brush
- Rubber cane tip, ferrule, or metal hiking tip
- Optional: paracord, leather wrap, wood burner, drill, lanyard, or decorative beads
Safety matters. When cutting, carving, or sanding, protect your eyes from chips and dust. When applying finishes, work in a well-ventilated area and follow the product label. The goal is to make a walking stick, not accidentally become a cautionary tale in a garage.
How to Make a Walking Stick: 8 Steps
Step 1: Choose the Right Wood
The best walking stick starts with the right wood. Look for a branch or sapling that is straight, sturdy, and free from major cracks, rot, insect holes, or weak spots. Hardwoods are usually better than softwoods because they offer more strength and durability. Popular choices include hickory, ash, oak, maple, beech, black walnut, cherry, and osage orange.
Hickory and ash are excellent choices for strength and shock resistance. These woods have long been used for tool handles, which tells you something: if a wood can survive being swung as a hammer handle, it can probably handle your weekend hike. Oak and maple are also dependable, though they may be heavier. Cherry and walnut are beautiful and easier to finish smoothly, but choose thicker pieces if you want extra durability.
Avoid rotten wood, overly curved pieces, brittle dead branches, or anything that feels spongy. A walking stick should flex slightly under pressure but should not feel like it is negotiating whether to snap.
Also, collect responsibly. On public lands, parks, and protected areas, rules may restrict removing natural objects. When in doubt, use wood from your own property, ask a landowner for permission, or buy a prepared walking-stick blank.
Step 2: Cut the Stick to the Right Length
Length depends on how you plan to use the stick. For a traditional walking stick, a good starting point is wrist height when your arm hangs naturally at your side. For a hiking staff, many people prefer a slightly longer stick, often around shoulder height or high enough to help with balance on slopes and stream crossings.
A practical fitting method is the elbow test. Stand upright, place the stick tip on the ground near your foot, and hold the stick where your hand naturally rests. Your elbow should bend close to 90 degrees for general walking. If you hike steep descents often, a longer staff can be helpful. If you mainly walk on flat sidewalks, shorter is usually more comfortable.
Cut the stick a little longer than your final target length. You can always trim more later, but you cannot politely ask sawdust to become a branch again.
Step 3: Dry and Season the Wood
If you cut green wood, let it dry before finishing. Fresh wood contains moisture, and as that moisture leaves, the wood can shrink, check, warp, or crack. Drying time depends on species, thickness, climate, and storage conditions, but a common rule of thumb is about one year of drying per inch of diameter. Denser woods and thicker pieces may need longer.
To reduce cracking, store the stick in a dry, shaded, ventilated area. Avoid baking it in direct sun or placing it near a heater. Slow drying is usually better than fast drying. Some makers seal the cut ends with wax, paint, or end-grain sealer to slow moisture loss and reduce checking.
If you find a dry fallen branch that is already solid and sound, you may be able to begin sooner. Still, inspect it carefully. Dead wood can be excellent, but dead, punky wood is basically compost with dreams.
Step 4: Remove Bark or Decide to Keep It
Next, decide whether you want to remove the bark. Removing bark gives the walking stick a clean, polished look and makes it easier to sand, stain, and seal. It also helps you spot hidden cracks or insect damage. Use a sharp knife, drawknife, or even a sturdy vegetable peeler for thin bark. Always cut away from your body and keep your hands behind the blade.
Leaving bark on can create a rustic appearance, especially on woods with attractive natural texture. However, bark can loosen over time, trap moisture, or flake under finish. If you keep the bark, make sure it is tight and stable. Lightly clean it, remove loose pieces, and seal it thoroughly with a compatible clear finish.
For most beginners, removing the bark is the easier route. It gives you more control and usually produces a smoother, longer-lasting walking stick.
Step 5: Straighten, Shape, and Smooth the Shaft
Once the bark is removed, shape the stick. Trim off knots, sharp bumps, and branch stubs. Do not remove every natural feature; character is part of the charm. A little curve or knot can make the stick look handcrafted instead of factory-perfect. The trick is to remove anything that catches your hand, weakens the shaft, or looks like it is waiting to snag your jacket.
If the stick has a slight bend, you can sometimes straighten it gently with steam or careful heat, then clamp it straight while it cools and dries. This is optional. A walking stick does not need to be laser-straight, but it should feel balanced.
Shape the top so it feels good in your palm. You can round it, carve a knob, flatten it slightly, or add a separate handle. For a simple hiking staff, a rounded top is usually enough. For a cane-style walking stick, you may want a more ergonomic handle, but that requires extra planning and stronger joinery.
Step 6: Sand the Walking Stick
Sanding is where a rough branch becomes a finished walking stick. Start with coarse sandpaper, such as 80 grit, to remove tool marks and rough spots. Move to 120 grit, then 180, and finish with 220 grit for a smooth surface. Sand with the grain whenever possible. Around knots and curves, take your time and use flexible sandpaper or sanding pads.
Do not jump straight from rough shaping to fine sandpaper. Fine grit cannot erase deep scratches efficiently; it mostly polishes them and makes them look smug. Work through the grits gradually.
After sanding, wipe the stick with a slightly damp cloth to raise the grain. Let it dry, then sand lightly again with 220 grit. This extra step makes the final finish smoother, especially if the stick will be exposed to moisture.
Step 7: Stain, Seal, or Oil the Wood
Now protect the wood. You have several good finishing options:
- Oil finish: Tung oil or boiled linseed oil enhances the grain and gives a natural feel. It may need occasional reapplication.
- Wipe-on polyurethane: Durable, easy to apply, and beginner-friendly.
- Spar urethane: A strong choice for outdoor use because it is designed to resist moisture, sunlight, and temperature changes.
- Stain plus clear coat: Useful if you want a darker or more dramatic color.
- Wax: Smooth and pleasant in the hand, but less protective by itself for heavy outdoor use.
Apply thin coats. Thick coats can drip, wrinkle, or make the stick feel plasticky. Let each coat dry according to the product directions, then sand lightly between coats if recommended. Two to four coats are usually enough for a walking stick that will see real trail use.
For grip comfort, avoid building a heavy glossy finish exactly where your hand rests. A satin or hand-rubbed finish often feels better than a glassy surface, especially when your palm gets sweaty on a summer hike.
Step 8: Add a Tip, Grip, and Personal Details
The bottom of the walking stick takes the most abuse. Add a rubber cane tip for sidewalks, boardwalks, and hard surfaces. For rocky or muddy trails, consider a metal ferrule or combination hiking tip. A tip protects the wood from splitting and improves traction. Measure the diameter of the stick end before buying a tip so it fits snugly.
You can also add a grip. Wrap the hand area with leather lace, paracord, athletic tape, or waxed cord. A paracord wrap gives extra texture and emergency cordage. Leather looks classic and feels warm. If you prefer the feel of wood, simply sand and finish the grip area carefully.
Finally, decorate your walking stick. Burn in trail names, carve initials, add small symbols, paint bands, attach a lanyard, or mark each big hike with a small notch. Keep decorations practical. Anything sharp, loose, or bulky will become annoying faster than a mosquito inside a tent.
Best Woods for a Homemade Walking Stick
The “best” wood depends on your priorities. If strength is your top concern, choose hickory, ash, oak, or osage orange. If beauty matters most, consider cherry, walnut, maple, or birch. If weight is a concern, look for a straight piece that is strong but not oversized. A walking stick that feels heroic in the garage can feel like a medieval weapon by mile four.
Here is a simple guide:
- Hickory: Extremely tough, strong, and shock-resistant.
- Ash: Strong, flexible, and traditionally used for handles.
- Oak: Durable and attractive, though sometimes heavy.
- Maple: Smooth, hard, and widely available.
- Cherry: Beautiful color and easy finishing.
- Walnut: Rich color, elegant appearance, and good workability.
- Osage orange: Very durable and naturally striking, but harder to work.
Common Mistakes to Avoid
Using Weak or Rotten Wood
A walking stick must support weight and absorb impact. If the wood has rot, deep cracks, insect tunnels, or a hollow center, choose another piece.
Skipping the Drying Stage
Finishing green wood too soon can trap moisture and lead to cracks, cloudy finish, or peeling. Give fresh wood time to season.
Making the Stick Too Short
A stick that is too short can force you to lean forward. Test the length before final trimming.
Over-Sanding the Character Away
Smooth is good. Soulless is optional. Keep attractive knots, curves, and grain patterns when they do not affect comfort or strength.
Ignoring the Tip
A bare wooden end wears down quickly. A rubber tip or ferrule makes the walking stick safer and longer-lasting.
How to Use a Walking Stick on the Trail
Use your walking stick on the side opposite your weaker or more tired leg, or switch sides as needed. On uphill sections, plant the stick ahead of you to help push upward. On downhill sections, place it slightly ahead and downhill for stability. When crossing shallow streams, use the stick as a third point of contact, but test rocks carefully because wet surfaces can be slippery.
Be considerate on trails. Place your stick on durable surfaces when possible, avoid damaging fragile vegetation, and use a rubber tip on surfaces that can be scratched. A walking stick should help you enjoy nature, not autograph every rock like an overexcited celebrity.
Maintenance Tips for a Long-Lasting Walking Stick
After muddy hikes, wipe the stick clean and let it dry indoors. Do not store it wet in a car trunk or damp shed. Check the tip regularly and replace it when worn. If the finish looks dry or scuffed, lightly sand the surface and apply another thin coat of oil or clear finish.
Inspect the stick before serious hikes. Look for cracks, loose wraps, splinters, or tip damage. A homemade walking stick can last for years, but only if you treat it like useful gear rather than a disposable branch.
Frequently Asked Questions
How thick should a walking stick be?
Most walking sticks work well at about 1 to 1.5 inches thick. Smaller sticks may be too flexible, while larger sticks can become heavy. Choose a size that fits your hand comfortably and feels stable under pressure.
Should I remove the bark from my walking stick?
For beginners, yes. Removing bark makes sanding and finishing easier. If you keep the bark, make sure it is firmly attached and seal it well.
Can I make a walking stick from green wood?
Yes, but you should let it dry before final sanding and finishing. Green wood can shrink, crack, or warp as it seasons.
What is the best finish for a walking stick?
For a natural feel, use tung oil or boiled linseed oil. For more protection, use wipe-on polyurethane or spar urethane. Outdoor walking sticks benefit from moisture-resistant finishes.
Can a walking stick replace a medical cane?
A handmade walking stick can help with balance during casual walking or hiking, but it is not automatically a medical mobility device. If you need support for injury, disability, or fall prevention, consult a medical professional and use a properly fitted cane.
Real-World Experience: What Making a Walking Stick Teaches You
The first thing you learn while making a walking stick is that wood has opinions. You may begin with a perfect plan: straight shaft, smooth handle, rich finish, tasteful grip. Then the wood reveals a hidden knot, a stubborn curve, or a patch of grain that refuses to sand evenly. This is not failure. This is the project reminding you that handmade objects are conversations, not commands.
One of the best experiences is finding the right stick in the first place. A walk through the yard, a farm path, or a pile of storm-fallen branches suddenly becomes a treasure hunt. You start noticing which branches feel too light, which ones have better taper, and which ones look strong enough to trust. When you finally find a solid piece of ash, hickory, oak, or maple, it feels less like picking up scrap wood and more like discovering the beginning of a small adventure.
Drying the stick teaches patience. This is often the hardest part because beginners want to carve, sand, stain, and show off the finished piece immediately. But wood that dries slowly tends to behave better. Leaving it in a shaded, ventilated corner for months may not be exciting, but it gives the stick a better chance of staying straight and crack-free. Think of it as sending your branch to finishing school.
Carving and sanding teach attention. At first, you may focus only on appearance. Then you hold the stick for a while and realize the grip area matters more than the dramatic knot halfway down the shaft. A tiny ridge can annoy your palm. A sharp branch stub can catch your sleeve. A beautiful curve can throw off balance if it sits in the wrong place. The best walking stick is not always the prettiest one on the workbench; it is the one your hand likes after ten minutes of use.
Finishing teaches restraint. A heavy glossy coat may look impressive indoors, but outdoors it can feel slippery or artificial. Thin coats usually win. Oil brings out the grain and keeps the wood feeling alive. Polyurethane or spar urethane adds protection when the stick will meet rain, mud, and trail dust. The trick is choosing a finish for how the stick will actually be used, not just how it will look in a photo.
Using the finished walking stick is the reward. On flat ground, it settles into a rhythm. On hills, it becomes a quiet assistant. Near streams, it tests depth and steadies your step. On long walks, it gives your hands something useful to do besides checking your phone. Best of all, every scratch becomes part of the story. A store-bought pole gets damaged; a handmade walking stick earns character.
After making one, you may want to make another. That is normal. Walking sticks are oddly addictive. One becomes the “trail stick,” another becomes the “porch stick,” and a third becomes the “I made this one because the grain looked cool” stick. Soon you may have a corner full of them, and visitors will ask if you are starting a hiking club or preparing for wizard certification. Either answer is acceptable.
Conclusion
Learning how to make a walking stick is a satisfying project because it combines woodworking, outdoor practicality, and personal style. The process is simple: choose strong wood, cut it to the right length, let it dry, remove or secure the bark, shape it, sand it smooth, apply a protective finish, and add a durable tip. Each step improves comfort, safety, and longevity.
A homemade walking stick does not need to be perfect. In fact, the small irregularities are often what make it special. A curve, knot, carved mark, or hand-wrapped grip can turn a plain stick into a trail companion with personality. Make it strong, make it smooth, make it comfortable, and then take it outside where it belongs.