Every workshop has “the pile.” You know the one: a leaning tower of plywood offcuts you’re definitely going to use someday
(right after you finish the other 47 projects you also definitely started). Here’s the good news: plywood scraps are basically
the overachievers of the scrap worldstable, strong, and happy to become anything from a drill holder to a toy box.
This guide rounds up 25+ plywood scrap projects you can actually knock outmany in an afternoonplus the practical
know-how that keeps your builds looking intentional instead of “I swear it’s rustic.” Expect smart categories, real-use examples,
and plenty of ideas that help you use what you already own.
Before You Build: The 3-Minute Scrap Test
Not every offcut deserves a second chance. Run each piece through this quick check so you don’t waste time (or glue) on doomed plywood.
- Delamination check: Look for lifted plies on edges. If layers are separating, that piece becomes a paint stirrer… or firewood.
- Moisture & warp check: Plywood is stable, but water damage turns “sturdy” into “soggy lasagna.” Skip anything swollen.
- Hardware check: Pull staples/nails and scan for hidden screws. Your saw blade will appreciate the kindness.
- Square it up: If an offcut has weird angles, trim one clean reference edge first. One straight edge makes everything easier.
Choosing the Right Plywood Scrap for the Job
Plywood isn’t one materialit’s a whole family. The type and thickness determine what your scrap can do well.
Quick thickness cheat sheet
- 1/4 in. (6 mm): Drawer bottoms, back panels, light organizers, templates, wall art, toy parts.
- 1/2 in. (12 mm): Small shelves, sturdy bins, jigs, shop organizers, smaller furniture parts.
- 3/4 in. (18 mm): Workbench accessories, French cleats/tool holders, load-bearing shelves, cabinets, toy boxes.
Where plywood shines (and where it doesn’t)
Plywood is strong because its layers alternate grain direction, which helps it resist warping and twisting. That makes it fantastic
for cabinets, organizers, and jigs. But edges can look rough, and cheap plywood can splinter. If a project will be handled a lot
(like a tray or toy), choose your nicer scrapsor plan to paint.
Make Plywood Look “Finished” (Even When It’s Scrap)
The secret to making scrap plywood projects look professional is almost always the edge. Use one of these approaches:
- Edge banding: Best for furniture and shelves when you want a clean wood look.
- Face frame / edge strip: Great for thicker, stronger edges on shelving and cabinets.
- Fill and paint: Wood filler + sanding + paint is the fastest route to “wow, you made that?”
Pro tip: If your plywood has voids in the edge (common in construction-grade), fill them before sanding. Otherwise you’ll sand forever,
and the void will still be there, smugly laughing.
25+ Plywood Scrap Projects (Grouped by What You Need)
Below are more than 25 ideas you can build with leftover plywood. For each, you’ll see what it’s good for and why it’s a smart use of scraps.
Mix-and-match, scale up, or treat them like LEGO instructions for grown-ups.
Shop upgrades you’ll use constantly
- French cleat wall panel (3/4 in.) The ultimate “everything has a home” system. Make cleats from long strips, then build holders from smaller scraps.
- Drill/driver dock (3/4 in.) A simple shelf with slots/holes keeps drills upright and chargers off the bench.
- Clamp rack (1/2–3/4 in.) A strip with notches becomes instant clamp storage. Add a lower lip to keep them from sliding off.
- Sandpaper organizer (1/4–1/2 in.) Build vertical dividers for grits. Label it so 120 and 220 stop pretending they’re the same.
- Router bit tray (3/4 in.) Drill a grid of holes and label them. Suddenly your bits look like a collection, not a scavenger hunt.
- Painter’s pyramid blocks (3/4 in.) Cut triangles or “point blocks” so you can paint both sides of small parts with minimal sticking.
- Magnetic tool strip backer (1/2 in.) Mount magnets to plywood, then mount plywood to studs. Cleaner and sturdier than sticking magnets to drywall.
- Bench hook / shooting board (3/4 in.) A small plywood base with a fence helps you saw or chisel safely and accurately.
- Zero-clearance cutting support (1/4–1/2 in.) Clamp a scrap under your circular-saw guide for cleaner cuts and less tear-out.
- Glue-up clamping blocks (3/4 in.) Custom blocks help clamp odd shapes and prevent dents in your workpiece.
- Panel-cutting sled (table saw) (1/2–3/4 in.) A sled improves safety and accuracy when crosscutting larger panels.
- “Exact-width dado” router jig (1/2 in.) Build a guide jig that matches your plywood’s real thickness, not the number printed on the label.
- Circle-cutting jig (1/4–1/2 in.) A simple pivot jig lets you route clean circles for round shelves, lazy Susans, or signs.
Home organization (small builds, big payoff)
- Key and mail organizer (1/2 in.) Add hooks, a small shelf, and a slot for mail. Entryway chaos instantly decreases by at least 63%.
- Floating shelves (1/2–3/4 in.) Use plywood scraps for simple box shelves; edge-band or paint for a finished look.
- Remote-control caddy (1/4–1/2 in.) A small divided box ends the “where’s the remote?” nightly ritual.
- Charging station (1/2 in.) Add slots for devices and drill pass-through holes for cords. Make it shallow so it doesn’t become a junk drawer with electricity.
- Drawer dividers (1/4 in.) Rip strips, notch them, and slide together for customizable drawer grids.
- Under-sink slide-out shelf (3/4 in.) Build a shallow tray and mount it on inexpensive slides for easy access to cleaners.
- Closet shoe cubbies (1/2 in.) Create a honeycomb grid for shoes using notched strips. Paint it and it looks store-bought.
- Pantry can risers (1/2 in.) Tiered shelves help you see what’s in the back before it hits its expiration date.
- Small bookcase (3/4 in.) A compact plywood bookcase is a great “real furniture” project that still works with scraps if you have enough panel area.
Kitchen and entertaining (because plywood can be classy)
- Serving tray (1/2 in.) Add handles and a raised rim. Seal thoroughly for durability and easy wipe-down.
- Napkin holder (1/2 in.) Two sides + base + a simple weight bar. Fast, giftable, and way more satisfying than scrolling.
- Recipe stand / tablet stand (3/4 in.) A grooved base holds a cookbook or tablet at a comfortable angle.
- Breakfast-in-bed lap desk (1/2–3/4 in.) Add folding legs or a simple pillow base. Bonus: doubles as a laptop desk.
Note: For heavy knife cutting surfaces, hardwood is typically preferred. If you make kitchen items from plywood, choose quality plywood and apply a food-safe finish where appropriate.
Kids’ projects and gift builds
- Toy box / storage bench (3/4 in.) A plywood box with a lid becomes storage + seating. Add slow-close hinges for safety.
- Simple modern dollhouse (1/2 in.) Minimal shapes, lots of creativity. Paint the interior rooms or add tiny wallpaper.
- Plywood puzzle board (1/4–1/2 in.) Cut shapes (letters, animals), sand edges smooth, and finish with kid-safe paint.
- Match-and-stack blocks (3/4 in.) Cut squares/rectangles, round edges, and paint patterns. Great for motor skills and for using tiny scraps.
- Toy car garage (1/2 in.) Layer “ramps” and platforms. Add side rails so cars don’t launch into low orbit.
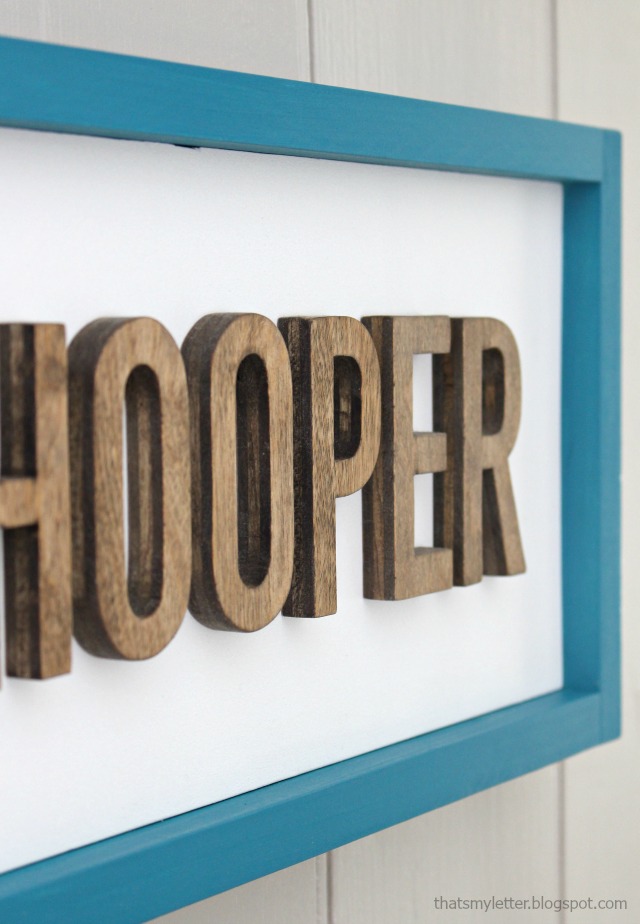
- Name sign / bedroom plaque (1/2 in.) Cut a simple shape and add raised letters. Paint makes plywood edges disappear.
Decor and outdoor projects (use exterior-grade scraps if possible)
- Geometric wall art (1/4–1/2 in.) Arrange triangles/strips into a pattern. Stain different tones or paint bold colors.
- Picture ledge (1/2 in.) A narrow shelf with a front lip displays frames without needing a million nail holes.
- Planter box sleeve (1/2 in.) Build a decorative outer box around a plastic pot. Seal well if it’ll see water.
- Birdhouse (simple box style) (1/2 in.) Keep it basic, add drainage holes, and use an exterior finish if it’ll live outside.
- House-number plaque (3/4 in.) Paint, stencil, and mount numbers. Add a small shelf for a mini plant if you’re feeling fancy.
How to Get Cleaner Cuts on Small Plywood Pieces
Scrap plywood projects can get frustrating when small parts splinter or shift. A few habits make a huge difference:
- Support the cut: Use a sacrificial backer board under thin plywood and clamp your work so it can’t vibrate.
- Mind the tear-out: Painter’s tape over the cut line can reduce splintering on the top veneer. A sharp blade matters even more.
- Cut big, then trim: Rough cut slightly oversized, then bring to final size with a fence, sled, or guide for accuracy.
- Label thickness: Plywood is often “nominal.” Mark actual thickness on scraps so dados and grooves fit right later.
Finishes That Work Well on Scrap Builds
The finish depends on how the project will be used:
- Paint: Best for mixed-quality scraps and fast “edge hiding.” Prime first, especially if the plywood is porous.
- Water-based polyurethane: Great for trays, shelves, and organizers; dries fast and stays clear.
- Hardwax oil: Easy application and repair for indoor pieces, especially if you like a natural look.
- Exterior sealer: For outdoor projects, use exterior-rated plywood and a weather-resistant finish.
Real-Life Scrap-Pile Experiences (So You Don’t Repeat Them)
If you’ve never tried building from plywood offcuts, your first experience will probably feel like cleaning out a closet:
you’ll find treasures, you’ll find mysteries, and you’ll definitely find something that makes you say, “Why did I keep this?”
The funny part is that the moment you commit to using scraps, the pile stops being a guilt monument and starts acting like a
parts store you already paid for.
The first “win” most people notice is speed. When you build a drill dock or a sandpaper organizer from scrap, you stop treating
the project like Fine Furniture With Capital Letters. You’re free to test, adjust, and rebuild without the pressure of wasting
a pristine sheet. That freedom makes you bolderand that’s how you accidentally get better at woodworking.
The second surprise is how quickly your shop gets safer. A French cleat tool holder isn’t just tidy; it keeps sharp tools off the
bench edge and cords out from underfoot. A panel-cutting sled or a bench hook doesn’t just improve accuracy; it gives your hands
a better place to be while the blade does its thing. Many woodworkers say the best “scrap projects” are the ones that protect the
next big project.
You’ll also learn which scraps you actually use. Long narrow strips? Great for cleats, edging, and ledges. Chunky 3/4-inch blocks?
Perfect for clamping blocks, spacers, and jigs. Random trapezoids? Those become templates, corner braces, or the start of wall art.
Once you see patterns, you start sorting scraps by function instead of by “maybe someday.” That’s the moment your storage gets smarter.
Of course, there’s a learning curve. Small plywood parts love to slide around at the worst possible momentusually right when glue
is on your fingers and your clamp is missing. Expect to develop a deep appreciation for painter’s tape, quick clamps, and the simple joy
of predrilling. Also: you will, at least once, cut two identical pieces… that are both the wrong size. Congratulations. You’re officially
a woodworker now.
The most satisfying experience, though, is the “I built that from nothing” feeling. A toy box made from leftover plywood becomes a
living-room staple. A charging station stops the cable chaos. A picture ledge turns blank wall into gallery. And every time you use one,
you’ll know it came from the pile that used to stress you out. That’s not just saving moneythat’s upgrading your space with creativity
and a little stubborn optimism.
Wrap-Up: Turn the Pile Into a Project List
Plywood scraps don’t need to live in a corner like a woodworking “maybe.” Pick one small build from this listsomething you’ll use every day
and let that success fund the next one. Start with a shop organizer, move into a home project, and before you know it, your scrap pile will be
smaller and your space will work better.