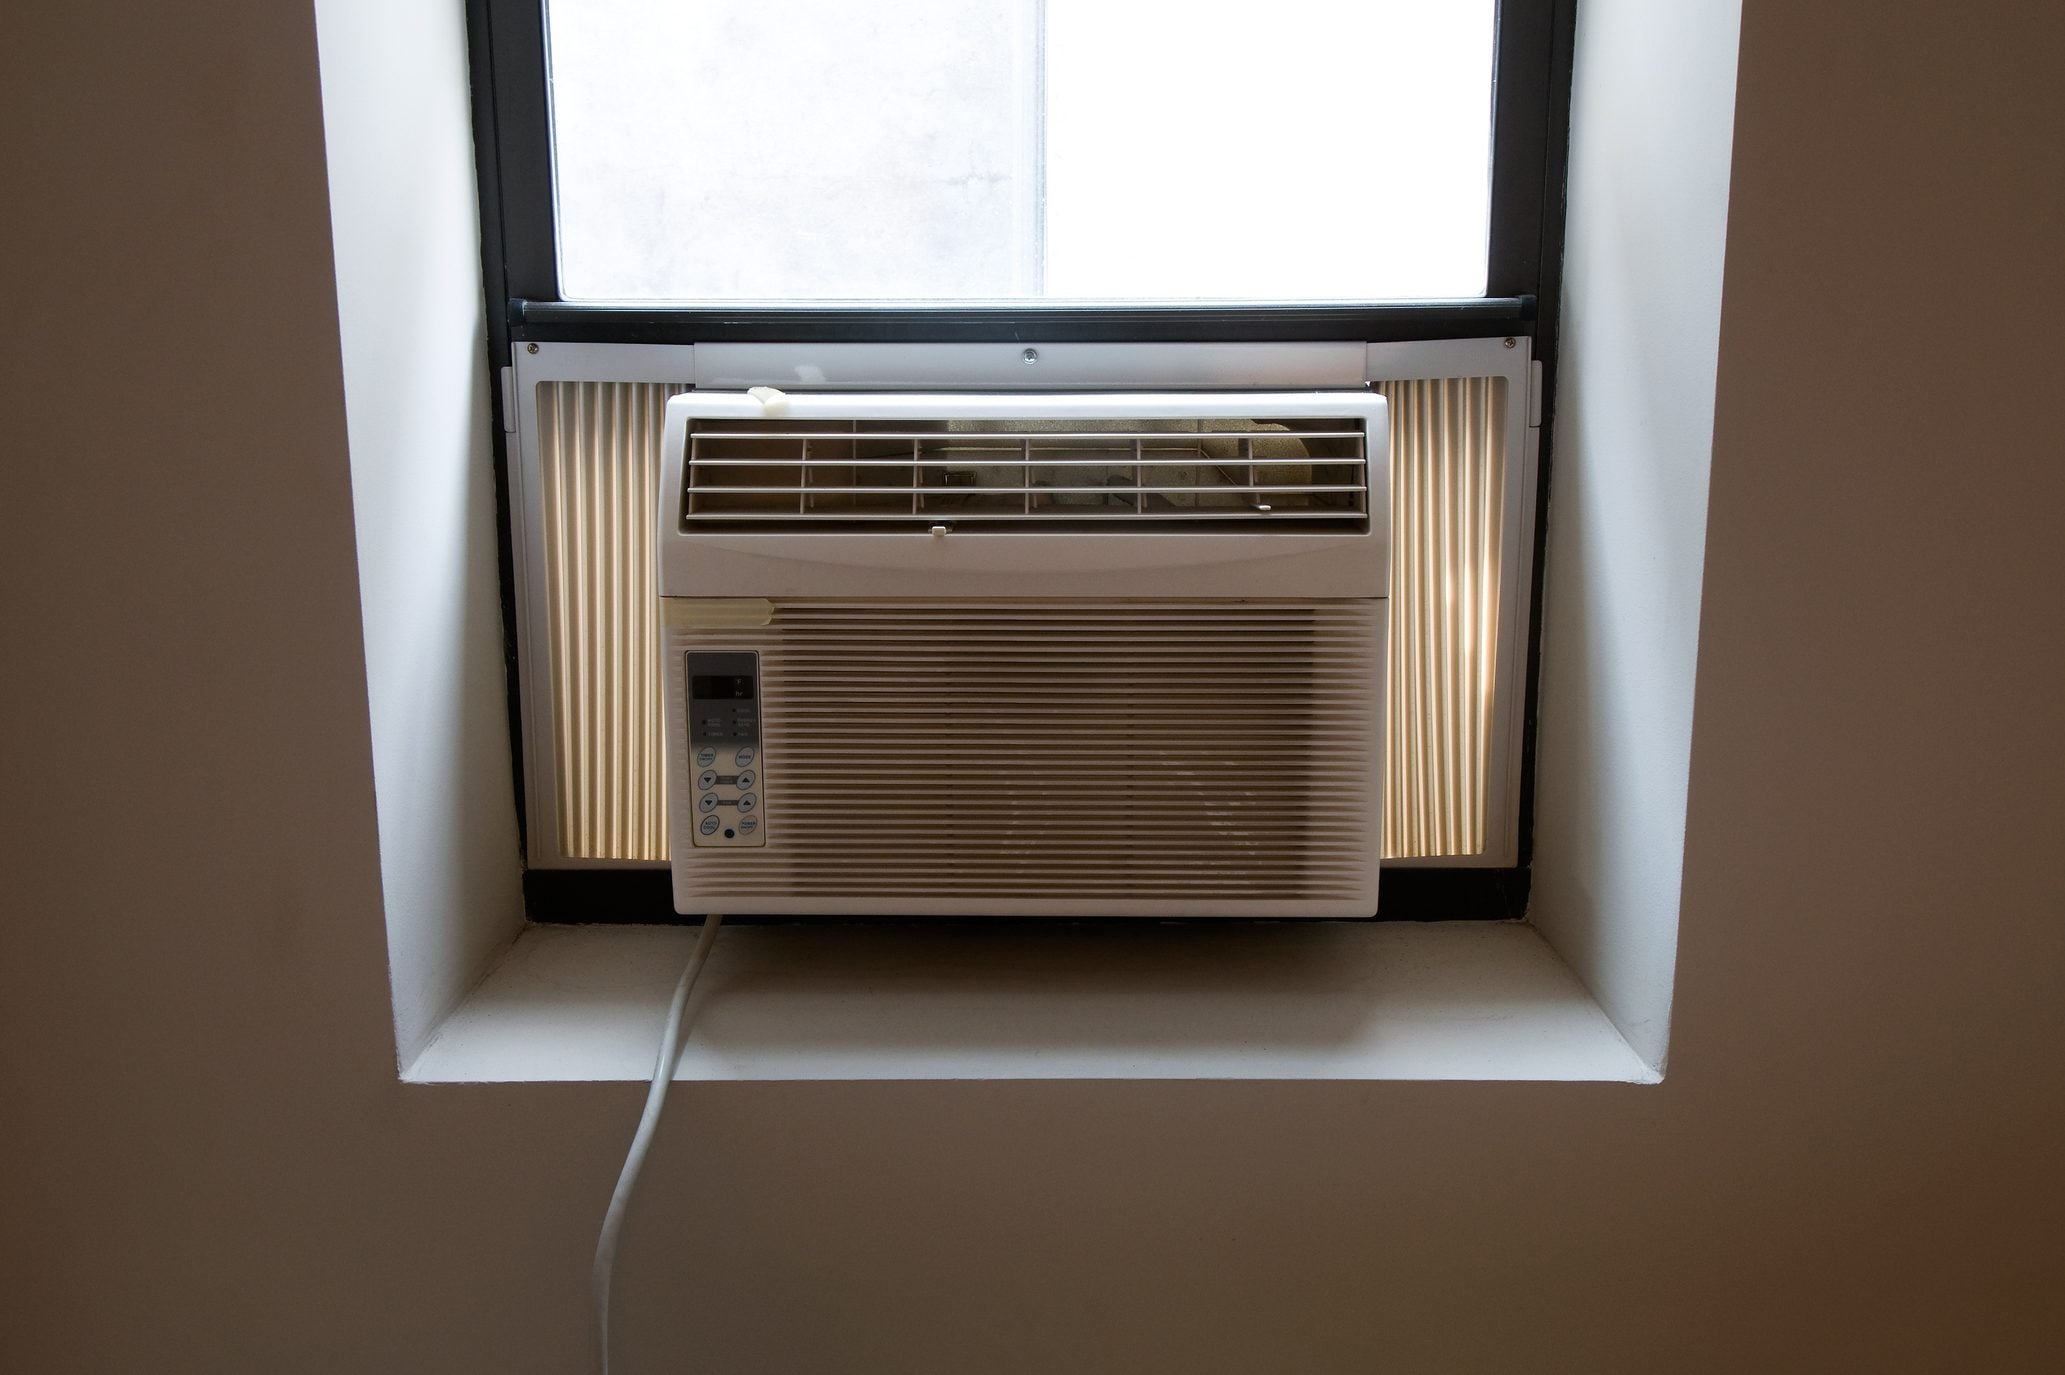
Your air conditioner is suwater appears beneath an air handler, drips from a wall-mounted mini-split, or runs across the windowsill, the leak usually points to a drainage or airflow problem.
The good news is that many A/C water leaks come from simple issues such as a clogged condensate drain, dirty air filter, blocked drain pan, or incorrectly tilted window unit. The less cheerful news is that frozen coils, refrigerant leaks, electrical faults, and damaged internal components require professional attention.
This guide explains why an A/C leaks water, how to diagnose the likely cause, which repairs are reasonably safe for homeowners, and when to put down the wet/dry vacuum and call an HVAC technician.
Why Does an Air Conditioner Produce Water?
Most residential air conditioners do not use water to cool your home. The water you see is condensation pulled from indoor air.
During normal operation, warm household air moves across a cold evaporator coil. As the air cools, some of its moisture condenses on the coil, much like droplets forming on a glass of iced tea. That moisture falls into a drain pan and leaves through a condensate drain line. Systems installed below the available drain point may use a condensate pump to move the water.
A properly operating central A/C can remove a substantial amount of moisture on a hot, humid day. A steady drip from the designated outdoor condensate outlet may therefore be perfectly normal. A puddle under the indoor unit, water staining the ceiling, or moisture dripping from a supply vent is not.
Water Leak or Refrigerant Leak?
Clear, odorless liquid near the air handler is usually condensate. Refrigerant generally does not create a puddle that looks like ordinary water. Instead, a refrigerant problem may produce poor cooling, frozen coils, hissing sounds, unusually long operating cycles, or oily residue around refrigerant components.
Refrigerant work is not a DIY repair. A technician must locate and repair the leak before restoring the correct charge. Simply adding more refrigerant without fixing the leak is the HVAC equivalent of refilling a tire that still has a nail in it.
What to Do Immediately When Your A/C Is Leaking Water
- Turn off cooling. Use the thermostat first. Shut off the breaker if water is close to electrical parts or the leak continues.
- Protect the surrounding area. Move furniture, electronics, rugs, and stored belongings away from the water.
- Collect and remove standing water. Use towels, a mop, or a wet/dry vacuum. Never use a standard household vacuum on water.
- Dry damp materials promptly. Fans and a dehumidifier can help after the electrical risk has been eliminated. Water-damaged materials should be dried quickly to reduce the likelihood of mold growth.
- Look for ice. Frost on refrigerant tubing or the evaporator coil suggests an airflow or refrigerant problem.
- Check the filter and drainage system. These are the most common homeowner-accessible trouble spots.
Do not keep running the system while water is overflowing. Continued operation may damage flooring, drywall, insulation, ceilings, electrical controls, or the blower compartment.
Common Reasons an A/C Is Leaking Water
1. The Condensate Drain Line Is Clogged
A clogged condensate drain is one of the most common causes of an A/C leaking water. Dust, algae, biological growth, debris, and sludge can collect inside the pipe. Once the blockage becomes severe, water backs up into the drain pan and eventually spills over its edges.
You may also notice a musty odor, water inside the emergency drain pan, increased indoor humidity, or a system that shuts down because an overflow safety switch has been activated.
2. The Air Filter Is Dirty
A clogged filter restricts airflow across the evaporator coil. Without enough warm air passing over it, the coil may become excessively cold and freeze. When the ice melts, the resulting water can overwhelm the drain pan.
Restricted airflow also makes the system work harder, reduces cooling performance, and may increase energy use. Check the filter monthly during periods of heavy use and replace or clean it according to the equipment manufacturer’s instructions.
3. The Evaporator Coil Is Frozen
A dirty filter is not the only reason an evaporator coil freezes. Other possibilities include a dirty coil, blocked return vent, closed supply registers, blower motor problem, collapsed duct, incorrect fan speed, or low refrigerant caused by a leak.
If you see ice, turn off cooling and allow the system to thaw naturally. Do not scrape, chip, or pry ice from the coil. Evaporator fins and refrigerant tubing are surprisingly easy to damage and impressively expensive to replace.
4. The Drain Pan Is Cracked, Rusted, or Misaligned
Condensate normally falls into a pan beneath the evaporator coil. Older metal pans may corrode, while plastic pans may crack or warp. A poorly installed or unlevel pan may send water away from the drain opening rather than toward it.
A small crack may be difficult to see until the pan contains water. Temporary patching products exist, but replacement is generally the more reliable repair. Built-in pans located beneath the evaporator coil can require substantial disassembly and are usually best handled by a technician.
5. The Condensate Pump Has Failed
Some basement, attic, high-efficiency, and mini-split installations cannot drain entirely by gravity. These systems use a small pump to lift condensation to an approved discharge point.
A stuck float, clogged reservoir, blocked discharge tube, failed motor, disconnected power supply, or faulty check valve can cause the pump tank to overflow. Cleaning an accessible reservoir may be manageable, but electrical testing and pump replacement should be performed only by someone familiar with the equipment.
6. Drain-Line Insulation Is Missing or Damaged
Cold refrigerant lines, condensate pipes, ducts, and metal cabinets can sweat when humid air reaches an inadequately insulated surface. The moisture may drip onto the floor even when the primary drain is working correctly.
Look for torn, compressed, missing, or separated insulation. Any replacement material should be appropriate for HVAC use, properly sized, and sealed at joints so humid air cannot reach the cold surface.
7. The Unit Was Installed Incorrectly
Improper pitch, undersized drain piping, poorly designed traps, sagging hoses, loose fittings, and unlevel equipment can all interfere with condensate flow. Installation problems are particularly likely when a new system begins leaking soon after it is installed.
Because drainage requirements vary with equipment configuration and air pressure, installation defects should be evaluated by the installing contractor or another licensed HVAC professional.
How to Fix an A/C Leaking Water
Step 1: Replace or Clean the Air Filter
Turn off the system, locate the return-air filter, and inspect it under good light. Replace a disposable filter if it is visibly loaded with dust. Wash a reusable filter only when the manufacturer identifies it as washable, and let it dry completely before reinstalling it.
Match the replacement filter’s dimensions and airflow direction. Avoid automatically choosing the highest-efficiency filter on the shelf; an overly restrictive filter can create airflow problems if the system was not designed for it.
Step 2: Let a Frozen Coil Thaw
Keep cooling turned off until all visible ice has melted. Place towels or a container beneath the unit because thawing may produce more water before the situation improves.
After replacing a dirty filter and opening blocked vents, restart the system and observe it. If the coil freezes again, stop using the A/C. Recurring ice usually indicates a dirty coil, blower issue, duct restriction, incorrect airflow setting, or refrigerant problem.
Step 3: Clear the Condensate Drain
First, locate the outdoor end of the condensate line. It is commonly a small PVC pipe near the foundation or outdoor equipment. If the A/C has been operating in humid weather and no water is leaving the pipe, a clog is likely.
Connect a wet/dry vacuum to the outlet and seal the gap around the hose with a rag. Run the vacuum briefly to pull out sludge and standing water. Then inspect the indoor drain cleanout, if the system has an accessible one.
Flush only with a product or method approved by the equipment manufacturer. Some systems permit warm water, diluted vinegar, or a dedicated condensate-line cleaner. Avoid excessive pressure, corrosive chemicals, and random drain-opening products. Never combine bleach, vinegar, ammonia, or other cleaning chemicals.
If the line remains blocked, disappears inside a finished wall, or serves multiple appliances, call a technician rather than forcing the clog deeper into the system.
Step 4: Inspect the Drain Pan
With power off, use a flashlight to look for rust, cracks, standing water, slime, loose fittings, or signs that the pan is not level. Clean accessible debris without bending the coil fins or disturbing wiring.
If the pan is damaged, replacement is usually preferable to a temporary patch. An auxiliary pan beneath an attic unit should also have a functional drain or overflow switch. Water in that secondary pan means the primary drainage system needs attention.
Step 5: Test an Accessible Condensate Pump
Check that the pump is plugged in and that its tubing is not kinked or disconnected. With the system off, inspect the reservoir for dirt and overflow. Some pumps can be tested by carefully adding clean water according to the manufacturer’s instructions.
If the float rises but the pump does not run, or if the pump runs without moving water, disconnect power and arrange for repair or replacement.
Special Troubleshooting by A/C Type
Window Air Conditioner
A window unit must drain toward the outdoors according to its installation instructions. If it tilts inward, condensation may enter the room. Confirm that the cabinet is mounted securely, the exterior drain channels are clear, and the unit has the manufacturer-specified pitch. Do not drill new drain holes unless the manual specifically instructs you to do so; drilling can damage hidden components.
Ductless Mini-Split
Water dripping from a mini-split head often points to a clogged, kinked, disconnected, or improperly pitched drain hose. A dirty coil, dirty blower wheel, failed lift pump, or cracked internal pan may also be responsible. Because the indoor head contains delicate electronics and concealed tubing, repeated mini-split leaks usually warrant professional service.
Portable Air Conditioner
Portable units may collect water in an internal tank or discharge it through a drain hose. Check for a full-tank indicator, loose cap, poorly seated plug, kinked hose, or incorrect operating mode. In humid conditions, even a self-evaporating model may require manual or continuous drainage.
When to Call an HVAC Professional
Stop troubleshooting and schedule professional service when:
- The evaporator coil freezes again after the filter has been replaced.
- The system is not cooling, blows warm air, or runs almost continuously.
- You hear hissing or bubbling near refrigerant components.
- You see oily residue around a coil, valve, or refrigerant line.
- Water has reached electrical controls, wiring, outlets, or the breaker panel.
- The condensate pump needs electrical testing or replacement.
- The primary drain pan beneath the coil is cracked or badly corroded.
- An attic unit is leaking through the ceiling.
- The drain repeatedly clogs despite being cleaned.
- The system was recently installed and has leaked from the beginning.
A qualified technician can measure airflow, inspect the blower, clean the evaporator coil, test safety switches, verify drain pitch, check refrigerant pressures, locate leaks, and confirm that the equipment is installed correctly.
How to Prevent Future A/C Water Leaks
- Check the filter monthly. Replace it when dirty or according to the manufacturer’s schedule.
- Keep return vents open and unobstructed. Furniture, rugs, and storage boxes should not block airflow.
- Inspect the condensate outlet during cooling season. Normal dripping confirms that moisture is leaving the system.
- Keep drain pans and accessible cleanouts clear. Use only manufacturer-approved maintenance products.
- Inspect insulation. Repair gaps around cold refrigerant lines, ducts, and drain piping.
- Maintain the condensate pump. Clean and test it according to its manual.
- Schedule seasonal HVAC maintenance. A technician can identify drainage, airflow, coil, and refrigerant problems before they become ceiling-replacement problems.
Preventive maintenance is rarely exciting, but neither is explaining to your insurance company why the upstairs air handler created a downstairs waterfall.
Conclusion
When an A/C is leaking water, begin with the simplest and most common possibilities: shut off the unit, clean up the water, inspect the filter, look for ice, and check the condensate drain. A dirty filter or clogged drain can often be corrected without major repairs.
Recurring freezing, refrigerant symptoms, electrical exposure, damaged internal pans, and installation defects require professional diagnosis. Acting quickly protects the air conditioner as well as the floors, walls, insulation, and ceilings surrounding it.
The main lesson is simple: condensation is normal; indoor puddles are not. Give the water a clear route out of the system, maintain proper airflow, and your A/C can return to cooling the house instead of watering it.
Practical Experiences and Lessons From Leaking A/C Scenarios
The following examples are composite scenarios based on common homeowner and HVAC service experiences. They illustrate practical diagnostic lessons rather than representing one individual repair.
The Five-Minute Filter Fix That Needed a Five-Hour Thaw
In one common scenario, a homeowner notices water around the indoor air handler and assumes the drain is clogged. The drain outlet is clear, however, and the real clue is frost on the large insulated refrigerant line. The filter has not been changed since “sometime around the last presidential election,” and it is almost completely covered with dust.
Replacing the filter is easy, but the leak does not disappear immediately. The coil contains a thick layer of ice that must thaw before normal operation can resume. Towels are placed around the unit, cooling is left off, and the system is restarted only after the ice has melted. The lesson is that fixing the cause does not instantly remove the ice created by the cause.
The Drain That Looked Open but Was Not
Another homeowner sees a little water dripping from the outdoor condensate pipe and assumes the line cannot be clogged. Inside, the emergency pan continues filling. A technician later finds a partial blockage that allows a small amount of water through but not enough to handle peak condensation during humid afternoons.
This is why partial clogs can be deceptive. The drain may work during a short morning cycle and overflow after several hours of continuous operation. A wet/dry vacuum removes a surprising amount of dark sludge, and the drainage rate immediately improves. Observing the system during the hottest, most humid part of the day reveals more than checking it during a mild morning.
The Attic Leak That Announced Itself Downstairs
Attic air handlers often hide leaks until a ceiling stain appears. In a typical case, the primary drain clogs, the auxiliary pan begins collecting water, and the overflow switch fails or was never installed correctly. By the time the homeowner notices a brown spot on the ceiling, insulation and drywall are already wet.
The practical lesson is to inspect attic equipment periodically rather than waiting for the ceiling to send a distress signal. A functional secondary pan and float switch can shut the system down before significant water damage occurs. An unexpected shutdown may be annoying, but it is much less annoying than replacing drywall in August.
The Window Unit Tilted the Wrong Way
A window air conditioner may cool perfectly while dripping indoors because the cabinet slopes toward the room. The owner cleans the filter, searches for a drain clog, and nearly drills a new hole in the base. Checking the installation instructions finally reveals that the rear of the unit must sit slightly lower than the indoor side.
After the mounting bracket is adjusted to the specified position, water drains outdoors as designed. The lesson is not to improvise drainage modifications before confirming the manufacturer’s installation requirements. The factory usually had a plan, even when the instruction manual appears to have been written in microscopic print.
The Leak That Returned Every Two Weeks
Repeatedly vacuuming a drain line may provide temporary relief without addressing the reason it keeps clogging. In one recurring pattern, the pipe has a sagging section that traps water and debris. In another, the drain lacks the correct pitch or trap configuration. Each cleaning restores flow briefly, but the blockage returns.
Persistent leaks deserve a system-level diagnosis. Drain routing, airflow, coil cleanliness, equipment level, pump operation, and installation quality must be considered together. The best repair is not always the one that stops today’s drip; it is the one that prevents the next puddle.
Across these scenarios, the most useful habit is careful observation. Note when the leak occurs, whether ice is present, whether the drain is flowing, how long the system has been running, and whether cooling performance has changed. Photos and short videos can also help a technician diagnose an intermittent problem. A small amount of evidence often prevents a large amount of guesswork.