Some garden decorations whisper politely. Decorative brick books announce, “A reader lives hereand apparently has access to leftover masonry.” Made by painting ordinary bricks to resemble colorful hardcover novels, these charming accents can brighten a flower bed, porch, patio, reading nook, or shady corner beneath a tree.
This DIY garden craft is inexpensive, beginner-friendly, and wonderfully customizable. You can recreate favorite novels, invent ridiculous gardening titles, add family names, or build an entire miniature outdoor library. Better still, bricks are naturally heavy, so your literary collection is unlikely to blow into the neighbor’s yard during the first ambitious thunderstorm.
The painting process is simple, but outdoor durability depends on proper preparation. Brick is porous and often dusty, so cleaning, drying, priming, and using compatible exterior coatings will produce a much better result than immediately attacking it with a bottle of craft paint. Major paint manufacturers and home-improvement guides consistently emphasize removing dirt and loose material before applying masonry coatings.
Why Make Decorative Brick Books?
Painted brick books combine several appealing ideas in one satisfyingly chunky project. They reuse construction materials, celebrate favorite stories, and add handmade personality to an outdoor space without requiring advanced carpentry, power tools, or a heroic home-improvement budget.
A single brick can serve as a garden marker or whimsical accent. Three or four bricks can become a believable stack of novels. A larger collection can form a miniature “library” beside a bench, birdbath, planter, or pathway.
Good Places to Display Them
- Beside a garden bench or outdoor reading chair
- Along a covered porch or patio
- Near a little free library
- At the edge of a flower bed
- Among container plants and herbs
- Under a tree in a woodland-style garden
- Beside a classroom, library, or community garden
Painted garden crafts work especially well when their colors repeat shades already found in nearby flowers, pots, furniture, or trim. Better Homes & Gardens and HGTV garden projects frequently use painted markers and sealed decorative objects to introduce inexpensive color and personality outdoors.
Materials and Tools
You do not need every item listed below, but gathering supplies before painting will prevent the familiar DIY ritual of wandering through the house with wet hands while asking where the good brush went.
- Clean clay bricks, concrete bricks, or rectangular pavers
- Stiff nylon brush
- Mild dish soap and water
- Clean rags or sponges
- Drop cloth, cardboard, or plastic sheeting
- Exterior masonry primer or compatible exterior bonding primer
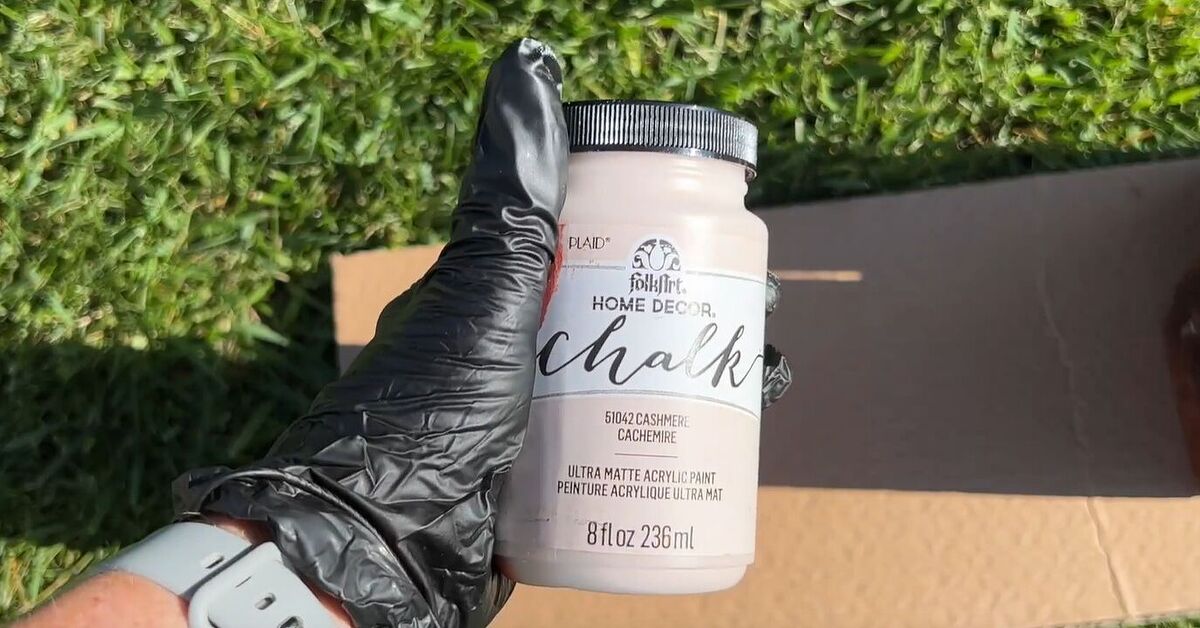
- Exterior acrylic latex paint or exterior-rated craft paint
- Small flat brushes and fine detail brushes
- Painter’s tape
- Pencil, chalk pencil, or removable marking tool
- Letter stencils, transfer paper, or printed title templates
- Exterior-rated paint marker, optional
- Clear exterior sealer compatible with your paint
- Gloves and eye protection
Choose products labeled for brick, masonry, concrete, or exterior use. Exterior primers are formulated to promote adhesion on porous surfaces, while masonry paints are designed to handle rough texture and changing outdoor conditions. Always follow the drying, recoating, ventilation, and temperature instructions printed on the specific products you purchase.
Step 1: Choose the Right Bricks
Standard rectangular clay bricks naturally resemble thick hardcover books, but concrete bricks and smooth pavers also work. Select pieces that sit steadily and have at least one relatively flat face for lettering.
Small chips can add vintage charm. Large cracks, crumbling edges, heavy salt deposits, or unstable sections are less charming and more likely to create a garden book that slowly turns into gravel.
Reclaimed bricks are an excellent option when they are structurally sound. Avoid bricks coated with unknown old paint unless you can evaluate them safely. Do not grind, aggressively sand, or cut old painted masonry without understanding the possible dust and coating hazards.
Step 2: Clean the Brick Thoroughly
Dry-brush the brick first to remove soil, cobwebs, moss, and loose particles. Mix a small amount of mild dish soap with warm water, scrub every surface with a stiff nylon brush, and rinse well.
If you see a white, powdery deposit, it may be efflorescencemineral salts carried to the surface by moisture. Brush away loose deposits and make sure the brick is not continually getting wet from an unresolved source. Painting over dust, grease, mildew, or persistent mineral deposits can lead to poor adhesion and peeling. Sherwin-Williams recommends removing efflorescence and loose material before coating masonry.
Let the brick dry completely. Because masonry absorbs water, the surface may feel dry while moisture remains inside. Waiting at least overnight in warm, dry conditions is sensible; heavily saturated brick may require longer.
Step 3: Plan the Book Design
Decide which long face will become the spine. The opposite long face can resemble the page edges, while the two wide faces become the front and back covers.
Choose a Book Style
You can copy the general color scheme of a favorite book without reproducing every detail. Another option is to invent garden-themed titles such as:
- Pride and Petunias
- The Secret Garden Hose
- War and Peas
- A Tale of Two Seedlings
- Little Beds of Flowers
- The Great Gats-bee Garden
Sketch the spine on paper before painting. Mark the placement of the title, author name, decorative bands, symbols, and borders. Simple layouts are usually more readable from across the garden than complicated miniature artwork.
Step 4: Prime the Brick
Place the dry brick on a protected work surface. Apply a thin coat of masonry primer with a brush, pushing the product into pores and shallow recesses. A small brush provides more control than a roller on a single brick.
Prime all visible surfaces, including the ends and top. You may leave the bottom unpainted if it will rest directly on gravel or a patio, although coating it can create a more finished appearance. Follow the primer label for drying and recoating times.
Primer is especially useful when the final color is pale, the brick is highly absorbent, or the surface has uneven coloration. It creates a more consistent base and can reduce the number of decorative paint coats required.
Step 5: Paint the Base Colors
Apply the main cover color in two or more thin coats. Thin coats dry more evenly and are less likely to pool in the brick’s texture. Allow each layer to dry according to the manufacturer’s instructions before adding another.
For a traditional hardcover effect, paint the spine and wide faces one color. Paint the remaining long edge cream, pale gray, or warm ivory to represent pages. Add thin horizontal lines with a detail brush to suggest individual sheets of paper.
Do not worry about creating a perfectly smooth surface. The brick texture gives the finished book character. A slightly uneven coat can make it look like an antique volume rather than a suspiciously rectangular plastic object.
Step 6: Add the Spine Details
Once the base coat is dry, use painter’s tape to create straight decorative bands. Press the tape down firmly, but remove it carefully before the detail paint becomes completely hard.
Use a pencil or chalk pencil to position the title. For precise lettering, transfer a printed design with transfer paper or trace through a stencil. You can also use an exterior-rated paint marker, provided it is compatible with the base coat and sealer.
Tips for Better Lettering
- Use block letters for long titles.
- Shorten an author’s name to initials when space is limited.
- Center the middle letter first and work outward.
- Use a contrasting color with a light-dark difference.
- Practice the title on cardboard before touching the brick.
- Correct mistakes with the base color after the lettering dries.
Metallic gold, cream, black, and white are dependable lettering colors. Gold looks particularly convincing on burgundy, navy, forest green, or black “covers.”
Step 7: Create Page and Aging Effects
Paint the page edge with an off-white shade rather than brilliant white. Add closely spaced tan or gray lines using a nearly dry detail brush. Do not make every line identical; books rarely survive years of reading with military-grade page alignment.
For an aged appearance, lightly dab diluted brown or charcoal paint around corners and edges. Remove most of the paint from the brush before touching the brick. Build the effect slowly. Intentional distressing should look like decades of literary adventure, not like the book was rescued from a barbecue.
You can also add a tiny publisher symbol, a faux library number, vines, bees, flowers, mushrooms, or a small portrait medallion.
Step 8: Let the Paint Cure
“Dry to the touch” does not necessarily mean ready for rain, stacking, or sealing. Leave the painted bricks in a protected, ventilated area for the full curing period recommended by the paint manufacturer.
Avoid setting one painted brick directly on another during this stage. Even paint that feels dry can stick under the weight of a brick and pull away when the pieces are separated.
Step 9: Apply an Exterior Sealer
Use a clear coating specifically labeled for outdoor use and compatible with the paint beneath it. Test the sealer on the bottom or back first, because some products can deepen colors, alter sheen, or react with paint markers.
Apply several light coats instead of one heavy coat. Plaid’s outdoor sealer guidance recommends thin layers with complete drying between coats, while exterior clear coatings from Rust-Oleum emphasize protection against fading and chipping.
When using spray sealer, work outdoors or in a properly ventilated area, protect surrounding objects from overspray, and follow all label precautions. Seal the ends and exposed edges, which are easy places for water to enter.
Step 10: Arrange the Brick Books in the Garden
Choose a stable, well-drained surface. A flat paver, gravel bed, porch step, or patio is generally better than damp soil. Constant contact with wet ground can shorten the life of the finish.
For a realistic stack, place the largest brick on the bottom and rotate each additional piece slightly. Two or three books usually look intentional. Ten bricks stacked vertically may look less like garden décor and more like a masonry experiment requiring a permit.
Keep heavy stacks away from narrow ledges, play areas, and places where children or pets might knock them over. Decorative bricks are still bricks, even when one of them claims to be The Wind in the Willows.
Design Ideas for a Personalized Garden Library
Classic Literature Collection
Choose deep jewel tones and paint recognizable titles from classic novels. Use gold bands and serif lettering for an old-library appearance.
Children’s Story Garden
Use bright primary colors, large lettering, stars, animals, rainbows, and playful patterns. These work well near a school garden or family patio.
Herb and Vegetable Guides
Turn each brick into a plant label disguised as a book. Titles such as The Complete Guide to Basil or Tomatoes: A Suspense Novel can identify nearby beds.
Memorial or Family Collection
Paint family names, meaningful dates, favorite sayings, or titles connected to someone special. Keep personal information general when the decorations will be visible from a public sidewalk.
Seasonal Brick Books
Create pastel garden stories for spring, spooky volumes for Halloween, and red-and-green classics for winter. Store seasonal pieces under cover when they are not being displayed.
Common Problems and Easy Fixes
The Paint Is Soaking In
The brick may be highly porous or insufficiently primed. Let the current layer dry, apply another compatible primer coat if appropriate, and continue with thin paint layers.
The Lettering Looks Uneven
Allow it to dry, cover the mistake with the base color, and try again with transfer paper or a stencil. A thin shadow painted beside the letters can also make minor inconsistencies look deliberate.
The Paint Is Peeling
Peeling often points to contamination, trapped moisture, incompatible products, or inadequate drying time. Remove loose coating, let the brick dry thoroughly, and repaint the affected area with compatible exterior materials.
The Sealer Turned Cloudy
Cloudiness can occur when a coating is applied too heavily, exposed to moisture too soon, or used outside its recommended temperature and humidity range. Stop adding coats and consult the product instructions before attempting a repair.
The Colors Are Fading
Move the books to a location with partial shade, refresh the color, and apply a UV-resistant exterior coating. Even protected outdoor décor eventually needs maintenance after repeated exposure to sunlight and weather.
Practical Experience Notes: What Makers Usually Learn
The first lesson from this project is that brick preparation takes longer than the exciting part, which is naturally painting tiny gold titles and pretending to be a garden librarian. A brick that looks clean can release a surprising amount of red or gray dust once it meets a scrub brush. Skipping that cleaning stage may save 15 minutes and cost several hours later when the finish begins lifting around the edges.
Another common discovery is that the smoothest-looking brick is not always the most interesting finished book. Rough faces catch dry-brushed highlights and create convincing wear. However, extremely deep grooves make lettering frustrating. A useful compromise is to reserve the smoothest long face for the spine and allow the rougher faces to become the covers.
Lettering is usually the moment when an easy craft begins negotiating with your patience. Painting an entire brick one color feels effortless; fitting “The Count of Monte Cristo” on a narrow spine does not. Short titles, initials, and simplified typography produce cleaner results. Transfer paper is especially helpful because it preserves spacing while still allowing the final letters to be hand-painted.
Thin coats also outperform enthusiastic coats. Heavy paint collects in pits, dries unevenly, and can obscure pencil marks before the design is finished. Two or three light layers create stronger color while preserving the brick’s texture. The same principle applies to clear sealer. A dripping coat may look impressively protective for five minutes, but it can dry cloudy or create shiny ridges.
Color choices often change once the bricks move outdoors. A subtle beige title that looks elegant on a worktable may disappear against mulch and foliage. Strong contrast reads better from several feet away. Dark green with cream lettering, navy with gold, red with white, and black with metallic details are reliable combinations. Painting a small sample on the bottom of the brick helps reveal how the colors will look after drying and sealing.
Placement matters almost as much as paint. Brick books displayed directly on wet soil tend to become muddy and remain damp after irrigation. A small paver or shallow gravel base improves stability and drainage without drawing attention away from the decoration. Covered porches provide the longest-lasting environment, but properly finished bricks can also decorate open garden beds when they are periodically inspected.
Stacking introduces another practical lesson: painted surfaces can stick together, especially in heat. Small clear outdoor bumpers, discreet spacers, or thin pieces of sealed cork can prevent direct paint-to-paint contact. They also make the stack look slightly more like individual books.
Finally, makers often find that the project becomes more personal than expected. The first brick may simply imitate a favorite novel. The second celebrates a child’s bedtime story. The third carries a gardening joke. Soon the stack becomes a miniature autobiography told through titles, colors, and gloriously unnecessary literary puns.
Conclusion
DIY decorative brick books are proof that memorable garden décor does not need to be expensive or complicated. With a sound brick, careful cleaning, compatible exterior paint, readable lettering, and a protective finish, you can create a colorful outdoor accent that reflects both your garden style and your reading personality.
Begin with one uncomplicated design and learn how your materials behave. Once you have mastered the basic painted book brick, experiment with stacked collections, plant labels, fictional titles, seasonal themes, and personalized gifts. Your garden may never become a formal library, but it can at least have a respectable fiction section.
Editorial note: This original guide synthesizes practical methods from U.S.-based home-improvement, paint-manufacturer, garden-craft, and DIY resources, including Sherwin-Williams, Lowe’s, The Home Depot, Behr, Bob Vila, Rust-Oleum, Plaid, Better Homes & Gardens, HGTV, Hobbies on a Budget, and New Build Newlyweds.