Buying an iPad case should be simple. You own an iPad. You buy an iPad case. The end, right? Unfortunately, Apple has released enough iPad models, generations, chip names, screen sizes, and nearly identical-looking designs to turn a quick online purchase into a tiny detective story. One case may fit the iPad Air 11-inch but not the iPad 10th generation. Another may fit the iPad Pro 11-inch M4 and M5 but not an older 11-inch Pro. A case labeled “10.9-inch” may fit one model beautifully and make another sit inside like a loose sandwich.
That is why learning how to measure an iPad for a case matters. A good iPad case is not just a decorative shell. It protects the corners, keeps the screen safer, lines up with the camera, leaves room for the USB-C or Lightning port, supports Apple Pencil charging when needed, and prevents your tablet from becoming an expensive coaster with Wi-Fi.
The good news is that you do not need engineering tools, a lab coat, or a dramatic soundtrack. You need three practical methods: identify your exact iPad model, measure the physical body, and check the cutouts and accessory features. When these three steps work together, you can choose a case with confidence instead of guessing based on screen size alone.
Why Measuring an iPad for a Case Is So Important
Many shoppers make one common mistake: they buy a case based only on the iPad’s advertised screen size. That sounds logical, but it can be misleading. Apple measures screen size diagonally, while case makers design around the full body of the tablet. The body includes the bezels, frame, camera bump, speakers, buttons, charging port, magnets, and sometimes a Smart Connector. In other words, the number in the product name is helpful, but it is not the whole story.
For example, an 11-inch iPad Pro and an 11-inch iPad Air may look similar at first glance, but case compatibility can depend on thickness, camera placement, button layout, and magnetic connector position. A rugged case with tight corners has much less forgiveness than a soft sleeve. Keyboard cases are even pickier because the tablet must align with the connector and hinge. If the fit is wrong, the keyboard may not work, the sleep-wake cover may not trigger properly, or the tablet may pop out when you least expect it. Naturally, that will happen while you are walking across tile.
Before buying a case, remember this simple rule: model identity comes first, measurements come second, and feature alignment comes third. The measuring tape is useful, but the model number is the secret password.
Way 1: Find Your Exact iPad Model Number
The most accurate way to measure an iPad for a case is to start by identifying the exact model. This may sound like cheating because you are not holding a ruler yet, but it is the most reliable first step. iPad cases are usually listed by model name, generation, year, screen size, and sometimes model numbers such as A3354, A2696, A2759, or A2567. Those “A” numbers are not random alphabet soup. They are often the fastest path to the right case.
How to Find the Model Number in Settings
Open the Settings app on your iPad. Tap General, then tap About. Look for Model Name and Model Number. The first model number you see may be a part number. Tap it once, and it should change to an “A” number. That “A” number is the one many case sellers use in their compatibility lists.
For example, an iPad (A16) may appear with model numbers such as A3354 or A3355 depending on the version. An iPad 10th generation may use different model numbers, such as A2696 or A2757. Some case listings combine these newer standard iPad models because their bodies are close enough for the same case design. However, you should still confirm the exact model before clicking “Buy Now,” because online product titles can be enthusiastic, confusing, or written by someone who had too much coffee.
How to Check the Back or Connector Area
On some iPad models, the model number is printed on the back cover near the bottom. On others, especially newer designs, it may be harder to see or may require checking inside the USB-C or Lightning connector area. Use bright light and avoid guessing from a blurry number. A single digit can change the result. A case designed for one generation may not fit another even when the screen size looks similar.
Why the Model Number Beats Screen Size
Screen size is useful, but model number is better. An iPad mini with an 8.3-inch display is not the same as an older iPad mini with a 7.9-inch display. A 13-inch iPad Air is not automatically interchangeable with every 12.9-inch iPad Pro case, even if the dimensions look close enough to start an argument. Model numbers remove much of the confusion because they point to the specific hardware version.
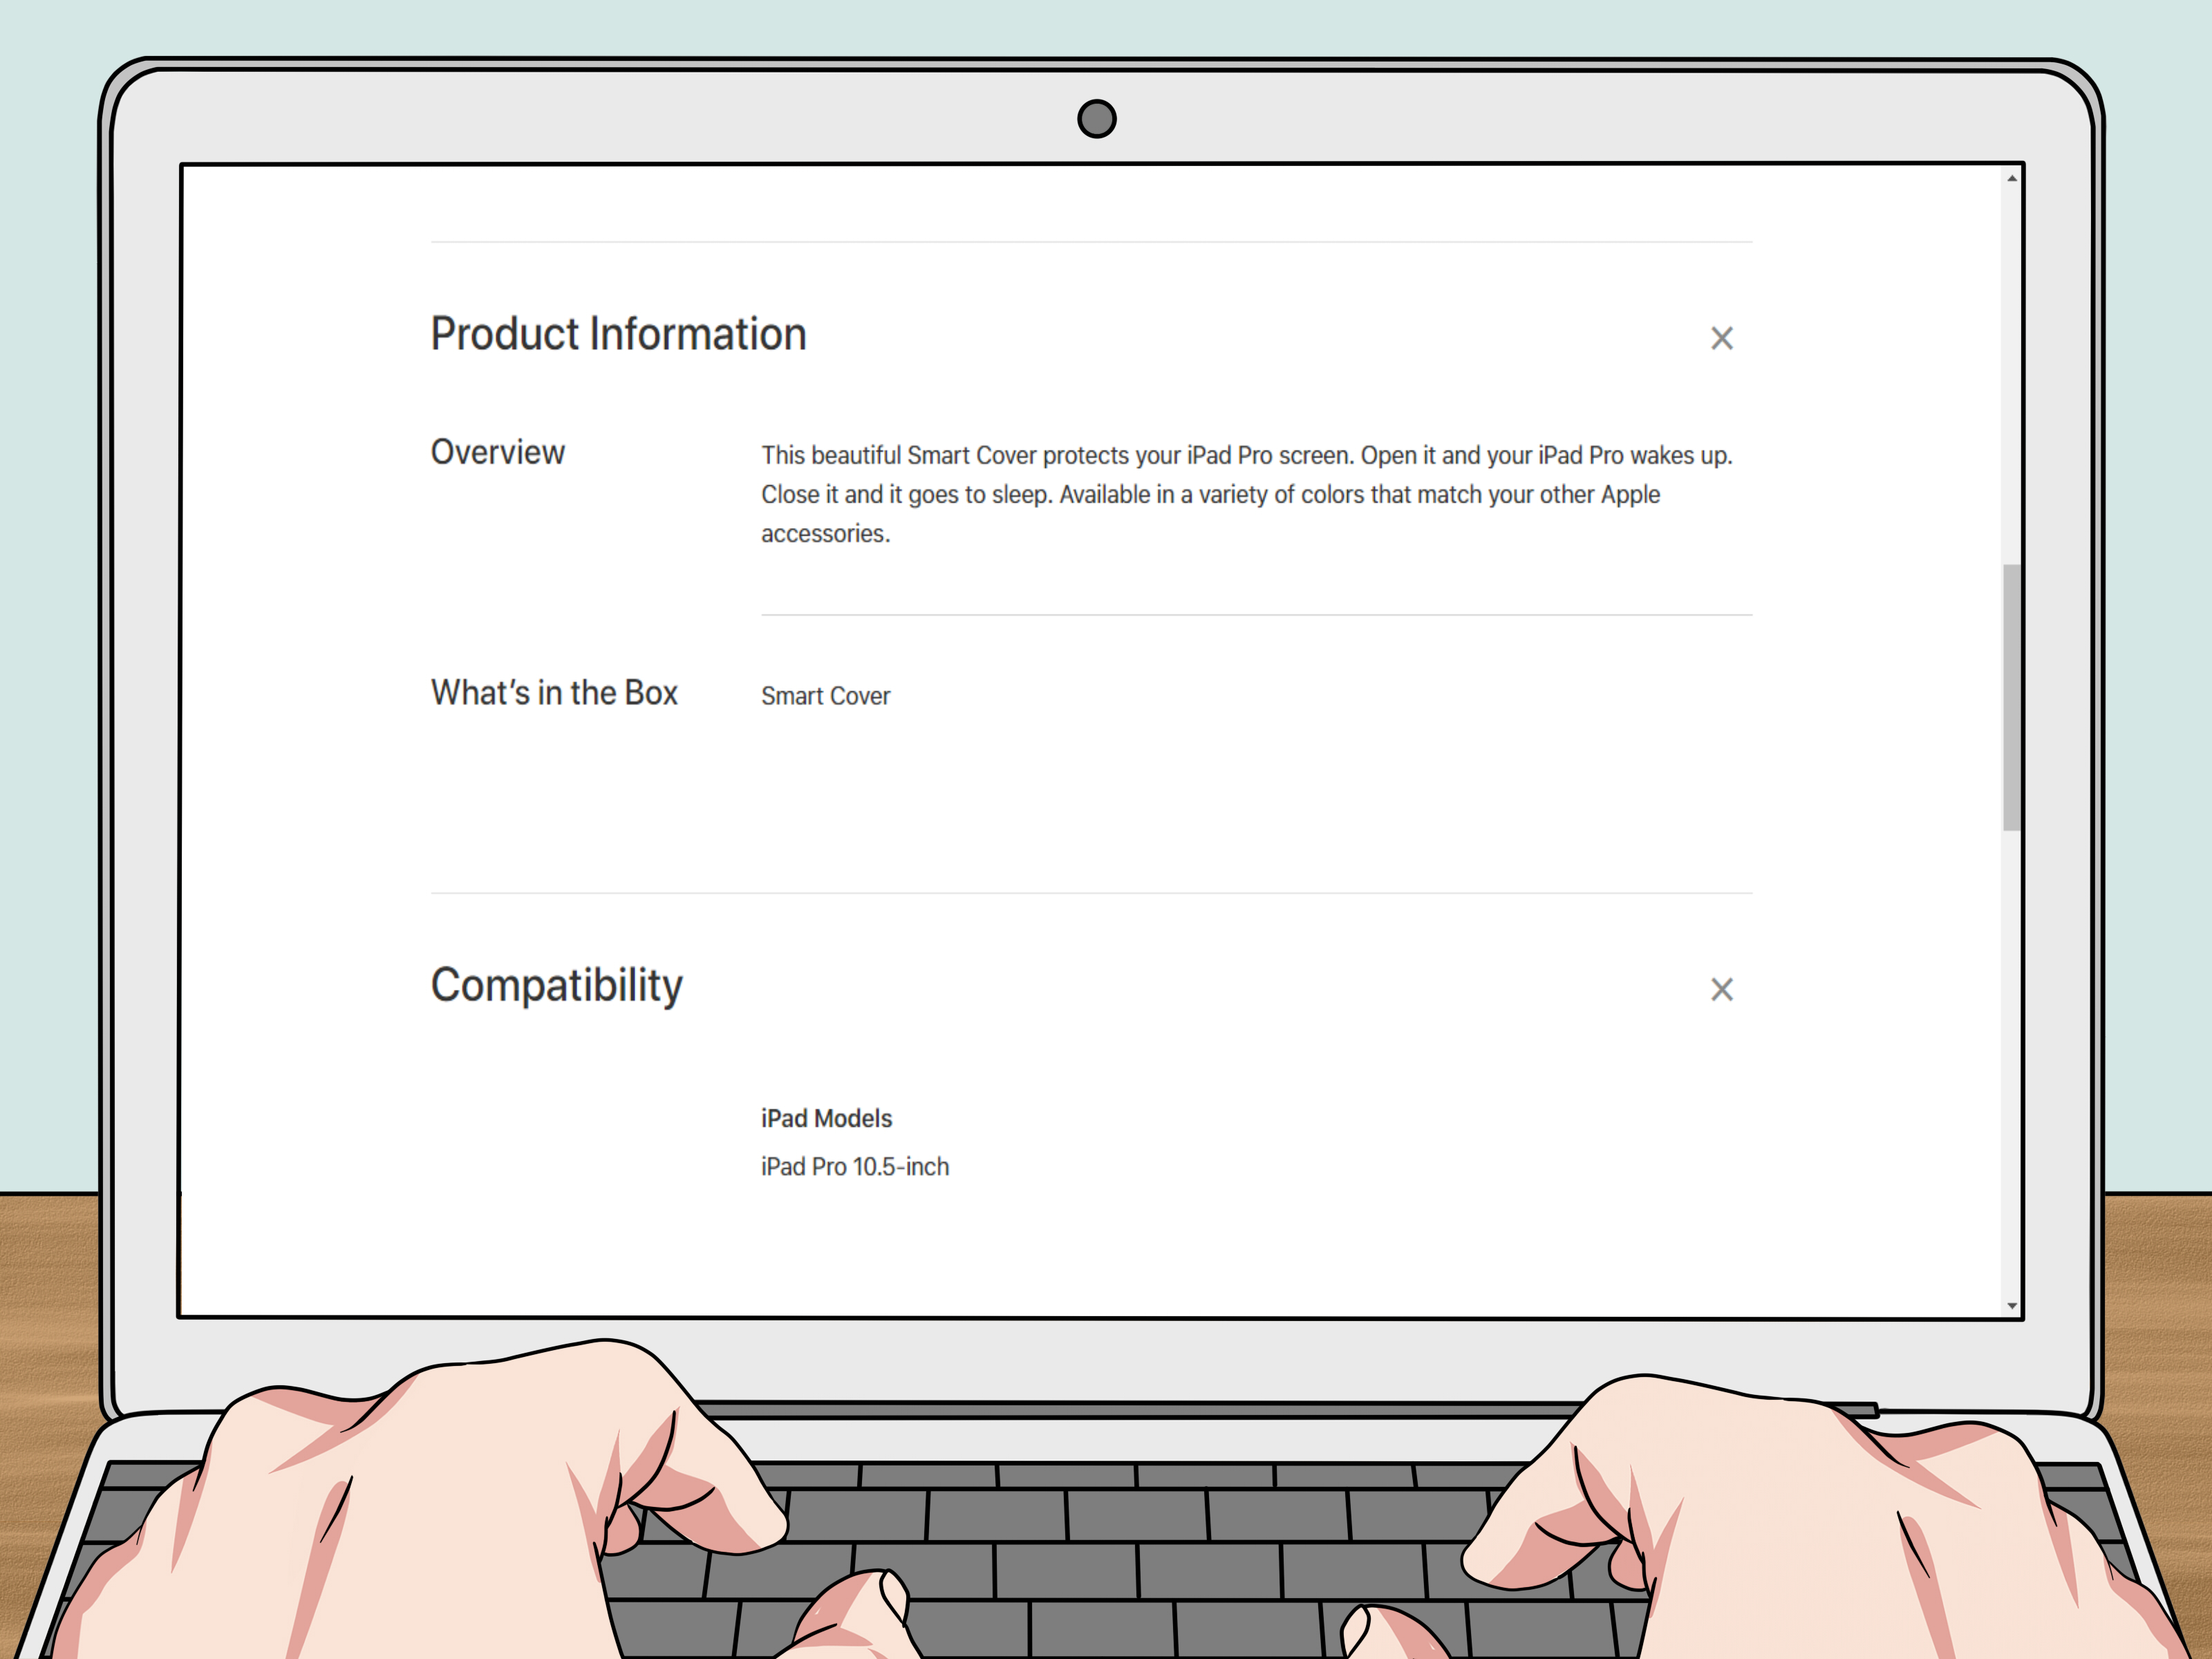
When shopping, compare your iPad’s “A” number with the compatibility section of the case listing. Look for language such as “compatible with iPad Air 11-inch M4,” “for iPad 10th generation,” or “fits models A3354 and A2696.” If your exact model is not listed, pause. A case is not a place to practice optimism.
Way 2: Measure the iPad’s Height, Width, and Depth
Once you know your model, take physical measurements. This is especially helpful when buying a sleeve, pouch, universal tablet case, keyboard folio, or a third-party case from a seller with limited compatibility information. Physical measurements also help if the iPad is older, inherited, refurbished, or missing its original box.
What You Need
You only need a soft measuring tape, a straight ruler, or digital calipers if you happen to own them. A soft tape is easiest for quick measuring. A metal ruler is fine, but do not scrape the iPad’s finish. If you are measuring for a snug sleeve, write down the numbers in both inches and millimeters if possible. Many case brands list dimensions in one format, and conversion math at midnight is how mistakes sneak in wearing tiny shoes.
Measure the Height
Place the iPad flat on a clean table in portrait orientation. Measure from the top edge to the bottom edge. Do not measure the screen only. Measure the entire body, including the bezel and frame. For a standard iPad (A16), the body height is about 9.79 inches. An 11-inch iPad Air M4 is about 9.74 inches tall. An iPad Pro 13-inch M5 is about 11.09 inches tall. These small differences matter for fitted cases.
Measure the Width
Next, measure from the left edge to the right edge. Again, measure the full tablet, not just the display. A case grips the outside shell, so it cares deeply about the frame. For example, an iPad mini (A17 Pro) is about 5.3 inches wide, while an 11-inch iPad Pro M5 is about 6.99 inches wide. A standard iPad (A16) is about 7.07 inches wide. These numbers help you spot whether a product labeled “universal tablet case” will actually hold your device securely.
Measure the Depth or Thickness
Depth is the thickness of the iPad. Measure from the front glass to the back shell. This is where many people shrug and say, “Close enough.” Do not be that person. Thickness affects snap-on cases, magnetic cases, keyboard cases, and protective shells with hard corners. A newer iPad Pro can be very thin, while a standard iPad may be thicker. If the case is too shallow, the corners may not lock. If it is too roomy, the tablet may shift inside the case.
As a general comparison, an iPad Pro 13-inch M5 is about 0.20 inch thick, an iPad Air 11-inch M4 is about 0.24 inch thick, an iPad mini (A17 Pro) is about 0.25 inch thick, and an iPad (A16) is about 0.28 inch thick. That sounds tiny, but in case design, tiny is not trivial. It is the difference between “perfect fit” and “why does this corner keep escaping?”
Use a Simple Measurement Chart
| iPad Model Example | Approx. Height | Approx. Width | Approx. Depth | Case Buying Tip |
|---|---|---|---|---|
| iPad (A16) | 9.79 in | 7.07 in | 0.28 in | Check compatibility with iPad A16 and iPad 10th generation listings carefully. |
| iPad Air 11-inch M4 | 9.74 in | 7.02 in | 0.24 in | Do not assume every 11-inch Pro case fits the Air. |
| iPad Air 13-inch M4 | 11.04 in | 8.46 in | 0.24 in | Confirm Air 13-inch compatibility, not just “13-inch iPad.” |
| iPad Pro 11-inch M5 | 9.83 in | 6.99 in | 0.21 in | Look for M5 or M4 Pro-specific case listings. |
| iPad mini (A17 Pro) | 7.69 in | 5.3 in | 0.25 in | Make sure the case fits the 8.3-inch mini design, not older 7.9-inch minis. |
This chart is not a replacement for checking your exact model number, but it shows why dimensions matter. Some iPads are separated by only a few hundredths of an inch. A soft sleeve may forgive that. A hard case will not. Hard cases have the emotional flexibility of a parking ticket.
Way 3: Match the Camera, Buttons, Ports, and Accessories
The third way to measure an iPad for a case is to inspect everything around the edges and back. A case can fit the height and width but still fail because the camera opening is wrong, the volume buttons are blocked, the charging port is misaligned, or the Apple Pencil area is covered. This is especially important for newer iPads because Apple has changed camera placement, connector types, and accessory support across generations.
Check the Camera Opening
Turn the iPad over and look at the rear camera. Is it a single camera? Is there a flash? Is there a LiDAR Scanner? Is the camera bump larger than on older models? Cases need precise rear cutouts. If the opening is too small, the case may press against the camera area. If the opening is in the wrong location, the case simply will not fit. Camera layout is one of the biggest clues that two similar-looking iPads are not case twins.
Check the Charging Port
Most current iPads use USB-C, while some older iPads use Lightning. The case must have the correct port opening in the correct place. A USB-C opening also needs enough room for your cable connector, especially if you use a thicker third-party cable. A poorly designed case can technically expose the port but make charging feel like threading a needle during an earthquake.
Check Speaker and Microphone Cutouts
Look at the top and bottom edges. Count where the speaker grilles and microphones are located. A case that blocks speaker openings can make audio sound muffled. A case that covers microphones can affect video calls, voice notes, and online meetings. If you use your iPad for work, school, or streaming, these cutouts are not cosmetic. They are functional.
Check Button Placement
Look at the volume buttons and top button. Some iPads use Touch ID in the top button, so the case needs to leave it accessible. Others use Face ID and have different button arrangements. A case should make buttons easy to press without requiring a heroic thumb workout. If the case listing has photos, zoom in on the edges and compare them with your iPad.
Check Apple Pencil Compatibility
If you use an Apple Pencil, case measurement becomes more than length and width. Many iPads support magnetic Apple Pencil attachment or charging along one edge. A case must leave that area open or include a compatible pencil holder. If the case covers the magnetic strip, your Pencil may not attach or charge correctly. That is not a small inconvenience if you use the Pencil for notes, drawing, signing documents, or pretending your handwriting is more organized than it is.
Check the Smart Connector
Some iPad models include a Smart Connector for keyboard accessories. If you are buying a keyboard case, the connector placement must match. This is one reason model-specific keyboard cases are so strict. A regular folio can be a little forgiving; a keyboard case needs electronic alignment. If the pins do not meet, the keyboard becomes a very expensive flap.
How to Choose the Right Type of iPad Case
After measuring and identifying your iPad, choose the case style that fits your habits. The “best iPad case” is not the same for everyone. A student, traveler, designer, parent, and office worker may all need different protection.
Folio Cases
Folio cases cover the front and back of the iPad. Many include a folding stand for typing or watching videos. They are a good choice for everyday use, light travel, and people who want screen coverage without turning the iPad into a brick. When measuring for a folio, confirm the model number, camera cutout, sleep-wake support, and stand orientation.
Rugged Cases
Rugged cases are built for drops, kids, job sites, classrooms, kitchens, and anyone who has ever said, “I’m careful with my electronics,” five minutes before disaster. They often use hard shells, rubber bumpers, raised edges, and sometimes built-in screen protectors. These cases must fit tightly, so exact model compatibility is essential. Do not buy a rugged case based only on approximate screen size.
Keyboard Cases
Keyboard cases are ideal if you write emails, manage spreadsheets, take notes, or want your iPad to behave more like a laptop. But keyboard cases are among the least forgiving. The hinge, magnets, Smart Connector, camera cutout, and body size must all line up. Always search by your exact iPad model and generation before buying.
Sleeves and Pouches
Sleeves are more flexible because they do not snap onto the iPad. They are designed to carry and protect the device when not in use. For sleeves, your physical measurements are especially useful. Measure your iPad with any existing thin case or screen protector if you plan to keep those on. Choose a sleeve with a little extra room, but not so much that the iPad slides around like it is on vacation.
Common Mistakes When Measuring an iPad for a Case
The first mistake is measuring the screen instead of the body. Case makers design around the outer dimensions, not just the glass display. The second mistake is ignoring the generation. An iPad 9th generation and iPad 10th generation are not the same shape. The third mistake is assuming that all “Air,” “Pro,” or “mini” names mean compatibility within the same family. They do not.
Another common mistake is forgetting about accessories. If you use an Apple Pencil, Magic Keyboard-style accessory, screen protector, shoulder strap, or stand, the case must support your setup. Also, beware of vague product titles. A listing that says “for iPad 10/11 inch” may be less reliable than one that clearly lists model names and model numbers.
Finally, do not throw away packaging until you test the case. Put the iPad into the case gently. Check each corner. Press the buttons. Plug in the charger. Test the camera. Attach the Apple Pencil if you use one. Fold the stand. Close the cover. Wake the screen. If anything feels forced, stop. A tight case should be secure, not hostile.
Quick Checklist Before Buying an iPad Case
- Find the exact iPad model name in Settings.
- Tap the model number to reveal the “A” number.
- Measure the full height, width, and depth of the iPad body.
- Compare your model number with the case compatibility list.
- Check camera, speaker, microphone, button, and charging port cutouts.
- Confirm Apple Pencil and keyboard compatibility if needed.
- Read the return policy before buying from a third-party seller.
Real-World Experiences: What Actually Happens When You Measure an iPad for a Case
In real life, measuring an iPad for a case usually starts after someone has already bought the wrong case once. That is the classic origin story. The package arrives, the color looks perfect, the texture feels nice, and then the iPad refuses to fit like a cat refusing a bath. Maybe one corner will not snap in. Maybe the camera hole is half an inch off. Maybe the volume buttons disappear under plastic. At that moment, everyone becomes a measurement expert.
One practical experience is that the model number saves the most time. Measuring with a ruler helps, but the exact model number often prevents the biggest mistakes. For instance, someone may think they own an “iPad 10.9-inch” because that is what the screen size sounds like, but the store listing may separate iPad Air 10.9-inch from iPad 10th generation 10.9-inch. Those are not always interchangeable. Checking the “A” number in Settings can turn a confusing search into a simple match.
Another experience is that rugged cases require the strictest fit. A flexible silicone case may tolerate tiny differences, but a rugged case with a hard inner shell usually will not. If the iPad is even slightly different from the intended model, the case may press on the corners or block a microphone. People who buy rugged cases for children, construction work, classrooms, or travel should be extra careful. The whole point of a rugged case is protection, and protection starts with a secure fit.
Sleeves are more forgiving, but they have their own trick. If you plan to use a thin snap-on case and a sleeve together, measure the iPad after installing the thin case. Many shoppers measure the bare iPad, buy a sleeve, and then discover the protected iPad is now too snug. A little extra room is useful, especially if the sleeve has a zipper. You do not want the zipper rubbing against the corners every time you close it.
Keyboard cases create another lesson: dimensions are only half the battle. A keyboard case must match connector placement, magnet layout, and viewing angle. Even if the iPad physically fits into a holder, the keyboard may not connect if the case was designed for another generation. This is why product listings for keyboard cases often name very specific iPad models. Believe them. They are not being dramatic.
People also learn quickly that camera cutouts matter more than expected. If you use the iPad for scanning documents, online classes, video calls, or product photos, the camera opening must be clean and properly aligned. A slightly wrong cutout can create shadows, block the flash, or make the case press against the camera bump. Before keeping a new case, open the Camera app and test both photo and video. It takes ten seconds and can save a return later.
One of the best habits is to create a small note on your phone or in your password manager with your iPad’s model name, generation, model number, and dimensions. That way, whenever you buy a case, screen protector, keyboard, stand, or mount, you do not have to repeat the investigation. It is like giving your future self a tiny gift, except the gift is fewer returns and less muttering at product listings.
The final real-world tip is to avoid forcing anything. A correct iPad case should feel snug but reasonable. Corners should settle into place without bending the tablet or making you question your life choices. Buttons should click. The charger should plug in fully. The cover should close flat. If the case makes the iPad feel awkward, unstable, or blocked, it is probably not the right case. Measuring is not just about buying the case. It is about proving the case belongs there.
Conclusion
Measuring an iPad for a case is simple when you use the right process. Start with the exact model number, because that is the most reliable way to match modern iPads with case listings. Then measure the full height, width, and depth of the device, not just the screen. Finally, check the camera, buttons, ports, speakers, microphones, Apple Pencil area, and keyboard connector if applicable.
The best iPad case should feel like it was made for your tablet because, ideally, it was. A proper fit protects better, works better, and looks better. It also saves you from the small but deeply annoying tragedy of returning a case that was “almost right.” In the world of iPad accessories, almost right is usually wrong with a nicer outfit.
Note: This article is based on current public manufacturer specifications and common case-maker compatibility practices. Always verify your exact iPad model number before purchasing a fitted case.