Choppy bangs are the cool cousin of classic fringe: relaxed, textured, a little rebellious, and surprisingly forgiving when trimmed with patience. They can soften a haircut, add movement around the face, and make even a basic ponytail look like it had a meeting with a stylist. The trick is knowing how to cut choppy bangs without accidentally creating a tiny forehead curtain that screams, “I made a decision at midnight.”
This guide walks you through how to cut choppy bangs in 14 careful steps, using practical salon-inspired techniques you can follow at home. You will learn how to prep your hair, section your fringe, create a guide, point-cut for texture, blend the sides, and style the final look. The goal is not perfection. Choppy bangs are supposed to have personality. The goal is controlled imperfection, which is much better than panic with scissors.
Important note: If you are cutting bangs for the first time, have curly or coily hair, want a dramatic transformation, or feel nervous using sharp shears near your face, consider seeing a professional stylist. At-home bang cutting is best for small changes and trims, not major reinventions five minutes before school, work, or a wedding.
What Are Choppy Bangs?
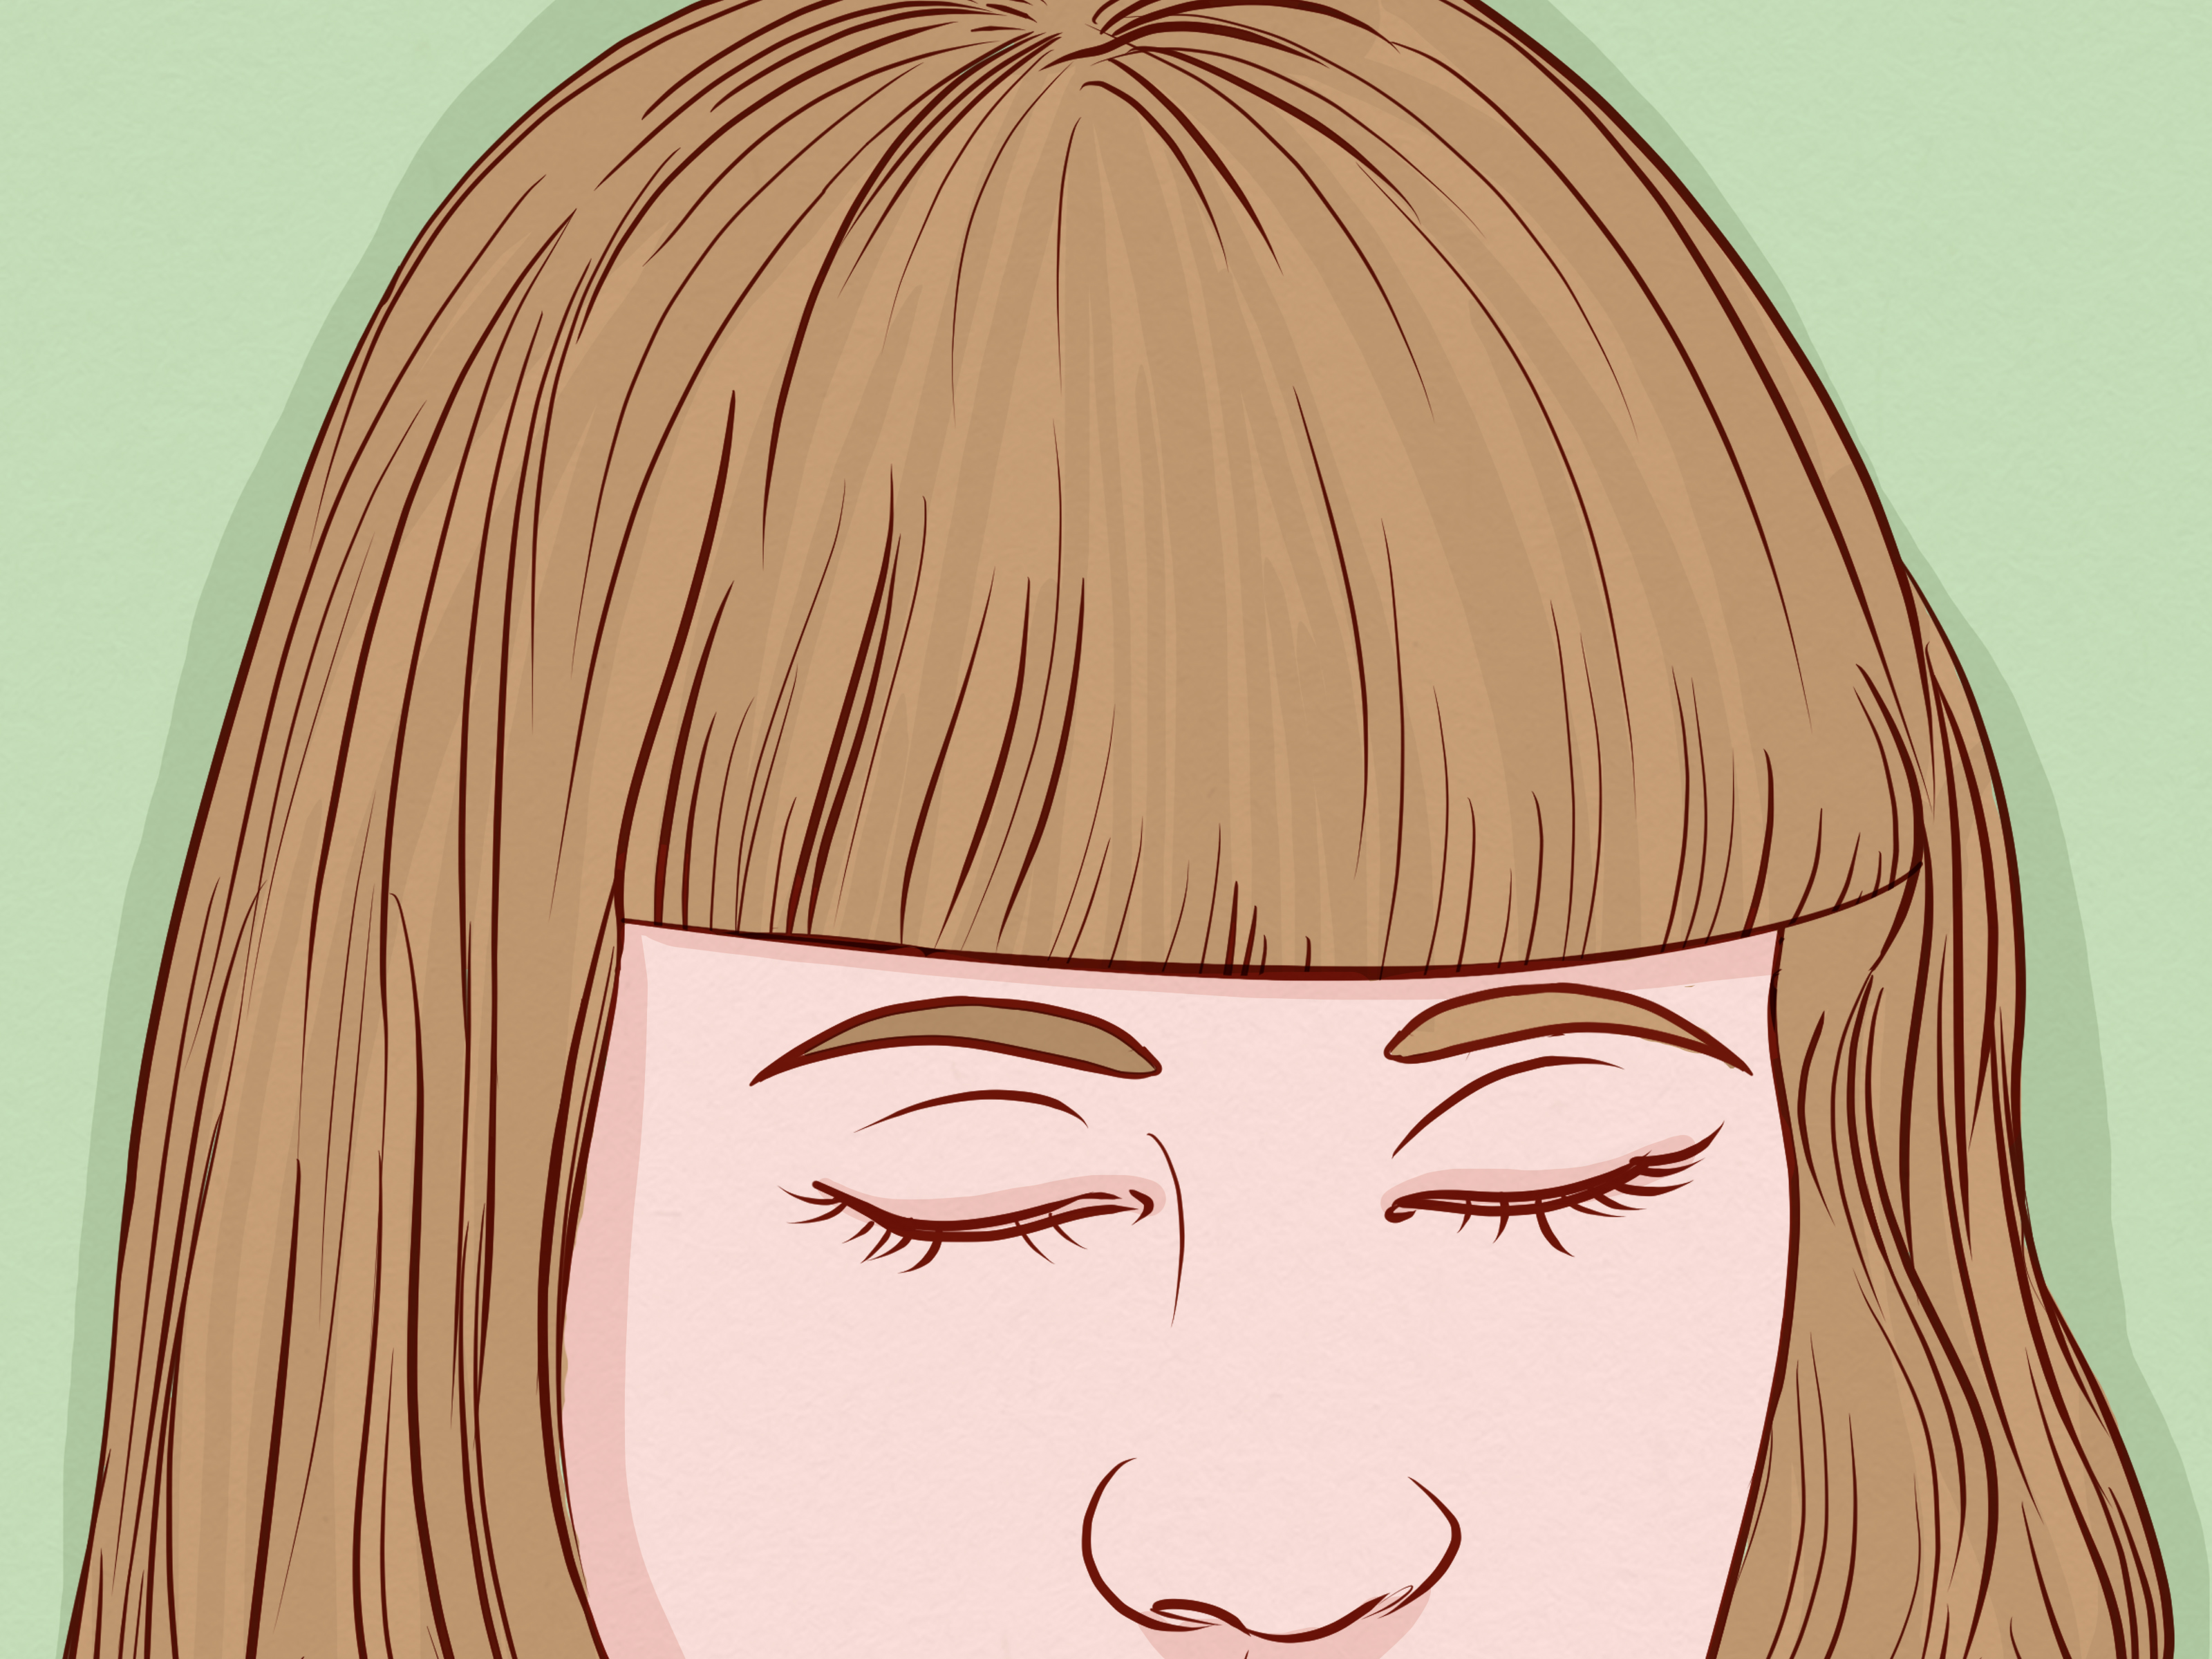
Choppy bangs are bangs with textured, uneven-looking ends. Unlike blunt bangs, which form a strong horizontal line, choppy bangs are softened with vertical snips, point-cutting, and light layering. The result is piecey, airy, and slightly undone. They work well with shags, bobs, pixie cuts, long layers, wavy hair, straight hair, and many curtain-bang styles.
The best choppy bangs look intentional, not random. That means the length still has a plan, the center usually sits around the brow or slightly below, and the sides often blend into longer face-framing pieces. The “chop” comes from texture, not chaos. Think rock-and-roll fringe, not lawn mower incident.
Tools You Need Before Cutting Choppy Bangs
Before you learn how to cut choppy bangs, gather the right tools. Good tools make the difference between soft texture and shredded spaghetti.
- Sharp haircutting shears
- Fine-tooth comb
- Hair clips
- Spray bottle, optional
- Blow dryer or flat iron, optional for styling only
- Mirror with good lighting
- Small towel or cape
Avoid kitchen scissors, craft scissors, or dull nail scissors. They can bend hair before cutting it, creating uneven edges and frizz. Haircutting shears are sharper and cleaner, which helps the ends look intentionally textured rather than chewed by a very stylish squirrel.
How to Cut Choppy Bangs: 14 Steps
Step 1: Start With Dry, Styled Hair
Cut your bangs when your hair is dry and sitting the way you normally wear it. Wet hair stretches and can shrink as it dries, especially if it is wavy, curly, or coily. If you cut wet bangs to eyebrow length, they may dry halfway up your forehead and start a new life as micro bangs.
Style your hair first. If you usually blow-dry your bangs forward, do that. If you wear them with a natural wave, let them dry naturally. Cutting hair in its real-life shape gives you a more accurate result.
Step 2: Decide the Length Before You Pick Up the Scissors
Stand in front of a mirror and decide where you want the shortest pieces to fall. For beginner-friendly choppy bangs, start longer than your dream length. Aim around the bridge of the nose or just below the brows for the first guide. You can always trim more. You cannot glue the ends back on, no matter how persuasive you are.
For a softer look, keep the center slightly shorter and the outer corners longer. For edgy choppy bangs, keep the line closer to one length but break up the ends with point-cutting.
Step 3: Separate the Bang Section
Use a comb to create a triangle-shaped section at the front of your head. The point of the triangle should begin where your head starts to curve forward, and the two lower corners should land near the outer edges of your eyebrows or temples. Clip the rest of your hair away so it does not sneak into the fringe section like an uninvited guest.
Do not make the triangle too wide or too deep. A huge section creates heavy bangs and removes more hair from the sides than expected. If you are unsure, start with a smaller triangle. You can add more hair later if needed.
Step 4: Comb the Bangs Straight Down
Comb the section forward so it lies flat, but do not pull it tightly. Tension can trick you into cutting too short. Let the hair rest naturally against your forehead. This is especially important for wavy or curly textures, because the hair’s natural spring affects the final length.
Check that your part is clean and both sides look balanced. Good sectioning is half the haircut. The cutting part gets all the drama, but sectioning is quietly doing the homework.
Step 5: Divide the Bangs Into Three Smaller Sections
Split the bang section into left, center, and right pieces. Clip the side sections away and begin with the center. This center piece becomes your guide. Working in smaller sections gives you more control and reduces the chance of accidentally cutting a heavy, uneven block.
The center section should be narrow, roughly the width between the arches of your eyebrows. Keep it simple. You are creating a guide, not building a suspension bridge.
Step 6: Create a Conservative Center Guide
Hold the center section lightly between your index and middle fingers. Slide your fingers down to the length you want, then lower them slightly so the first cut stays longer than planned. Angle your shears vertically, not horizontally, and make tiny snips into the ends.
This vertical technique is called point-cutting. It removes little bits of length while creating a jagged, soft edge. For choppy bangs, point-cutting is your best friend. A straight horizontal cut can create a blunt line that is harder to soften later.
Step 7: Cut Small Amounts at a Time
Trim only a few millimeters at first. Let the hair fall, comb it gently, and look again. Repeat if needed. The secret to cutting choppy bangs is not bravery; it is restraint. Tiny cuts give you control. Big cuts give you a hat collection.
If the bangs still feel too long, point-cut again. Keep your shears moving in small vertical snips. Avoid closing the scissors too deeply into the section, especially near the middle of your forehead.
Step 8: Match the Side Sections to the Center
Release one side section and comb it down with part of the center guide. Use the guide to decide your length. For a flattering shape, angle the side section slightly longer as it moves toward the temple. Point-cut into the ends, working slowly.
Repeat on the other side. Step back from the mirror and check whether the left and right sides feel balanced. They do not need to be identical twins; choppy bangs are allowed to be sisters with different hobbies. Still, they should look related.
Step 9: Add Choppy Texture With Vertical Snips
Once the basic length is set, use the tips of your shears to cut upward into the ends. Focus on the bottom quarter inch of hair. Vary the depth slightly so the ends look piecey instead of perfectly even.
For a softer fringe, keep the snips shallow. For a more dramatic choppy bang, make a few slightly deeper notches, but do not overdo it. Too much point-cutting can make bangs look thin, stringy, or uneven in a way that no amount of dry shampoo can fully explain.
Step 10: Remove Bulk Carefully
If your bangs feel too thick, lift small sections and point-cut only into the ends. Do not cut into the root area or middle of the section. Removing too much internal weight can create short pieces that stick up, separate, or refuse to cooperate before coffee.
For very dense hair, thinning shears may help, but they can also create gaps if used aggressively. Beginners should be cautious. If your bangs are extremely thick, it may be better to let a stylist remove weight professionally.
Step 11: Blend the Corners
The outer corners of bangs are where many at-home trims go wrong. If the corners are too blunt, they can look disconnected from the rest of the haircut. To blend them, take a tiny diagonal section from the outer bang and connect it to the longer face-framing hair beside it.
Point-cut lightly at a downward angle. The goal is a soft transition, not a staircase. Blended corners help choppy bangs look wearable from the side, which matters because people do occasionally see you from angles other than “bathroom mirror selfie.”
Step 12: Shake, Comb, and Recheck
Gently shake your bangs with your fingers, then comb them down again. Hair often shifts after the first cut. Look for any long strands, heavy corners, or spots that need softening. Trim only the pieces that clearly need it.
Do not chase every single strand. Choppy bangs are not meant to form a mathematically perfect line. If you keep correcting tiny differences, you may end up cutting shorter and shorter until your fringe has entered its villain era.
Step 13: Style the Bangs
Blow-dry your bangs first, before the rest of your hair. Use a small round brush, paddle brush, or your fingers to move the bangs side to side while drying. This helps prevent awkward separation and encourages the fringe to sit naturally.
For piecey texture, apply a tiny amount of lightweight styling cream, dry texture spray, or flexible hairspray. Use less product than you think. Bangs sit against the forehead and can get oily quickly, so heavy creams may turn your fresh fringe into a sad little curtain by lunchtime.
Step 14: Stop Before You Think You Are Done
This is the most underrated step. Stop while the bangs are still slightly longer than perfect. Live with them for a day. Style them in the morning. Check them in different lighting. If they still need refinement, trim a tiny amount later.
Freshly cut bangs can surprise you because they settle after washing, sleeping, and styling. Giving them time prevents overcutting. Remember: with bangs, the difference between “cute and choppy” and “emergency headband” can be one enthusiastic snip.
Common Mistakes to Avoid When Cutting Choppy Bangs
Cutting Too Much Too Soon
The number one mistake is removing too much length in the first cut. Start longer, especially if you are new to DIY fringe. Choppy bangs can always be made shorter and more textured later.
Using Dull Scissors
Dull scissors push and bend the hair before cutting. This can leave ragged ends and uneven texture. Sharp haircutting shears create cleaner, more controlled snips.
Cutting Wet Bangs
Wet hair can look longer than it really is. Once it dries, the bangs may jump up. Dry cutting gives you a more realistic view of the final result.
Making the Bang Section Too Wide
Wide bangs can remove too much hair from the sides of your face. Keep the section moderate and add more only if you truly need extra density.
Trying to Make Choppy Bangs Perfectly Even
Choppy bangs should have movement. If every strand is the same length, the fringe becomes blunt. If every strand is wildly different, it becomes confusing. Aim for balanced texture.
How to Style Choppy Bangs After Cutting
Choppy bangs look best when they have light movement. Blow-dry them immediately after washing so they do not dry into odd bends. Move the hair left and right with your brush or fingers, then direct it forward. This helps soften cowlicks and keeps the fringe from splitting.
For straight hair, use a flat iron only on the ends, bending them slightly inward or outward for texture. For wavy hair, scrunch the bangs gently and let the natural pattern show. For curly hair, trim curl by curl when possible and style with a light curl cream. Curly choppy bangs should usually be cut longer because curls shrink as they dry.
Dry shampoo can refresh bangs between washes. Apply a small amount at the roots, wait a minute, then brush or shake it through. Avoid heavy oils near the fringe unless your hair texture needs them, and even then, use the smallest amount possible.
How Often Should You Trim Choppy Bangs?
Most bangs need a trim every two to four weeks, depending on how fast your hair grows and how short you wear them. Choppy bangs are more forgiving than blunt bangs because the textured edge hides minor growth. However, once they start poking your eyelashes, separating heavily, or refusing to sit right, it is probably time for a small trim.
Keep maintenance minimal. Dust the ends with tiny point-cuts instead of recreating the whole haircut each time. The less you disturb the shape, the easier it is to keep the bangs looking intentional.
Who Should Try Choppy Bangs?
Choppy bangs are great for anyone who likes texture, movement, and a slightly undone finish. They can make long hair feel fresher, add personality to a bob, or give a shag haircut more edge. They are also helpful if you want fringe without the severe line of blunt bangs.
If you prefer sleek, polished hair every day, choppy bangs may require more styling than expected. If your hair has strong cowlicks, tight curls, or major shrinkage, a professional stylist can customize the shape more safely. The best bangs are not just trendy; they fit your hair texture, daily routine, and tolerance for morning styling drama.
Real-Life Experience: What Cutting Choppy Bangs Teaches You
Cutting choppy bangs at home teaches you two things very quickly: hair has opinions, and mirrors can be emotionally complicated. The first time many people trim their own bangs, they expect the process to feel like a beauty tutorial. In reality, it often feels like negotiating with a tiny curtain that keeps changing shape every time you breathe.
One practical lesson is that preparation matters more than confidence. People who get the best results usually do the boring things first: they dry their hair, section carefully, clip everything else away, and check the shape before cutting. People who struggle often start with wet hair, grab random scissors, and hope enthusiasm will carry the project. Enthusiasm is wonderful, but it is not a haircutting technique.
Another experience worth noting is how much lighting changes the result. Bangs may look perfect in a dim bathroom and uneven near a sunny window. Good lighting helps you see small gaps, heavy areas, and pieces that are longer than the rest. It also helps you avoid trimming the same side repeatedly because your shadow made it look thicker.
Choppy bangs also teach patience. After the first few snips, there is a strong urge to keep “fixing” the shape. That urge is dangerous. The better move is to cut a little, comb, step back, and wait. Sometimes what looks uneven up close looks perfectly textured from a normal distance. Remember, nobody is examining your bangs with a jeweler’s loupe while you buy coffee.
Texture is another discovery. The choppy effect does not come from hacking random chunks out of the fringe. It comes from tiny vertical snips that break up the edge. The best pieces are usually subtle. When the bangs move, the texture appears naturally. If you can see huge notches while standing still, the cut may be too aggressive.
Styling makes a big difference too. Freshly cut bangs may look strange until they are blow-dried or shaped. Moving them side to side with a dryer can relax the root direction. A small amount of texture spray can separate the ends. A touch of dry shampoo can revive them on day two. The haircut and the styling work together; one does not completely replace the other.
Finally, cutting choppy bangs can be oddly empowering. It is a small change, but it frames your face and shifts your whole look. When done carefully, it feels creative rather than risky. And if the result is not perfect, that is not the end of the story. Bangs grow, clips exist, headbands are loyal, and professional stylists have seen much worse. The real win is learning to go slowly, respect your hair texture, and stop before one more snip becomes a plot twist.
Conclusion
Learning how to cut choppy bangs is all about control, patience, and the right technique. Start with dry hair, create a clean triangle section, cut a conservative center guide, and use vertical point-cutting to build texture. Work in small sections, blend the corners, and stop before you overdo it. Choppy bangs should look soft, piecey, and naturalnot overly perfect and definitely not panic-powered.
If you want a subtle refresh, this 14-step method can help you trim and shape your bangs at home. If you want a major style change, very short fringe, or a custom shape for curls, coils, or strong cowlicks, a stylist is the safest choice. Either way, choppy bangs are fun, expressive, and easier to maintain when you treat the scissors like a precision tool instead of a magic wand.
Note: This article is for general hair styling education. Use sharp tools carefully, cut in good lighting, and ask for help if you are unsure or uncomfortable trimming near your eyes.