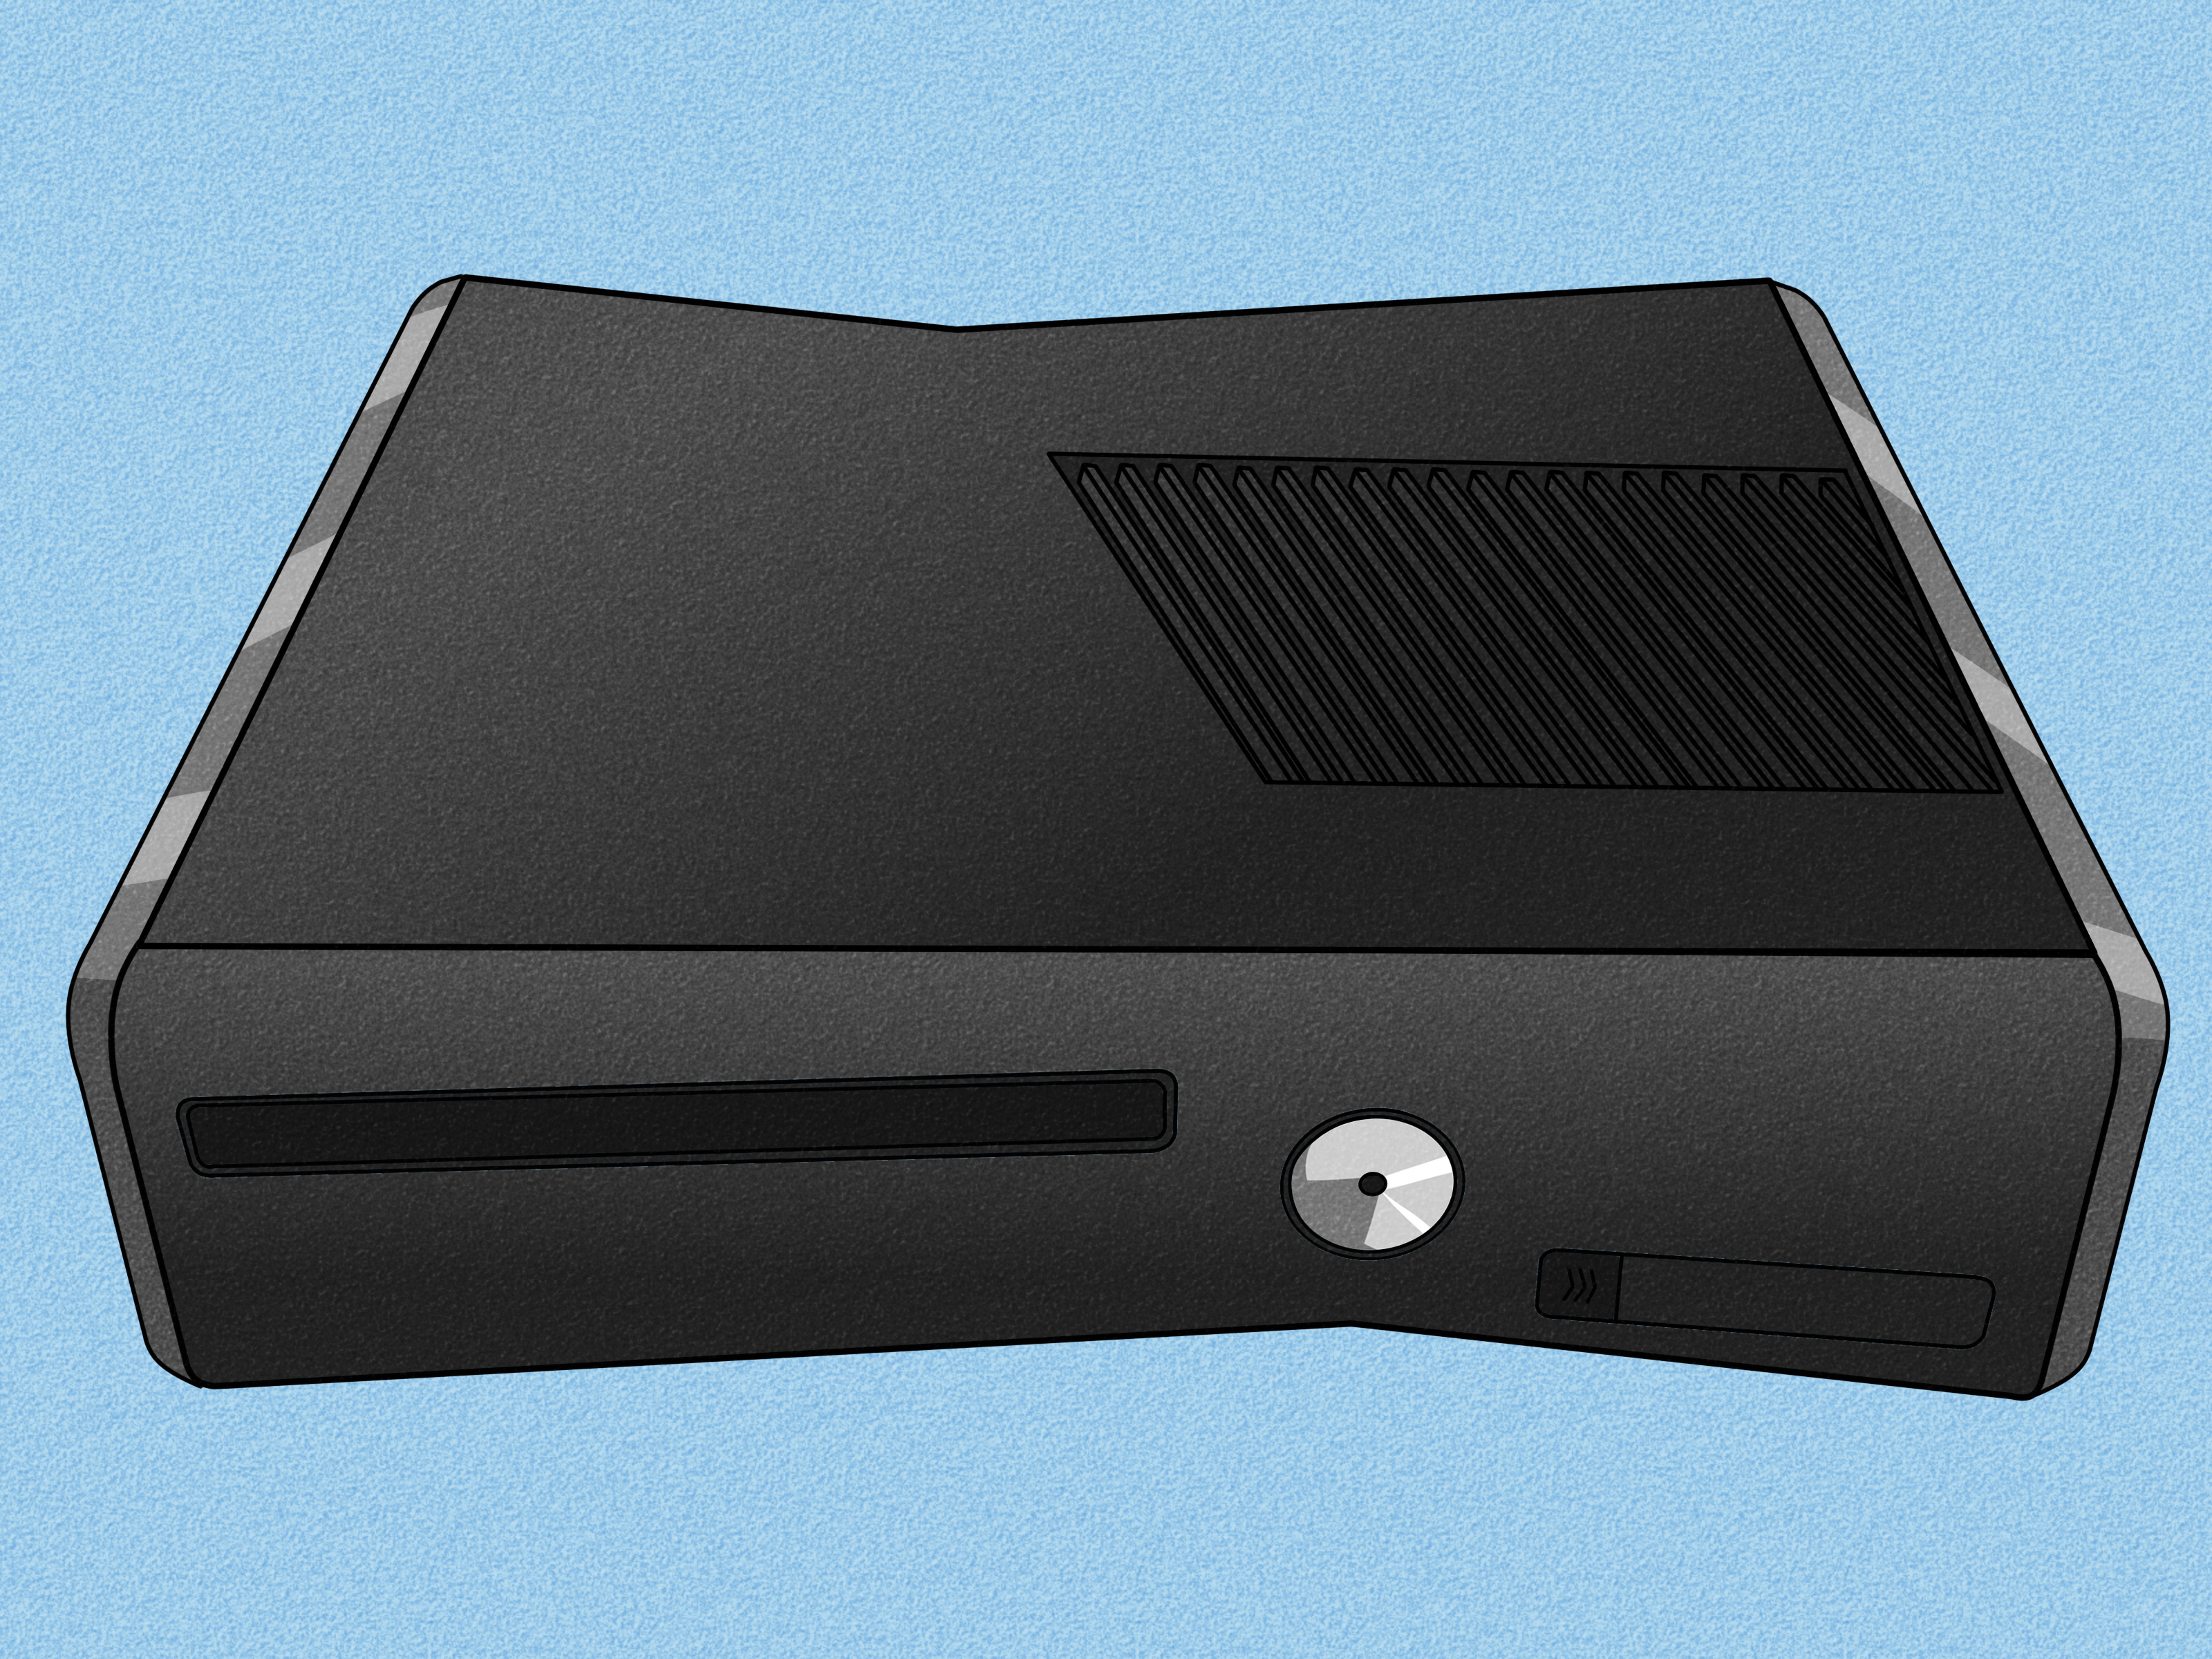
The Xbox 360 Slim is one of those consoles that refuses to leave the party. It still plays classics, still looks sleek under a TV, and still has enough nostalgia power to make a grown adult say, “Just one more match,” at 1:17 a.m. But like every hard-working game console, it has one ancient enemy: dust. Dust in the vents, dust around the ports, dust hiding near the disc tray like it pays rent.
Learning how to clean an Xbox 360 Slim the right way can help reduce fan noise, improve airflow, prevent overheating, and keep your console looking less like it was discovered in an archaeological dig. The good news? You do not need to be a repair wizard. For routine cleaning, you only need a few simple tools, patience, and the ability to resist spraying cleaner directly into the console like you are seasoning a steak.
This guide covers safe exterior cleaning, vent cleaning, controller cleaning, disc care, power brick maintenance, and what to know before attempting a deeper internal clean. We will keep it practical, careful, and just fun enough that dust bunnies feel personally threatened.
Why Cleaning Your Xbox 360 Slim Matters
The Xbox 360 Slim uses vents and an internal fan to move heat away from the console’s components. When dust builds up around the vents, ports, fan area, or power supply, airflow can become restricted. That may cause the fan to work harder, the console to run louder, and heat to linger where it should not.
A clean Xbox 360 Slim is not magically faster in the way a new graphics card would be, but it can operate more comfortably. Good airflow helps the system stay cooler during long gaming sessions, especially when playing from discs or running demanding games. If your console sounds like a tiny vacuum cleaner trying to escape the entertainment center, cleaning is a smart first step.
Regular maintenance also protects your games and accessories. Dust near the disc tray can contribute to read issues. Grime on controllers can make buttons sticky. Dirty ports can interfere with cable connections. In short, cleaning your Xbox 360 Slim is not just cosmetic. It is basic console care.
What You Need to Clean an Xbox 360 Slim
Before starting, gather your supplies. Using the right tools matters because game consoles are electronics, not kitchen counters. Harsh cleaners, soaked rags, and aggressive scrubbing are all bad ideas.
Recommended Cleaning Supplies
- Soft microfiber cloths
- Compressed air or an electronics air duster
- Soft-bristled brush, such as a clean paintbrush or electronics brush
- Cotton swabs
- 70% isopropyl alcohol for exterior surfaces, used lightly
- 90% or higher isopropyl alcohol only for advanced internal electronics cleaning
- Toothpicks or plastic picks for gentle crevice cleaning
- Small bowl or tray for accessories and cables
What Not to Use
- Bleach
- Window cleaner sprayed directly on the console
- Paper towels that may scratch glossy plastic
- Soaking-wet cloths
- Household vacuum pressed directly against vents
- Leaf blowers, because your Xbox is not a driveway
The safest rule is simple: moisture goes on the cloth, never directly on the Xbox 360 Slim. If liquid drips, you are using too much.
Before You Start: Safety First
Turn off the Xbox 360 Slim completely. Remove any disc from the tray. Unplug the power cable from the wall and disconnect the power brick from the console. Remove HDMI, Ethernet, USB accessories, memory devices, and controllers. Let the console sit for at least 10 to 15 minutes so it can cool down.
Move the console to a clean, flat, well-lit workspace. A table is better than carpet because carpet creates static and tends to hide screws, dust, and your will to finish projects. If the console has been in storage, inspect it first for insects, moisture, corrosion, or strange smells. If it smells burnt or shows signs of liquid damage, stop and consider professional repair instead of cleaning.
Step-by-Step: How to Clean the Outside of an Xbox 360 Slim
Step 1: Dust the Exterior
Use a dry microfiber cloth to wipe the top, bottom, front, back, and sides of the console. Move slowly and gently. The Xbox 360 Slim has glossy areas that can show scratches, so avoid rough cloths and gritty pressure.
If there are fingerprints or oily spots, slightly dampen the cloth with a small amount of 70% isopropyl alcohol. The cloth should feel barely damp, not wet. Wipe the smudged area, then immediately follow with a dry microfiber cloth.
Step 2: Clean the Vents
The vents are where dust likes to build its kingdom. Use a soft brush to loosen dust around the vent openings. Brush outward so debris comes away from the console instead of being shoved deeper inside.
Next, use compressed air in short bursts. Hold the can upright and avoid shaking it. Spraying too long or at an angle may release cold propellant, which can cause moisture or frost. Short, controlled bursts are enough. Think “gentle air puff,” not “jet engine test.”
Step 3: Clean the Ports
Look at the HDMI, AV, Ethernet, USB, power, and accessory ports. If dust is visible, use compressed air from a slight distance. Do not jam cotton swabs into ports. If a port has sticky grime, use a dry soft brush first. For stubborn dirt around the outside of a port, a cotton swab lightly dampened with isopropyl alcohol can help, but avoid leaving fibers behind.
Step 4: Clean the Disc Tray Area
Open the disc tray before unplugging the console if possible, then turn the system off and disconnect power. Wipe around the tray face with a microfiber cloth. Use a dry cotton swab to clean the groove around the tray front. Do not force the tray. Do not spray air directly into the optical drive at close range. The disc drive is delicate, and blasting dust deeper into it can create new problems.
How to Clean Xbox 360 Slim Vents Without Opening the Console
Most users should start with external vent cleaning. It is safer, easier, and often enough to reduce dust buildup. Place the console on its side so gravity helps loose dust fall away from the vent. Brush the vents gently, then use compressed air in short bursts. Rotate the console and repeat from different vent angles.
You can hold a vacuum hose several inches away to catch airborne dust, but do not press the vacuum directly against the console. Vacuums can generate static electricity, and static is the villain in every electronics cleaning story. Use the vacuum as a dust catcher, not as a console attachment.
After blowing out the vents, wipe the outside again. Dust will often settle back onto the shell, because dust is dramatic and enjoys a comeback.
Should You Open an Xbox 360 Slim for Deep Cleaning?
Opening an Xbox 360 Slim is an advanced task. The console shell uses clips, plastic panels, and screws that can be damaged if forced. A deep internal clean may be useful if the console is extremely dusty, overheating, shutting down, or making heavy fan noise even after exterior cleaning. However, if you are not comfortable with electronics repair, it is better to stop at exterior cleaning or use a professional service.
If you decide to open the console, you will typically need proper Torx tools, plastic spudgers, organization for screws, and a careful guide for your exact model. Inside, dust often collects around the fan, heatsink, and plastic shrouds. Advanced cleaning usually involves removing dust with compressed air, brushing fan blades carefully, and using high-purity isopropyl alcohol only where appropriate.
Never open the power supply brick casually. Power supplies can hold electrical charge and are not beginner-friendly. If the power brick is noisy, smells burnt, has a red light, or overheats, replacement is usually safer than amateur surgery.
How to Clean the Xbox 360 Slim Power Brick
The Xbox 360 Slim power supply is easy to forget because it usually lives on the floor behind furniture, where dust, pet hair, and carpet fibers gather for secret meetings. Keep the power brick off thick carpet if possible. Place it where air can circulate around it.
To clean it, unplug it from the wall and console. Let it cool. Wipe the exterior with a dry microfiber cloth. Use a soft brush to loosen dust around the vents, then use short bursts of compressed air through the vent openings. Do not open the brick unless you have proper repair experience. Do not use water. Do not cover it with cloth, stack items on it, or hide it in a closed cabinet.
How to Clean Xbox 360 Slim Controllers
A clean console with a grimy controller is like washing your car and driving it with muddy shoes on the dashboard. Xbox 360 controllers collect skin oils, snack crumbs, and mysterious button gunk that nobody wants to identify in court.
Remove the batteries or battery pack first. Wipe the controller with a dry microfiber cloth. For sticky spots, lightly dampen a cloth with 70% isopropyl alcohol and wipe the plastic surfaces. Use cotton swabs around the thumbsticks, D-pad, triggers, and buttons. A toothpick or plastic pick can gently remove grime from seams, but do not scrape aggressively.
Let the controller dry completely before reinstalling batteries. If a button is still sticky after exterior cleaning, the controller may need deeper disassembly, but that is a separate repair job.
How to Clean Xbox 360 Game Discs
If your Xbox 360 Slim struggles to read a disc, inspect the disc before blaming the console. Hold the disc by the edges. Do not touch the shiny data surface. Use a clean microfiber cloth and wipe from the center of the disc outward in straight lines. Do not wipe in circles, because circular scratches can follow the data path and cause reading issues.
For smudges, use a tiny amount of water on the cloth, then dry the disc with another microfiber cloth. Avoid abrasive cleaners, toothpaste hacks, and anything that sounds like it came from a forum post written at 3 a.m. A badly scratched disc may need professional resurfacing or replacement.
Where to Place Your Xbox 360 Slim After Cleaning
Cleaning helps, but placement keeps the console clean longer. Put the Xbox 360 Slim in an open area with space around the vents. Avoid closed cabinets, piles of game cases, blankets, or stacking other electronics on top. Heat needs somewhere to go. If you trap it, your console will complain in fan language.
Horizontal placement is usually safer than vertical placement because it reduces wobble and disc movement. If you use vertical placement, make sure the console is stable and cannot be bumped. Keep it away from carpet, pet beds, windows, and humid areas. Dust returns faster in low, enclosed, or fabric-heavy spaces.
How Often Should You Clean an Xbox 360 Slim?
For most homes, a light exterior cleaning once a month is enough. Clean vents every one to three months, depending on dust levels. If you have pets, smoke, carpet, or a console stored near the floor, clean it more often. Pet hair is basically dust with ambition.
A deeper inspection every six months is smart for older consoles. Look for louder fan noise, heat buildup, disc read errors, sticky buttons, or visible dust mats around vents. The Xbox 360 Slim is aging hardware, so prevention matters more than heroic repairs later.
Common Mistakes to Avoid
Spraying Cleaner Directly on the Console
Never spray liquid directly onto the Xbox 360 Slim. Liquid can seep through seams, vents, and ports. Always apply cleaner to a cloth first.
Using Too Much Compressed Air
Compressed air is helpful, but long blasts can spin fans too fast or push dust deeper. Use short bursts and keep the can upright.
Blocking the Vents After Cleaning
Cleaning the vents is pointless if the console goes right back into a cramped shelf with no airflow. Give it breathing room.
Opening the Console Without the Right Tools
Flathead screwdrivers and impatience can crack plastic clips. If you deep clean, use the right tools and follow a model-specific guide.
Ignoring the Power Brick
The power supply also needs ventilation. A dusty power brick can run hot and cause problems that look like console failure.
Troubleshooting After Cleaning
If the Xbox 360 Slim still runs loudly after cleaning, check the console location. Is it trapped in a cabinet? Sitting on carpet? Surrounded by other electronics? Move it to a cooler, open area and test again.
If the console shuts down or displays a ventilation warning, unplug it and let it cool for at least an hour. Make sure vents are clear and the power brick has airflow. If overheating continues after cleaning and repositioning, the internal heatsink or fan may need professional attention.
If discs still fail to read, test multiple clean discs. One bad disc does not prove a bad drive. If several known-good discs fail, the optical drive may need repair. Cleaning the outside will not fix a failing laser, worn drive belt, or damaged disc mechanism.
Extra Experience: What Cleaning an Xbox 360 Slim Feels Like in Real Life
The first time you clean an Xbox 360 Slim, it can feel slightly ridiculous. You start with a microfiber cloth and a responsible adult attitude. Five minutes later, you are crouched beside the entertainment center, discovering dust formations that appear to predate modern civilization. That is normal. Consoles are dust magnets, especially older ones that have spent years sitting near TVs, carpets, pets, and snack zones.
One practical lesson is that the first wipe is rarely the final wipe. When you brush the vents and use compressed air, dust will float out and resettle on the glossy shell. Do not be annoyed. This is just the cleaning process doing its job. Wipe the console once before vent cleaning and again afterward. The second wipe is where it starts to look satisfying.
Another real-world tip is to clean in a place where dust can escape. Doing this on a bed, couch, or carpet is a mistake. A table near a window or a garage workbench is better. Put down a towel if you want to protect the plastic shell, but avoid fuzzy fabrics that shed lint. Good lighting also helps because the Xbox 360 Slim has dark vents where dust hides like it has legal immunity.
Compressed air works best when you stay patient. Short bursts from different angles remove more dust than one dramatic blast. If you blast continuously, the can may get cold and lose pressure. Worse, you may blow propellant where you do not want it. Keep the can upright, pause between bursts, and let gravity help. Rotate the console instead of trying to attack every vent from one awkward angle.
The power brick deserves more attention than most people give it. Many overheating complaints come from setups where the console looks fine but the brick is buried under cables, carpet fuzz, or a pile of forgotten accessories. After cleaning the power supply vents and moving the brick into open air, the whole setup often feels more stable. It is not glamorous, but neither is a power brick gasping for air behind a TV stand.
Controllers are usually the grossest part of the job. The console may have dust, but the controller has history. Thumbsticks collect skin oils, button edges collect crumbs, and seams collect whatever happened during the last pizza-fueled gaming night. Cotton swabs and light alcohol use make a big difference. Just remember to remove the batteries first and let everything dry before playing.
The biggest experience-based advice is not to rush into opening the console. Many Xbox 360 Slim systems improve after careful exterior cleaning and better placement. Deep cleaning is useful, but it is not the first move for everyone. If your console is rare, sentimental, or still working well, conservative cleaning is smarter than turning it into a pile of clips and regret.
Finally, cleaning an Xbox 360 Slim is oddly satisfying because it feels like preserving a little piece of gaming history. This console carried people through Halo nights, Minecraft worlds, racing rivalries, Kinect experiments, and more dashboard updates than anyone wants to remember. Giving it a careful cleaning is not just maintenance. It is a small thank-you to a machine that has probably survived moves, storage boxes, and at least one controller thrown onto a couch with suspicious force.
Conclusion
Cleaning an Xbox 360 Slim is simple when you follow the right approach: power down, unplug everything, wipe gently, clear the vents with a soft brush and short bursts of compressed air, clean the ports carefully, and keep moisture far away from openings. Routine cleaning can reduce dust buildup, support better airflow, and help your console stay ready for another round of classic gaming.
The most important thing is restraint. You do not need harsh chemicals, direct liquid sprays, or aggressive tools. For most users, exterior cleaning and smart placement are enough. If your Xbox 360 Slim still overheats, runs loudly, or struggles with discs after cleaning, then it may need deeper repair. Until then, treat it kindly, keep the vents clear, and remember: dust may always come back, but now you know exactly how to show it the door.