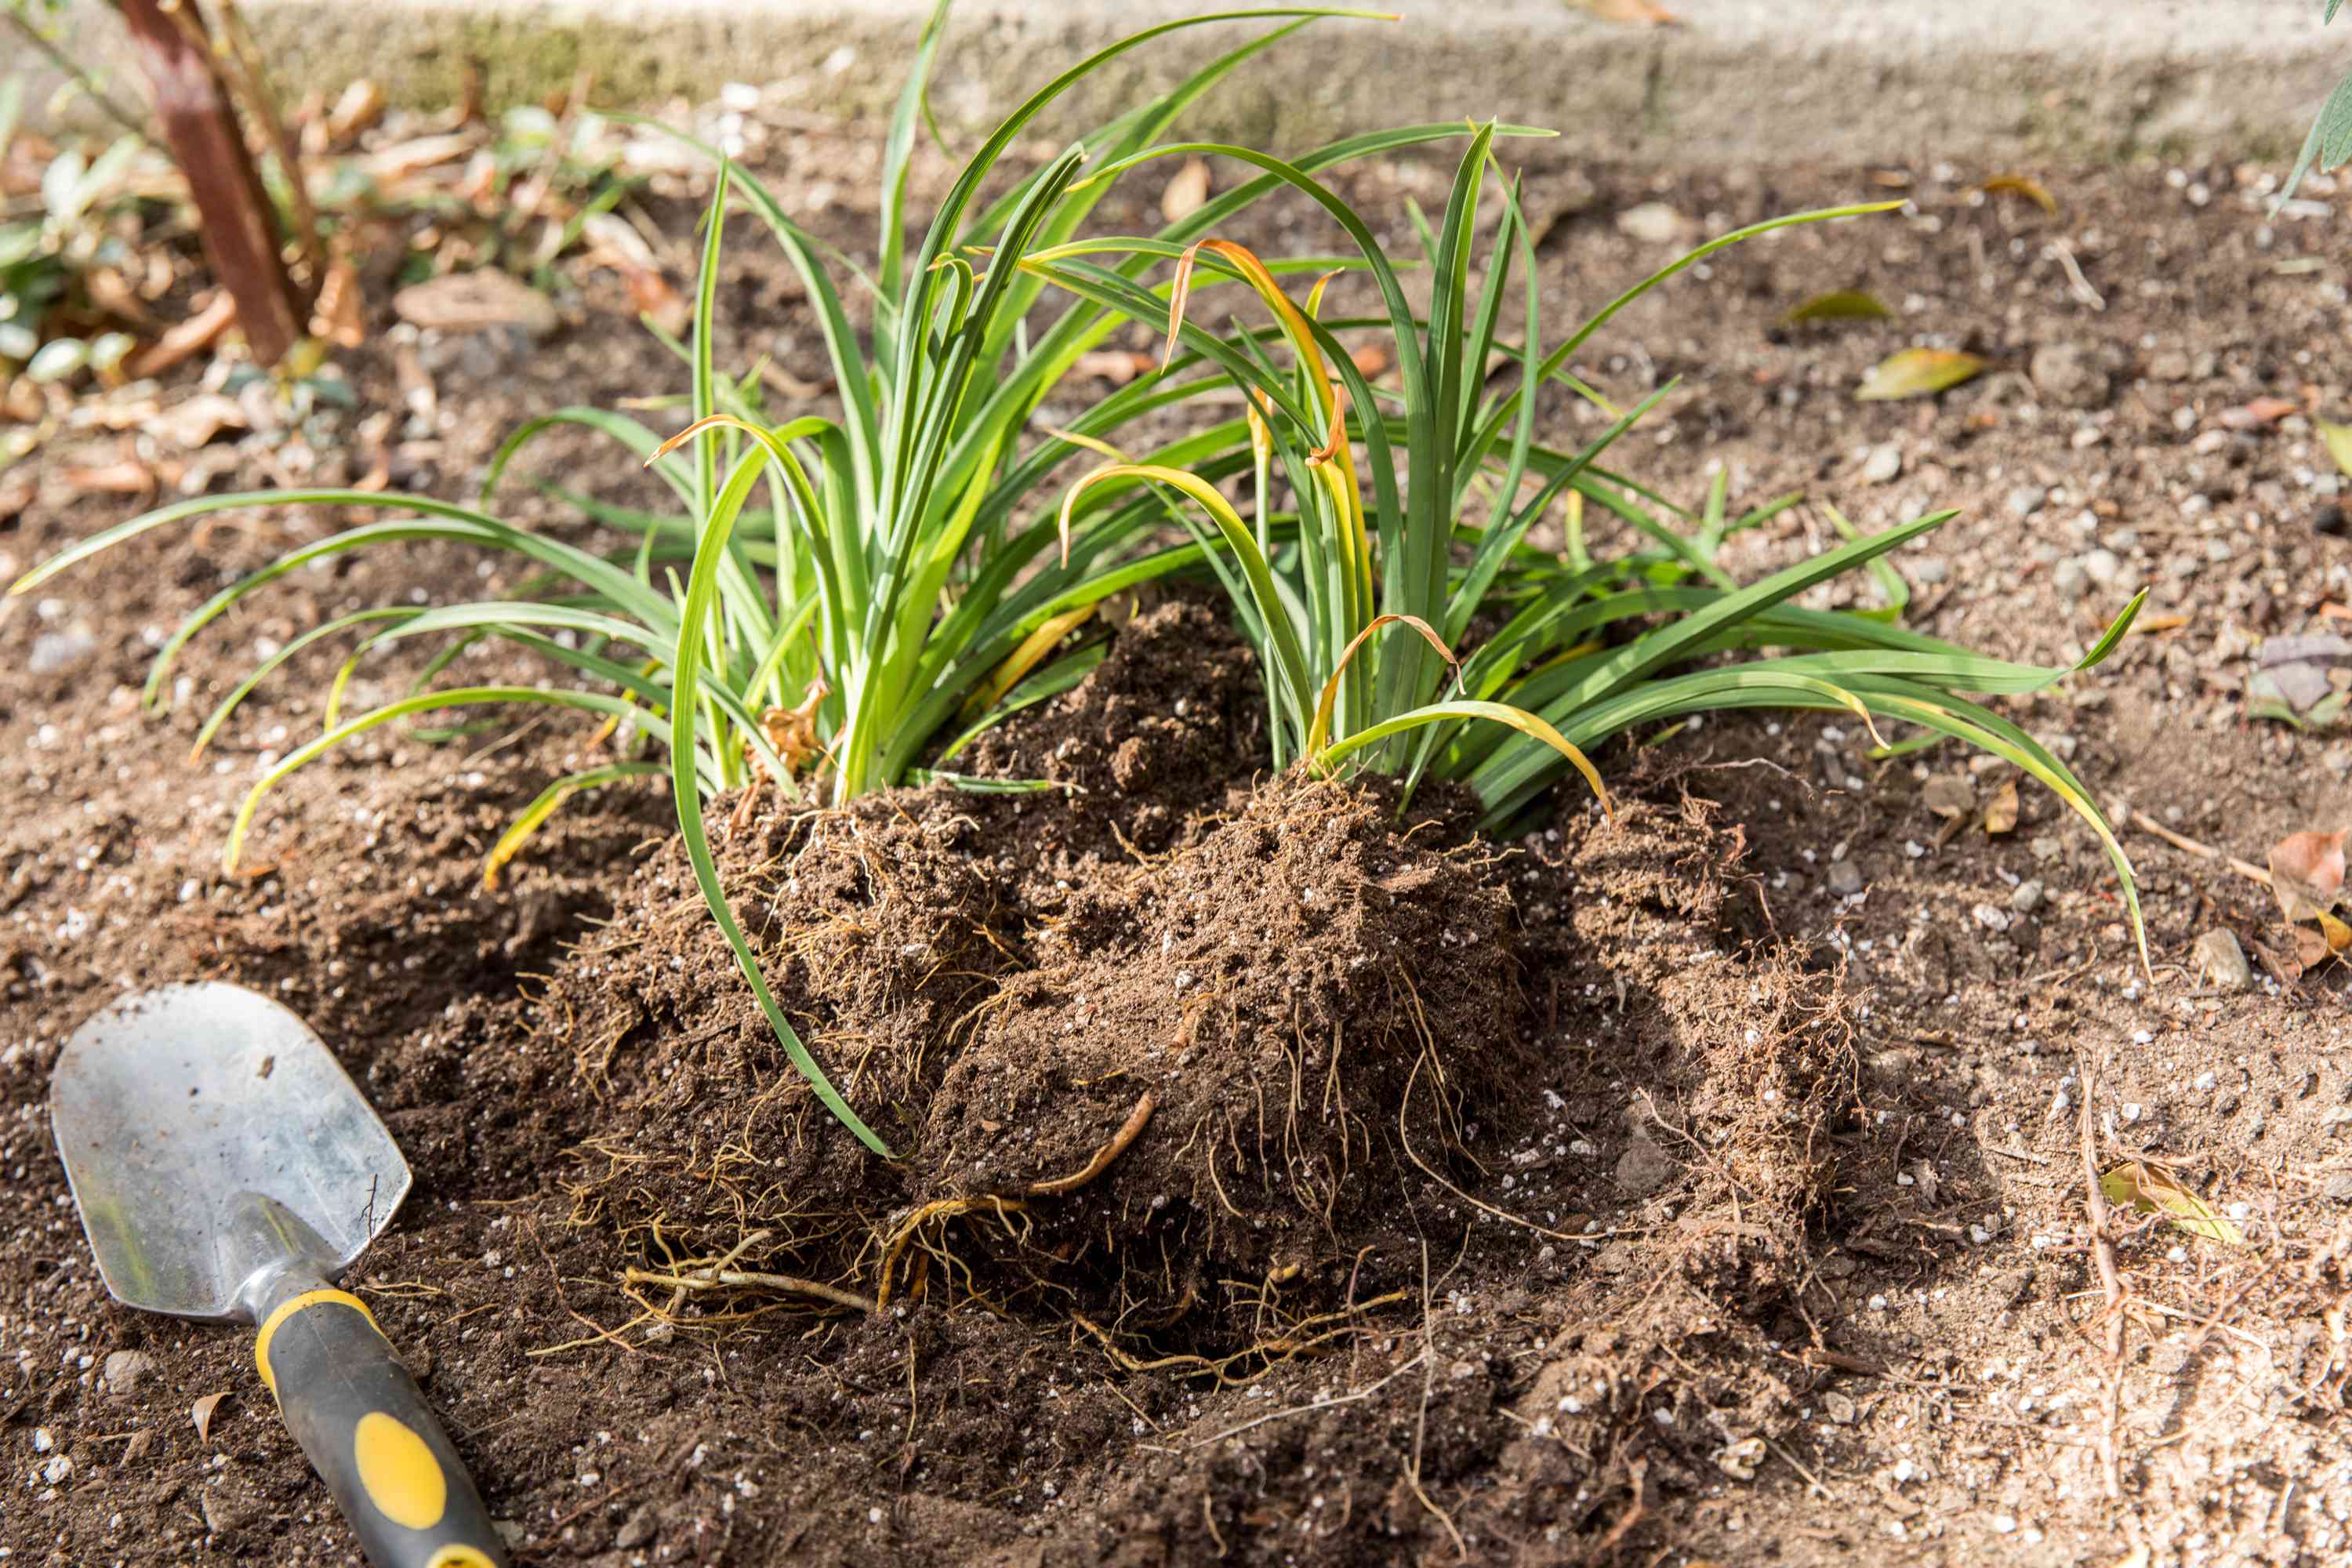
Daylilies are the kind of garden plants that make you feel like a genius. They bloom generously, forgive the occasional lapse in care, and usually come back ready for another season like nothing happened. But even these reliable workhorses eventually send a polite little signal that says, “Hey, I could use some breathing room.” That is when dividing and transplanting daylilies becomes one of the smartest jobs in the garden.
If your clumps are getting crowded, blooming less than they used to, or developing that classic “I was fabulous five years ago” look in the center, dividing them can bring them back to life. It also gives you free plants, which is one of gardening’s best loopholes. With a shovel, a bit of timing, and a willingness to get dirt in places dirt should not be, you can turn one tired clump into several healthy, vigorous plants.
This guide explains when to divide daylilies, how to transplant them without drama, and what to do afterward so they settle in quickly. If you have been staring at an overgrown patch and wondering whether it is time, the answer is probably yes.
Why Dividing Daylilies Matters
Daylilies grow in expanding clumps. Over time, those clumps can become crowded, and crowded plants often produce fewer flowers, smaller blooms, and weaker growth. Division is not just about making more plants. It is a practical way to rejuvenate the original clump and improve overall garden performance.
When you divide and transplant daylilies, you reduce competition among roots, improve airflow around the crown, and give each section more space to absorb water and nutrients. In plain English, the plants stop elbowing each other at the buffet table.
Signs Your Daylilies Need Dividing
- Flowering has declined compared with previous years.
- The center of the clump looks thin, weak, or dead.
- The plant has outgrown its space and is crowding neighbors.
- Leaves look dense and tangled, but blooms are sparse.
- You want more plants without spending money at the nursery.
Many daylilies benefit from division every few years, though the exact timing depends on the variety, growing conditions, and how much room you gave them in the first place. Some gardeners divide sooner for appearance, while others wait until bloom production clearly drops. The plants are patient. Your landscape might not be.
Best Time to Divide and Transplant Daylilies
The best time to divide and transplant daylilies is usually early spring as new growth starts to emerge or right after flowering in late summer to early fall. Both windows can work beautifully, but each has its own perks.
Early Spring
Spring division is great because the weather is usually cooler, soil moisture is often better, and plants have a full growing season ahead to settle in. The downside is that spring-divided daylilies may bloom later than usual or skip blooming that summer while they focus on root establishment. Basically, they choose self-care over performance.
After Bloom in Late Summer or Early Fall
This is a favorite timing for many gardeners because you can see exactly which clumps need work, and the plants are done spending energy on flowers. In many climates, dividing after bloom gives roots time to establish before winter. Just avoid waiting too long in cold regions. Newly moved plants need several weeks of decent weather before the ground freezes.
Timing Tips That Save Trouble
- Avoid dividing on hot, blazing afternoons if possible.
- Choose a cool, cloudy day or work in the morning.
- Water the clump a day or two before digging if the soil is dry.
- If you transplant late in the season, mulch lightly after the ground cools.
Choose the Right New Spot
Daylilies are famously adaptable, but they still have preferences. If you want stronger growth and better bloom production, set them up in a location with good conditions from the start.
What Daylilies Like
- Sun: Full sun is ideal for the best flowering, though light shade can work.
- Soil: Well-drained soil enriched with organic matter is the sweet spot.
- Moisture: Even moisture helps new divisions establish quickly.
- Space: Give clumps room so you are not repeating this project next weekend.
Before you dig anything up, prepare the new planting area. Loosen the soil, work in compost if needed, and remove weeds. Doing this ahead of time prevents the classic transplanting mistake: leaving roots exposed while you scramble around the yard with a shovel and a confused expression.
Tools You Will Need
- Sharp spade or shovel
- Garden fork, optional but helpful
- Hori hori knife, pruning saw, or sturdy knife for dense clumps
- Pruners or garden shears
- Compost or soil amendment, if your soil needs help
- Mulch
- Water source or hose
- Gloves, unless you enjoy looking rugged for the rest of the week
How to Divide and Transplant Daylilies Step by Step
1. Water Before You Dig
If the ground is dry, water the plant a day or so in advance. Moist soil is easier to work with and reduces transplant stress. You do not need mud. You need cooperation.
2. Dig Up the Entire Clump
Use a shovel to dig around the outside of the clump rather than slicing straight through the center right away. Go several inches beyond the crown so you lift as much of the root mass as possible. Pry the clump out gently. If it is enormous, you may need to cut it into manageable chunks before lifting.
3. Trim the Foliage if Needed
If you are dividing after bloom or in late summer, cut the foliage back to about 5 to 8 inches. This reduces water loss and makes the clump easier to handle. In spring, you usually will not need to trim much because fresh growth is just starting.
4. Shake or Wash Off Excess Soil
Remove some soil so you can see the crowns, roots, and natural divisions. This step is especially helpful if the clump is old and tightly packed. You are trying to separate plants, not solve a root-themed mystery novel.
5. Pull or Cut the Clump Apart
Many daylilies can be pulled apart by hand once loose soil is removed. Older clumps may need a sharp knife, spade, or pruning saw. Each division should have healthy roots and at least one fan of leaves, though sections with two or three fans often re-establish faster and bloom sooner.
6. Discard Weak or Damaged Portions
Toss out dead centers, mushy roots, or obviously weak sections. This is not cruel. This is quality control.
7. Replant at the Correct Depth
Dig a planting hole wide enough to spread the roots comfortably. Build a small mound of soil in the center if needed, then spread the roots over it. Set the plant so the crown sits about 1 inch below the soil surface. Planting too deep can reduce performance, while planting too high can leave the crown exposed and prone to drying out.
8. Space Plants Properly
Space most daylily divisions about 18 to 24 inches apart, depending on the variety. That may look generous on planting day, but daylilies are not known for respecting personal boundaries forever.
9. Backfill and Water Thoroughly
Backfill with soil, gently firm it around the roots, and water deeply right away. This settles the soil, removes air pockets, and gives the plant a strong start. If the soil sinks after watering, add a little more soil to maintain the right level.
10. Mulch Lightly
Add mulch around the plant to conserve moisture and reduce weeds, but keep it away from the crown. You want a tidy ring, not a mulch volcano.
Aftercare for Newly Transplanted Daylilies
Freshly divided daylilies are tough, but they still appreciate a little pampering. Think less luxury spa, more practical recovery plan.
Watering
Keep the soil evenly moist for the first few weeks after transplanting. Do not let the plants dry out while they are trying to grow new roots. Once established, daylilies tolerate dry spells reasonably well, but newly moved divisions need consistent moisture.
Mulching
A light layer of mulch helps regulate soil temperature and reduce moisture loss. In colder areas, late-season divisions may benefit from winter mulch after the soil cools to help protect against heaving.
Fertilizer
Do not go overboard. Rich, amended soil is often enough. If you fertilize, keep it moderate and avoid pushing tender top growth before roots catch up. This is a transplant, not a bodybuilding contest.
Bloom Expectations
Some divisions bloom the first year, especially larger ones. Others need a little time. If a newly moved plant spends its first season focusing on roots instead of flowers, that is not failure. That is strategy.
Common Mistakes to Avoid
Planting Too Deep
One of the easiest ways to slow a daylily down is burying the crown too deeply. Keep the crown shallow and close to the soil surface.
Using Tiny Divisions Only
Single fans can survive, but larger divisions with multiple fans usually establish faster and look better sooner. If patience is not your strongest personality trait, go bigger.
Letting Roots Dry Out
Move divisions from shovel to soil as quickly as possible. Do not leave them baking in the sun while you admire your productivity.
Dividing During Extreme Heat
Can you do it? Sometimes. Will the plants write you a thank-you card? Absolutely not. Cooler conditions are easier on both you and the daylilies.
Ignoring Soil Drainage
Daylilies are adaptable, but soggy soil can still cause problems. If the site stays wet, improve drainage or choose another spot.
Frequently Asked Questions About Dividing Daylilies
Can I divide daylilies when they are blooming?
You can, but it is not ideal. The plant is using energy on flowers, and the stress of moving may shorten the bloom show. It is usually better to wait until blooming ends or divide in early spring.
How often should I divide daylilies?
Many gardeners divide them every 3 to 5 years, or whenever bloom production drops and clumps become overcrowded.
Do daylilies transplant well?
Yes. Daylilies are among the easier perennials to divide and move, especially compared with fussier plants that behave like you have ruined their entire year.
Will divided daylilies bloom next year?
In many cases, yes. Larger, healthy divisions often bloom well once re-established. Smaller divisions may need more time.
The Real Payoff: Healthier Plants and More Flowers
Dividing and transplanting daylilies is one of those garden tasks that looks dramatic for about an hour and then pays you back for years. A tired clump becomes several healthy plants. A crowded bed gains order. Blooming improves. And you get the deeply satisfying feeling that you just expanded your garden for free, which is always excellent for morale.
If you remember the big rules, you are in good shape: divide at the right time, keep healthy roots attached, replant shallowly, water well, and give the plants room to grow. The process is simple, forgiving, and surprisingly satisfying. By next season, your refreshed daylilies should look less like they are surviving and more like they are auditioning for garden fame.
Gardener Experiences: What Dividing and Transplanting Daylilies Feels Like in Real Life
Ask gardeners about dividing daylilies, and you will hear a similar pattern. Most people put it off because the clump looks large, dense, and mildly intimidating. Then they finally dig in and realize the job is less complicated than expected. The first surprise is usually how much plant is hiding underground. A daylily that looked modest from the sidewalk suddenly becomes a wheelbarrow-level operation.
Another common experience is discovering how different divisions behave. Larger pieces with multiple fans often settle in quickly and look almost unfazed, while smaller pieces can look a little grumpy for a while. Gardeners often learn that “technically alive” and “ready for a magazine photo shoot” are not the same thing. Patience matters, especially in the first season after transplanting.
Many people also notice that site selection makes a bigger difference than expected. A division planted in brighter light with improved soil often outperforms the original clump within a year or two. That is one reason gardeners get hooked on this project. It is not just maintenance. It feels like editing the landscape in real time. You move a plant from an okay spot to a better one, and suddenly the whole bed starts making more sense.
There is also the emotional side of it. Daylilies are classic pass-along plants, so dividing them often turns into sharing. One clump can become a few gifts for neighbors, family, or the friend who says, “I do not really garden,” while holding three tomato seedlings and asking detailed soil questions. Passing along divisions makes the job feel productive in a very satisfying way.
Gardeners who divide daylilies for the first time often report one mistake they never repeat: planting too deep or too close together. At first, the spacing can look excessive, almost comical, like you forgot how wide plants get. Then a couple of seasons pass, the foliage fills in, and suddenly you look wise and visionary instead of oddly cautious.
Another very real experience is the physical one. Dividing old daylily clumps can be a workout. The roots are fleshy, the crowns can be stubborn, and the clump may resist easy separation. But there is a strange satisfaction in finishing the job, rinsing off your tools, and seeing several neat new plants lined up and watered in. It feels productive in the best, most old-school gardening way.
Perhaps the biggest lesson gardeners share is that daylilies are resilient. Even when the division is not perfect, even when the timing is not ideal, and even when the gardener is working with equal parts enthusiasm and guesswork, daylilies often recover beautifully. That forgiving nature builds confidence. After one successful round of dividing and transplanting, many gardeners stop seeing overgrown clumps as a problem and start seeing them as an opportunity.