A transverse flute is the elegant side-blown cousin of the recorder, and yes, you can make a simple one from things hiding in your kitchen drawer, recycling bin, garage, or “mysterious craft box of doom.” The basic idea is beautifully simple: a tube holds a vibrating column of air, your breath strikes an edge at the mouth hole, and finger holes shorten or lengthen the vibrating air column to create different pitches.
This guide shows five practical ways to make a transverse flute from household supplies, including straws, cardboard tubes, PVC pipe, bamboo-like garden stakes, and empty marker barrels. These homemade flutes will not replace a concert silver flute, unless your orchestra is extremely forgiving, but they are excellent for learning acoustics, experimenting with pitch, and making surprisingly musical sounds from everyday materials.
Before you begin, remember that cutting, drilling, sanding, and heating materials can be risky. Adults should handle sharp tools, and all makers should wear eye protection when drilling. Also, never blow into a tube that has held chemicals, paint, cleaners, or anything suspicious. If it smells like a science experiment gone wrong, retire it immediately.
How a Homemade Transverse Flute Works
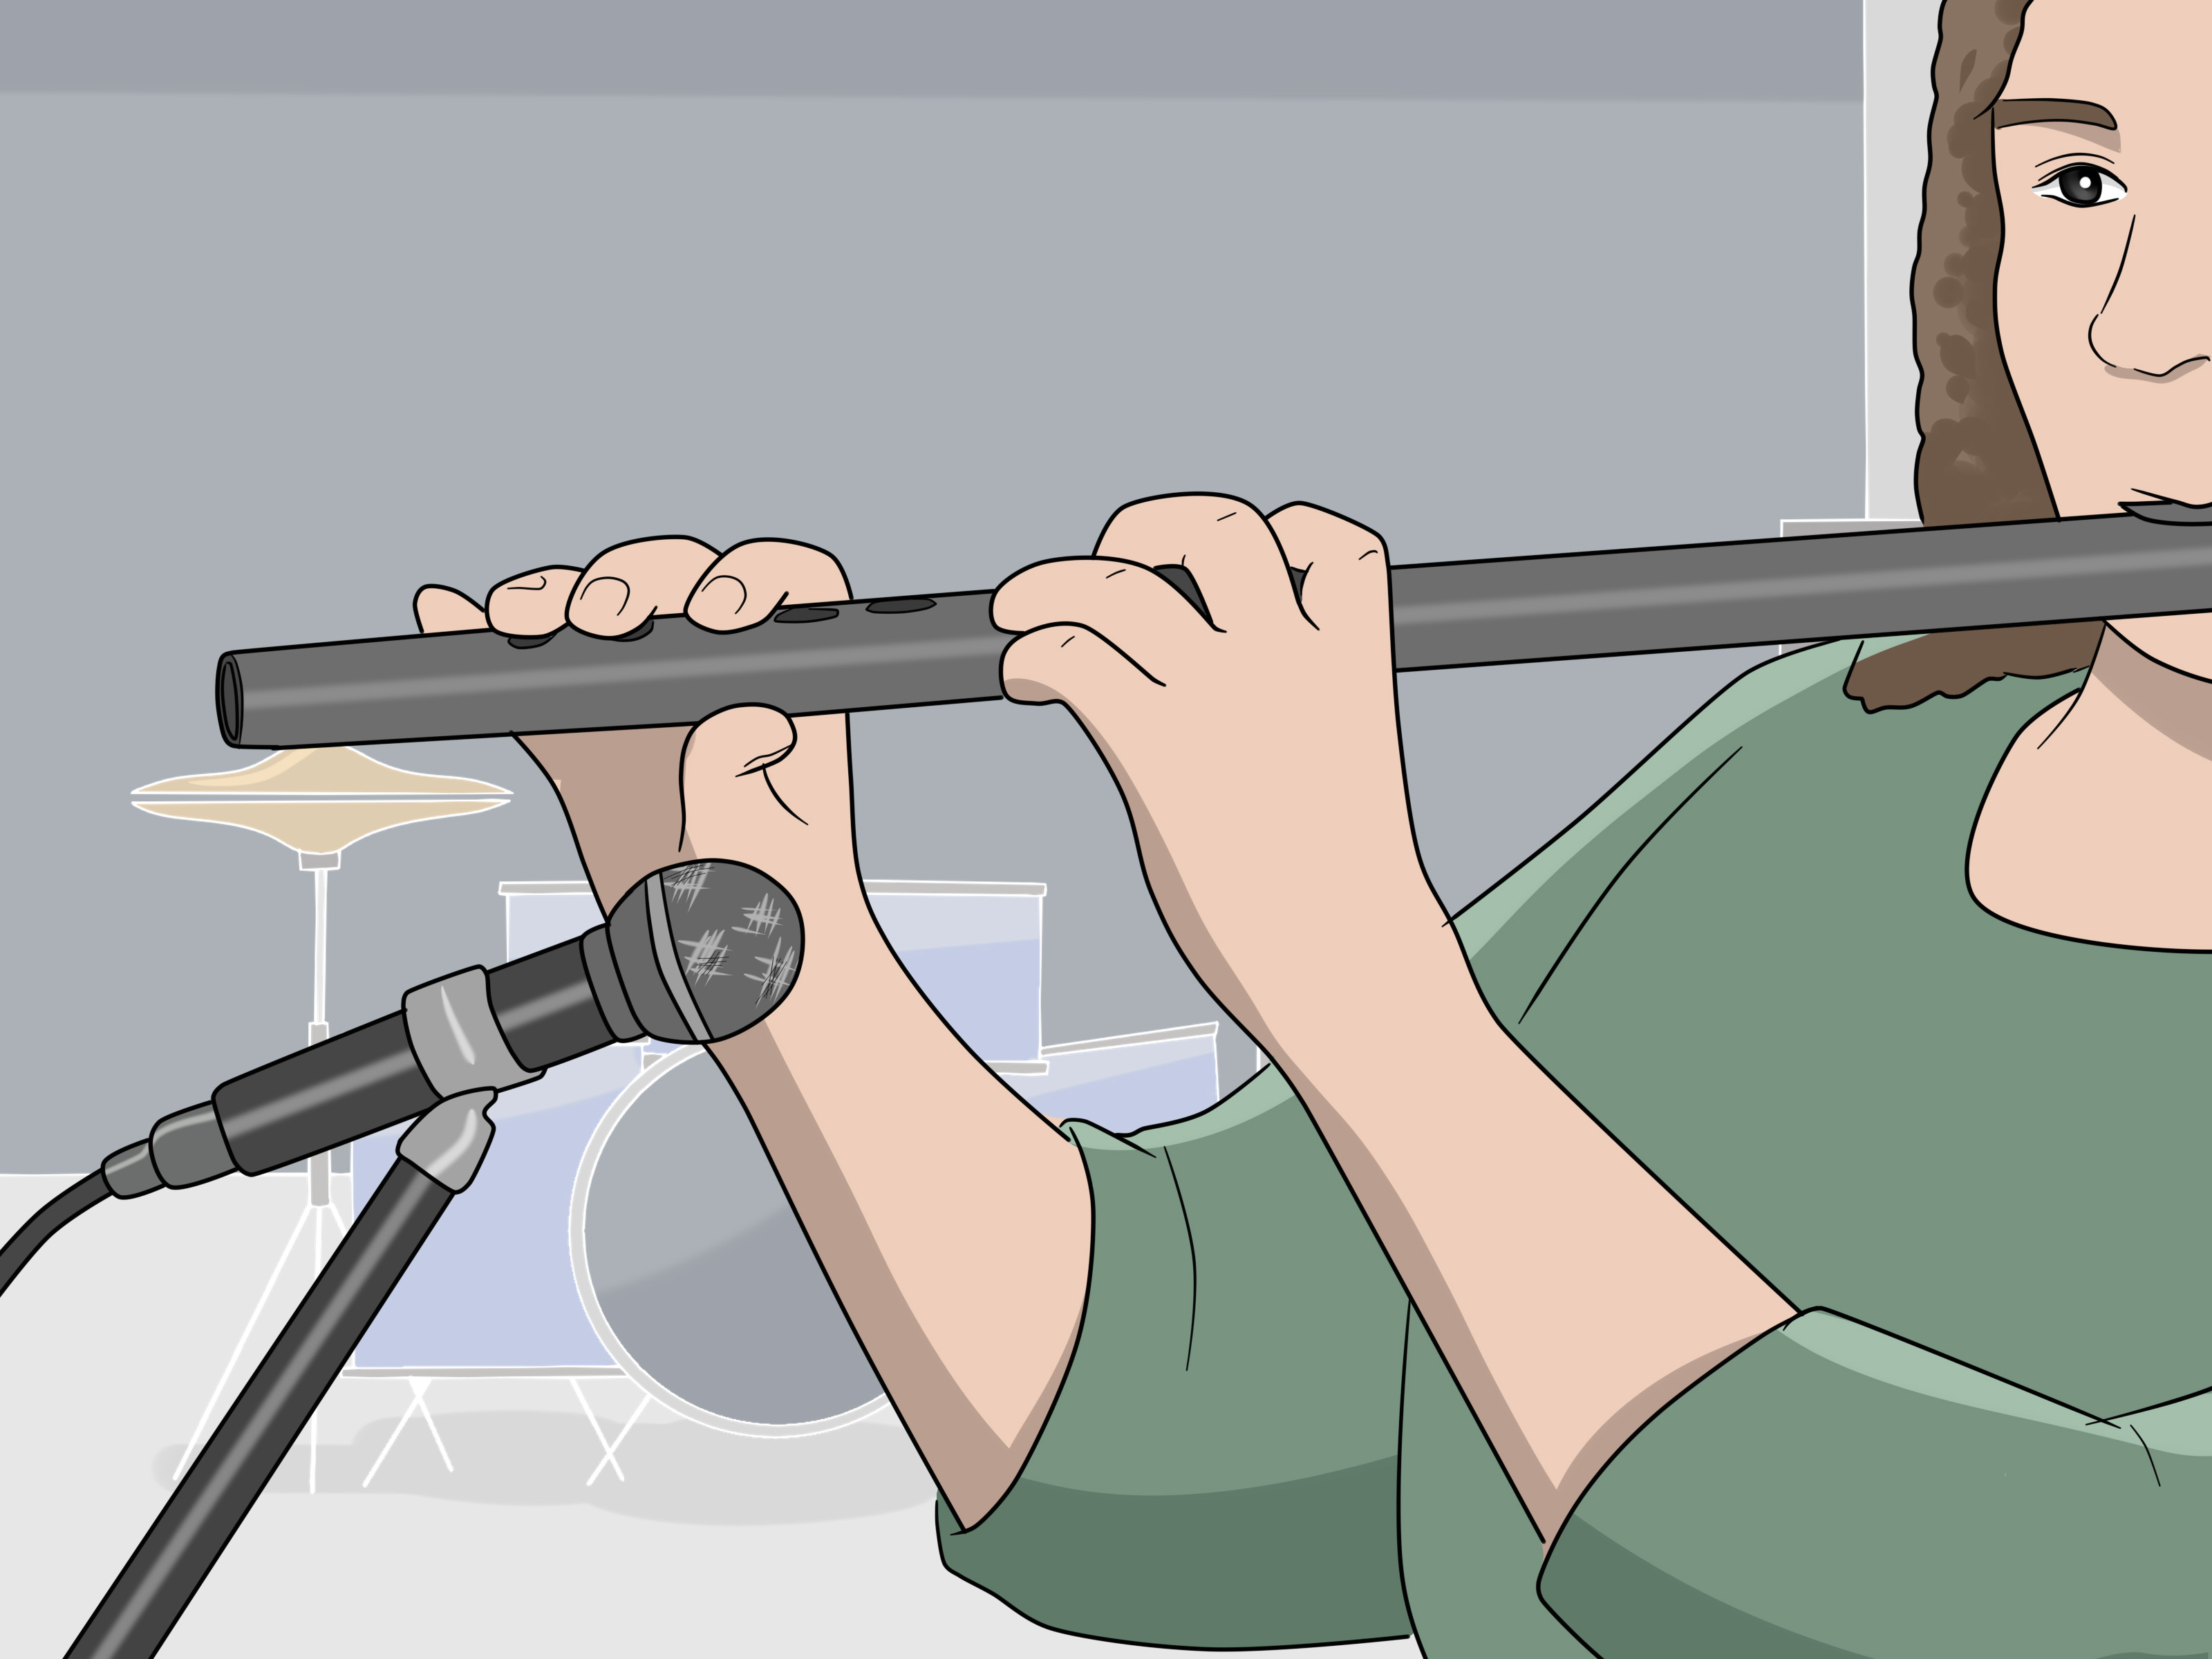
A transverse flute is played sideways. Instead of blowing into the end, you blow across a mouth hole, also called an embouchure hole. The air stream splits against the far edge of the hole. Part of the air goes into the tube, part passes over it, and the changing pressure causes the air inside the tube to vibrate. That vibration is what becomes sound.
The pitch depends mainly on the length of the vibrating air column. A longer tube usually makes a lower note. A shorter tube makes a higher note. Finger holes work by creating new openings in the tube. When you uncover a hole, the instrument behaves as if the tube is shorter, so the pitch rises. This is why hole placement matters. It is also why your first homemade flute may sound like a goose with jazz ambitions. Tuning takes patience.
Basic Supplies You Can Use
You do not need a professional workshop to make a simple DIY transverse flute. Many household supplies can become beginner-friendly instruments if they are clean, hollow, and reasonably straight. Useful materials include drinking straws, cardboard tubes, PVC pipe, bamboo garden stakes, plastic pen bodies, empty marker barrels, masking tape, corks, modeling clay, scissors, rulers, sandpaper, and a phone tuner app.
For the best results, choose tubes with smooth inner walls. A tube that is too soft will collapse under your fingers. A tube that is too wide may require more breath control. A tube that is too narrow may produce a small, whistle-like sound. A good beginner diameter is somewhere between a thick straw and a small PVC pipe.
Way 1: Make a Mini Transverse Flute from a Drinking Straw
Best for: Fast experiments, kids’ STEM projects, and learning pitch
A straw flute is the easiest way to understand how tube length affects sound. It is small, cheap, and forgiving. If it fails, congratulationsyou have lost one straw, not a family heirloom.
Supplies
- One wide plastic or paper straw
- Scissors
- Ruler
- Tape
- Pushpin or hole punch
Steps
Start with a clean, wide straw. Seal one end with a tiny piece of tape, a dab of modeling clay, or a folded section of the straw. About one inch from the sealed end, make a small oval mouth hole. Keep it small at first; you can always enlarge it later, but you cannot shrink a hole unless tape becomes your emergency engineering department.
Hold the straw sideways and blow gently across the mouth hole. Aim your air at the far edge of the opening, not directly into the straw. Rotate the straw slightly until you hear a tone. Once you can make a steady sound, add two or three tiny finger holes along the body. Place them gradually farther from the mouth hole. Cover all holes to play the lowest note, then uncover one hole at a time to raise the pitch.
Tips for Better Sound
Use light breath. A straw flute does not need a hurricane. If the sound is airy, adjust your lip angle and make the mouth hole slightly cleaner. If the pitch jumps too much, your finger holes may be too large. Cover part of a hole with tape to lower that note.
Way 2: Make a Cardboard Tube Transverse Flute
Best for: Recycled crafts and gentle indoor sound
A cardboard tube flute is a fun recycled craft because it uses materials almost everyone has. Paper towel tubes, wrapping paper tubes, or sturdy mailing tubes can work. The sound is softer and breathier than PVC, but the project is excellent for beginners.
Supplies
- One sturdy cardboard tube
- Masking tape
- Scissors or craft knife
- Ruler
- Pencil
- Clear tape or paper reinforcement rings
- Cork, clay, or tightly rolled paper plug
Steps
Cut the cardboard tube to about 12 to 16 inches long. Seal one end using cork, modeling clay, or a tightly rolled paper plug wrapped with tape. Mark the mouth hole about 1 inch from the closed end. Cut a small oval hole, then reinforce its edges with clear tape. This keeps the cardboard from fraying and gives the air stream a cleaner edge.
Next, mark four to six finger holes along the tube. Begin with small holes. A homemade flute is easier to tune when you enlarge holes slowly. Cover the holes with your fingers and blow across the mouth hole. If the flute speaks, meaning it produces a clear tone, you are on the right path. If it only whispers dramatically, sharpen the mouth-hole edge with a careful trim or tape reinforcement.
Tips for Better Sound
Cardboard absorbs moisture, so avoid playing it for long sessions. If the tube becomes soft, let it dry. For a stronger version, wrap the tube with packing tape or decorative paper. This also makes your flute look less like it was rescued from the recycling bin five minutes ago.
Way 3: Make a PVC Pipe Transverse Flute
Best for: A louder, more durable homemade flute
PVC pipe is one of the most popular materials for DIY transverse flutes because it is sturdy, smooth, inexpensive, and widely available. A simple PVC flute can produce a surprisingly strong tone when the mouth hole and finger holes are shaped carefully.
Supplies
- One piece of clean PVC pipe, about 3/4 inch diameter
- End cap or cork
- Ruler or measuring tape
- Marker
- Drill with small bits
- Sandpaper
- Painter’s tape
- Phone tuner app
Steps
Cut the PVC pipe to a beginner-friendly length, often around 16 to 20 inches. Add an end cap or cork to close the blowing end. Mark the embouchure hole about 1 inch from the closed end. Drill a small starter hole, then enlarge it into an oval shape. Smooth every edge with sandpaper. The mouth hole should have a clean, sharp far edge where the air stream can split.
Mark six finger holes along the pipe. A common beginner approach is to place them in a comfortable hand position first, then tune gradually. Drill each hole smaller than you think it needs to be. Test the pitch with a tuner app. If a note is too low, enlarge the hole slightly. If a note is too high, cover part of the hole with tape or start again on another pipe. Homemade flute makers learn humility quickly.
Tips for Better Sound
Smoothness matters. Rough plastic around the embouchure hole can make the tone unstable. Also, clean PVC thoroughly before playing. Use only new or food-safe clean pipe when possible. Do not use pipe that has carried chemicals or unknown liquids.
Way 4: Make a Bamboo-Style Flute from a Garden Stake
Best for: A natural look and warmer tone
Real bamboo has been used for flutes across many cultures, but many household makers can also use clean bamboo garden stakes or similar hollow plant material. This method creates a rustic transverse flute with a warm, earthy look. It also requires the most patience because natural material is never perfectly uniform.
Supplies
- Clean hollow bamboo garden stake
- Small saw
- Sandpaper
- Drill or heated metal rod handled by an adult
- Cork or natural plug
- Ruler
- Tuner app
Steps
Choose a straight piece of bamboo without cracks. Cut it so that one natural node can act as the closed end, or use a cork plug if both ends are open. Sand the outside and clean the inside. Mark the mouth hole near the closed end. Drill carefully, then smooth the edge.
Add finger holes one at a time. Bamboo can split, so do not rush. Start with tiny holes and enlarge slowly. Because bamboo varies in wall thickness and internal diameter, tuning is more experimental than with PVC. Test each hole after drilling. The goal is not laboratory perfection; the goal is a playable homemade transverse flute with character.
Tips for Better Sound
If the bamboo cracks, wrap the area with strong thread and a little wood glue. Keep the instrument dry and avoid extreme heat. A bamboo-style flute rewards careful finishing, so spend extra time sanding the mouth hole and finger holes until they feel smooth.
Way 5: Make a Pocket Flute from an Empty Marker or Pen Barrel
Best for: Tiny flute experiments and portable fun
An empty marker barrel or large pen body can become a tiny side-blown flute. This is not the easiest instrument to tune, but it is a wonderful experiment in miniaturized acoustics. It can produce bright, high notes, somewhere between a toy flute and a bird who has just discovered caffeine.
Supplies
- Empty washable marker barrel or large pen body
- Soap and warm water
- Small drill bit or pushpin
- Tape
- Clay or rubber plug
- Sandpaper or nail file
Steps
Remove all ink parts and clean the barrel thoroughly. Let it dry completely. Seal one end with clay or a rubber plug. Make a small mouth hole near the sealed end. Because the tube is short, tiny changes make a big difference. Add only two or three finger holes at first.
Blow gently across the mouth hole and rotate the barrel until it speaks. If the tone is weak, make sure the sealed end is airtight. If the sound is too shrill, try a longer marker barrel or attach a short straw extension to the open end.
Tips for Better Sound
Marker flutes work best as experiments, not precision instruments. They teach how tube length, hole size, and air angle affect sound. They are also excellent for proving that musicians can become emotionally attached to almost any tube with holes in it.
How to Tune a Homemade Transverse Flute
Tuning is where the magic becomes math. Download a chromatic tuner app and play each note with steady breath. If a note is flat, meaning too low, enlarge the hole slightly or move the effective opening closer to the mouth hole. If a note is sharp, meaning too high, partially cover the hole with tape, wax, or a small ring of clay.
Always tune slowly. A hole that grows too large cannot easily be fixed. Work in tiny steps, test often, and use the same breath pressure each time. Homemade flutes react strongly to breath angle, so inconsistent blowing can fool you into thinking the flute is out of tune when the real culprit is your embouchure.
Common Problems and Easy Fixes
No Sound Comes Out
Check the mouth hole first. The far edge must be clean enough to split the air stream. Make sure one end of the flute is sealed if the design requires it. Then adjust your blowing angle. Most beginners blow too hard or aim too directly into the hole.
The Tone Is Too Airy
An airy tone usually means the embouchure hole is rough, too large, or not catching the air stream well. Smooth the edge, tighten your lip opening, and blow a thinner stream of air across the hole.
The Notes Sound Out of Tune
Finger holes may be too large, too small, or poorly spaced. Use tape to experiment before making permanent changes. Homemade instruments are prototypes. Treat every mistake as data, not disaster.
Safety Notes for DIY Flute Making
Use clean materials only. Avoid old plumbing, chemical containers, painted tubes, or anything with unknown residue. Wear eye protection when drilling. Sand all holes so they do not cut lips or fingers. Children should have adult help with knives, drills, saws, and hot tools.
Also, do not share mouth-blown instruments without cleaning them. A homemade flute should spread music, not germs. If multiple people want to try it, wipe the mouth area with a safe cleaner and let it dry.
Real-Life Experience: What You Learn When You Build a Flute from Household Supplies
Making a transverse flute from household supplies is one of those projects that looks simple until the first attempt produces a sound somewhere between a sigh and a confused tea kettle. That is not failure. That is the official welcome ceremony of flute making. The first lesson is that air direction matters more than brute force. Many beginners blow harder when they do not get a tone, but a homemade flute usually wants a focused, angled stream of air, not a personal weather event.
The second lesson is that small changes are enormous. When you enlarge a finger hole by just a little, the pitch can jump noticeably. When you move your lower lip slightly forward, the tone may suddenly become clear. When you cover a hole halfway, the note may bend in a surprisingly musical way. This is why a tuner app is helpful, but your ears are just as important. The instrument teaches you to listen closely.
A straw flute is often the best first success because it responds quickly. You can cut, tape, test, and rebuild in minutes. It is perfect for understanding that shorter air columns make higher notes. A cardboard tube flute feels more like a craft project. It looks charming, especially when decorated, but it also reminds you that soft materials absorb moisture and lose crispness. PVC is usually the “aha!” moment. Once the mouth hole is shaped well, the tone can become louder and more stable than expected. Suddenly the project stops feeling like a toy and starts feeling like a real instrument.
Bamboo or garden-stake flutes add personality. No two pieces behave exactly the same. One may have a sweet, mellow tone; another may refuse to cooperate unless you sand the mouth hole three times and whisper encouraging words to it. Natural materials teach patience. They also teach respect for traditional flute makers, who turn irregular plant material into beautiful instruments through skill, experience, and careful adjustment.
The pocket flute made from a marker barrel is the comic relief of the group. It is tiny, bright, and unpredictable. But it proves an important point: musical sound is not locked inside expensive materials. It comes from vibration, resonance, airflow, and design. When you understand those basics, almost any clean hollow tube becomes a possibility.
The best experience comes from making several versions instead of trying to perfect one immediately. Build a straw flute, then a cardboard one, then a PVC version. Compare the tone, volume, pitch stability, and comfort. You will quickly notice how diameter, tube length, wall thickness, and hole size change the result. By the end, you will not just have a homemade transverse flute. You will have a hands-on understanding of acoustics, craftsmanship, and why professional instrument makers deserve applause before anyone even plays a note.
Conclusion
Learning how to make a transverse flute from household supplies is part craft project, part science lesson, and part musical adventure. With a straw, cardboard tube, PVC pipe, bamboo stake, or marker barrel, you can explore how air columns vibrate, how finger holes change pitch, and how careful shaping turns a plain tube into a playable instrument.
The most beginner-friendly option is the straw flute. The most durable is the PVC flute. The most natural-looking is the bamboo-style flute. The cardboard tube flute is ideal for recycled crafts, while the marker-barrel flute is a fun pocket-sized experiment. Whichever method you choose, start small, tune slowly, and enjoy the gloriously imperfect sounds of making music by hand.
Note: This article is written for educational DIY use and is based on real acoustic principles, common homemade flute-making methods, and practical instrument-building guidance. Use clean materials, safe tools, and adult supervision when cutting or drilling.