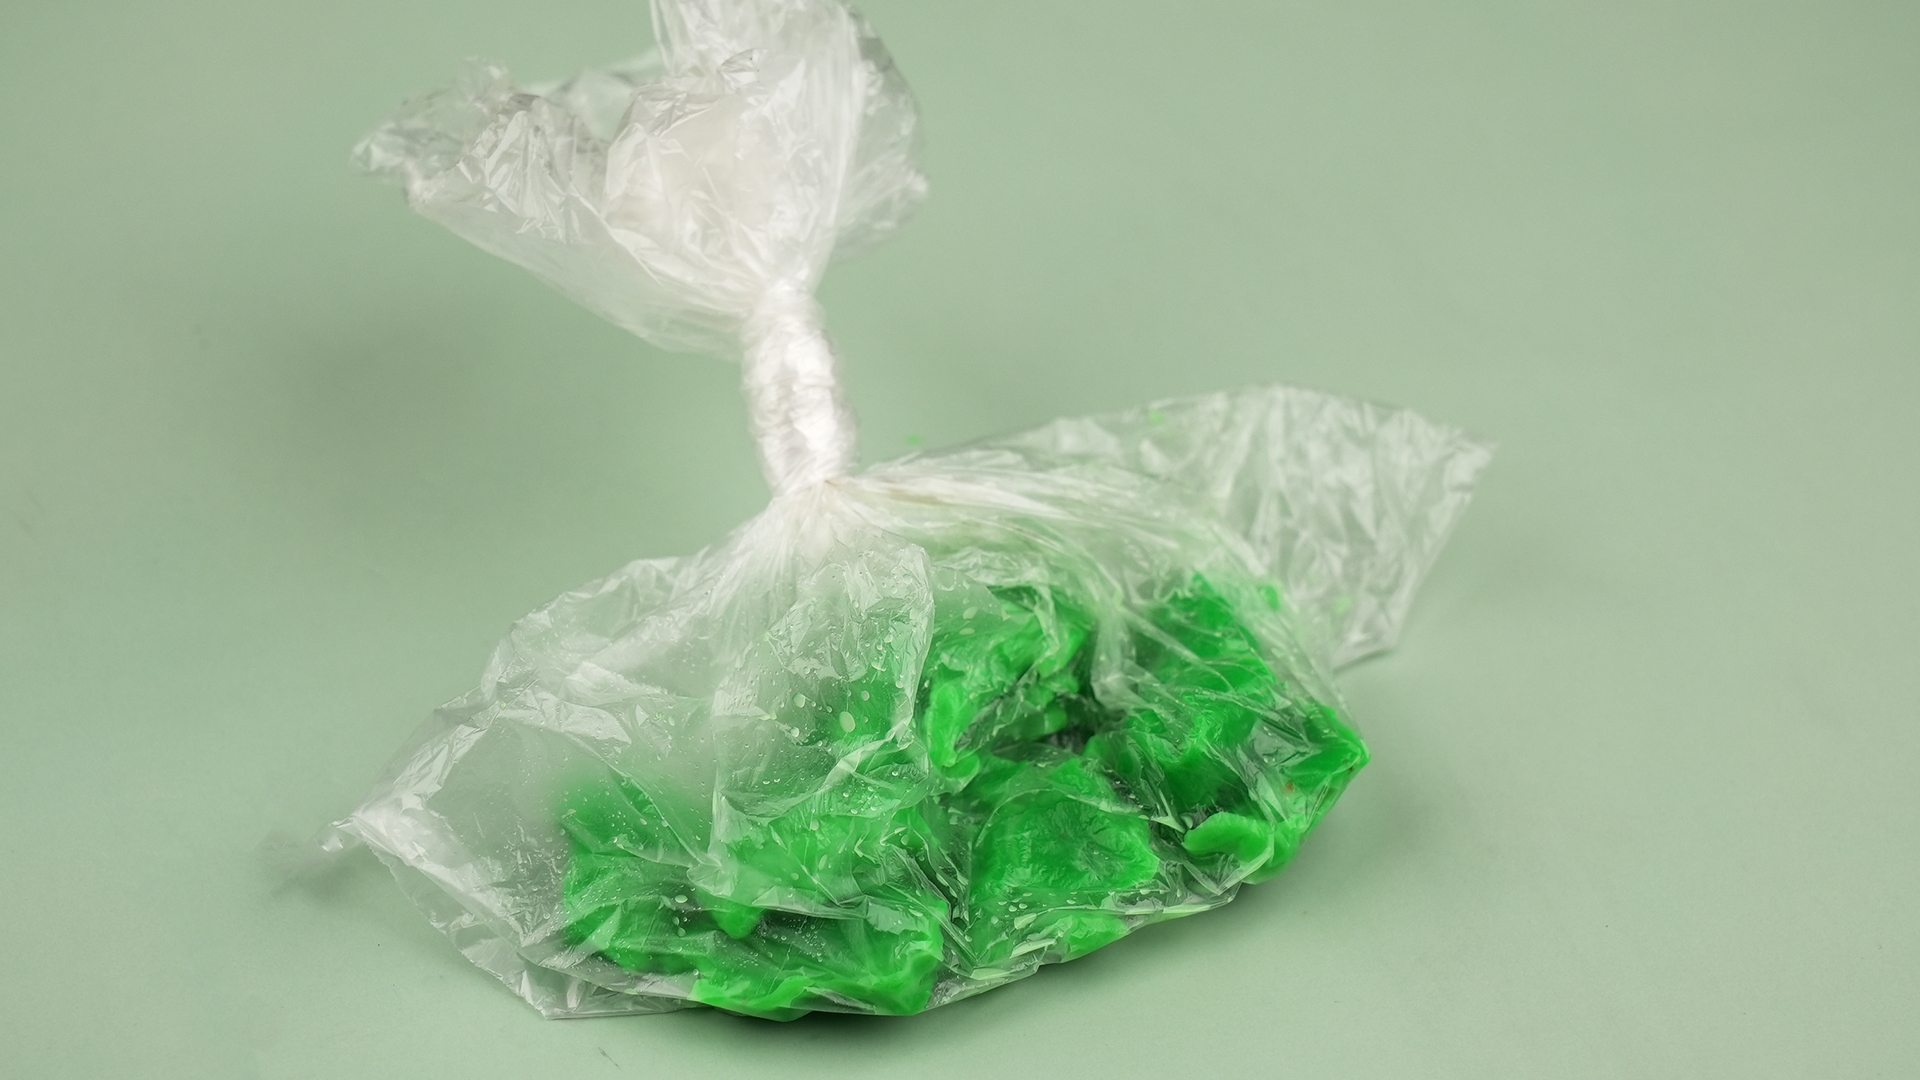
Few household mysteries are more dramatic than this one: yesterday your playdough was soft, squishy, and ready to become a five-star pretend pizza, and today it feels like a tiny loaf of stale bread with emotional issues. The good news is that dried playdough usually is not doomed. In many cases, you can bring it back to life with a little patience, a little moisture, and a willingness to knead like you are training for the world’s least competitive bake-off.
If you are wondering how to make playdough soft again, the trick is understanding why it got hard in the first place. Most playdough dries out because moisture escapes when it sits out too long, the lid is not sealed tightly, or small pieces are left exposed on a table, carpet, or under the couch where all toy crumbs go to retire. Once you know that, the fix becomes much simpler: restore moisture slowly, keep the texture balanced, and avoid turning the dough into a sticky swamp.
Below are three practical ways to soften dried playdough, plus storage tips, common mistakes to avoid, and signs that it is finally time to stop fighting for that poor little lump and make a fresh batch instead.
Why Playdough Gets Hard in the First Place
Playdough starts out soft because it contains moisture. When that moisture evaporates, the dough becomes stiff, crumbly, or cracked. Sometimes it dries evenly. Sometimes it gets weird and forms a soft center with a crusty outside, like a bread roll that has seen too much. Homemade playdough can also dry differently depending on the recipe. Doughs with flour, salt, and water may need a different rescue approach than commercial compounds, especially if they were made with extra flour or stored while still warm.
Before you try to fix it, take a quick look at the condition of the dough:
- Slightly dry: It feels firm, but still bends and kneads.
- Very dry: It cracks, crumbles, or breaks apart into chunks.
- Beyond saving: It smells musty, shows spots, has visible mold, or feels dirty enough to qualify as archaeology.
If the dough simply feels dry, you probably can save it. If it smells off or looks moldy, skip the revival experiment and throw it out.
Way #1: Add Water a Little at a Time and Knead
This is the best and most universal method for dried playdough. It works because most playdough lost water, so the safest fix is to put a little moisture back in. The key phrase here is a little. Not a splash. Not a heroic pour. Just enough to help the dough relax.
How to do it
- Break the playdough into smaller pieces if it is very hard.
- Put the pieces in a bowl or on a clean surface.
- Add a few drops of water or about 1 teaspoon at a time for a medium-size lump.
- Knead thoroughly.
- Keep adding tiny amounts only if it still feels dry.
The kneading part matters more than people think. Water needs time to spread through the dough, and your hands do most of that work. At first, the surface may feel slippery while the middle still seems dry. Keep going. Fold, press, roll, and squeeze until the texture evens out. If you stop too soon, you might assume the dough is ruined when it is actually just mid-recovery.
This method is especially effective for store-bought playdough that has dried out from being left open. It is also the fastest fix when the dough is only mildly stiff. In many cases, two to five minutes of kneading is enough to turn “hard and disappointing” into “pretty decent again.”
Best for
- Playdough that is dry but not rock hard
- Store-bought dough
- Large pieces that still hold together
Watch out for
If you add too much water too fast, the dough can become sticky, gooey, or slimy. If that happens, let it rest uncovered for a short while, or knead in a tiny bit of flour if it is homemade dough. For commercial dough, time and kneading usually solve the problem better than dumping in other ingredients.
Way #2: Use a Damp Paper Towel and a Sealed Bag
If the dough is very dry, cracked, or crumbly, the sealed-bag method is often better than trying to knead water in immediately. Think of this as the spa treatment version of rehydrating playdough. It is slower, gentler, and much less likely to create a sticky mess on the first try.
How to do it
- Gather the dried playdough and place it in a zip-top bag or airtight container.
- Lightly dampen a paper towel with water.
- Wring it out so it is damp, not dripping.
- Place the damp paper towel in the bag with the dough, but do not soak the dough directly.
- Seal the bag and leave it for several hours or overnight.
- Remove the towel and knead the dough until soft.
This method works because the moisture slowly moves into the dough instead of landing all at once on the outside. That makes it especially useful for dough that feels rough, cracked, or flaky. It also helps when kids have left several little pieces out and those pieces turned into tiny colorful pebbles. Put them together in the bag, let them rest, and see if they become workable again.
If the dough is still dry the next day, repeat the process or add a few drops of water directly before kneading. The goal is gradual rehydration, not drowning. Playdough likes a little moisture. It does not want to go swimming.
Best for
- Very dry or cracked playdough
- Small hardened pieces
- Parents who would like less mess and more results
Watch out for
Do not use a soaking-wet paper towel. If water pools at the bottom of the bag, the dough may become mushy on the outside and stubbornly dry in the middle. Damp is enough.
Way #3: Add a Tiny Bit of Oil for Homemade Playdough
This method is best for homemade playdough, especially dough that feels dry, crumbly, and rough even after you have tried a little water. Some homemade recipes lose not only moisture but also that smooth, supple feel that makes the dough easy to squish and shape. A very small amount of vegetable oil can help restore softness and flexibility.
How to do it
- Rub a small amount of canola or vegetable oil onto your hands.
- Knead the dry homemade playdough.
- Add more oil only a few drops at a time if needed.
- Continue kneading until the dough feels smoother and softer.
This works well because oil can improve texture and reduce the crumbly feel that some homemade dough develops after storage. It is especially handy if your recipe originally used oil and the dough now feels dry rather than simply dehydrated.
That said, this is not the first method I would use on classic store-bought playdough. For commercial dough, start with water-based fixes first. Oil is more useful as a homemade playdough rescue tool than an all-purpose solution for every can of dough on earth.
Best for
- Homemade playdough
- Dough that is crumbly after storage
- Playdough that softened with water but still feels rough
Watch out for
Too much oil can make the dough greasy and unpleasant to handle. Add it sparingly. You are reviving the dough, not marinating it.
Common Mistakes That Make Playdough Worse
Trying to soften playdough can go sideways fast when you get impatient. Here are the most common mistakes:
- Adding too much water at once: This creates sticky sludge.
- Skipping the kneading: Moisture needs to be worked in.
- Using oil too early: Water loss is usually the first problem, especially with store-bought dough.
- Storing warm homemade dough: Sealing it before it cools can lead to odor and spoilage.
- Ignoring mold or musty smells: Soft again does not always mean safe again.
In other words, the rescue plan should be calm and gradual. If you go full action movie on a lump of playdough, the playdough usually wins.
How to Keep Playdough Soft Longer
Once you have revived the dough, the next goal is not having to do it again tomorrow. Smart storage makes a huge difference.
Store it the right way
- Keep playdough in its original container or another airtight container.
- Zip-top bags work well for homemade dough.
- Press out as much extra air as possible before sealing.
- Store it at room temperature in a cool, dry place.
- Do not leave tiny scraps exposed on the table.
If your kids use lots of colors, store each color separately. Once all the colors become one mysterious gray-brown blob, softness is not the only problem left in the room.
Teach the “lid back on” habit
A surprising amount of playdough preservation comes down to one simple move: putting the lid back on as soon as playtime ends. If you have younger kids, turn cleanup into part of the activity. “Make a snake, make a pancake, now put the dough away before it turns into a brick” is not elegant parenting poetry, but it gets the job done.
When You Should Throw It Away
Not all playdough is worth saving. Toss it if:
- It has mold, spots, or fuzzy growth
- It smells sour, musty, or strange
- It picked up too much dirt, hair, or mystery debris
- It causes concern for a child with a wheat allergy
- It is so hard and contaminated that rescuing it feels like a science fair project you did not ask for
Also remember that many play dough and modeling compounds can contain wheat. If a child has allergies, check the product details carefully and consider a safer homemade alternative designed for that need.
Real-Life Experiences With Bringing Playdough Back to Life
Anyone who has ever cleaned up after a craft session knows that playdough does not dry out in a neat, cinematic way. It does not politely wait in one container until you notice it. No, it scatters. You find one pink nugget under the chair, one blue disk stuck to a cookie cutter, and one green chunk on the windowsill that somehow has the structural integrity of tile. Reviving playdough in real life is less like a tidy tutorial and more like a tiny household rescue mission.
One of the most common experiences is discovering that the dough feels worse than it looks. A lump can appear only slightly dry, but once you press it, cracks open like a tiny desert floor. That is usually when people either panic and add too much water or decide the dough is a lost cause. In practice, the best results usually come from slowing down. A few drops of water, a few minutes of kneading, and suddenly the dough starts behaving like itself again. It is one of those oddly satisfying chores, like untangling earbuds used to be before wireless headphones stole the drama.
Parents also learn quickly that different colors can behave differently. For whatever reason, one color will stay soft forever while another turns into a stale biscuit overnight. Heavily used colors also dry out faster because they are exposed longer and handled more often. The “favorite color problem” is real. If your child loves yellow and ignores brown, do not be surprised when yellow needs weekly resuscitation and brown looks like it has been cryogenically preserved.
Homemade playdough brings its own adventures. Some batches come out wonderfully soft and stay that way for weeks. Others dry faster because the measurements were slightly off, the dough cooked a little too long, or it went into a container before it fully cooled. The good news is that homemade dough can often be revived beautifully, especially with careful kneading and, in some cases, a touch of oil. The bad news is that homemade dough also teaches humility. One minute you feel like a crafty genius. The next minute you are whispering, “Why does this smell weird?” while holding a glittery lump that absolutely should not go back in the toy bin.
There is also something unexpectedly useful about the process itself. Restoring playdough can become part of the activity. Older kids can help add drops of water, knead the dough, and compare textures before and after. It becomes a little lesson in cause and effect: dough dries because moisture leaves, and dough softens when moisture returns in the right amount. Not exactly a Nobel Prize experiment, but honestly pretty great for a Tuesday afternoon at the kitchen table.
And perhaps that is the real charm of playdough. It is messy, imperfect, and occasionally found in places where no dough should ever be. But it is forgiving. Most of the time, it gives you another chance. With the right method, a dried lump can become a fresh play session again, which is good news for your budget, your storage bin, and your child who was definitely not ready to say goodbye to the “special birthday cake snake castle” they were planning to make.
Final Thoughts
If you want the short version, here it is: start with water, go slowly, knead thoroughly, and use the damp-towel method when the dough is seriously dry. Save the oil trick for homemade playdough that needs extra texture help. Most importantly, store the dough in airtight containers once it is soft again. That is the difference between reviving it once and reviving it every single weekend.
Playdough is supposed to be fun, creative, and a little messy. It is not supposed to become a miniature brick collection. With these three methods, you can rescue many dried batches, save money, and get back to the important work of making pretend cupcakes, wobbly dinosaurs, and mysterious sculptures that children insist are “obviously a rocket turtle.”