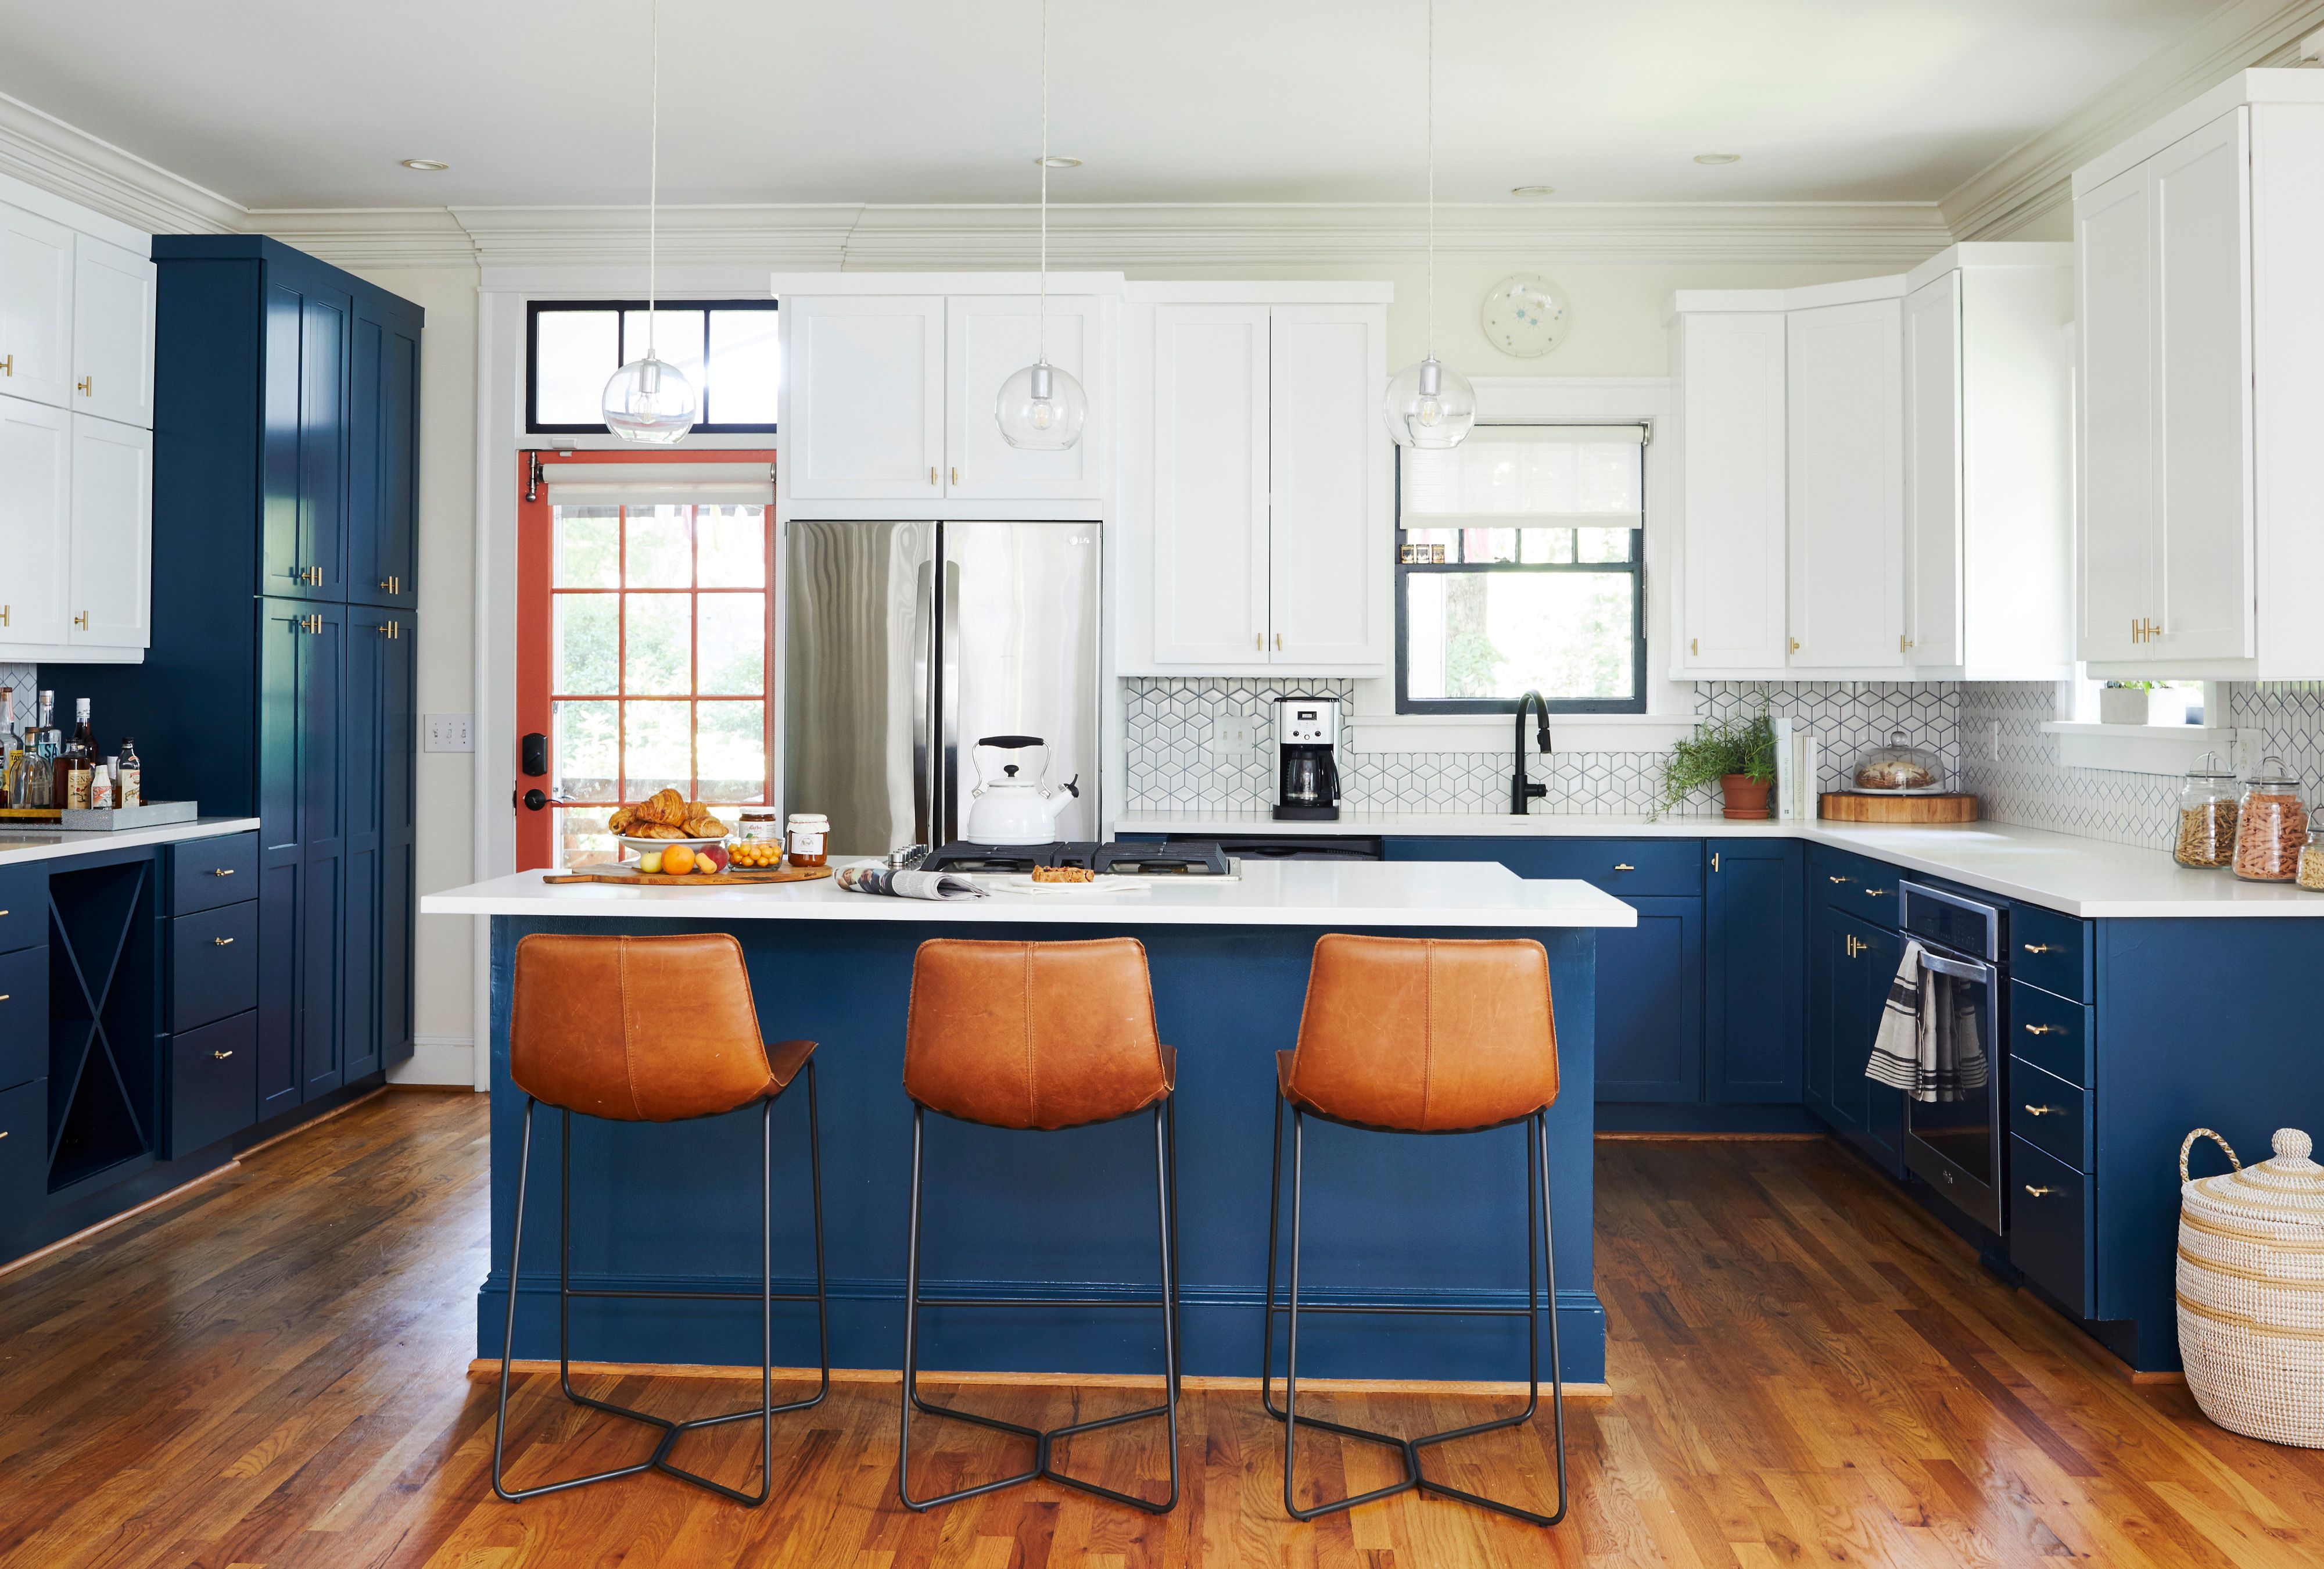
A kitchen counter has one magical talent: it is never big enough. You can own a cutting board, a mixing bowl, one heroic coffee mug, and suddenly your entire prep area looks like a tiny airport during a holiday delay. That is where a DIY fold-down counter extension earns its applause. It gives you extra workspace when you need it and folds away when you do not, like a polite houseguest who also holds your sandwich.
This project is especially useful in small kitchens, apartments, laundry rooms, RV-style spaces, craft corners, garage work zones, and breakfast nooks where every inch has to pull its weight. A fold-down counter extension can serve as a chopping station, baking helper, coffee bar, laptop perch, homework desk, or quick landing zone for groceries. The best part? You do not need to remodel your kitchen or remove cabinets. With the right board, hinges or folding brackets, wall support, and finish, you can build a strong, attractive extension in a weekend.
This guide walks through planning, materials, measurements, installation, finishing, maintenance, and real-world lessons learned from building and using a fold-down counter. The goal is simple: create a counter extension that looks good, works hard, folds smoothly, and does not wobble like a nervous folding chair at a backyard barbecue.
What Is a Fold-Down Counter Extension?
A fold-down counter extension is a hinged work surface that attaches to a wall, cabinet side, island end, or existing counter structure. When raised, it becomes extra countertop space. When lowered, it rests flat or nearly flat against the wall or cabinet, clearing floor space and traffic paths.
The design is similar to a wall-mounted drop-leaf table, but it is usually sized and finished to function as a kitchen or utility counter. Some versions use heavy-duty folding shelf brackets. Others use a continuous piano hinge with swing-out wooden legs, folding legs, or drop-leaf supports. Your choice depends on how much weight the extension must hold, where it will be mounted, and how polished you want the finished project to look.
Why Build One Instead of Buying More Furniture?
Buying a rolling cart or small table can help, but those solutions still take up floor space. A fold-down counter extension disappears when not in use. That makes it ideal for narrow kitchens, galley layouts, studio apartments, laundry rooms, mudrooms, and multipurpose spaces.
Key Benefits
- Space saving: Fold it down after use and reclaim your walking area.
- Budget friendly: Many builds use plywood, butcher block, project panels, or leftover countertop material.
- Custom fit: You can size it for your exact wall, cabinet, or island.
- Multiuse function: Use it for meal prep, folding laundry, eating breakfast, sorting mail, or crafting.
- Beginner-friendly options: A basic bracket-mounted version is manageable for careful DIYers.
Think of it as a tiny kitchen island that took a yoga class and learned to fold.
Before You Build: Plan the Size, Height, and Location
Good planning is the difference between a counter extension that feels built-in and one that becomes a shin-bumping regret. Start by choosing where the extension will live. Popular locations include the end of a cabinet run, the side of a kitchen island, a blank wall near the kitchen, a pantry wall, or a laundry room wall.
Choose the Right Height
Standard kitchen counters are commonly around 36 inches high, but your project should match the surface you plan to extend. If the fold-down piece connects to an existing counter, align the top surfaces as closely as possible. If it will function as a seated work surface, consider a lower height, often closer to table or desk height.
For accessibility-minded planning, many accessible kitchen work surfaces are designed at a maximum height of 34 inches, with clear knee space below. Even if you are not building to formal accessibility standards, this is useful to remember if the extension will be used while seated.
Decide the Depth
A practical depth for a fold-down counter extension is usually 16 to 24 inches. A 16-inch surface works well for coffee, snacks, laptops, and light prep. A 20- to 24-inch surface feels more like a real counter and gives you room for mixing bowls, cutting boards, or baking sheets.
Do not automatically go bigger. A deeper top needs stronger hardware, better wall anchoring, and more clearance when folded down. Measure the walkway with the extension raised and lowered. You should be able to move around without performing interpretive dance around the furniture.
Pick the Width
Common widths range from 24 to 48 inches. A narrow 24-inch extension is great beside a stove or refrigerator. A 36-inch surface can work as a breakfast perch for one or a generous prep space. A 48-inch version feels luxurious but needs serious support, especially if people may lean on it.
Best Materials for a DIY Fold-Down Counter Extension
The top should be strong, stable, easy to clean, and attractive enough to live in your kitchen without looking like a leftover garage shelf.
Butcher Block
Butcher block is warm, sturdy, and easy to cut to size with the right tools. It is a favorite for kitchen projects because it looks intentional rather than improvised. It does need sealing and ongoing care, especially around water.
Plywood With Edge Banding
High-quality plywood is affordable and strong. Use 3/4-inch plywood for most builds, then add hardwood edge banding or a solid wood front strip for a cleaner look. Paint, stain, polyurethane, or laminate can finish the surface.
Project Panels
Pre-glued pine, maple, oak, or acacia panels are convenient for DIYers because they come flat and ready to cut. They are often lighter than butcher block but still attractive.
Laminate Countertop Remnant
A laminate remnant can match existing counters and is easy to wipe clean. The downside is that cut edges need finishing, and the material can be heavier depending on the substrate.
Hardware Options: Brackets, Hinges, and Legs
The hardware is the backbone of the project. This is not the place to save three dollars and hope for the best. A fold-down counter is meant to hold real-life things: plates, mixers, laptops, groceries, elbows, and occasionally someone’s entire emotional support coffee setup.
Heavy-Duty Folding Shelf Brackets
Folding shelf brackets are one of the simplest solutions. They mount to wall studs or solid blocking and lock into position when raised. Choose brackets rated for more weight than you expect to use. Also check the recommended shelf depth. If the bracket is designed for an 18-inch shelf, do not ask it to support a 26-inch countertop and then act surprised when physics files a complaint.
Piano Hinge With Folding Legs
A piano hinge runs along the back edge of the counter extension, spreading stress across a long area. This option often looks clean and works well when paired with folding legs or swing-out supports. It is a strong choice for wider extensions.
Drop-Leaf Hinges and Supports
Drop-leaf hardware is common in furniture making. It can create a refined, furniture-like movement, but it requires careful alignment. If you enjoy precise woodworking, this route can look beautiful. If you prefer straightforward installation, folding brackets may be friendlier.
Swing-Out Wooden Supports
Wooden supports can be mounted below the extension and swung into place when the top is raised. They are inexpensive, strong, and easy to customize. The tradeoff is that you must remember to swing them fully into position before loading the counter.
Tools and Supplies
Exact tools depend on your design, but most DIY fold-down counter extension projects require the following:
- Countertop material or 3/4-inch plywood/project panel
- Heavy-duty folding brackets, piano hinge, or drop-leaf hardware
- Stud finder
- Level
- Tape measure
- Pencil
- Drill and driver bits
- Circular saw, jigsaw, or table saw
- Sandpaper or orbital sander
- Wood screws and lag screws appropriate for your wall framing
- Wall blocking if studs do not land where needed
- Wood finish, paint, polyurethane, mineral oil, or butcher-block conditioner
- Safety glasses and hearing protection
Step-by-Step: How to Build a DIY Fold-Down Counter Extension
Step 1: Measure the Space Twice, Then Pretend You Measured It a Third Time
Measure the available wall or cabinet area. Mark the desired width, depth, and height with painter’s tape. Open cabinet doors, drawers, dishwasher doors, refrigerator doors, and nearby appliances to make sure nothing collides with the extension. Also test the folded-down position. A counter that blocks a walkway when folded is not space-saving; it is just vertical clutter with ambition.
Step 2: Locate Studs or Add Blocking
A fold-down counter extension must be anchored into solid structure. Drywall alone is not enough. Use a stud finder to locate studs. If the brackets or hinge do not line up with studs, install a horizontal mounting board, also called a ledger or cleat, into the studs. Then attach the brackets or hinge to that board.
For cabinet-side installations, confirm that the cabinet panel is strong enough. Thin side panels may need interior blocking or reinforcement. When in doubt, reinforce the structure before attaching the extension.
Step 3: Cut the Countertop
Cut your top to size. For plywood or project panels, use a straightedge guide to keep the cut clean. Apply painter’s tape along the cut line to reduce splintering. If using butcher block, support the slab fully while cutting and use a sharp blade. Lightly round over sharp edges with sandpaper or a router. Rounded edges feel better on wrists and hips, and they reduce the odds of the counter becoming a corner-shaped villain.
Step 4: Sand and Finish the Top
Sand the top and edges smooth. If the surface will be used for food prep, choose a food-safe finish appropriate for the material. Mineral oil and butcher-block conditioners are common for butcher block and wood cutting surfaces, while film finishes such as polyurethane may be better for general work surfaces that are not used as cutting boards. Do not cut directly on a finished fold-down counter unless it is specifically intended and maintained as a cutting surface.
For painted plywood, prime first, then apply durable enamel paint. For stained wood, test the stain on a scrap piece before committing. Wood has a sense of humor; it sometimes turns “warm walnut” into “mysterious orange campfire.”
Step 5: Install the Brackets or Hinge
If using folding brackets, mark their locations carefully. Use a level to make sure both brackets sit at the same height. Pre-drill holes to prevent splitting and to make installation easier. Drive screws into studs, blocking, or a secure mounting cleat. After installing the brackets, raise and lower them several times to confirm smooth movement.
If using a piano hinge, attach the hinge to the back edge of the countertop first, then fasten it to the wall cleat or cabinet structure. Keep the hinge straight. A crooked hinge will make the top bind, sag, or fold with the grace of a shopping cart with one bad wheel.
Step 6: Mount the Countertop
Set the countertop on the brackets or hinge assembly. Use clamps or a helper to hold it in position. Check for level from side to side and front to back. Fasten the top according to the hardware instructions. Use screws that are long enough to hold securely but not so long that they poke through the top surface.
Step 7: Add a Latch or Catch
A latch keeps the counter from dropping unexpectedly when stored. Magnetic catches, barrel bolts, hook-and-eye latches, or cabinet-style latches can work depending on the design. Install the latch where it is easy to reach but not in the way.
Step 8: Test With Gradual Weight
Do not celebrate by placing a stand mixer, a watermelon, and your entire cookbook collection on the extension immediately. Start with light weight, then gradually add more. Watch for flexing, bracket movement, loose screws, or wall shifting. If anything moves, stop and reinforce the mounting points.
Design Ideas for Different Rooms
Small Kitchen Prep Station
Install a 24- to 36-inch fold-down counter at the end of a cabinet run. Use butcher block to add warmth and match it with black or stainless folding brackets. This creates a perfect place to chop vegetables, stage ingredients, or cool a tray of cookies.
Breakfast Bar for One or Two
Mount a wider extension along a blank wall and add two stools. Keep the depth around 18 to 20 inches so it feels comfortable without taking over the room. Add a small wall shelf above it for mugs, napkins, or coffee supplies.
Laundry Folding Surface
A fold-down counter above a front-loading washer or on a laundry room wall gives you instant folding space. Use a moisture-resistant finish, and make sure the top clears appliance doors and hookups.
Garage or Craft Worktop
For heavier-duty use, choose thicker plywood, strong wall blocking, and workbench-style folding brackets. This version can hold tools, craft supplies, or small repair projects while folding away when the car needs its kingdom back.
Common Mistakes to Avoid
Mounting Into Drywall Only
This is the biggest mistake. Drywall anchors may hold a picture frame, but a counter extension creates leverage. Attach hardware to studs, blocking, masonry, or a properly mounted cleat.
Ignoring Weight Ratings
Hardware ratings vary widely. Always check the manufacturer’s load rating and shelf-depth recommendation. Remember that leaning on the edge creates more stress than setting a bowl near the wall.
Choosing a Top That Is Too Heavy
A thick slab may look impressive, but it adds constant strain to the hinges or brackets. Balance appearance with practicality.
Skipping the Latch
A stored fold-down counter should stay stored. A simple latch prevents surprise drops, especially in homes with children, pets, or enthusiastic adults who close cabinets like action movie heroes.
Forgetting Cleanability
Kitchens are splash zones. Choose finishes that wipe clean, seal exposed edges, and avoid deep grooves where crumbs can start a tiny civilization.
Maintenance and Cleaning Tips
Clean the counter after each food-related use with hot, soapy water. Dry it thoroughly, especially if it is wood. If you use the surface for food prep, place a cutting board on top rather than cutting directly on the extension. For butcher block, refresh the finish with mineral oil or butcher-block conditioner as needed. If the wood begins to look dry, pale, or rough, it is probably thirsty.
Check screws, brackets, hinges, and latches every few months. Folding mechanisms experience movement, and movement can loosen hardware over time. Tighten anything that feels loose. If the top starts sagging, add stronger brackets, a center support, or a swing-out leg.
Cost Expectations
A basic DIY fold-down counter extension can be quite affordable. A plywood version with folding brackets may cost less than many small kitchen carts. A butcher-block version with premium brackets, edge finishing, and a high-quality latch will cost more but may look like a built-in feature. The biggest cost variables are the countertop material, bracket strength, finish, and whether you need to add wall blocking.
For a budget build, use sanded plywood, painted edges, and strong but simple folding brackets. For a furniture-style build, choose hardwood, a clean roundover, concealed supports, and a finish that complements your cabinets.
Safety Notes Worth Taking Seriously
A fold-down counter is simple, but it is still a load-bearing project. Keep heavy appliances close to the wall side, not on the far outer edge. Do not sit or stand on the extension. Do not let children climb on it. If the counter will support a microwave, stand mixer, or other heavy appliance, upgrade the structure and hardware accordingly.
If mounting into masonry, tile, or an older wall with uncertain framing, use the correct anchors and consider getting advice from a qualified contractor. A strong top attached to a weak wall is not a counter; it is a future crash with accessories.
Conclusion: A Small Project With Big Everyday Payoff
A DIY fold-down counter extension is one of those projects that feels modest on paper and surprisingly life-changing in daily use. It solves the classic small-kitchen problem without demanding a renovation budget, a demolition day, or a new floor plan. With a sturdy top, proper wall support, reliable folding hardware, and a finish that can handle real kitchen life, you can create a flexible workspace that appears only when needed.
The smartest builds begin with careful measuring and honest expectations. Match the size to the room, choose hardware that exceeds your needs, anchor everything into solid structure, and finish the surface for the way you will actually use it. Do that, and your fold-down counter will become the quiet MVP of the kitchen: always ready, never in the way, and remarkably good at making small spaces feel larger.
Real-World Experience: What You Learn After Living With a Fold-Down Counter Extension
The first thing you notice after installing a fold-down counter extension is how often you use it for tasks you never planned. You may build it for meal prep, but suddenly it becomes the grocery unloading zone, the Saturday pancake station, the “where did I put my keys?” shelf, and the unofficial home for a cooling pie. Extra counter space has a way of attracting usefulness.
One practical lesson is that placement matters more than size. A smaller extension in the right spot beats a giant one in an awkward location. For example, a 30-inch fold-down surface beside the refrigerator can be more helpful than a 48-inch surface across the room. When you pull ingredients out of the fridge, having a landing zone within arm’s reach feels luxurious. It also prevents the classic balancing act where you hold milk, eggs, lettuce, and regret all at once.
Another experience-based tip: do not underestimate edge comfort. A sharp plywood or butcher-block edge may look crisp, but your wrists will notice it during long prep sessions. A slight roundover or softened edge makes the surface feel more professional. It also protects the finish from chipping. This small detail can make a homemade project feel like something designed on purpose rather than assembled during a caffeine-powered Saturday.
The latch is another humble hero. At first, it may seem optional. After all, gravity keeps the counter down when folded, right? Usually, yes. But homes are full of bumps, vibrations, curious pets, and people carrying laundry baskets with poor visibility. A latch keeps the folded surface secure and gives the whole project a finished feel. It is a tiny piece of hardware that prevents big annoyance.
Cleaning habits also evolve. If the extension is wood, you quickly learn to wipe spills right away and avoid letting wet towels sit on the surface. If it is painted or laminated, you learn which cleaners leave streaks and which ones make it shine. Keeping a small cutting board nearby is smart because it protects the finish and makes cleanup easier. The fold-down counter may be sturdy, but it does not need knife scars to prove its toughness.
The biggest surprise is psychological. A small kitchen feels calmer when there is a backup surface. Cooking becomes less like a puzzle and more like a process. You have a place for chopped vegetables, a place for the mixing bowl, or a spot to plate dinner without moving everything three times. The extension may fold down when you are done, but the convenience sticks around. It is not just extra counter space; it is extra breathing room.