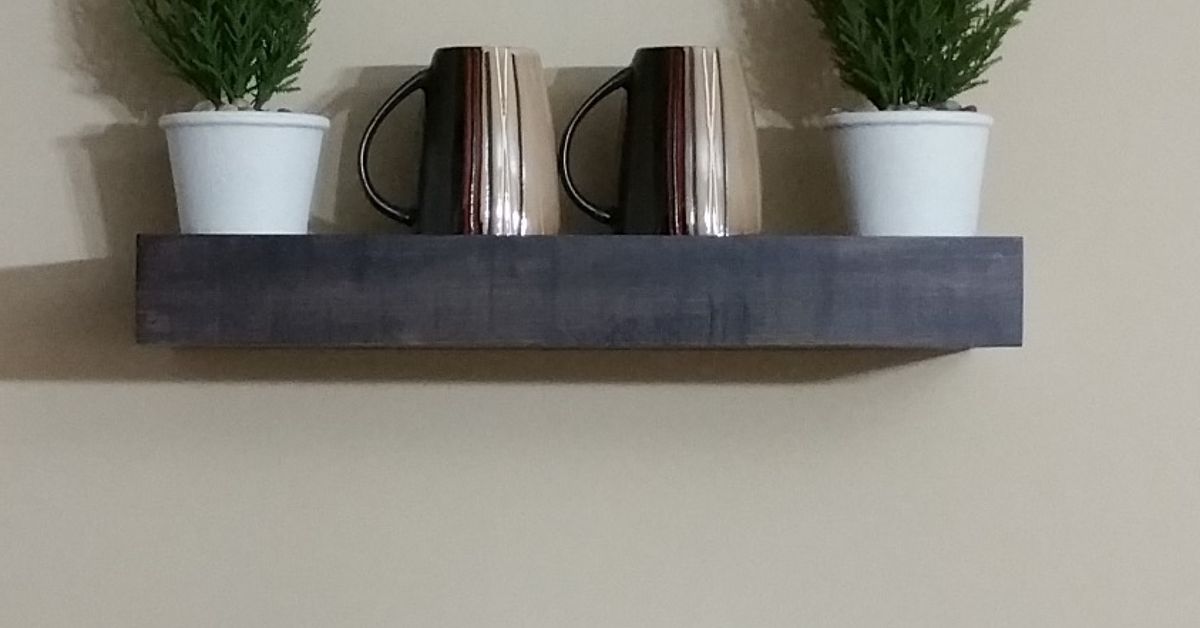
I used to think floating shelves were the DIY equivalent of making toast: measure, drill, hang, admire. Then I built my first set and learned
an ancient truth that carpenters have been whispering since the dawn of drywall: gravity is undefeated.
Floating shelves look effortlessclean lines, no brackets, no visual clutter. But the “floating” part is basically a magic trick, and the secret
is not magic at all. It’s engineering, wall structure, and a few very specific choices that separate “Pinterest-perfect” from “loud thud at 2 a.m.”
This is the lesson I learned the hard way (so you don’t have to): the shelf is the easy part; the support system is the project.
Let’s break down what actually matters, what most first-timers miss, and how to build floating shelves that stay upwithout turning your living room
into a slapstick film.
Why Floating Shelves Fail (And Why It’s Usually Not Your Fault)
1) The wall is not a solid block of “wall”
Most modern interior walls are drywall over studs. Drywall is great at being flat and paintable. It is not great at holding weight by itself.
A floating shelf creates leverageweight sits away from the wall, which amplifies the force on the fasteners. That’s why a shelf that “feels fine”
empty can start to sag, wobble, or pull out once you load it with cookbooks, plates, or the world’s heaviest collection of “cute” ceramic mugs.
2) A floating shelf is basically a lever you’re daring the wall to resist
Quick reality check: the deeper the shelf, the more torque you create. Put 20 pounds near the front edge of a 10-inch-deep shelf and you’re asking
the mounting hardware to resist roughly 200 pound-inches of turning force (20 × 10). Make it 12 inches deep and the leverage jumps again.
Depth is not just a style choice; it’s physics with opinions.
3) “Hidden bracket” doesn’t mean “any bracket will do”
There are several legit ways to mount floating shelvesrod-style hidden brackets, cleats/ledgers, French cleats, and torsion-box style shelves that
are strong without weighing a ton. But the wrong hardware (or the right hardware installed the wrong way) can turn a sleek shelf into a slow-motion
failure. Many brackets advertise big weight ratings, but those ratings assume proper installationoften into studs, with the recommended screws, and
with the load distributed the way the manufacturer expects.
The 5 Lessons I Learned the Hard Way
Lesson 1: Studs are your best friends. Find them like you mean it.
If you can anchor into studs, do it. It’s the difference between “decor shelf” and “functional shelf.”
Most studs are spaced 16 inches on center (sometimes 24), which matters because your bracket holes may not line up with your dream shelf placement.
The most common rookie mistake is forcing the shelf layout to match your vision instead of the framing behind the wall.
- Use a stud finder and confirm with a second method (light pilot hole, finish nail, or checking for consistent readings).
- Mark stud centers clearly and extend a light pencil line so you don’t “lose” the stud mid-project.
- Plan the shelf length so at least two studs can be used whenever possibleespecially for longer shelves.
Lesson 2: Level is not a vibe. It’s a requirement.
Your eyes will forgive a lot, but they will not forgive a shelf that’s 1/4 inch out of level across 48 inches. Floating shelves are minimalist,
which means any crookedness gets a spotlight and a standing ovation.
- Use a 4-foot level for long shelves. A tiny torpedo level is fine for checking, but not for establishing a long reference line.
- Mark a level line on painter’s tape (easy to adjust, easy to remove, less wall scarring).
- If your wall is wavy (many are), plan for shims so the bracket sits true.
Lesson 3: Choose the support system based on the job, not the photo.
The “best” floating shelf hardware depends on shelf depth, expected load, and how much you care about adjustability.
Here are the most common approaches:
-
Hidden rod brackets: Steel rods slide into holes drilled into the shelf. Great for a clean look, but they require accurate drilling
and a shelf thick enough to cover the rods. -
Ledger/cleat (including French cleats): A wood cleat is fastened to studs, and the shelf slides over it. This spreads load well and
is forgivingespecially if your studs don’t align with pre-drilled bracket plates. -
Torsion-box shelves: Lightweight but strong “hollow” shelves built like a stiff box. These stay flatter over time and play nicely
with robust mounting systems.
Translation: don’t pick hardware because it came with the shelf kit. Pick it because it matches your wall, your shelf depth, and your real-world load.
Lesson 4: The shelf should be built like a beam, not a decorative plank with optimism.
Solid wood shelves look amazing, but thick solid wood can move with humidity. Thin boards can sag over time. Plywood is dimensionally stable.
A well-built floating shelf often uses a stable core (plywood) with a solid-wood face for looks.
- Thickness matters: Many floating shelf designs look and perform better at roughly 2 inches thick (or more) for longer spans.
- Edge strength matters: A shelf with a strong front edge resists the “droop” effect under load.
- Joinery matters: Glue + brad nails/screws + a square build beats “just screw it and hope.”
Lesson 5: Load planning is not optionalbecause your shelf will get used.
People say, “It’s just decor.” Then two weeks later the shelf is holding cookbooks, a plant, a stack of plates, and a candle you never light but
absolutely needed. Plan for the shelf you’ll actually have, not the shelf you imagine you’ll have.
- Keep heavy items closer to the wall to reduce leverage.
- Avoid ultra-deep shelves unless you have a support system designed for it.
- If you can’t hit studs, use appropriate heavy-duty anchors (and follow the anchor’s rating and installation requirements).
A Step-by-Step Build That Won’t End With a Drywall Repair Tutorial
Step 1: Decide what the shelves need to do
Ask two questions: (1) What’s going on the shelf? (2) How deep does it really need to be?
For most living rooms and bedrooms, 8–10 inches deep is plenty. Kitchens can go deeper, but that’s where studs and robust hardware matter most.
Step 2: Locate studs and map your mounting plan
Mark stud centers across the area where the shelf will sit. If your shelf will be long, try to land fasteners in at least two studs.
If your ideal placement fights the studs, consider a cleat system that lets you place fasteners where the studs are and the shelf where you want it.
Step 3: Draw a level reference line
Use painter’s tape and a long level. Mark the top (or bottom) of the bracket location clearly. Double-check for level before drilling anything.
This is the moment where patience buys you a shelf that looks custom instead of “almost.”
Step 4: Install the bracket/cleat properly
Predrill into studs if recommended for your screws (especially near stud edges). Use the right length screws. Tighten firmly, but don’t crush drywall.
If the wall has texture or the drywall isn’t perfectly flat, shim behind the bracket so it doesn’t bend as you tighten.
If you must use anchors (no stud where needed), choose anchors designed for the load and wall type. Drywall anchors are not all equal:
lightweight anchors are for lightweight items; toggle-style or heavy-duty anchors are for serious loads.
Step 5: Build (or prep) the shelf body with accuracy
If you’re making a hollow “box” shelf, cut your top, bottom, and face pieces square. Dry-fit first. Glue and clamp for tight seams.
If you’re using rod-style brackets, drill perfectly straight holes at the exact spacingaccuracy here is everything.
Step 6: Mount the shelf and lock it in
Slide the shelf onto the bracket/cleat and make sure it sits tight to the wall. Many systems use a set screw or underside screw to prevent shifting.
Use it. “Friction fit” is a fancy phrase for “it will eventually wiggle loose.”
The Mistakes That Make Floating Shelves Wobble (And How to Fix Them)
Mistake: The shelf rocks against the wall
Your wall may be bowed or textured. Fix it with shims behind the bracket or by scribing the shelf to match the wall for a tight fit.
A tiny gap can look bigger because floating shelves cast shadows like it’s their job (and it is).
Mistake: The shelf is level… until you step back
That’s usually a reference-line problem. For multiple shelves, measure from a fixed point (ceiling or countertop) and use the same level line method
for each shelf. Don’t “eyeball match” shelf spacing unless you enjoy re-drilling holes.
Mistake: Sagging over time
Causes include: shelf too thin for the span, insufficient internal structure, not enough fasteners into studs, or heavy loads placed at the front edge.
Fixes range from rebuilding the shelf as a torsion box to upgrading brackets and ensuring stud attachment.
Mistake: Using adhesive solutions for something that deserves screws
Adhesives are great for trim. Shelves are not trim. Humidity, temperature shifts, and load changes can all reduce adhesive reliability over time.
If it holds today, that’s not a guarantee it holds next monthespecially in kitchens and bathrooms.
Finishing Touches That Make Floating Shelves Look Expensive
- Prefinish when you can: It’s easier to sand and finish a shelf on sawhorses than on the wall.
- Use edge banding or a solid face: If you used plywood, cover exposed edges for a clean furniture look.
- Caulk the tiny gap (carefully): Paint-grade shelves can look built-in with a small bead of paintable caulk.
- Match sheen: A shelf finish that matches nearby trim or cabinetry looks intentional, not “random new wood appeared.”
Safety Notes (Because Gravity Reads Your Comments)
If your shelves will hold heavy items (dishes, books, appliances, anything you’d hate to see fall), prioritize stud attachment and hardware designed
for that load. If you’re installing into tile, plaster, masonry, or anything unusual, research the correct anchors and drilling technique for that
surfaceor hire a pro for the mounting portion and do the shelf build yourself.
My 500-Word Reality Check: The Shelf That Taught Me Humility
The first floating shelf I ever built looked incredible… for about three hours. It was a beautiful plank of wood, stained the perfect shade of
“I definitely know what I’m doing,” with a sleek hidden bracket kit that promised strength and elegance. I held it up to the wall, imagined my
perfectly styled décor moment, and started drilling with the confidence of someone who has watched exactly two DIY videos.
Here’s what I didn’t do: I didn’t confirm the stud locations beyond a quick stud-finder beep. I didn’t account for the fact that my wall had a subtle
bow. I didn’t think about load placement. I also believeddeep in my heartthat drywall anchors are basically little plastic superheroes.
Spoiler: they are more like interns. Helpful, yes. Ready to carry the whole project? Not on day one.
I mounted the bracket, slid the shelf on, and stepped back. It looked clean. It looked modern. It looked like it belonged in a magazine.
I celebrated by putting a “small” stack of books on it (why do all books weigh the same as guilt?). Then I added a plant. Then a candle.
Then I did what every rational person does: I gently pressed down on the front edge to “test it.”
The shelf responded with a tiny, almost polite creaklike it was clearing its throat to tell me something. I ignored it. Ten minutes later, I heard a
soft pop. Not loud. Not dramatic. Just the sound of an anchor giving up on my dreams. The shelf didn’t fully crash, but it tilted forward just enough
to announce, “I will fall later, when you’re not watching.” That is the most stressful promise an inanimate object can make.
I took everything off, pulled the shelf down, and stared at the wall like it had personally betrayed me. Then I did the unglamorous part: I learned.
I found the studs againthis time confirming with measurements and a test hole. I realized my bracket holes didn’t line up with the studs the way I
wanted, so I switched to a cleat/ledger approach that let me fasten where the studs actually were. I shimmed the bracket to compensate for the wall
bow instead of bending the hardware into submission. I upgraded fasteners. I also rebuilt the shelf body into a sturdier form so it wasn’t relying on
“good vibes” for rigidity.
Round two wasn’t as cinematic, but it was deeply satisfying. The shelf slid on tight. It sat level. It didn’t wobble. I loaded the books backthis time
closer to the walland the shelf didn’t even complain. That’s when the real lesson landed: floating shelves aren’t hard because they’re complicated;
they’re hard because they’re unforgiving. A tiny error in level becomes obvious. A missed stud becomes expensive. A deep shelf turns into a lever.
Once you respect those realities, floating shelves stop being scary and start being funthe good kind of fun, where nothing falls at 2 a.m.
If you take one thing from my humiliation, take this: build the support like it’s holding something preciousbecause at some point, it will.
Conclusion
Building floating shelves is one of those projects that looks easy right up until the moment it isn’t. The win comes from treating the invisible parts
as the main event: solid attachment into studs when possible, the right anchors when it’s not, careful leveling, and a shelf body designed to resist
sag and wobble. Get those right and floating shelves become what they were always meant to beclean, strong, and quietly impressive.