Dyeing a shirt is one of those wonderfully dangerous-looking crafts that is actually friendly once you know the rules. You start with a plain shirt, a packet or bottle of dye, a pair of gloves, and the quiet belief that you are about to become a textile wizard. Sometimes you get a perfect new wardrobe staple. Sometimes you get a shirt that looks like it survived a blueberry tornado. Either way, you learn fast.
This guide explains how to dye a shirt in 13 clear steps, whether you want a solid color refresh, a soft vintage fade, or a dramatic DIY makeover. The process is simple, but the best results come from choosing the right dye for the fabric, preparing the shirt properly, keeping the dye bath moving, rinsing thoroughly, and washing with care afterward. In other words, the shirt does not need magic. It needs chemistry, patience, and maybe a kitchen timer that has not emotionally given up.
The instructions below focus mainly on cotton and cotton-blend shirts because they are the easiest and most common options for beginners. However, you will also learn what to do with polyester blends, how to avoid blotchy color, and how to keep your freshly dyed shirt from turning the rest of your laundry into abstract art.
Before You Start: Understand Your Shirt and Dye
The most important rule of shirt dyeing is this: fabric content decides everything. A 100% cotton shirt behaves very differently from a polyester performance tee. Cotton, linen, rayon, ramie, and hemp generally accept dye well, especially fiber-reactive dyes or all-purpose dyes. Wool, silk, and nylon may need an acid-friendly process. Polyester and other synthetics usually require a dye made specifically for synthetic fibers and much higher heat.
Check the care label before you buy dye. If your shirt is mostly cotton, you have plenty of beginner-friendly options. If it is more than about one-third synthetic, expect weaker results with regular dye unless you choose a synthetic-fabric dye. Also remember that stitching is often polyester, even on cotton shirts. That means the shirt may dye beautifully while the thread stays white. This is not a disaster; it is just the shirt quietly revealing its secrets.
Supplies You Will Need
Gather everything before opening the dye. Dye has a special talent for appearing on counters, fingers, towels, and occasionally the family dog’s suspiciously innocent tail.
- A clean shirt, preferably white or light-colored cotton
- Fabric dye suitable for your shirt’s fiber content
- Rubber gloves
- Plastic table cover, trash bags, or old towels
- Large stainless-steel pot, bucket, or plastic tub used only for crafts
- Long spoon or tongs used only for dyeing
- Hot water
- Mild detergent or dish soap
- Salt for cotton, linen, rayon, ramie, or similar plant-based fibers
- White vinegar for silk, wool, or nylon when the dye instructions call for it
- Measuring cup
- Paper towels or rags
- Optional: soda ash for fiber-reactive dye, dye fixative, rubber bands, squeeze bottles
How to Dye a Shirt: 13 Steps
Step 1: Choose the Right Shirt
Start with a shirt that is clean, sturdy, and made from a dye-friendly fabric. White shirts give the brightest and most predictable color. Light gray, pale yellow, beige, and pastel shirts can also work, but the original color will affect the final shade. Dye is transparent, not paint. A yellow shirt dyed blue may turn green, which is great if you wanted green and mildly rude if you did not.
Avoid shirts with heavy stain-resistant finishes, water-repellent coatings, or slick athletic textures unless you have a dye designed for that fabric. These finishes can block dye from penetrating evenly.
Step 2: Pick the Best Dye for the Fabric
For cotton shirts, fiber-reactive dye is excellent because it bonds strongly with plant-based fibers and produces vibrant color. All-purpose dye is widely available and beginner-friendly, especially for cotton, rayon, linen, nylon, silk, and wool, depending on the product instructions. For polyester shirts or high-polyester blends, choose a synthetic-fabric dye and follow the heat requirements carefully.
Do not guess here. Read the dye label. The label is not decorative literature; it is the difference between a bold black shirt and a sad gray shirt that looks like it has been apologizing in the rain.
Step 3: Pre-Wash the Shirt
Wash the shirt before dyeing, even if it is brand new. New shirts often contain sizing, softeners, oils, or finishing chemicals that interfere with dye absorption. Used shirts may contain deodorant residue, body oils, detergent buildup, or mystery spots from a lunch you no longer remember.
Use warm water and a small amount of detergent. Skip fabric softener because it can leave a coating on the fibers. Drying is optional, but the shirt should be clean before it enters the dye bath.
Step 4: Protect Your Workspace
Cover your table, counter, or floor with plastic sheeting, trash bags, or old towels. Wear gloves and clothes you do not mind staining. Dye splashes are not always dramatic, but they are sneaky. A single drop can turn a clean countertop into a crime scene for craft supplies.
Work near a sink if possible. If you are using hot-water dyeing, keep children and pets away from the area. Use good ventilation, especially if you are mixing powdered dye. Avoid breathing in dye powder, and never use dyeing pots or utensils for food afterward.
Step 5: Decide on Your Dyeing Style
Before mixing dye, decide what look you want. For an even, solid color, use an immersion method: the whole shirt goes into one dye bath and is stirred often. For tie-dye, fold or twist the shirt and secure it with rubber bands before adding dye. For ombré, dip only part of the shirt and slowly raise or lower it to create a gradient. For color blocking, dye one section at a time.
Beginners usually get the most reliable results from a solid-color dye bath. Tie-dye is more forgiving because unevenness becomes part of the charm. Solid dyeing is less forgiving, like a teacher who owns three red pens.
Step 6: Wet the Shirt
Dampen the shirt with warm water and wring it out until it is wet but not dripping. A damp shirt absorbs dye more evenly than a dry one. Dry fabric can create harsh patches because some areas grab dye faster than others.
If you are using fiber-reactive dye, you may need to soak the shirt in a soda ash solution before applying dye, depending on the method. Soda ash raises the pH and helps fiber-reactive dye bond with cotton and other plant-based fibers. Follow the dye brand’s instructions for amounts and soaking time.
Step 7: Prepare the Dye Bath
Fill your container with enough hot water for the shirt to move freely. Crowding is one of the biggest causes of uneven color. If the shirt is wedged into a tiny bucket like it is riding economy class on a holiday weekend, the dye cannot circulate properly.
Add the dye according to the package directions. Stir until it is fully dissolved or evenly mixed. For many all-purpose dyes, adding a small amount of dish soap can help promote even dyeing. For plant-based fibers such as cotton, linen, rayon, or ramie, salt is often recommended to help intensify color. For nylon, silk, or wool, vinegar may be recommended instead. Always follow the specific dye instructions because different dye types use different chemistry.
Step 8: Test the Color
Dip a white paper towel, scrap fabric, or hidden section of the shirt into the dye bath to preview the color. Remember that wet fabric looks darker than dry fabric. If the color looks too light, add more dye. If it looks too intense, add more water.
Color testing is especially useful when dyeing over an existing shirt color. A beige shirt dyed red may become brick. A blue shirt dyed black may become navy-black. A pink shirt dyed yellow may become peach. Dye follows color theory, not wishful thinking.
Step 9: Add the Shirt to the Dye Bath
Place the damp shirt into the dye bath slowly. Push it under the surface with tongs or a spoon, making sure every part is submerged. Open folds, separate sleeves, and loosen bunched areas so dye can reach the whole shirt.
For an even color, stir constantly for the first 10 minutes. This is the most important stirring window because the fabric begins absorbing dye quickly. After that, stir frequently until the dyeing time is complete. Move the shirt around, flip it, lift it, and re-submerge it. Pretend you are making soup, except please do not taste this soup.
Step 10: Let the Shirt Soak
Soaking time depends on dye type, fabric type, water temperature, and desired depth of color. Many shirts need about 30 minutes in the dye bath for rich color, though some methods may require more or less time. Polyester dyeing often requires sustained high heat, while fiber-reactive dye may require batching time after dye application.
For a pale shade, remove the shirt earlier. For a darker shade, leave it longer, but understand that fabric can only absorb so much dye. If you want a very deep black, navy, or red, use enough dye, enough water, and enough movement. Weak black usually comes from too little dye, low heat, poor stirring, or synthetic fabric pretending to cooperate.
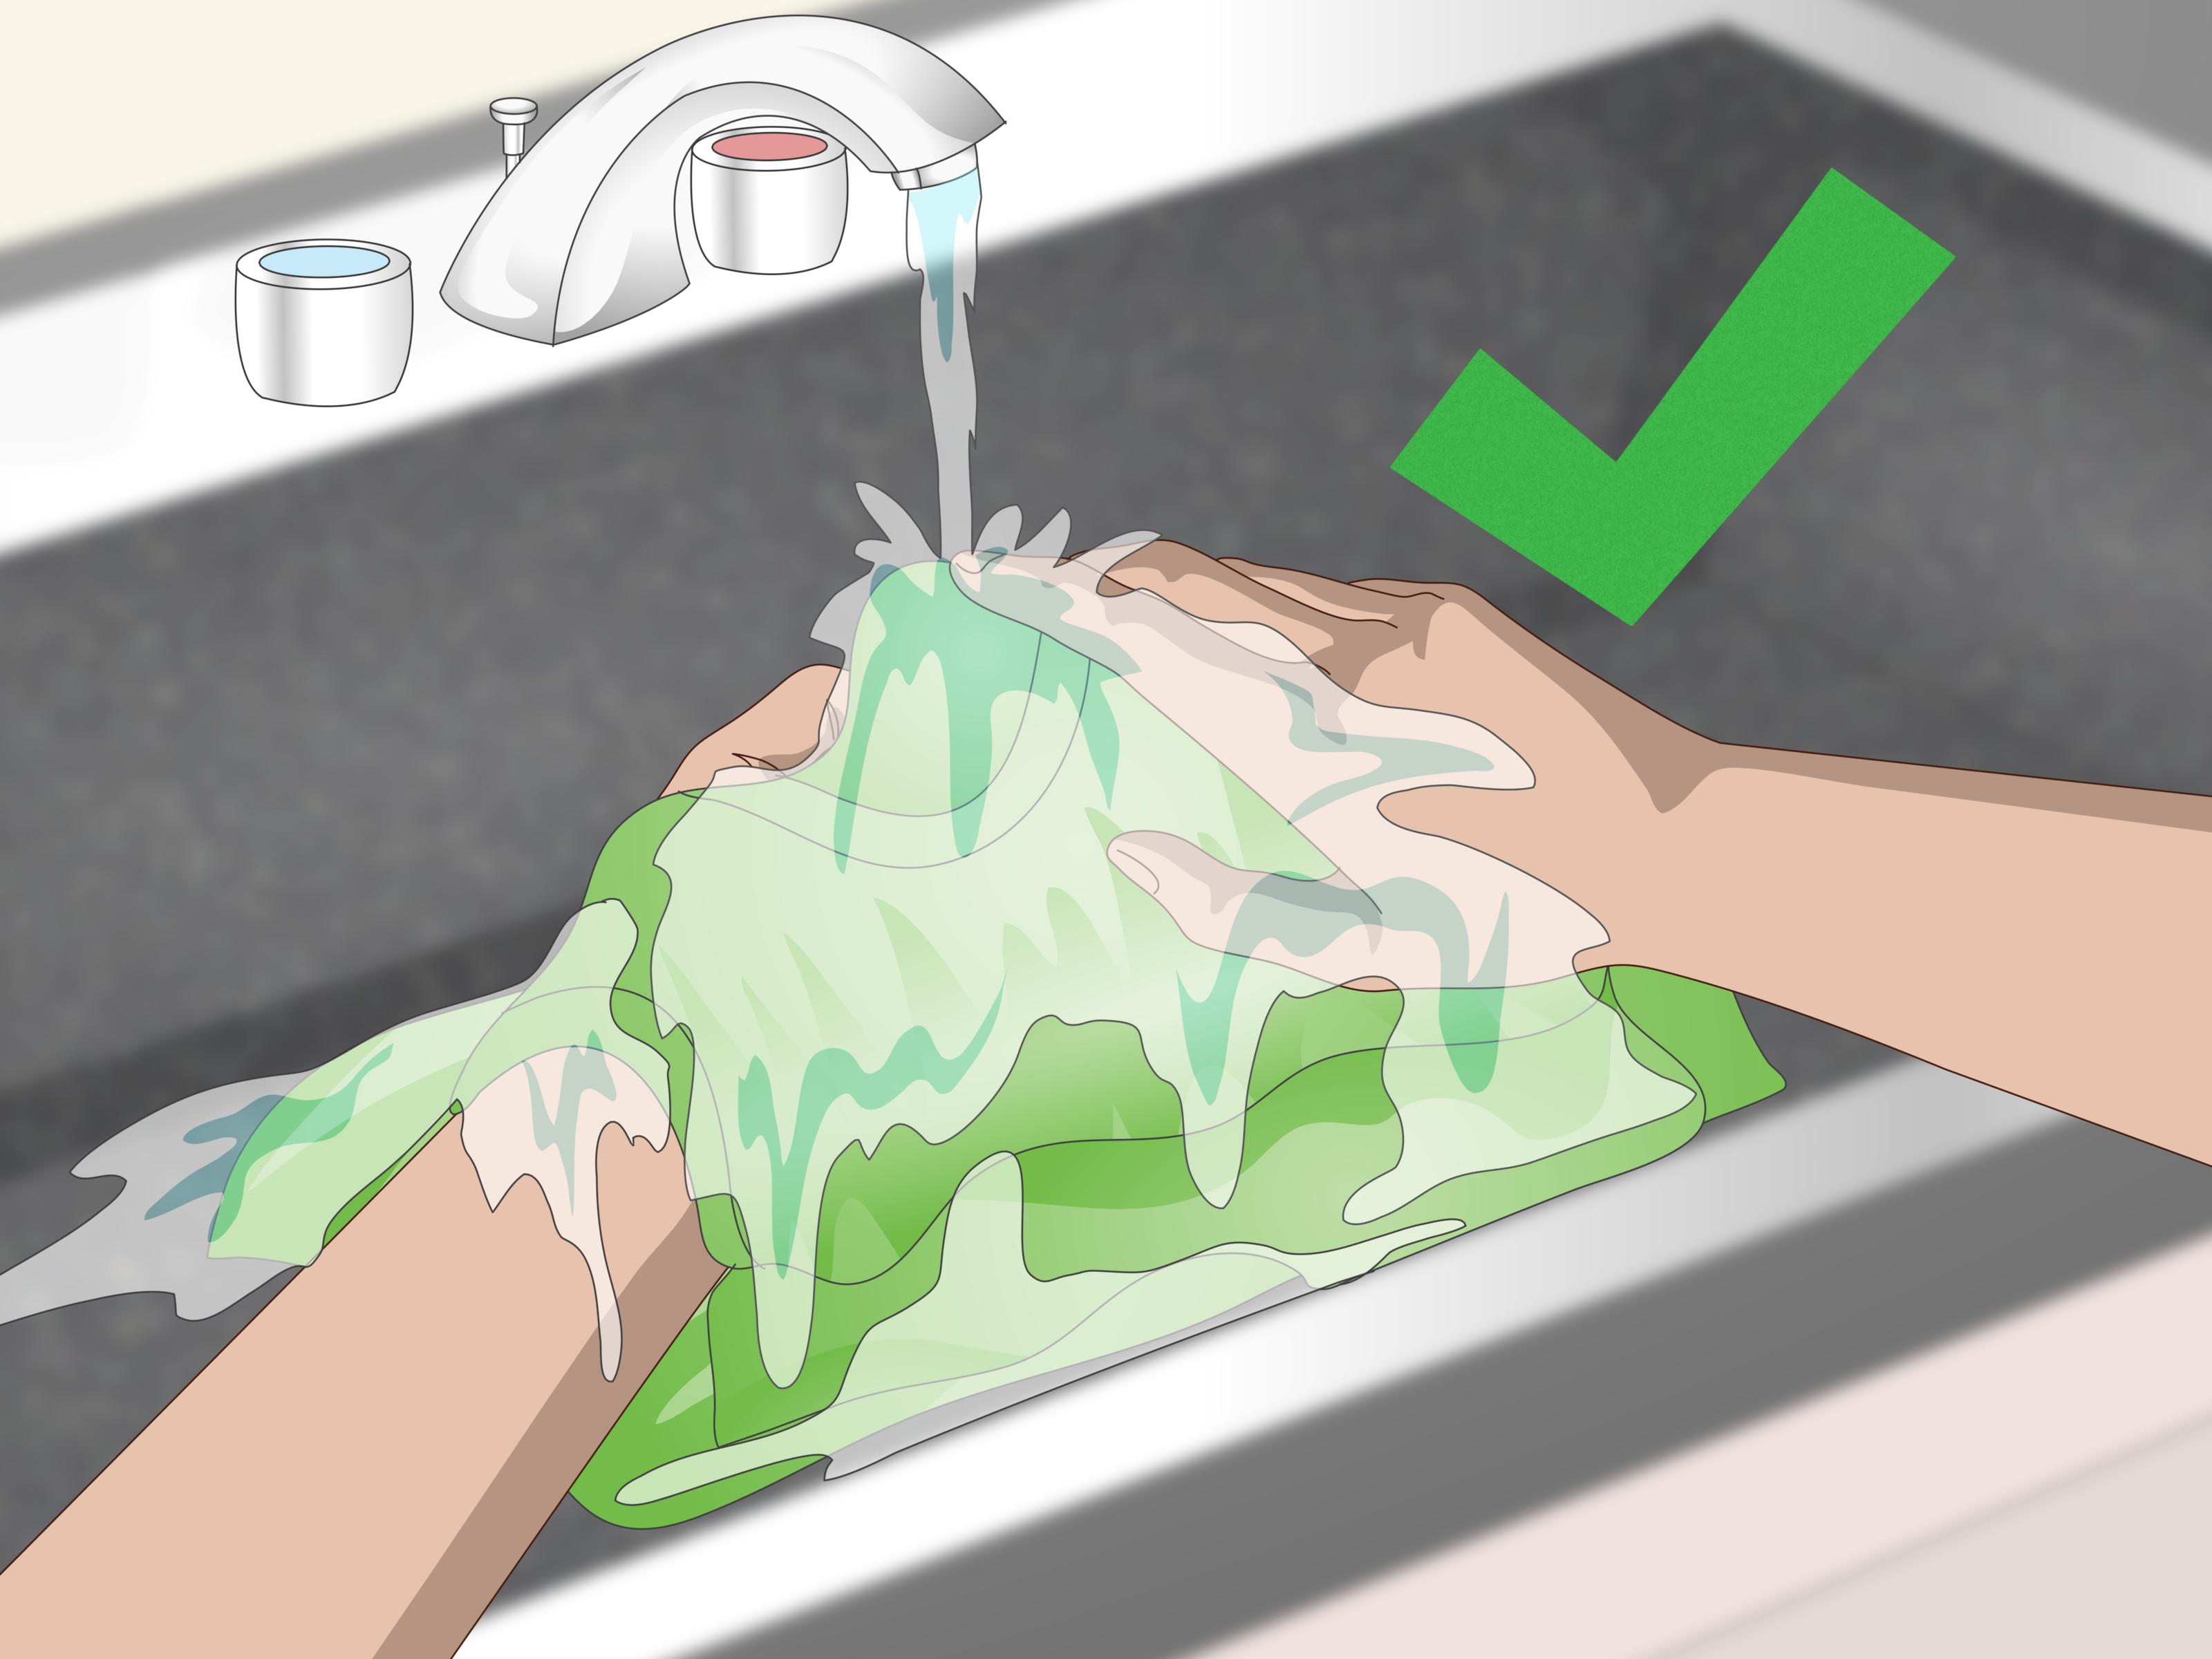
Step 11: Rinse Until the Water Runs Clear
Remove the shirt carefully with gloves or tongs. Rinse it under warm water first, then gradually cooler water. Keep rinsing until the water runs mostly clear. This step may take longer than expected, especially with intense colors. Your patience here protects future laundry loads from accidental pink socks.
If you used rubber bands for tie-dye, rinse the shirt before removing them, then open the shirt and continue rinsing. This helps reduce muddy color transfer between sections.
Step 12: Use Dye Fixative If Recommended
Some dye systems recommend a fixative after dyeing and before the first wash. A dye fixative can help reduce bleeding and improve color retention, especially with all-purpose dyes. Fiber-reactive dyes rely on proper chemical bonding and thorough washing, so follow that dye system’s directions.
Do not assume that vinegar or salt will magically set every dye after the fact. They can be useful in certain dye baths for certain fibers, but they are not universal color-locking spells. Textile chemistry is picky. It wears tiny glasses and corrects people at parties.
Step 13: Wash, Dry, and Care for the Shirt
Wash the dyed shirt separately the first time using mild detergent. Cold or warm water is usually safest after the dye has been rinsed and fixed according to instructions. Dry according to the shirt’s care label. For the next few washes, keep the shirt with similar colors in case a little extra dye releases.
To preserve the color, wash the shirt inside out, avoid harsh detergents, skip bleach, and dry away from direct sunlight when possible. Over time, all dyed garments fade a little. That is not failure; that is fabric living its life.
Common Mistakes When Dyeing a Shirt
Using the Wrong Dye
Regular fabric dye may not work well on polyester. If your shirt is synthetic, use a synthetic dye. If your shirt is cotton, choose a dye that performs well on plant-based fibers.
Skipping the Pre-Wash
Unwashed fabric can resist dye because of finishes, oils, or detergent residue. Pre-washing gives the dye a cleaner path into the fibers.
Not Using Enough Water
The shirt needs room to move. A cramped dye bath causes streaks, folds, and uneven patches.
Forgetting to Stir
Stirring is not busywork. It helps distribute dye evenly and prevents darker spots where fabric sits too long against itself.
Expecting Dye to Cover Stains Perfectly
Dye can disguise some stains, but it can also make them more obvious. Treat stains before dyeing, and choose darker colors if the shirt has stubborn marks.
Best Shirts for Beginner Dyeing
The best beginner shirt is white, 100% cotton, pre-washed, and not too expensive. Cotton T-shirts from craft stores are perfect practice pieces. They absorb dye well, cost less than your favorite concert tee, and will not emotionally destroy you if the first attempt goes rogue.
Light-colored cotton shirts are also good. Cotton-polyester blends can work, but the color may turn out softer because polyester may not absorb regular dye. A 60/40 cotton-poly blend may produce a heathered or vintage look. This can be beautiful if you expect it and disappointing if you wanted a saturated jewel tone.
How to Dye a Shirt Black
Black is one of the trickiest colors to achieve because it requires enough dye, enough time, and the right fabric. Start with a white or light shirt if possible. Use a dye suitable for the fiber content, and do not skimp on dye quantity. Keep the water hot if your dye requires heat, stir often, and leave the shirt in the bath long enough for full absorption.
If dyeing over another color, the result may have undertones. A red shirt dyed black may lean warm. A blue shirt may become a deep navy-black. For the richest black, consider removing color first with a color remover if the fabric allows it, then dyeing.
How to Tie-Dye a Shirt Instead
To tie-dye, start with a damp cotton shirt. Twist, fold, crumple, or accordion-fold the fabric, then secure it tightly with rubber bands. Apply dye with squeeze bottles, making sure to get color into folds without oversaturating everything into brown soup. Let the shirt sit according to the dye instructions, then rinse, wash, and dry.
Classic patterns include spirals, bullseyes, stripes, sunbursts, and crumple designs. Tie-dye is ideal for beginners because surprises usually look intentional. This is also why tie-dye has survived generations of camp counselors, college students, and people who say, “I saw this on the internet and it looked easy.”
Experience Notes: What Dyeing Shirts Teaches You After a Few Attempts
The first thing you learn from dyeing shirts is that preparation matters more than bravery. It is tempting to rip open the dye, splash it into a bucket, and trust your artistic instincts. That can work, but it can also create a shirt that looks like it lost an argument with grape juice. The better approach is slower: read the label, check the fabric, pre-wash the shirt, cover the workspace, and mix the dye carefully. The actual dyeing feels more relaxed when you are not searching for gloves with one already-blue hand.
Another lesson is that color is rarely exact. The shade on the dye bottle is a promise made under perfect conditions. Your shirt has its own personality. A cotton shirt may grab color boldly. A cotton-poly blend may soften it. A shirt that started beige will warm the final color. A shirt with invisible deodorant residue may dye unevenly under the arms, which is humbling but educational. After a few projects, you begin to see dyeing less like copying a paint chip and more like cooking. You follow the recipe, but the ingredients still have opinions.
Stirring also turns out to be more important than most beginners expect. The difference between a smooth solid-color shirt and a streaky one often comes down to movement. In a good dye bath, the shirt floats freely and gets turned, opened, and shifted again and again. Sleeves need attention. Collars need attention. The hem likes to fold over and hide like it owes money. If you want even color, do not just drop the shirt in and wander off to check your phone. The dye bath rewards participation.
Rinsing is where patience gets tested. At first, the water may look shockingly dark, and you may wonder whether all the dye is leaving. Some excess dye is supposed to rinse out. Keep going. Warm water helps release loose dye at the beginning, and cooler water finishes the rinse. When the water runs mostly clear, the shirt is ready for its first wash. Washing it alone is not paranoia; it is wisdom wearing rubber gloves.
One of the best practical discoveries is that imperfect results are often wearable. A slightly uneven navy shirt can look garment-dyed and expensive. A pale green that was supposed to be forest green can become a soft vintage color. A tie-dye pattern that went off-script may become the shirt everyone asks about. Dyeing teaches you to plan carefully but stay flexible. That balance is the fun of it: half science lab, half art class, with a laundry cycle at the end.
Finally, dyeing a shirt changes how you look at old clothes. A faded tee becomes a test canvas. A stained white shirt becomes a candidate for dark olive, charcoal, or indigo. A shirt you almost donated becomes a weekend project. Once you understand how to dye a shirt, your closet gets a second-chance department. Not every experiment becomes a masterpiece, but most teach you something usefuland a surprising number become favorites.
Conclusion
Dyeing a shirt is an easy, affordable way to refresh clothing, personalize basics, and rescue pieces that still fit but no longer feel exciting. The key is matching the dye to the fabric, cleaning the shirt first, preparing the dye bath correctly, stirring often, rinsing well, and washing with care. Cotton shirts are the friendliest starting point, while polyester and specialty fabrics require more specific dye choices and temperature control.
Once you master the basic 13 steps, you can experiment with ombré effects, tie-dye patterns, color blocking, overdyeing, and custom shades. Start simple, protect your workspace, wear gloves, and remember: even the “mistakes” often look cooler than expected. That is the secret joy of DIY shirt dyeingit gives old fabric a fresh story, and occasionally gives your sink a temporary personality.