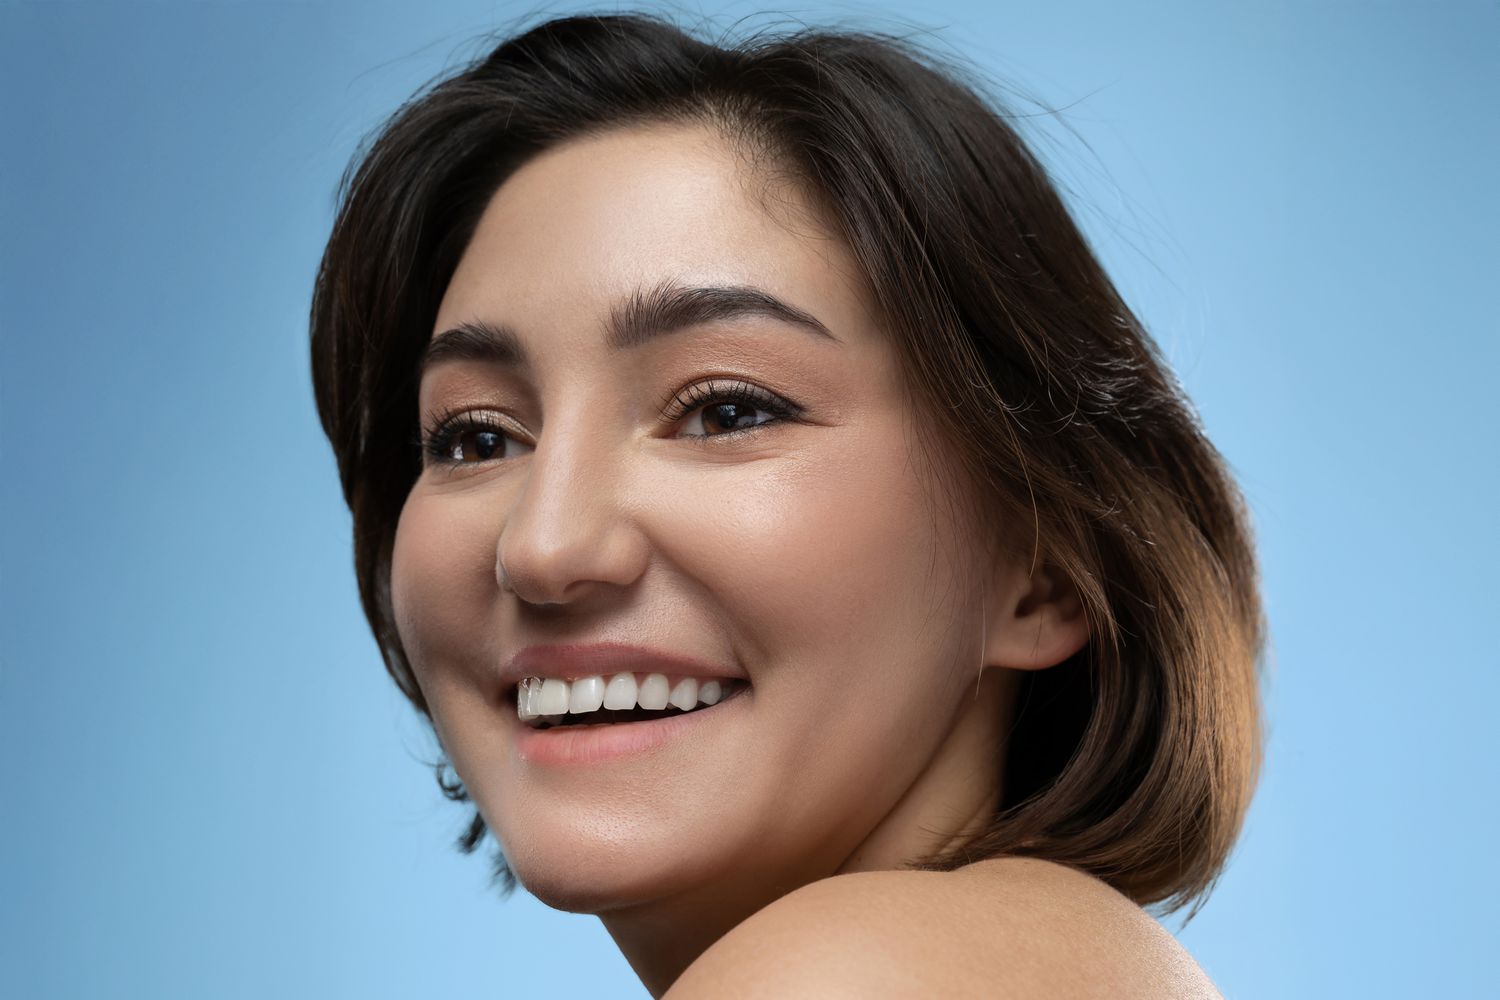
For years, my eyebrows and I had what therapists might call “a complicated relationship.” Some mornings they looked polished, lifted, and expensive. Other mornings they looked like two distant cousins who had met once at a family barbecue and agreed never to speak again. I tried pencils, powders, clear gels, tinted gels, brow wax, soap brows, and the classic panic-tweeze performed under bad bathroom lighting. Some of these things helped. Some of them made me look permanently surprised. None of them gave me the soft, fluffy, full-looking brows I wanteduntil I changed one tiny step.
The tweak was simple: instead of brushing brow gel only upward, I started backcombing my brows first. That means I brushed a tinted or fiber brow gel lightly against the direction of hair growth, coating the underside and finer hidden hairs, then brushed everything up and outward into place with a clean spoolie. That was it. No salon appointment, no dramatic lamination, no “before and after” transformation that required a ring light and emotional music. Just a smarter application method.
The result? My brows looked instantly fuller, softer, and more dimensional. Sparse spots became less obvious. The tails looked longer. The front of each brow had that fluffy, feathered effect that usually seems reserved for models, brow artists, and people who somehow never lost a tweezer battle in 2007.
Why Fuller-Looking Brows Matter More Than We Admit
Eyebrows do a lot of heavy lifting. They frame the eyes, balance facial features, and can make the whole face look more awake. A fuller brow can create softness and structure at the same time, which is why brow products have become such a major part of modern makeup routines. Even when the rest of the face is bare, groomed brows can make you look pulled together in the way a white button-down shirt doeseffortless, but secretly doing the most.
Full brows are not about chasing one universal shape. They are about making the most of what you naturally have. Some people have thick, straight brows. Some have fine, arched brows. Some have one brow that behaves and one brow that apparently runs its own small business. The goal is not to force your brows into a trend. The goal is to give them shape, texture, and balance while keeping them believable.
The One Tweak: Backcomb Your Brow Gel First
Most people apply brow gel the same way they apply mascara to imaginary eyebrow lashes: swipe upward and hope for the best. That works if your brows are already dense, but if you have gaps, pale hairs, thin tails, or uneven patches, the product may only sit on the surface. Backcombing changes that.
When you brush the gel backward first, the wand catches the tiny hairs that usually disappear. It coats the front and back of each hair, adding color and texture from multiple angles. Then, when you brush the hairs back into place, they look thicker without looking drawn on. Think of it like fluffing a pillow before putting on the pillowcase. Same pillow, much better drama.
How to Do It Step by Step
Start with clean, dry brows. If your skincare or sunscreen is still sitting on the brow hairs, gel can slip, clump, or refuse to hold. Give your brows a quick brush with a clean spoolie first so you can see their natural shape.
Next, wipe excess product off the brow gel wand. This is important. A loaded wand can turn “full and fluffy” into “I lost a fight with a chocolate marker.” You want a light coating, especially if the gel is tinted or contains fibers.
Now brush gently against the direction of growth. For most people, this means brushing the tail inward and the middle section slightly downward or sideways. Use tiny strokes, not aggressive scrubbing. You are not sanding a deck; you are waking up invisible brow hairs.
After that, brush the hairs up and outward into your preferred shape. At the front of the brow, lift the hairs almost vertically for a soft, feathered look. Through the arch and tail, angle the hairs outward so the shape looks natural and elongated.
Finally, let the gel set for a few seconds. If you need extra definition, add a few hair-like pencil strokes only where gaps remain. The magic is in restraint. The fuller your gel makes the brow look, the less pencil you need.
Why This Works Better Than Just Filling In Gaps
Filling in sparse brows with pencil alone can be beautiful, but it can also become flat if you overdo it. Real brow hairs have dimension: some are darker, some are lighter, some stand up, some lie sideways, and some behave like they were raised by wolves. A brow that is only colored onto the skin may look neat, but it can lack texture.
Backcombing with brow gel gives the illusion of density because it emphasizes the hairs you already have. Tinted formulas add subtle color. Fiber formulas add a bit of bulk. Clear gels add lift and hold. When the hairs are lifted and separated, light hits them differently, making the brow area look more open and dimensional.
This method is especially helpful if your brows are naturally fine, slightly patchy, over-plucked, light in color, or thinner at the tails. It will not create hair where there is none, but it can make existing hair work much harder. Honestly, if my brow hairs had a union, they would demand overtime pay.
Choosing the Right Brow Gel for Fuller-Looking Brows
Clear Brow Gel
Clear gel is best if your brows are already dark enough but need lift, shape, or hold. It gives a clean, laminated effect without adding color. This is a good option for beginners because mistakes are less obvious. If you are nervous about looking too “done,” clear gel is the training wheels of fuller-looking brows.
Tinted Brow Gel
Tinted gel is the sweet spot for many people. It darkens fine hairs, makes the brow shape more visible, and can reduce the need for pencil. Choose a shade close to your natural brow color, usually slightly cooler or more neutral than your hair color. Too much warmth can make brows look orange or artificial, especially in daylight.
Fiber Brow Gel
Fiber brow gels contain tiny fibers that cling to brow hairs and create a thicker appearance. These are excellent for sparse brows, but they require a light hand. Wipe the wand before applying, build slowly, and avoid pressing too hard into the skin. The goal is plush, not fuzzy caterpillar.
The Best Brow Shape Is Your Brow, But Better
Before you add product, it helps to understand your natural brow map. A classic guide is to align the start of the brow near the bridge of the nose, place the arch around the outer edge of the iris or pupil area, and let the tail extend toward the outer corner of the eye. These points are not laws carved into stone tablets, but they are useful when your brows have started free-styling.
One of the biggest mistakes is removing too much from the front of the brows. Brows that start too far apart can make the face look wider through the center and can reduce natural expression. Another common mistake is over-tweezing under the arch until the brow looks permanently alarmed. A small cleanup is fine. A full excavation project is where things get risky.
What Not to Do If You Want Fuller-Looking Brows
Do Not Tweeze Under Magnifying Light Like a Detective
Magnifying mirrors are useful for splinters and betrayal, but they can be dangerous for brow grooming. When you zoom in too closely, every tiny hair looks like a problem. Step back and look at your whole face before removing anything. Brows are about balance, not microscopic perfection.
Do Not Trim Too Much
Trimming can make brows look polished, but cutting too many hairs can create holes. Brush the hairs upward and trim only the tips that clearly extend beyond your shape. If you are unsure, do less. Brow regret grows slowly.
Do Not Use Heavy Product Every Day Without Cleansing
Brow gels, waxes, sunscreen, foundation, and skincare can build up around the hairs. Cleanse the area gently at night. This helps prevent flakes, stiffness, and that strange crunchy feeling that makes your eyebrows feel like tiny roof shingles.
Can Brow Serums Actually Help?
Brow serums can support the appearance of healthier, fuller brows for some people, especially formulas designed to condition hairs and reduce breakage. However, they require patience. A serum is not a same-day fix; it is more like sending your brows to a wellness retreat and hoping they return refreshed in several weeks.
It is also smart to be cautious. Some lash-growth ingredients, especially prescription prostaglandin-based treatments used around the eyes, can have side effects. If you have eye conditions, sensitive skin, sudden brow loss, or are considering prescription options, speak with a dermatologist or healthcare professional first. Cosmetic brow gels make brows look fuller immediately; medical treatments are a different category and deserve more care.
When Sparse Brows Might Be More Than a Beauty Issue
Not all thinning brows come from over-plucking. Eyebrow hair loss can happen because of aging, genetics, stress, nutritional issues, skin conditions, autoimmune conditions such as alopecia areata, or certain forms of hair loss that affect the scalp and brows. If your brows suddenly thin, fall out in patches, itch, flake, or change along with scalp hair loss, it is worth checking in with a board-certified dermatologist.
This matters because makeup can disguise sparse areas, but it cannot diagnose why the hair changed. A professional can help determine whether the issue is cosmetic, medical, or a mix of both.
How I Make the Backcombing Tweak Look Natural
My favorite version of this technique starts with restraint. I brush through clean brows, then use a tinted gel that is not too dark. I backcomb only where I need fullness: usually the arch, the tail, and the top line of the brow. Then I brush everything up and outward. If the front looks too bold, I soften it with a clean spoolie.
After the gel sets, I use a micro pencil only in the barest spots. I do not outline the entire brow. I do not carve it with concealer for everyday wear. I do not attempt symmetry so intense that my face looks computer-generated. I just add two or three small strokes where the brow naturally dips.
The final effect is soft but structured. My brows look like mine, just better rested, better hydrated, and possibly represented by a better publicist.
Best Product Pairings for This Brow Routine
For Light Brows
Use a tinted brow gel one shade deeper than your natural brow hair, then add a taupe or blonde pencil only where needed. Avoid shades that are too red or too warm unless they genuinely match your hair.
For Dark Brows
Use a clear or neutral-toned gel to avoid making the brows look too heavy. If you need to fill gaps, choose a pencil slightly lighter than your brow hair for a softer effect.
For Sparse Brows
Try a fiber gel first, then pencil afterward. Applying pencil first can sometimes create a flat base that the gel clings to unevenly. Gel first lets you see how much fullness you can get from the hairs before drawing anything in.
For Thick Brows
Use clear gel or a flexible-hold wax. Backcombing can still help coat the hairs evenly, but avoid too much tint. Thick brows often need shape more than color.
Common Mistakes That Ruin the Full-Brow Effect
The first mistake is using too much product. Brow gel should tint and lift, not form a helmet. If you can see clumps, wipe the wand and comb through with a clean spoolie.
The second mistake is choosing a shade that is too dark. Very dark brows can look striking, but they can also overpower the face if the color does not match your natural contrast. When in doubt, go softer.
The third mistake is drawing a harsh box at the front of the brow. Natural brows are usually lighter and more diffused at the inner corners. Keep the front airy and save stronger definition for the arch and tail.
The fourth mistake is skipping the blend. Even the best pencil strokes need a quick spoolie pass. Blending turns makeup into “good brows.” Not blending turns makeup into “I had six minutes and chose violence.”
My 500-Word Experience: The Tiny Habit That Changed My Brow Routine
I first tried the backcombing trick on a morning when I had exactly seven minutes to look alive. My coffee was still too hot, my hair was not cooperating, and one eyebrow had decided to lean downward like it had received disappointing news. Normally, I would grab a pencil and start filling in the weak spots, then add gel afterward. The problem was that the more pencil I used, the more my brows looked drawn on. They were technically fuller, yes, but in the way a coloring book is technically art.
That morning, I switched the order. I picked up a tinted brow gel, wiped most of it off on the tube, and brushed the hairs backward. At first, I looked ridiculous. My brows were pointing in directions brows should not point unless they are trying to pick up satellite radio. But then I brushed them upward and outward, and suddenly the shape appeared. The little pale hairs near the top of my arch showed up. The tail looked less sad. The front looked fluffier without needing pencil.
What surprised me most was how much less makeup I needed afterward. Usually, I would draw several tiny strokes through the center and tail. With the gel applied this way, I only needed two strokes on one brow and one on the other. That alone made the result look more natural. The brow hairs were doing the visual work, not the pencil.
I also noticed that my brows looked better in real life, not just in a mirror. That is a big difference. Some brow routines look amazing under bathroom lighting but become theatrical outdoors. This method passed the daylight test. It gave fullness without the sharp, stamped-on look. My brows still had texture, movement, and tiny imperfections, which made them believable.
Over the next few weeks, I experimented with different formulas. Clear gel gave me the softest look, but it did not hide sparse areas as well. Tinted gel was the best everyday option. Fiber gel gave the most dramatic fullness, but only when I used a very small amount. I learned that the wand matters, too. A smaller spoolie gave me more control, especially around the tail. A large brush worked faster but was easier to overdo.
The biggest lesson was that fuller-looking brows are not always about adding more product. Sometimes they are about applying product in a way that lets every tiny hair participate. Backcombing made my brows look fuller because it found the hairs I had been ignoring. It turned my routine from a cover-up job into a styling step.
Now, when someone asks what I did differently, I do not say I “grew my brows overnight” or discovered a secret product locked in a celebrity makeup artist’s vault. I tell them the truth: I brushed my brow gel backward before brushing it up. It sounds too easy, which is exactly why I love it. Beauty routines are full of expensive promises, but every once in a while, the thing that works is just a tiny tweak with a spoolie.
Conclusion: The Fullest Brows Are Usually the Smartest Brows
The brow tweak that gave me my fullest-looking brows ever was not complicated, expensive, or dramatic. It was simply changing the direction of my first swipe. By backcombing brow gel before brushing the hairs into place, I was able to coat fine hairs, add texture, lift the shape, and make sparse spots look softer in seconds.
If your current brow routine feels too heavy, too flat, or too time-consuming, try this method before buying another product. Use less gel than you think, brush backward gently, then lift and shape. Add pencil only where needed. Keep the front soft. Blend everything. Then step back from the mirror and admire the fact that your brows finally decided to attend the meeting prepared.
Fuller-looking brows do not have to mean harsh, dark, or overfilled brows. The best version is natural, lifted, touchable, and balanced. And sometimes, all it takes is brushing in the “wrong” direction first.