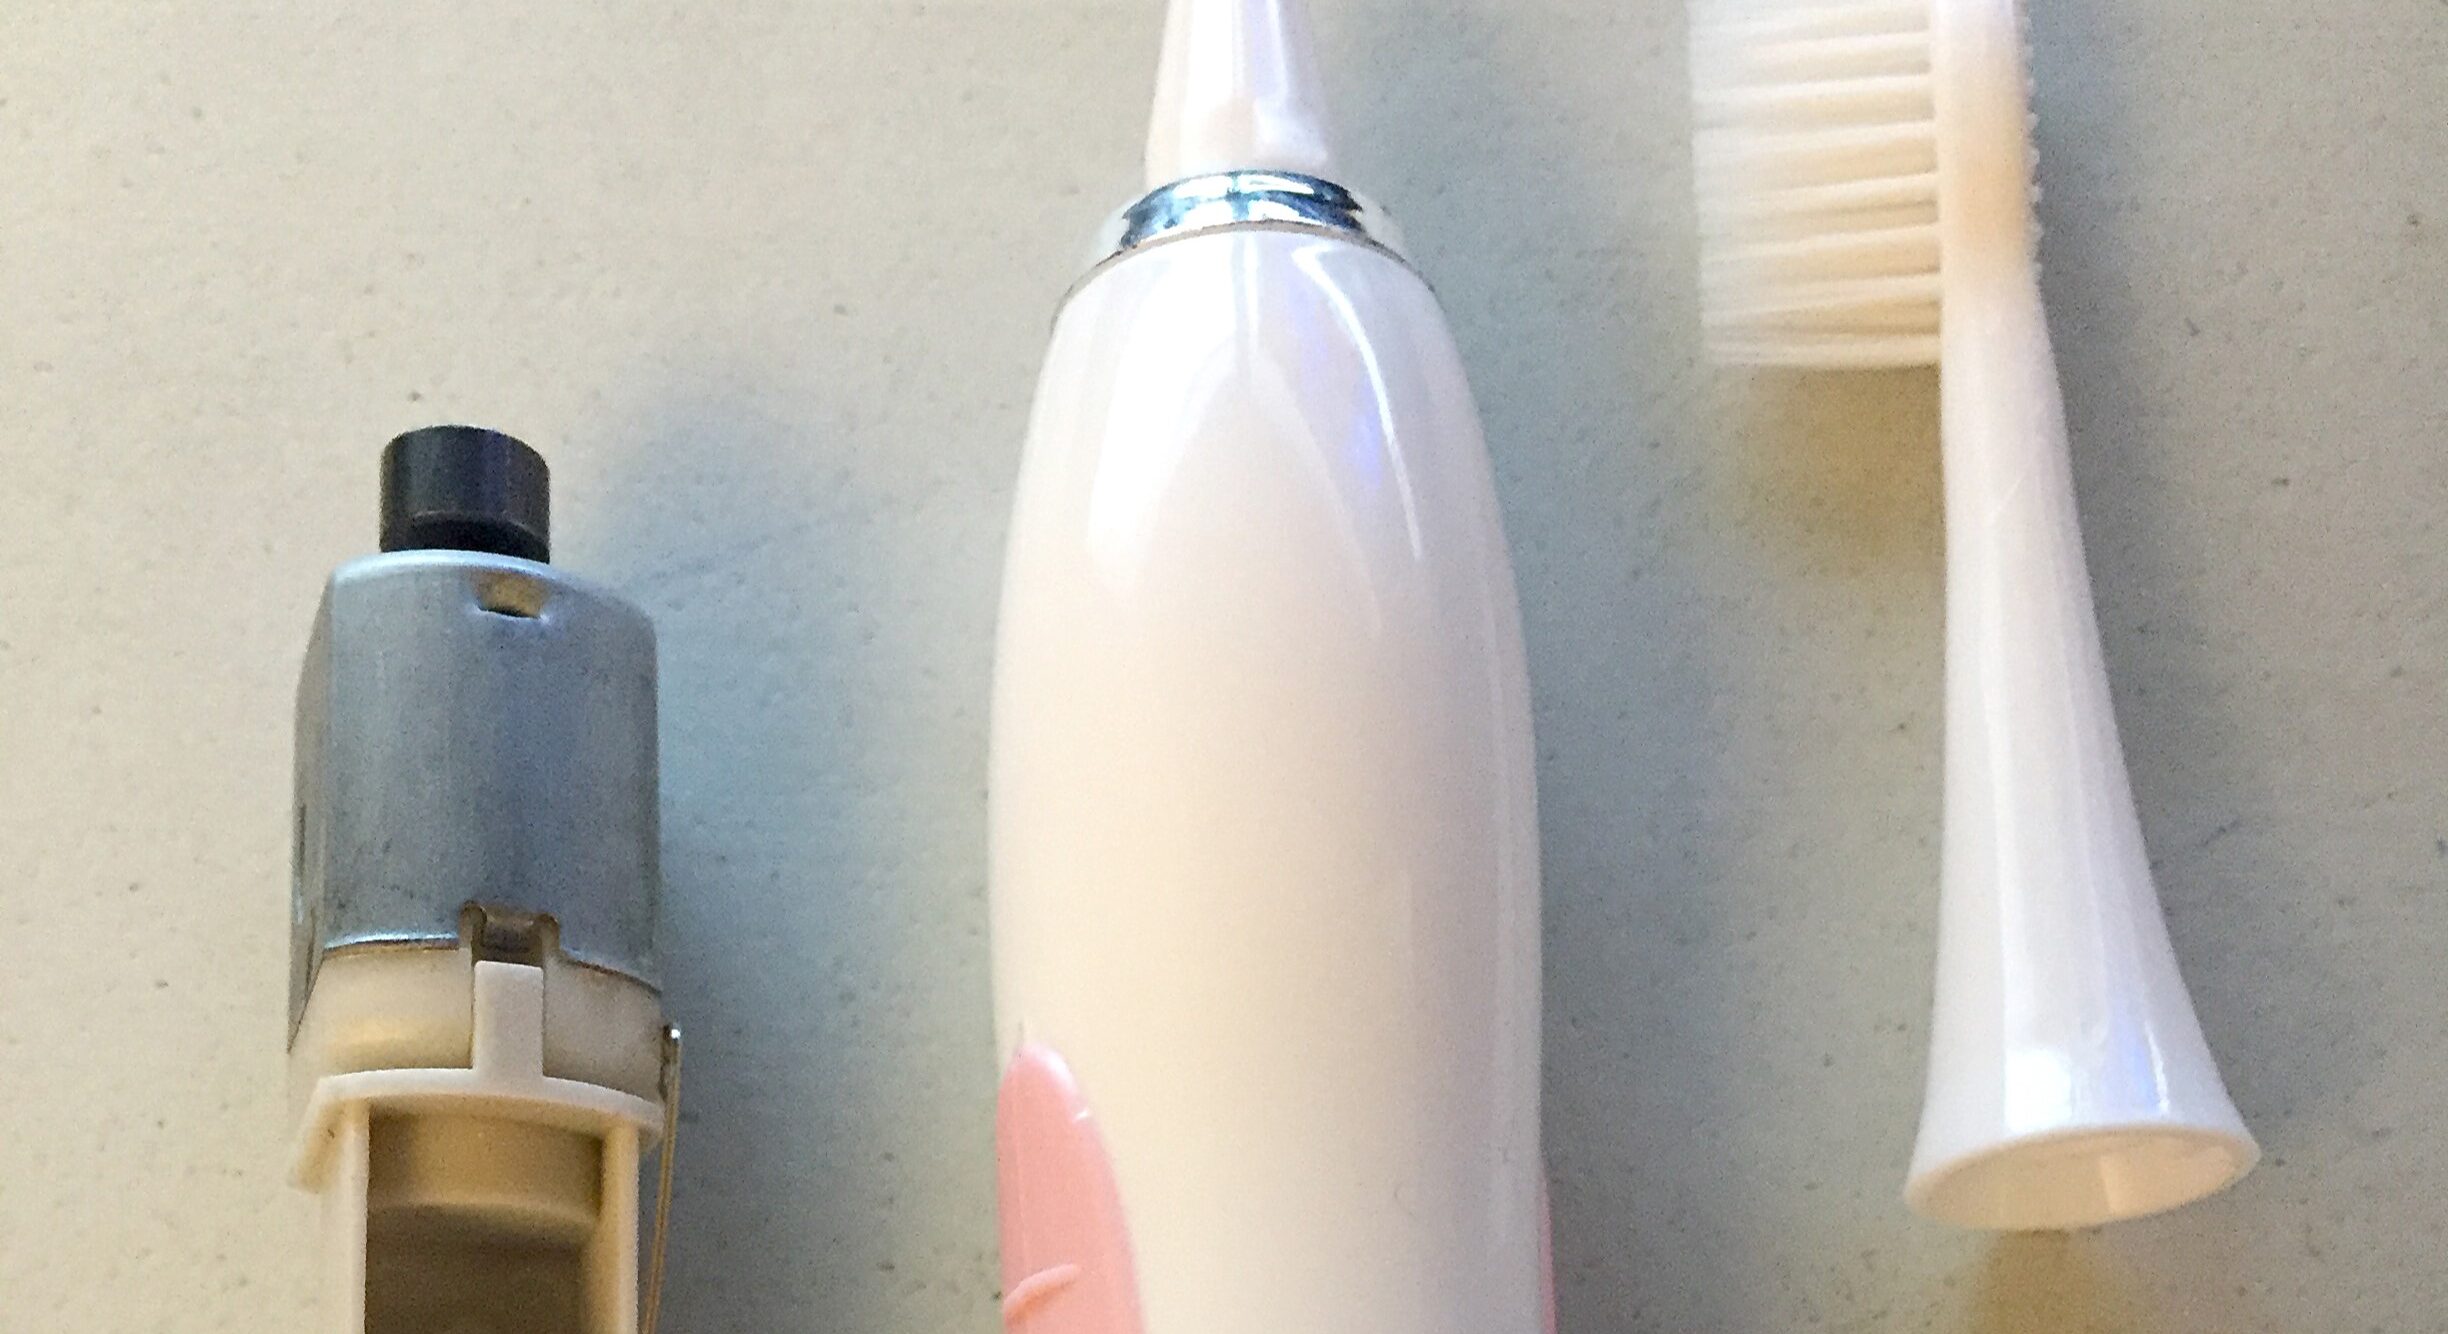
Your electric toothbrush is basically a tiny, polite power tool that lives in a charging cradle and pretends it’s only here for dental hygiene.
But once the battery gets tired, the handle starts acting dramatic, or you upgrade to the newer model with 47 brushing modes you’ll never use,
you’re left holding a perfectly good vibration machine and asking: “Now what?”
Here’s the fun part: a “discarded” electric toothbrush doesn’t have to be trash. It can become your go-to detail scrubber, a gentle polisher,
a sneaker-cleaning hero, and a craft-room sidekick. The trick is to repurpose it safely, keep it sanitary, and avoid turning a bathroom gadget
into a science experiment gone wrong.
Below are five practical, real-life hacks (plus extra field notes at the end) that don’t require you to be an engineer, own a workshop,
or say the words “I’m sure the battery’s fine” out loud.
Before You Hack Anything: A 60-Second Safety + Sanity Checklist
1) Retire it from oral duty (for real)
If you’re repurposing a toothbrush for cleaning, it should never go back in your mouth. Not “after I rinse it.” Not “after I only clean the
sink with it.” Not even if it gives you puppy-dog eyes from the cup holder. Label it with tape: “CLEANING ONLY.”
2) Give it a proper clean
Pop off the brush head and wash the handle with warm, soapy water on a cloth. Keep water away from charging ports and seams. Then wipe with an
alcohol wipe or a mild disinfecting wipe, and let it dry completely. If you’re using a brush head, either use a brand-new replacement head
dedicated to cleaning or sanitize the head thoroughly and reserve it for one job only (like “grout,” not “everything everywhere all at once”).
3) Don’t open the handle (seriously)
Many electric toothbrushes contain rechargeable batteries. Disassembling battery-powered devices can be risky without the right tools,
experience, and safety precautions. These hacks keep the toothbrush intact. If your inner maker is itching to salvage parts, hand the dead
handle to a supervised adult/makerspace or skip straight to proper recycling.
4) Know when it’s truly done
If the handle is cracked, swollen, leaking, smells burnt, gets unusually hot, or won’t charge normally, stop using it and recycle it properly.
“Sketchy heat” is never a personality trait you want in an appliance.
Hack #1: The Grout-Line “Micro Scrubber” That Saves Your Knees
If grout could talk, it would brag about how it collects soap scum, body oils, and mystery grime in places a regular sponge can’t reach.
An electric toothbrush is made for tight spaces and repetitive motionexactly what grout cleaning demands.
What you’ll use
- Your retired electric toothbrush (cleaning-only)
- A small bowl
- Dish soap + warm water (simple and surprisingly effective)
- Optional: baking soda paste for stubborn spots
- Microfiber cloth for wiping/rinsing
How to do it (without overthinking)
- Pre-rinse: Wipe the tile/grout with warm water to loosen surface dirt.
- Apply cleaner: Use dish soap solution for general grime. For heavy buildup, dab on a baking soda paste.
- Let the brush work: Use gentle pressure and short passes along the grout line. Let the motion do the job.
- Wipe and repeat: Wipe away loosened grime with a damp cloth. Repeat only where needed.
Where it shines
- Shower corners and tile edges
- Around sink rims and faucet bases
- Backsplash grout lines (especially behind the stoveyes, that place)
Common mistakes to avoid
- Going full Hulk: Excess pressure can fray bristles and scratch delicate surfaces.
- Using harsh chemicals blindly: Test any cleaner on a small hidden spot first.
- Mixing chemicals: Never mix cleaning agents unless you’re 100% sure it’s safe.
Hack #2: The “Tiny Gunk Assassin” for Faucets, Hinges, and Kitchen Crevices
The grossest dirt is rarely the dirt you can see. It’s the thin ring at the faucet base, the hinge grime on a toilet seat, the rubber gasket
in a blender lid, or the textured handle of a kitchen tool that somehow holds onto yesterday’s dinner.
Best targets
- Faucet bases and handles (especially around seams)
- Showerhead edges and fixture creases
- Toilet seat hinges (yepthank you for being brave)
- Refrigerator door seals and textured knobs
- Small kitchen gadgets with grooves (hand-wash only parts)
How to do it
- Remove loose debris: Wipe the area first so you’re not polishing dirt into the surface.
- Use mild cleaner: Dish soap solution works for most jobs.
- Short bursts: Gently scrub in short passes. For tight corners, angle the head slightly.
- Rinse and dry: Wipe with clean water, then dry. Moisture loves to move in and never pay rent.
Pro tip: create “zones”
If you use the toothbrush for bathroom hardware, don’t also use it for kitchen tools. Label brush heads (or store them separately) so your
cleaning routine doesn’t accidentally become a microbiology experiment.
Hack #3: A Gentle Jewelry + Watchband Cleaner That Doesn’t Feel Like a Scam
Jewelry cleaners can be great. They can also be overpriced, over-perfumed, and weirdly dramatic (“Diamond brilliance!”).
Your electric toothbrush offers controlled, gentle agitationperfect for lifting everyday grime from crevices.
What you’ll need
- Warm water
- A drop of mild dish soap
- A soft brush head (or a dedicated soft manual brush head attachment if your model allows)
- A soft cloth
How to do it safely
- Soak first: Let jewelry sit in warm soapy water for a few minutes.
- Gentle passes: Use light pressure around settings, links, and engraved details.
- Rinse well: Rinse with clean water and dry with a soft cloth.
Important “don’t do this” notes
- Avoid soft or porous gems: Pearls, opals, and some stones can be damaged by water/soap or vigorous scrubbing.
- Skip loose settings: If a stone is wiggly, don’t “just clean around it.” Get it checked first.
Bonus use: watchbands. Metal links and silicone sports bands collect lotion and sweat like it’s their job. Clean gently, rinse thoroughly,
and dry completely.
Hack #4: The Sneaker-Sole Refresher (Because White Rubber Has No Mercy)
Sneaker solesespecially white rubberseem to stain the moment they see daylight. An electric toothbrush gives you controlled scrubbing that gets
into the little texture patterns without destroying the shoe.
What works well
- Dish soap + warm water for everyday grime
- Non-gel toothpaste for scuffs on rubber (test first)
- Baking soda paste for stubborn marks (use gently)
How to do it
- Dry-brush first: Knock off loose dirt so you’re not smearing mud.
- Apply cleaner: Use a small amountmore cleaner doesn’t equal more clean.
- Scrub the rubber and textured edges: Focus on soles and rubber trim, not delicate fabric uppers.
- Wipe clean: Use a damp cloth to remove residue, then let air-dry.
Where this shines beyond sneakers
- Rubber sandals and slide soles
- Cleats (on non-delicate areas)
- Textured plastic edges on luggage or sports gear
Hack #5: The Craft-Room Mini Buffer (a.k.a. “Tiny Sanding Sidekick”)
You don’t need a full sander to smooth a small edge, buff a scuff, or tidy up a craft project. With a little creativity, an electric toothbrush
becomes a gentle mini buffer for small jobsespecially when you want control more than raw power.
Safe, simple attachments (no teardown required)
- Microfiber wrap: Wrap a small microfiber square around the head and secure with a rubber band for gentle buffing.
- Foam pad hack: Use a tiny piece of foam (like makeup sponge material) secured snugly for polishing.
- Fine sandpaper wrap (light duty): Use very fine grit sandpaper wrapped carefully and securedonly for small, controlled sanding.
What you can use it for
- Smoothing rough edges on small wood crafts (light pressure)
- Buffing cloudy spots on plastic projects (test first)
- Cleaning up paint drips on sturdy surfaces once fully dry
- Detail work on models and DIY décor pieces
Safety notes (because we like our fingers)
- Wear eye protection if you’re sanding anything that creates dust.
- Don’t use this on anything that can snag or tear easily.
- Keep hair and loose sleeves away from moving parts.
- If it starts heating up or struggling, stop and let it rest.
Quick Add-On Tips That Make These Hacks Actually Work
Use dedicated brush heads
The easiest way to avoid cross-contamination is to keep one brush head for one category. Example:
“Grout head,” “Kitchen crevices head,” “Sneaker head.” Store them in separate zip bags or labeled containers.
Let the motion do the work
An electric toothbrush is designed for gentle contact. If you press too hard, you flatten bristles, reduce cleaning efficiency, and risk scratching.
Think “guided vibration,” not “jackhammer.”
Know when to upgrade to a real tool
If you’re cleaning an entire patio worth of grout, your toothbrush will stage a rebellion. For big jobs, a proper scrub brush or dedicated cleaning
tool is more efficient. The toothbrush is best for detail work and awkward spots.
When the Toothbrush Is Truly Dead: Recycle It Like a Responsible Human
If your toothbrush has a rechargeable battery (common in many electric models), it shouldn’t go in household trash or curbside recycling.
Battery-powered devices can create fire risks when crushed or compacted. The safest option is to take it to an appropriate drop-off program
(electronics recycling or battery recycling locations), following local guidance.
Practical recycling steps
- Check your community’s e-waste rules: Many areas have drop-off days or locations for small electronics.
- Handle storage safely: Keep dead devices in a cool, dry place until drop-off.
- If you remove batteries (adult-only): Protect battery terminals as recommended by battery recycling programs.
Translation: don’t toss it in the kitchen trash like it’s a banana peel. (Banana peels deserve better, too, honestly.)
Extra: of “Real Life” Experiences With These Electric Toothbrush Hacks
Let’s talk about what actually happens when you try these hacksbecause the internet loves acting like every cleaning project is a 30-second montage
set to upbeat music. Reality is messier, funnier, and occasionally involves discovering a mysterious sticky spot you swear wasn’t there yesterday.
First, the grout hack. The initial moment is always the same: you run the toothbrush along one grout line and think, “Oh wow, that’s… darker than
I remembered.” Then you do the next line, and suddenly you have a clean stripe next to a grimy stripe and your brain refuses to let you stop.
Congratulationsyou’ve accidentally started a grout renovation. The good news is the electric toothbrush really does cut down the elbow grease for
small areas. The not-so-good news is that if you use too much paste, it turns into a gritty frosting situation that gets everywhere. Less product,
more patience.
Next, the faucet-and-crevice cleanup. This is where the toothbrush becomes a tiny hero. Around faucet bases, it gets into that weird seam where
mineral buildup and soap residue form a gritty halo. You’ll scrub, wipe, and feel a totally unnecessary amount of pride. Then you’ll look at the
toothbrush head and realize it’s now a “faucet brush” forever. Labeling it feels goofy until the day you don’t label itand then you’ll wish you did.
Jewelry cleaning is surprisingly satisfying. Rings and watchbands collect invisible grime from lotion, sunscreen, and daily life. The electric brush
makes it easy to gently clean around details without feeling like you’re sanding your jewelry into a minimalist concept piece. The only catch: drying.
If you don’t dry thoroughly, water hides in tiny gaps like it’s playing hide-and-seek. A soft cloth and a little extra time makes a big difference.
Sneaker soles are where expectations go to be humbled. Yes, the toothbrush helps with textured edges and small scuffs. No, it won’t magically reverse
the laws of physics if you’ve been stomping through rainy parking lots for months. The real win is that it’s controlled: you can target just the rubber
trim and avoid scrubbing delicate fabric. And if your sneakers have that ribbed midsole pattern? The toothbrush finally reaches into the grooves where
dirt likes to settle down and start a family.
Finally, the craft-room buffer. This one feels like a secret superpower for small DIY tasks. When you wrap a microfiber cloth and gently buff a tiny
area, it’s not about brute forceit’s about finesse. You’ll feel like you’re doing “precision work,” even if you’re just smoothing a rough corner on a
project that will live behind a houseplant. The main lesson: keep the job small and the pressure light. Your toothbrush is a detail tool, not a full-on
workshop substitute.
The overall experience? A discarded electric toothbrush is weirdly usefulif you treat it like a dedicated detail-cleaning gadget, keep it sanitary, and
recycle it properly when it’s truly finished. Also, once you discover how handy it is for tight spaces, you’ll start seeing “toothbrush-worthy” grime
everywhere. That’s not the toothbrush’s fault. That’s just adulthood.