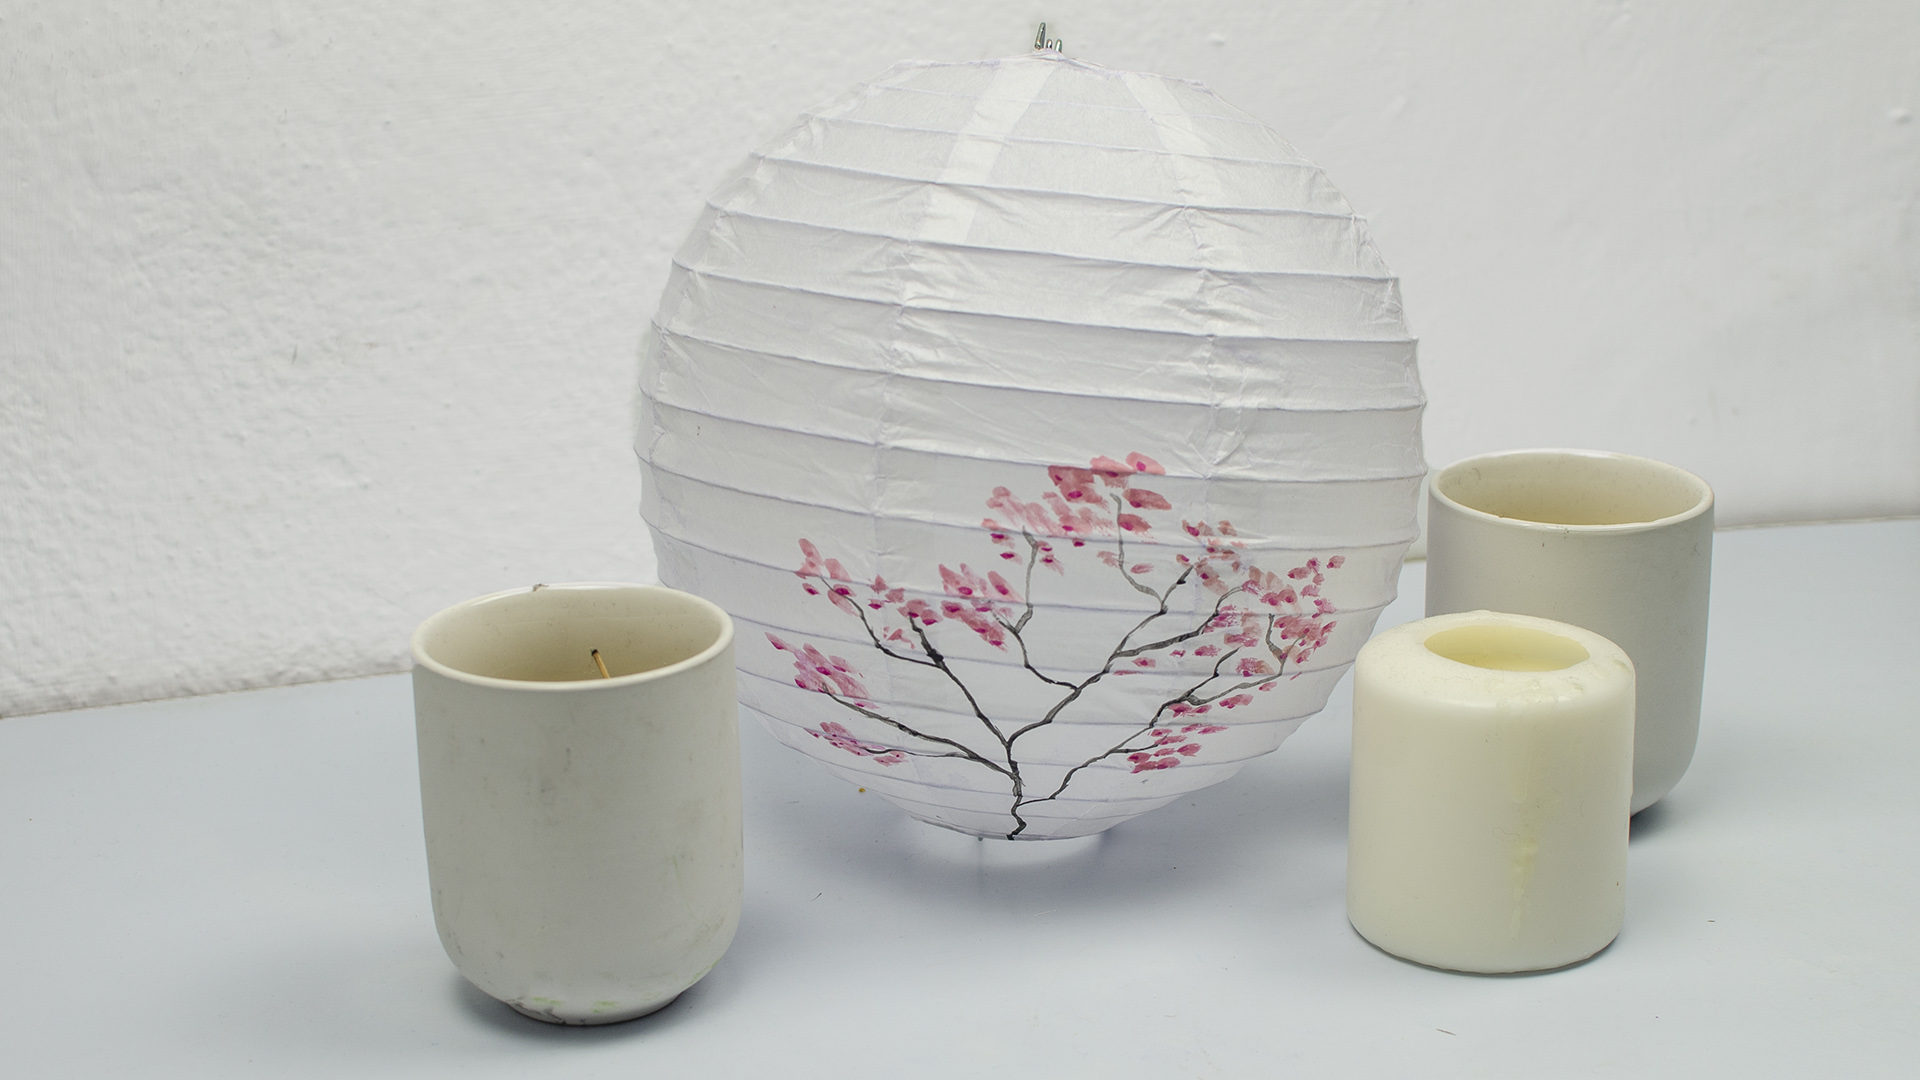
Paper lanterns are one of those magical little décor tricks that make a room look far more expensive than it actually is. They are light, affordable, easy to hang, and somehow manage to whisper, “Yes, I do have my life together,” even if you painted them while wearing old pajamas and eating chips over the sink. Better yet, they are wonderfully customizable. With the right paint and a little patience, a plain white lantern can become party décor, nursery art, wedding décor, classroom decoration, or a cozy accent for a reading nook.
If you want to paint paper lanterns without turning them into soggy sadness, the good news is that you do not need an advanced art degree, a mysterious European paintbrush, or the emotional stability of a museum curator. You just need a few smart techniques. The three easiest approaches are solid-color painting, stencil or sponge patterning, and soft watercolor-style washes. Each one gives you a different look, and each one can be done with beginner-level supplies.
This guide breaks down all three methods in a practical, easy-to-follow way. You will also learn how to choose the right paint, avoid wrinkling the paper, keep the lantern glowing beautifully, and handle the real-life little issues that always show up during craft projects. Because of course they do.
Before You Start: What Works Best on Paper Lanterns?
Most paper lanterns are made from thin paper or rice paper stretched over a lightweight wire frame. That means your painting approach should be gentle. Think light layers, soft brushes, and patience. This is not the time to dump half a cup of paint on the surface and hope for a miracle. That is how crafts become cautionary tales.
Best supplies for painting paper lanterns
- White or light-colored paper lanterns
- Craft acrylic paint or acrylic paint pens
- Foam brushes, soft bristle brushes, or sponge daubers
- Painter’s tape for stripes or color blocking
- Paper plates or palettes
- A cup of water for thinning paint slightly when needed
- Paper towels for blotting extra moisture
- Optional stencils for repeating patterns
- Optional clear acrylic sealer for display pieces
- LED light inserts if the lantern will be illuminated
The biggest rule is simple: do not oversaturate the paper. You want the lantern to keep its shape, texture, and glow. A painted lantern should still let light pass through softly. If the paper becomes soaked, it can buckle, sag, or tear around the wire ribs.
It also helps to assemble the lantern first before painting. Once it is fully open, you can see how the paper stretches across the frame and where the ribs create natural visual lines. Those lines can actually become part of the design, especially if you are making stripes, scallops, or hand-painted florals.
Way 1: Paint a Solid Color or Color-Blocked Design
If you want the easiest and most foolproof method, start here. A solid-color lantern looks polished, modern, and clean. A color-blocked lantern adds extra personality without becoming fussy. This technique is perfect for weddings, birthday parties, baby showers, dorm rooms, and anyone who wants their décor to say “intentional” instead of “I found this in a storage bin.”
How to do it
Set up your lantern on a protected work surface. Use a foam brush or a very soft paintbrush and apply a thin coat of acrylic paint. Thin is the important word here. You want the paint to glide over the surface, not sit on it like frosting on a cupcake. If your paint feels too thick, add a tiny bit of water and mix until it becomes smoother, but not drippy.
Paint one area at a time and rotate the lantern as you work. Do not press hard. Let the brush skim the surface so you do not dent the paper. If you are painting a full solid color, keep the strokes moving in the same general direction for a more even finish. Let the first coat dry fully before deciding whether it needs a second coat. Many lanterns actually look better with a slightly sheer finish because the light still shines through beautifully.
For a color-blocked look, place painter’s tape on the lantern after the first base area is dry. You can create horizontal bands, diagonal stripes, a dipped-bottom effect, or geometric sections. Paint inside the taped areas with a second color, then remove the tape carefully while the paint is still slightly tacky or once it is fully dry, depending on the crispness you want. Either way, peel slowly. Lantern paper is not known for its emotional resilience.
Best design ideas for this method
- Half-painted dipped lanterns in soft pastel shades
- Bold color-blocked lanterns for party décor
- Monochrome lanterns in ivory, sage, terracotta, or dusty blue
- Metallic accent bands over a matte base color
- Ombre-adjacent block sections using three shades of the same hue
This method works especially well when you are decorating in batches. If you need six or ten lanterns for an event, a simple palette with two or three coordinated colors will look stylish without requiring you to hand-paint tiny masterpieces until midnight.
Way 2: Use Sponges, Dots, or Stencils for Easy Patterns
If solid color feels a little too polite for your taste, patterns are the next step. The easiest way to add patterns to paper lanterns is with a sponge, foam dauber, stencil brush, or paint pen. This gives you strong visual impact without requiring a steady hand worthy of a miniature portrait artist.
How to do it
Start with a plain lantern, either unpainted or already coated in a light background color. Pour a small amount of acrylic paint onto a palette. Dip a sponge dauber or foam pouncer into the paint, then dab most of it off first on a paper towel or plate. This is a classic craft trick for a reason. Less paint gives you more control and cleaner shapes.
Now tap the sponge lightly onto the lantern to create dots, scattered confetti patterns, soft clouds of color, or even faux floral centers. If you are using a stencil, hold it gently against the lantern and use a nearly dry stencil brush with an up-and-down dabbing motion. Do not swipe side to side unless your goal is to invent a new abstract style by accident.
Work in small sections and rotate the lantern often. If you are making repeating shapes like stars, leaves, hearts, or polka dots, step back every few minutes and check the spacing. Patterns look best when they feel balanced, not overly perfect. You are aiming for “artistically casual,” not “one dot every 1.3 inches because a spreadsheet said so.”
Great pattern ideas for paper lantern decorating
- Polka dots in two or three sizes
- Gold or white stars on a navy background
- Confetti dabs for birthdays and celebrations
- Leaf stencils for botanical room décor
- Mini hearts for Valentine’s Day or wedding showers
- Tiny flowers made with five-dot petals and a contrasting center
This method is excellent for kids’ parties, classroom crafts, and group projects because it is forgiving. Even if the dots are a little uneven, the finished lantern usually looks cheerful and handmade in the best possible way. And unlike some crafts, “handmade charm” is not just a phrase adults say when something went a bit sideways. Here, it is actually true.
Way 3: Create a Soft Wash, Ombre, or Misty Watercolor Effect
This is the prettiest technique if you want your lanterns to look airy, dreamy, and slightly artistic without being complicated. A soft wash effect works beautifully for garden parties, nurseries, bridal showers, seasonal décor, and cozy bedroom lighting. It is also a strong choice if you want the lantern to glow softly when lit, since the color remains translucent.
How to do it
Mix a small amount of acrylic paint with water until it becomes a light wash. You want tinted liquid, not a bucket of colored soup. Test the mixture on a scrap of paper first if possible. Then use a soft brush, sponge, or even a very fine mist bottle for a hazy effect. Apply the diluted color lightly to the lantern in broad areas.
For an ombre lantern, start with the deepest color near the bottom or top and fade it out by adding more water as you move across the lantern. Blend while the surface is still slightly damp, but do not overwork it. Thin paper has limits, and one of those limits is being fussed over for twenty straight minutes.
You can also add gentle splatters using a toothbrush or stiff brush loaded with slightly thinned paint. Do this carefully and from a distance so the droplets are fine, not chunky. Another easy variation is layering two soft washes in related colors, like blush and peach, sage and olive, or sky blue and lavender.
When this style looks best
- Pastel spring events
- Soft, glowing bedroom décor
- Celestial or cloud-themed parties
- Boho weddings and brunch tablescapes
- Seasonal lantern displays with subtle gradients
The beauty of this method is that it looks expensive even when it is incredibly simple. That soft color diffusion catches the light in a lovely way and photographs well too, especially in natural daylight or at golden hour. Yes, your lantern can absolutely have a better social media presence than most people. That is just modern life.
Mistakes to Avoid When You Paint Paper Lanterns
- Using too much water: a light wash is good; soggy paper is not.
- Overloading the brush: wipe off excess paint before it hits the lantern.
- Skipping dry time: layering too soon can cause smudges and weak spots.
- Using open flame: paper lanterns are decorative and should be paired with LED lighting if illuminated.
- Forgetting to test colors: paint often dries lighter or more translucent on thin paper.
- Handling the lantern roughly: the wire frame helps, but the paper still needs a gentle touch.
If you want the lantern for long-term display rather than one-day party décor, a light acrylic sealer can help protect the surface. Just keep the coats thin so the lantern does not lose its delicate texture or flexibility.
Common Real-Life Crafting Experiences With Painted Paper Lanterns
One of the most common experiences people have when painting paper lanterns is realizing that the project looks absurdly simple right up until the moment the brush actually touches the paper. At first, there is usually a tiny panic. The lantern feels more delicate than expected, the paint looks brighter on the plate than on the lantern, and suddenly everyone becomes very aware of their own hand pressure. The good news is that this nervous first minute usually passes quickly. Once the first few strokes go on successfully, the process becomes surprisingly relaxing.
Another very normal experience is discovering that less paint really does give a better result. Many beginners assume a thick coat will make the lantern look richer and more polished. In reality, the first lantern often teaches the opposite lesson. Thin layers look smoother, dry faster, and keep the beautiful glow of the paper intact. That moment when a crafter turns on a lantern after it dries and sees the light pass through the color is usually when the whole project starts to feel worth it.
Group crafting adds its own kind of chaos. If you paint lanterns for a birthday party, school event, or family gathering, you quickly learn that everyone has a different relationship with patience. One person will carefully dab perfect dots with monk-like focus. Another will invent a brand-new painting style that can only be described as “energetic weather system.” Yet paper lanterns are forgiving enough that both versions often end up looking charming. That is part of why they are such good craft projects for mixed ages and skill levels.
People also tend to notice how different the lantern looks depending on the time of day. In bright daylight, brush texture, soft color transitions, and pattern details stand out. At night, the lantern becomes all about glow, shape, and silhouette. A stencil that looked subtle in the afternoon can suddenly become dramatic when backlit. A pale watercolor wash that seemed almost too soft can turn beautifully dreamy after dark. This is why many experienced crafters do a quick lighting test before declaring the project finished.
There is also the very relatable experience of fixing small mistakes. Maybe a drop of paint lands where it should not. Maybe the tape pulls slightly harder than expected. Maybe someone pokes the lantern before it dries because apparently curiosity remains undefeated. In most cases, these little problems are fixable. A smudge can become part of a larger pattern. A pulled area can be disguised with a dot, a leaf, or an extra brushstroke. Lantern crafting teaches a useful design lesson: sometimes the smartest move is not erasing the mistake but turning it into a feature.
Finally, people often come away from the project more impressed by the finished décor than they expected. A painted paper lantern is lightweight and inexpensive, but once it is hanging in a room or over a party table, it adds color and personality in a very elegant way. That is the quiet surprise of this craft. It starts as a simple DIY idea and ends up looking like something you spent much more money on. Not bad for a project that mostly requires paper, paint, and the ability to stop yourself from overworking wet acrylic.
Final Thoughts
If you want a decorative project that is affordable, beginner-friendly, and genuinely pretty, painting paper lanterns is a fantastic choice. A solid color gives you a clean modern look, sponge and stencil techniques create playful pattern, and a soft wash effect brings dreamy, glowy charm. The secret is not using fancy supplies. It is using a light hand, letting layers dry, and choosing designs that work with the lantern’s delicate paper surface instead of fighting against it.
Whether you are decorating for a party, refreshing a room, planning a wedding, or just looking for a low-stress weekend craft, these three simple ways to paint paper lanterns give you plenty of creative room without making the process feel complicated. And honestly, any project that looks good hanging from the ceiling and does not require power tools deserves a little respect.