Rubber flooring is the unsung hero of gyms, garages, playrooms, dog-washing stations, commercial kitchens, home workout corners, and anywhere else life gets sweaty, muddy, loud, or suspiciously sticky. It is durable, shock-absorbing, slip-resistant, and generally much easier to live with than carpet. But even rubber flooring has standards. Treat it badly with harsh chemicals, standing water, or a mop that smells like it has seen three historical eras, and it will start looking dull, grimy, or uneven.
The good news? Learning how to clean rubber flooring is refreshingly simple. You do not need a laboratory, a hazmat suit, or a cleaning cart that looks like it belongs in a hospital hallway. The best routine comes down to three practical methods: daily dry cleaning and spot care, weekly damp mopping with a pH-neutral cleaner, and occasional deep cleaning for heavy soil, odors, or commercial-level traffic.
Whether you have rubber gym flooring, interlocking rubber tiles, rolled rubber flooring, rubber mats, or commercial rubber flooring, the same principle applies: clean gently, rinse or remove residue, and let the surface dry completely. Rubber is tough, but it prefers manners.
Before You Start: Understand What Rubber Flooring Likes
Rubber flooring is resilient, but it is not invincible. Its surface can be damaged or discolored by the wrong cleaners, especially products that are too acidic, too alkaline, oil-based, solvent-based, or abrasive. Bleach, ammonia, harsh degreasers, acidic vinegar solutions, abrasive scouring pads, and petroleum-based products can break down the surface, leave films, or make the floor slippery.
The safest everyday choice is usually a pH-neutral floor cleaner diluted according to the label directions. Warm water helps loosen dirt, but flooding the floor is not a flex. Too much water can seep into seams, edges, or under interlocking tiles, especially if the floor was not professionally sealed. The goal is damp cleaning, not creating an indoor pond for imaginary ducks.
Basic Supplies You Will Need
- A soft broom, dust mop, or vacuum with a soft brush setting
- A microfiber mop, sponge mop, or nylon mop
- A pH-neutral cleaner safe for rubber flooring
- Two buckets: one for cleaning solution and one for rinse water
- A soft-bristle brush for small stains or textured surfaces
- Clean towels or a wet/dry vacuum for removing extra moisture
- Fans or ventilation for faster drying
Now let us get into the three best ways to clean rubber flooring without turning your floor into a science experiment.
Way 1: Daily Dry Cleaning and Spot Cleaning
The easiest way to keep rubber flooring clean is to prevent dirt from becoming a dramatic main character. Dust, sand, pet hair, chalk, grass, and tiny bits of gravel can scratch or dull the surface over time. In a home gym, this might mean rubber crumbs, shoe grit, or protein powder dust. In a garage, it may be road salt, dried mud, sawdust, or mystery debris from the trunk of your car.
Step 1: Remove Loose Dirt First
Start with a soft broom, dust mop, or vacuum. If you use a vacuum, choose one with a soft brush attachment or a setting designed for hard floors. Avoid aggressive beater bars that can mark or tug at softer rubber surfaces. Work from one side of the room to the other so you are not just relocating dirt like a tiny cleaning-themed parade.
For rubber gym flooring, daily sweeping is especially important. Sweat and dust can form a thin film when mixed with moisture. If your workout space sees heavy use, dry clean after each session or at least once a day. For residential areas with lighter traffic, a few times per week may be enough.
Step 2: Spot Clean Spills Quickly
Spills are easier to remove when they are fresh. Wipe up water, sports drinks, pet accidents, oils, food, and sweat puddles as soon as possible with a clean cloth or paper towel. Then use a damp cloth with a small amount of diluted pH-neutral cleaner to remove any residue.
Sticky spots may need a little patience. Spray or apply the cleaner lightly, wait one or two minutes, then scrub gently with a soft-bristle brush. Do not attack the stain like it insulted your family. Gentle pressure is enough for most messes.
Step 3: Handle Scuffs the Smart Way
Black shoe marks, dragged equipment marks, or furniture scuffs can often be removed with a damp microfiber cloth and neutral cleaner. For stubborn marks, use a soft nylon brush. Avoid steel wool, rough scrub pads, or abrasive powders. They may remove the mark, but they may also remove the floor’s dignity.
Daily dry cleaning and spot cleaning are ideal for maintaining rubber floors in home gyms, laundry rooms, playrooms, retail spaces, and pet areas. This method keeps the floor fresh between deeper cleanings and prevents grime from building up in textured surfaces.
Way 2: Weekly Damp Mopping With a pH-Neutral Cleaner
Dry cleaning removes loose debris, but rubber flooring still needs a proper wash. Weekly damp mopping is the best all-purpose cleaning method for most rubber floors. It removes sweat, body oils, chalk dust, everyday grime, and that vague “gym smell” that appears when humans repeatedly do burpees in one place.
Step 1: Sweep or Vacuum Before Mopping
Never mop over loose dirt. Wet dirt becomes mud, and mud is just dirt with ambition. Sweep or vacuum first so your mop can focus on cleaning the floor instead of pushing debris into corners.
Step 2: Mix the Cleaning Solution Correctly
Use warm water and a pH-neutral cleaner labeled safe for rubber, resilient flooring, gym flooring, or commercial floor care. Follow the dilution instructions carefully. More cleaner does not mean more clean. In fact, using too much product can leave a sticky residue that attracts more dirt and makes the floor look dull.
A two-bucket system works beautifully: one bucket holds the cleaning solution, and the other holds clean rinse water. Rinse the mop often so you are not spreading dirty water back across the floor. If the rinse water starts looking like swamp tea, change it.
Step 3: Mop in Small Sections
Damp mop the rubber flooring in manageable sections. The mop should be wet enough to clean but not so wet that it leaves puddles. Pay extra attention to high-traffic paths, equipment areas, entrances, corners, and textured zones where dirt likes to hide.
For rolled rubber flooring or interlocking rubber tiles, avoid soaking seams. If water gets underneath, it can create odor problems or interfere with adhesives. For loose rubber mats, you may be able to remove them and clean them separately, depending on their size and installation.
Step 4: Remove Residue and Let the Floor Dry
After mopping, go over the floor with clean water if the cleaner label recommends rinsing. Then remove excess moisture with a clean mop, towel, or wet/dry vacuum. Let the floor air dry completely before replacing equipment, rolling carts, placing rugs, or letting people walk on it.
This step matters more than many people realize. Residue can make rubber flooring tacky, slippery, or dull. Standing water can sneak into seams. A fully dry rubber floor looks better, smells better, and performs better.
Way 3: Deep Clean Rubber Flooring for Odor, Heavy Soil, and High-Traffic Areas
Even the best-maintained rubber floor eventually needs a deeper clean. This is especially true in commercial gyms, fitness studios, school weight rooms, garages, dog-care spaces, workshops, and entryways. Deep cleaning removes embedded grime, stubborn odors, old residue, and built-up soil that routine mopping may miss.
When Should You Deep Clean?
For a home gym or lightly used room, deep cleaning once every month or two may be enough. For a busy commercial gym, sports facility, or workplace, deep cleaning may be needed weekly or biweekly. The floor will usually tell you. If it looks dull after mopping, smells musty, feels sticky, or shows dark traffic lanes, it is time.
Step 1: Clear the Area
Remove movable equipment, mats, furniture, toys, shoes, pet bowls, or storage bins. This allows you to clean the entire surface evenly. It also reveals the hidden dirt colonies living under squat racks, benches, desks, and “temporary” storage boxes that have been there since 2021.
Step 2: Vacuum Thoroughly
Use a vacuum or dust mop to remove all dry debris. For textured rubber flooring, go slowly so the vacuum can lift dirt from grooves, coin patterns, ribbed surfaces, and seams. Deep cleaning without this step can grind grit into the floor.
Step 3: Apply Cleaner and Agitate Gently
Use a pH-neutral rubber floor cleaner diluted as directed. Apply it evenly in small sections. For heavily soiled areas, allow a short dwell time according to the product label, but do not let the solution dry on the floor.
Scrub gently with a soft-bristle brush, microfiber mop, or floor machine equipped with a soft pad or brush approved for rubber flooring. If you use an auto scrubber in a commercial space, choose the correct pad, use a neutral cleaner, and extract dirty solution promptly. The machine should help you clean faster, not punish the floor for existing.
Step 4: Extract, Rinse, and Dry
Remove the dirty cleaning solution with a wet/dry vacuum, auto scrubber, or clean mop. Rinse with clean water if needed, especially if the floor feels slick or sticky. Finally, dry the surface completely with airflow, towels, or fans.
Deep cleaning is also the right time to inspect the floor. Look for loose tiles, lifted seams, damaged edges, trapped moisture, cracks, or areas where equipment is causing wear. Cleaning is not just about appearance; it is also a chance to catch small flooring problems before they become expensive flooring problems.
What Not to Use on Rubber Flooring
The wrong cleaner can shorten the life of rubber flooring. Avoid bleach, ammonia, acidic cleaners, vinegar-heavy solutions, solvent-based degreasers, turpentine, paint thinner, gasoline, petroleum-based products, oil soaps, waxes, and abrasive powders. Also avoid steam cleaning unless the flooring manufacturer specifically says it is safe. High heat can affect adhesives, seams, or the rubber surface.
Do not use a soaking wet mop. Do not leave puddles. Do not apply floor wax unless your specific rubber floor system is designed for it. Many modern rubber floors are low-maintenance and do not need wax or polish. Adding products the floor does not need can create slippery buildup and extra work. Nobody wants to clean the cleaner off the floor.
How to Remove Odor From Rubber Flooring
New rubber flooring can have a noticeable smell, especially in enclosed rooms. Routine cleaning with a neutral cleaner, good ventilation, and time usually reduce the odor. Open windows, run fans, and clean the floor before heavy use. If the smell is coming from sweat, pets, or moisture, the problem may be residue or trapped dampness rather than the rubber itself.
For gym flooring, clean sweat-prone zones more often. Under benches, cardio machines, stretching areas, and weight stations, odor builds quickly because moisture, skin oils, chalk, and dust combine into a less-than-poetic fragrance. A weekly neutral-cleaner mop and occasional deep clean will keep most odors under control.
How Often Should You Clean Rubber Flooring?
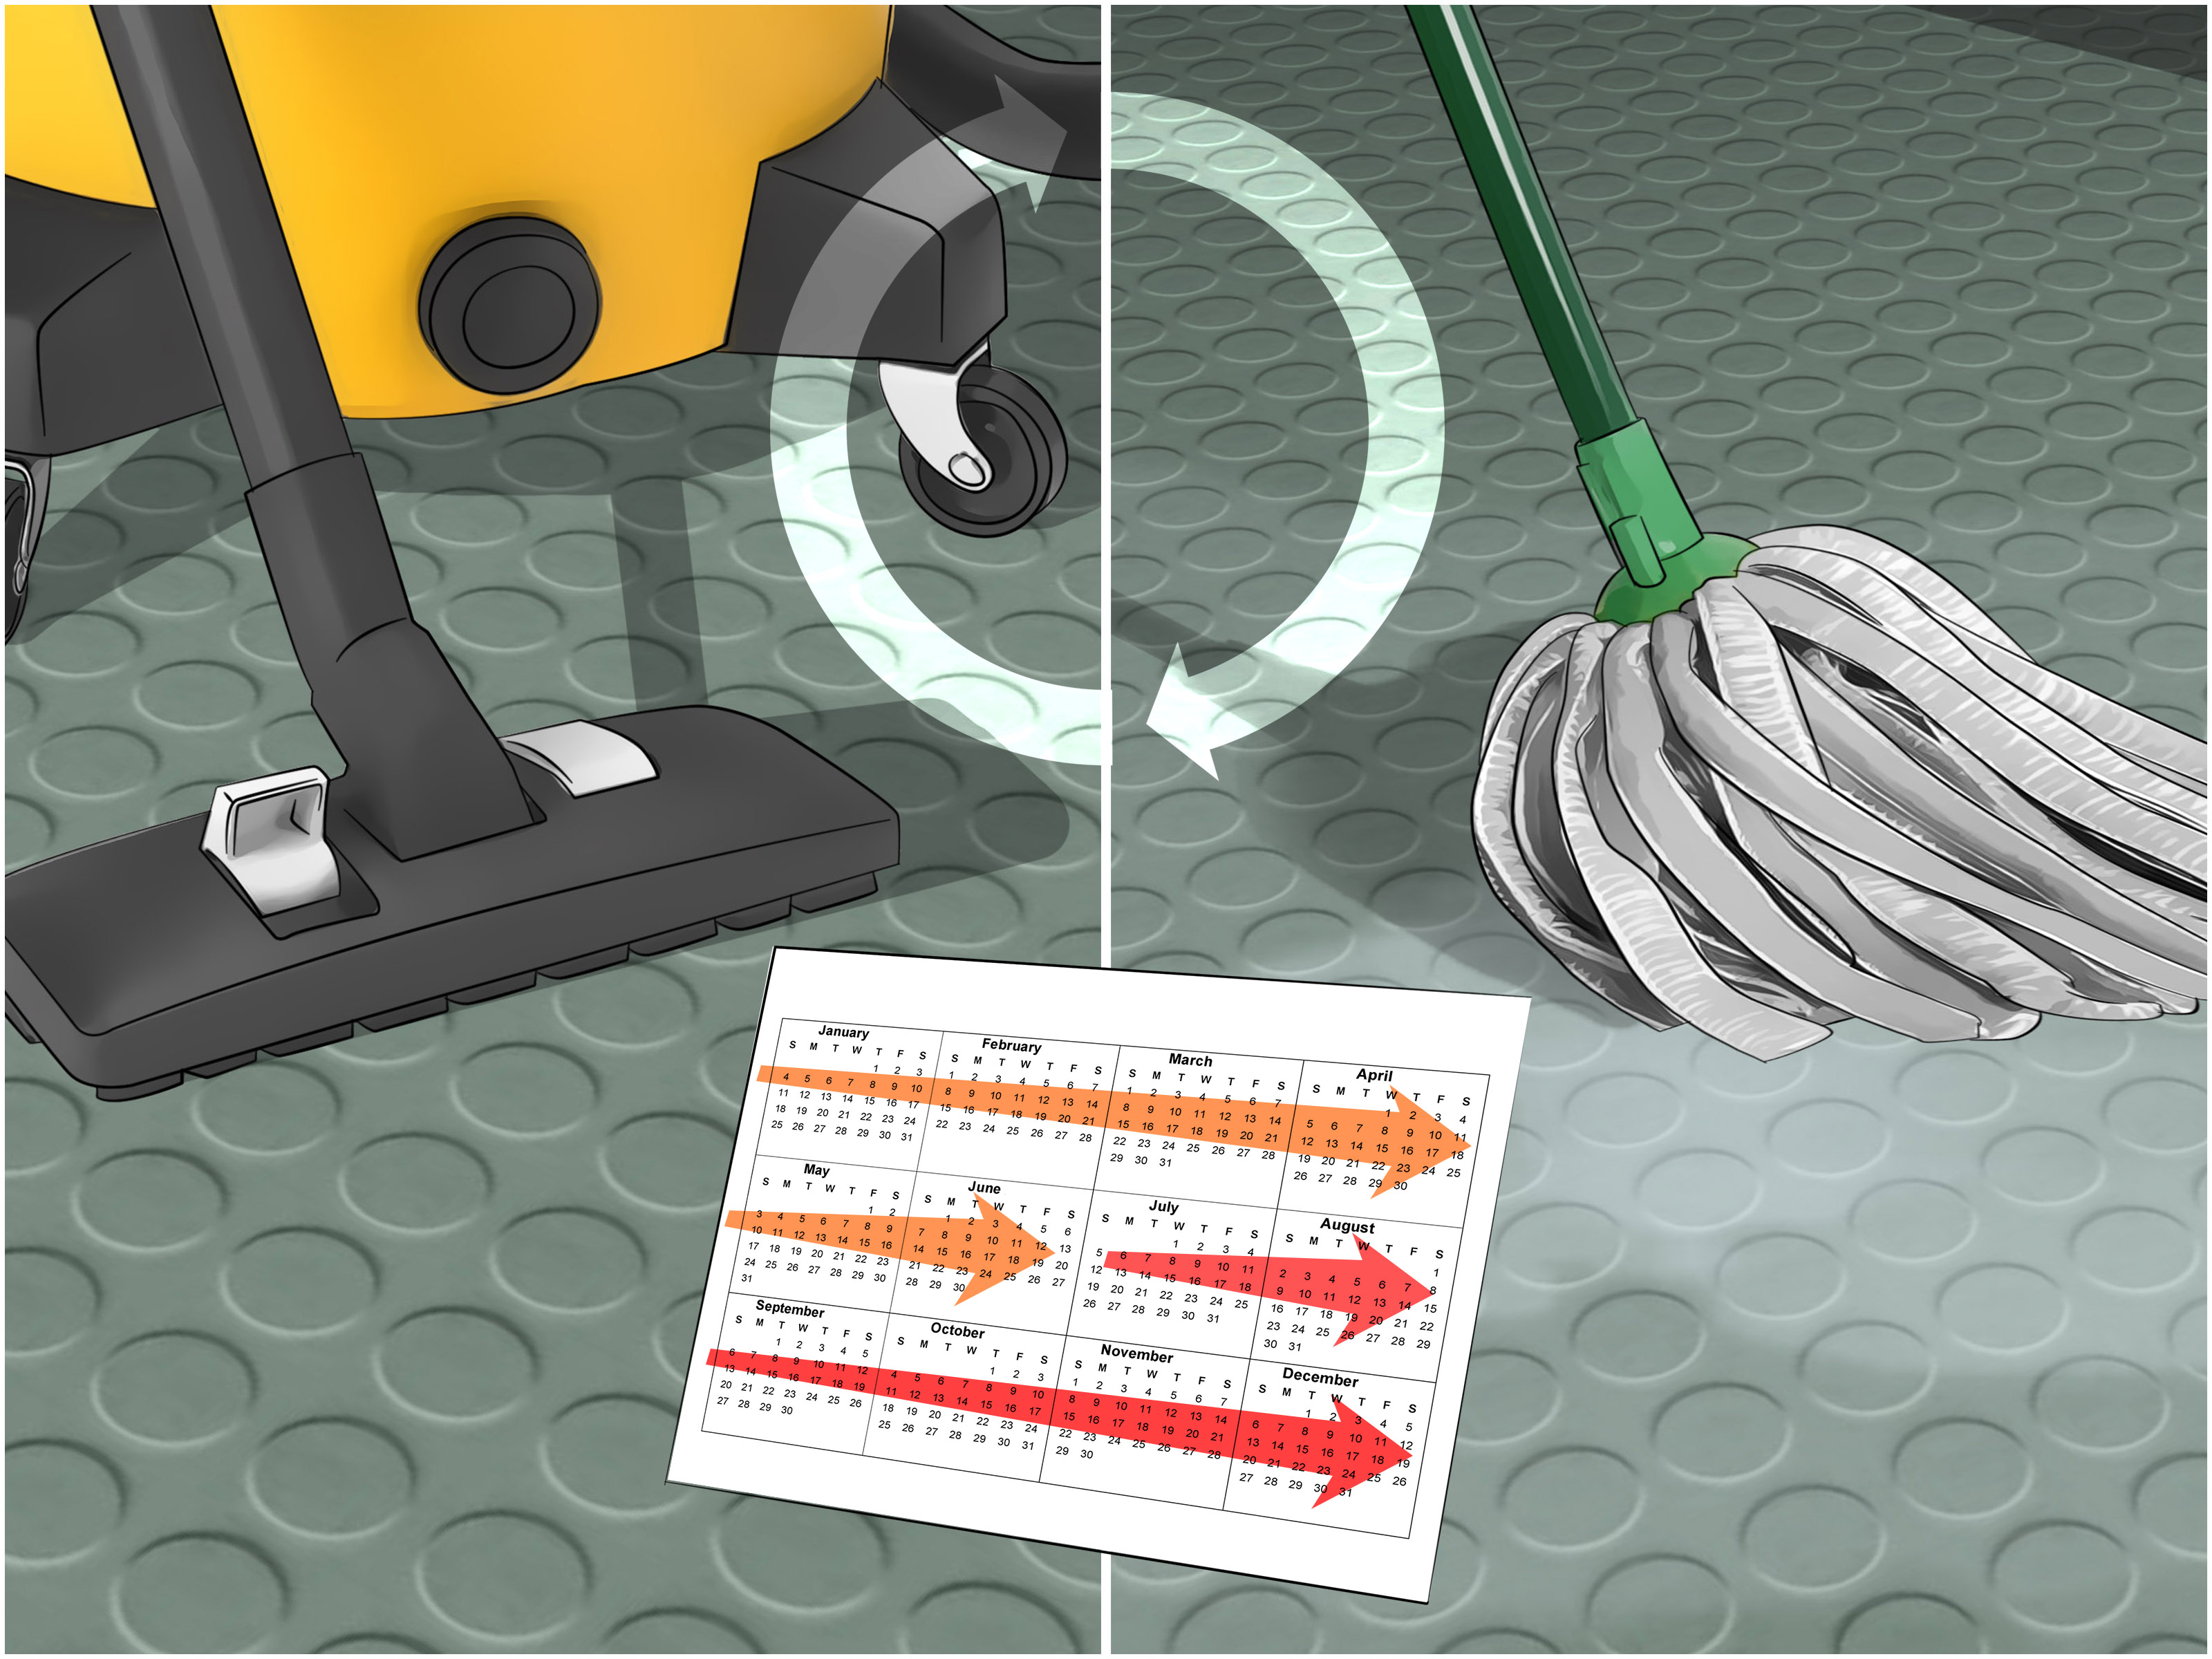
The best cleaning schedule depends on traffic. A home workout room used three times a week may only need dry cleaning after workouts and damp mopping once a week. A commercial fitness center may need daily dry cleaning, daily damp mopping, and scheduled deep cleaning. A garage rubber floor may need cleaning after muddy weather, automotive projects, or seasonal road salt exposure.
Here is a simple schedule:
- Daily or after use: Sweep, vacuum, and spot clean sweat or spills.
- Weekly: Damp mop with a pH-neutral cleaner.
- Monthly or as needed: Deep clean high-traffic areas and remove residue buildup.
- Seasonally: Inspect seams, edges, mats, and equipment pressure points.
Real-World Experience: What Actually Works When Cleaning Rubber Flooring
After dealing with rubber flooring in spaces like home gyms, garage corners, pet areas, and multipurpose rooms, one lesson becomes obvious: consistency beats intensity. People often wait until the floor looks terrible, then try to rescue it with the strongest cleaner under the sink. That is usually when trouble begins. Rubber flooring responds much better to regular light cleaning than occasional chemical warfare.
One of the most practical habits is keeping a small cleaning kit nearby. In a home gym, that might mean a microfiber cloth, a small spray bottle of properly diluted neutral cleaner, and a soft broom. When sweat hits the floor after a workout, a quick wipe prevents odor and residue. It takes less than a minute, which is shorter than the time most of us spend pretending to adjust our playlist before doing lunges.
Another useful experience is learning where dirt actually collects. It is rarely in the wide-open center of the room. Dirt hides along edges, under equipment, behind storage bins, and in textured patterns. Coin-top rubber flooring, ribbed mats, and recycled rubber gym tiles can trap fine dust in their surface texture. A regular mop may glide over the top while the grime stays tucked inside like it pays rent. Using a soft-bristle brush on those areas during deep cleaning makes a noticeable difference.
The two-bucket method is also worth the tiny extra effort. When you use only one bucket, the cleaning solution becomes dirty quickly. By the end, you may be mopping the floor with water that looks like it has been emotionally damaged. With one bucket for cleaner and another for rinsing, the mop stays cleaner and the floor dries with less residue. This is especially helpful on black rubber floors, where dull film can make the whole surface look older than it really is.
In garage settings, the biggest mistake is ignoring grit. Small stones, road salt, and sand can scratch and dull rubber flooring. Sweeping before parking, working, or rolling heavy items across the floor helps protect it. If salt is present during winter, damp mop sooner rather than later. Salt residue can leave marks and attract moisture.
For pet areas, speed matters. Clean accidents quickly, remove moisture fully, and use a rubber-safe cleaner. If odor remains, check whether liquid has reached seams or the underside of mats. Sometimes the top surface is clean, but the smell is hiding underneath. Lifting removable mats and letting both sides dry can solve problems that repeated surface mopping cannot.
For workout areas, the most overlooked detail is drying time. People mop the floor, then immediately put mats, benches, or equipment back in place. Trapped moisture can create odor and residue. Letting the floor dry completely before replacing equipment keeps the space fresher and reduces the chance of slippery spots.
The best rubber floor cleaning routine is not glamorous, but it works: remove dry dirt, use the right cleaner, do not over-wet the floor, rinse or extract residue, and let everything dry. Do that regularly, and rubber flooring will keep doing what it does best: taking abuse quietly while making your space safer, cleaner, and easier to maintain.
Conclusion
Cleaning rubber flooring does not need to be complicated. The three best methods are daily dry cleaning and spot care, weekly damp mopping with a pH-neutral cleaner, and occasional deep cleaning for odor, residue, and heavy traffic. The secret is not using the strongest product; it is using the right product in the right way.
Rubber floors are built to handle impact, movement, moisture, and daily messes, but they last longer when treated gently. Sweep first. Mop with a properly diluted neutral cleaner. Avoid bleach, harsh solvents, acidic cleaners, oil-based products, abrasive pads, and standing water. Dry the floor completely. Repeat with reasonable consistency.
Do that, and your rubber flooring will stay cleaner, safer, fresher, and better-looking for years. It may never thank you out loud, but it will stop looking like it survived a boot camp run by muddy sneakers.
Note: Always check the flooring manufacturer’s care instructions before using any cleaner or machine, especially on specialty rubber flooring, sealed surfaces, glued installations, or commercial floors under warranty.