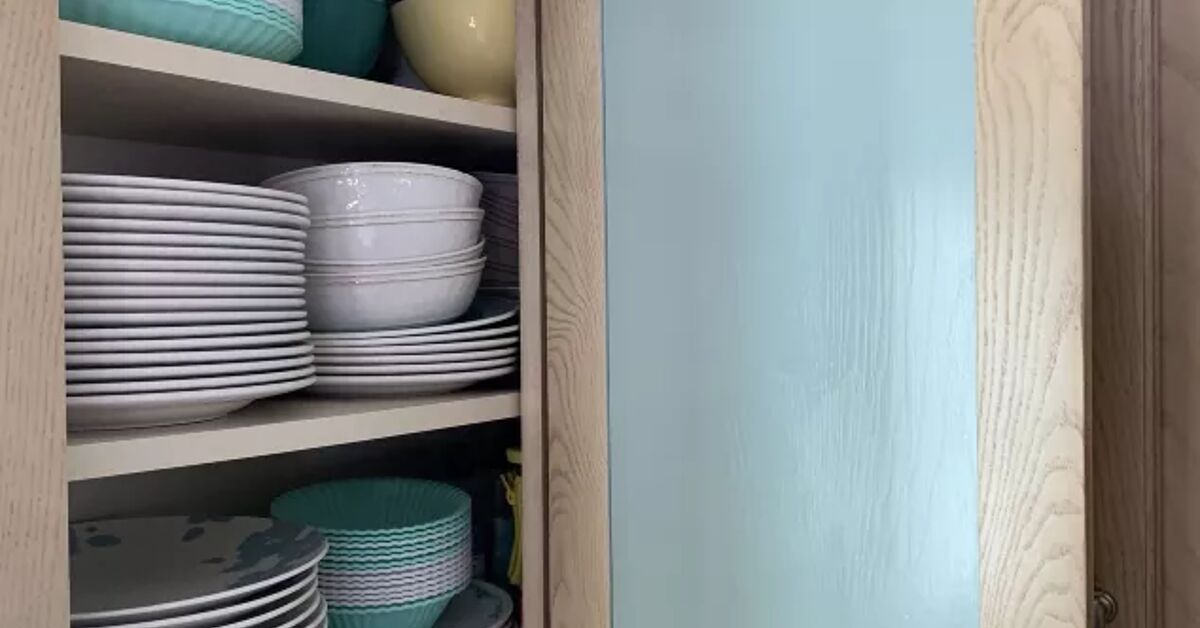
Kitchen cabinets are mysterious little caves. You put a clean mixing bowl in there on Monday, and by Friday it has somehow joined a rebellion with three plastic lids, a waffle maker you forgot you owned, and a bag of rice that has been quietly judging your life choices since 2021. If this sounds familiar, you are not alone. Learning how to organize kitchen cabinets is less about creating a magazine-perfect kitchen and more about building a system that helps you cook, clean, snack, pack lunches, and find the cinnamon without launching a full archaeological dig.
The good news? You do not need custom cabinetry, a professional organizer, or a drawer full of expensive acrylic bins to make your kitchen work better. You need a clear plan, a few smart storage habits, and the courage to admit that twelve mismatched mugs may be eleven too many. This step-by-step guide walks you through decluttering, zoning, arranging dishes, taming food containers, organizing pots and pans, using vertical space, and keeping everything tidy after the initial organizing burst fades.
Why Kitchen Cabinet Organization Matters
A well-organized kitchen saves time, reduces stress, and makes everyday routines feel smoother. When cabinets are arranged by task and frequency of use, you spend less time hunting and more time doing. Coffee mugs near the coffee maker, spices near the cooking zone, plates near the dishwasher, and baking tools grouped together all create a kitchen that practically gives you a high-five.
Organized kitchen cabinets also help prevent waste. When pantry items, containers, and small appliances are visible, you are less likely to buy duplicates or let food expire in the back corner. It is amazing how many people own three bottles of vanilla extract simply because the first two went into cabinet witness protection.
Step 1: Empty Your Cabinets Completely
Start by removing everything from your cabinets. Yes, everything. This is the part where the kitchen looks worse before it looks better, but do not panic. Spread items across your table, counters, or floor so you can see exactly what you own.
Group items into broad categories as you remove them: dinnerware, glassware, mugs, cookware, bakeware, food storage containers, pantry goods, cleaning supplies, small appliances, spices, and miscellaneous “why is this here?” objects. Seeing everything at once makes it much easier to spot duplicates, broken items, and things you never use.
What to Look for While Emptying Cabinets
As you unload, pay attention to patterns. Do you have too many water bottles? Are lids separated from containers? Are holiday platters taking up prime everyday space? Do you own a popcorn machine that has not seen a kernel since the last Olympics? This first step gives you the truth, and sometimes the truth is shaped like seven spatulas.
Step 2: Clean the Inside of Every Cabinet
Once cabinets are empty, wipe down shelves, doors, corners, and handles. Use a mild cleaner that is safe for your cabinet material. Vacuum crumbs from corners, remove sticky spots, and check for shelf wear. If you use shelf liners, replace damaged or stained pieces. Clean cabinets make the whole project feel fresh and help protect dishes, cookware, and pantry items.
This is also the perfect time to inspect your storage space. Measure cabinet height, width, and depth before buying organizers. A shelf riser that is two inches too tall is not a storage solution; it is a tiny metal heartbreak.
Step 3: Declutter Before You Organize
Organizing clutter is just clutter wearing a nicer outfit. Before putting anything back, decide what deserves cabinet space. Sort items into four groups: keep, donate, relocate, and toss or recycle.
Keep
Keep items you use regularly, truly enjoy, or need for specific occasions. Everyday plates, favorite mugs, dependable cookware, and frequently used appliances belong here.
Donate
Donate duplicates, extra mugs, unused serving pieces, and small appliances in good condition. If you have not used something in a year and it is not tied to a seasonal tradition, it may be ready for a new home.
Relocate
Some items belong in the house but not in the kitchen. Party supplies, rarely used holiday dishes, bulk paper goods, and oversized appliances can often move to a pantry, closet, garage shelf, or storage area.
Toss or Recycle
Get rid of cracked dishes, warped plastic containers, lidless containers, containerless lids, expired food, stale spices, broken gadgets, and mystery packets. If you cannot identify it, use it, or safely store food in it, it does not need a cabinet lease renewal.
Step 4: Create Kitchen Zones
Kitchen zones are the secret sauce of cabinet organization. Instead of placing items wherever they fit, store them near where you use them. This makes your kitchen more intuitive and helps every family member know where things go.
Everyday Dish Zone
Store plates, bowls, and glasses near the dishwasher or sink. This makes unloading easier and keeps daily essentials within reach. If children help set the table, consider placing kid-safe dishes in a lower cabinet or drawer.
Cooking Zone
Pots, pans, cooking utensils, oils, and frequently used spices should live near the stove. Keep heavy cookware in lower cabinets so you are not lifting a cast-iron skillet from above your head like a kitchen-themed weightlifting event.
Baking Zone
Group mixing bowls, measuring cups, measuring spoons, baking sheets, cake pans, flour, sugar, and baking tools together. If you bake often, this saves time. If you bake rarely, keep these items in a less central cabinet.
Food Storage Zone
Store food containers, reusable bags, wraps, lunch boxes, and water bottles near the fridge or prep area. Match lids to containers and use dividers, bins, or vertical racks to prevent the dreaded container avalanche.
Cleaning Zone
The cabinet under the sink often works well for cleaning supplies, dish soap, sponges, gloves, and trash bags. Use bins or pullout organizers to work around pipes and keep products upright. Avoid storing food or cookware in this area.
Step 5: Arrange Items by Frequency of Use
Prime cabinet space should go to the things you use every day. Store frequently used items at eye level or within easy reach. Less-used items can go higher, lower, or farther away.
For example, your everyday plates should not be trapped behind the fondue pot. Keep holiday dishes, specialty cake stands, giant roasting pans, and once-a-year gadgets in upper cabinets, deep lower cabinets, or secondary storage. Your cabinets should support real life, not a fantasy version of you who makes crème brûlée every Tuesday.
Step 6: Use Shelf Risers to Double Vertical Space
Many kitchen cabinets have wasted vertical space. Shelf risers create another level so you can stack plates, bowls, mugs, or pantry items without creating unstable towers. They are especially helpful for short items in tall cabinets.
Use sturdy risers for dishes, expandable risers for awkward widths, and small risers for spices or mugs. The goal is visibility and access. If you have to remove six things to reach one thing, the system needs adjusting.
Step 7: Use Bins and Baskets for Loose Categories
Bins and baskets work well for items that tend to wander: snack bags, tea boxes, baking decorations, water bottle lids, packets, reusable straws, and small pantry staples. Clear bins make contents visible, while labeled opaque bins create a cleaner look.
The best bins are not necessarily the prettiest. They are the ones that fit your cabinet, hold the right category, and can be pulled out easily. Before buying a full set, test one or two. Your cabinet is not a showroom; it is a working kitchen with crumbs, schedules, and people asking where the peanut butter went.
Step 8: Tame Food Storage Containers
Food storage containers are where many cabinet systems go to sob quietly. Start by matching every lid to a base. Recycle or discard pieces without partners. Then choose one system: stack containers by shape, nest them by size, and store lids vertically in a bin, rack, or divider.
Square and rectangular containers usually store more efficiently than round ones. If your collection includes too many brands and sizes, consider gradually simplifying. You do not need to replace everything at once. Just stop inviting more chaos to the party.
Step 9: Organize Pots, Pans, and Lids
Heavy cookware belongs in lower cabinets or deep drawers. Stack pots by size if you have limited space, but use pan protectors or towels between nonstick surfaces to prevent scratches. Store lids upright in a lid rack, tension rod system, or shallow bin.
If you cook daily, keep your favorite skillet, saucepan, and stockpot in the most accessible spot. Specialty cookware, such as a turkey roasting pan or oversized Dutch oven, can move to less convenient storage unless it is part of your weekly routine.
Step 10: Make Spices Easy to See
Spices are small, sneaky, and excellent at hiding. Store them where you can see the labels. Try a tiered spice shelf, drawer insert, lazy Susan, narrow bin, or wall-mounted rack. Keep frequently used spices near the cooking zone, but avoid placing them directly above high heat if possible.
Check freshness while organizing. Ground spices lose flavor over time, and very old spices can make food taste flat. If a spice smells like dusty air and regret, it may be time to replace it.
Step 11: Use Turntables for Awkward Corners
Turntables, often called lazy Susans, are excellent for deep cabinets, corner cabinets, oils, vinegars, condiments, sauces, and baking extracts. Instead of knocking over three bottles to reach the sesame oil, you simply spin and grab.
Choose turntables with raised edges for bottles and small jars. For deep shelves, use larger turntables or divided versions. In small kitchens, a turntable can turn a frustrating corner into useful storage.
Step 12: Use Cabinet Doors for Extra Storage
The inside of cabinet doors is valuable real estate. Add adhesive hooks, slim racks, mounted organizers, or small bins for measuring spoons, pot lids, cutting boards, wraps, foil, cleaning gloves, or spice packets.
Before installing anything, close the cabinet carefully to make sure shelves and door organizers do not collide. Nothing ruins a productive organizing day faster than a cabinet door that refuses to shut because your new lid rack is having a territorial dispute with the pasta bowls.
Step 13: Label Where It Helps
Labels are not just for people with beautiful pantries on social media. They help everyone in the household maintain the system. Label bins for snacks, baking supplies, breakfast items, lunch containers, water bottles, and cleaning products.
Use simple labels that match how your household talks. If everyone says “snacks,” do not label the bin “individually packaged nourishment.” Keep it practical. The goal is not perfection; the goal is fewer questions shouted from the kitchen.
Step 14: Keep Counters Clear by Using Cabinets Wisely
Organized cabinets make it easier to clear countertops. Store small appliances based on how often you use them. A toaster used every morning may earn counter space. A blender used once a month can go in a cabinet. A bread machine from 2008 that still has the manual taped to it may need a heartfelt goodbye.
For small kitchens, consider vertical storage, cabinet door racks, pullout shelves, and compact bins. The less visual clutter you have on counters, the calmer and more functional the kitchen feels.
Step 15: Follow the 80 Percent Rule
A cabinet stuffed to 100 percent capacity is not organized; it is waiting to explode. Aim to keep cabinets about 80 percent full and leave a little breathing room. This makes it easier to remove items, put things away, and adjust when groceries or new tools come in.
Empty space is not wasted space. It is working space. It gives your kitchen flexibility and keeps your cabinets from turning into a game of ceramic Jenga.
Step 16: Build a Maintenance Routine
The best kitchen cabinet organization system is one you can maintain. Spend five minutes each week straightening one cabinet or drawer. Once a month, check food storage containers, pantry items, and spices. Once or twice a year, do a deeper review.
Maintenance matters because kitchens are active spaces. Groceries come in, leftovers go out, mugs multiply, and someone always puts the measuring cups in the wrong place. A quick reset keeps small messes from becoming full cabinet drama.
Common Kitchen Cabinet Organization Mistakes
Buying Organizers Before Decluttering
Do not buy bins, baskets, or risers before you know what you are storing. Measure first, declutter second, shop third. Otherwise, you may end up organizing your organizers, which is a very modern problem.
Storing Items Too Far From Where They Are Used
If coffee mugs are across the kitchen from the coffee maker, the system will annoy you every morning. Store items near their task zones whenever possible.
Keeping Too Many Duplicates
Extra tools can be useful, but too many duplicates create clutter. Most kitchens do not need five can openers, twenty travel mugs, or enough spatulas to outfit a pancake restaurant.
Ignoring Deep Cabinet Problems
Deep cabinets often hide forgotten items. Use pullout shelves, bins, turntables, or labeled baskets so items do not disappear into the back.
Real-Life Experiences: What Actually Works When Organizing Kitchen Cabinets
One of the biggest lessons from organizing real kitchens is that the “best” system is not always the prettiest one. A beautiful row of matching jars may look wonderful online, but if your family tears open cereal boxes at 6:45 a.m. and leaves trails of crumbs like tiny breakfast confetti, your system needs to be fast, forgiving, and realistic.
In a busy family kitchen, zones often make the biggest difference. For example, placing plates, bowls, and lunch containers in the lower cabinets closest to the dishwasher can turn cleanup into a two-minute job. Kids can help unload without climbing counters, and adults do not have to cross the kitchen with a stack of plates. It sounds simple, but small layout changes like this can remove dozens of unnecessary steps every week.
Another practical experience: food container chaos usually comes back unless you create a strict boundary. A single bin for lids works better than a vague “lid area.” When the bin is full, it is time to match, recycle, or reduce. This physical limit keeps the collection from growing into a plastic jungle. The same idea works for mugs, water bottles, and reusable shopping bags. Give each category a home with a size limit, and the cabinet tells you when enough is enough.
For renters or anyone on a budget, temporary solutions can be surprisingly effective. Adhesive hooks can hold measuring spoons inside a cabinet door. A basic file sorter can hold cutting boards or baking sheets upright. A small turntable can organize oils and vinegars. A shoebox-sized bin can corral snack packets. You do not need a luxury cabinet makeover to create a kitchen that behaves itself.
Deep lower cabinets are often the hardest. People tend to stack pots, pans, lids, and appliances until the back half becomes a forgotten cave. In practice, pullout baskets or large handled bins are lifesavers. Even if the bin is not fancy, the ability to pull everything forward changes the experience. Suddenly, the slow cooker is not buried behind the rice cooker and the mystery appliance with one missing part.
Labels are another real-world winner, especially in shared kitchens. Without labels, one person’s “obvious place” is another person’s “I put it wherever gravity allowed.” Labels reduce decision-making. They also make it easier for guests, roommates, kids, or partners to help without turning the cabinets into a scavenger hunt.
The final experience-based tip is to organize for your actual habits, not your imaginary future personality. If you make coffee every morning, build a coffee zone. If you bake twice a year, do not give baking supplies the best cabinet. If you meal prep on Sundays, keep containers and lids easy to reach. If you never use that juicer, it does not deserve front-row seating. A kitchen cabinet system works best when it respects how you really live.
Conclusion
Organizing kitchen cabinets is not about perfection. It is about creating a kitchen that supports your daily routines, protects your storage space, and makes cooking feel less chaotic. Start by emptying and cleaning your cabinets, then declutter with honesty. Create zones, store items by frequency of use, use shelf risers and bins wisely, tame containers, organize cookware, label practical categories, and leave breathing room.
Once your cabinets are organized, maintenance becomes much easier. A five-minute weekly reset can keep your kitchen from sliding back into clutter. The result is a space where dishes are easy to grab, ingredients are easy to see, and cabinet doors no longer open with suspense-movie energy. Your future self will thank you every time dinner starts without a search party.