Few DIY projects deliver as much “tiny disco volcano in a bottle” energy as a homemade lava lamp. It is colorful, bubbly, strangely relaxing, and just scientific enough to make you feel like you should be wearing safety goggles and saying things like, “Observe the reaction.” The best part? You can make a simple temporary lava lamp with items you probably already have in your kitchen, or you can build a more permanent lava-style display that can sit on a shelf and look cool long after the fizzing tablets have retired.
This guide explains how to make a lava lamp using two approaches: a quick temporary method with oil, water, food coloring, and an effervescent tablet, plus safer permanent-style methods for reusable decorative bottles. We will also talk about the science behind the blobs, what not to do, how to troubleshoot sad little bubbles, and how to keep the project safe for kids, classrooms, parties, or a rainy afternoon when your phone has become boring.
What Is a Homemade Lava Lamp?
A homemade lava lamp is a simple science craft that uses liquids with different densities, usually oil and water, to create floating blobs of color. In the classic temporary version, an effervescent tablet reacts with water and releases carbon dioxide gas. Those bubbles carry colored water upward through the oil, then the water droplets sink again when the gas escapes. The result looks like a miniature lava lamp, minus the vintage furniture store soundtrack.
A commercial lava lamp works differently. It usually contains wax and liquid inside a sealed glass globe. A bulb in the base heats the wax. As the wax warms, it becomes less dense and rises; as it cools near the top, it becomes denser and sinks. That heating-and-cooling cycle creates the hypnotic flow people associate with real lava lamps.
For home DIY projects, the temporary oil-and-tablet version is the safest and easiest. The permanent versions in this article focus on reusable, decorative, non-dangerous lava-style bottles rather than risky attempts to recreate a sealed heated commercial lamp.
Safety First: Read This Before You Start
Homemade lava lamps are fun, but they still involve slippery oil, glass or plastic containers, food coloring, and sometimes tablets that fizz like they have big plans. A few simple safety rules keep the project cheerful instead of chaotic.
Basic Safety Tips
- Use a clear plastic bottle or sturdy glass jar for the temporary method.
- Do not drink any part of the mixture. It is a science project, not a smoothie.
- Keep effervescent tablets away from small children unless an adult is supervising.
- Do not heat a sealed homemade container. Pressure can build up.
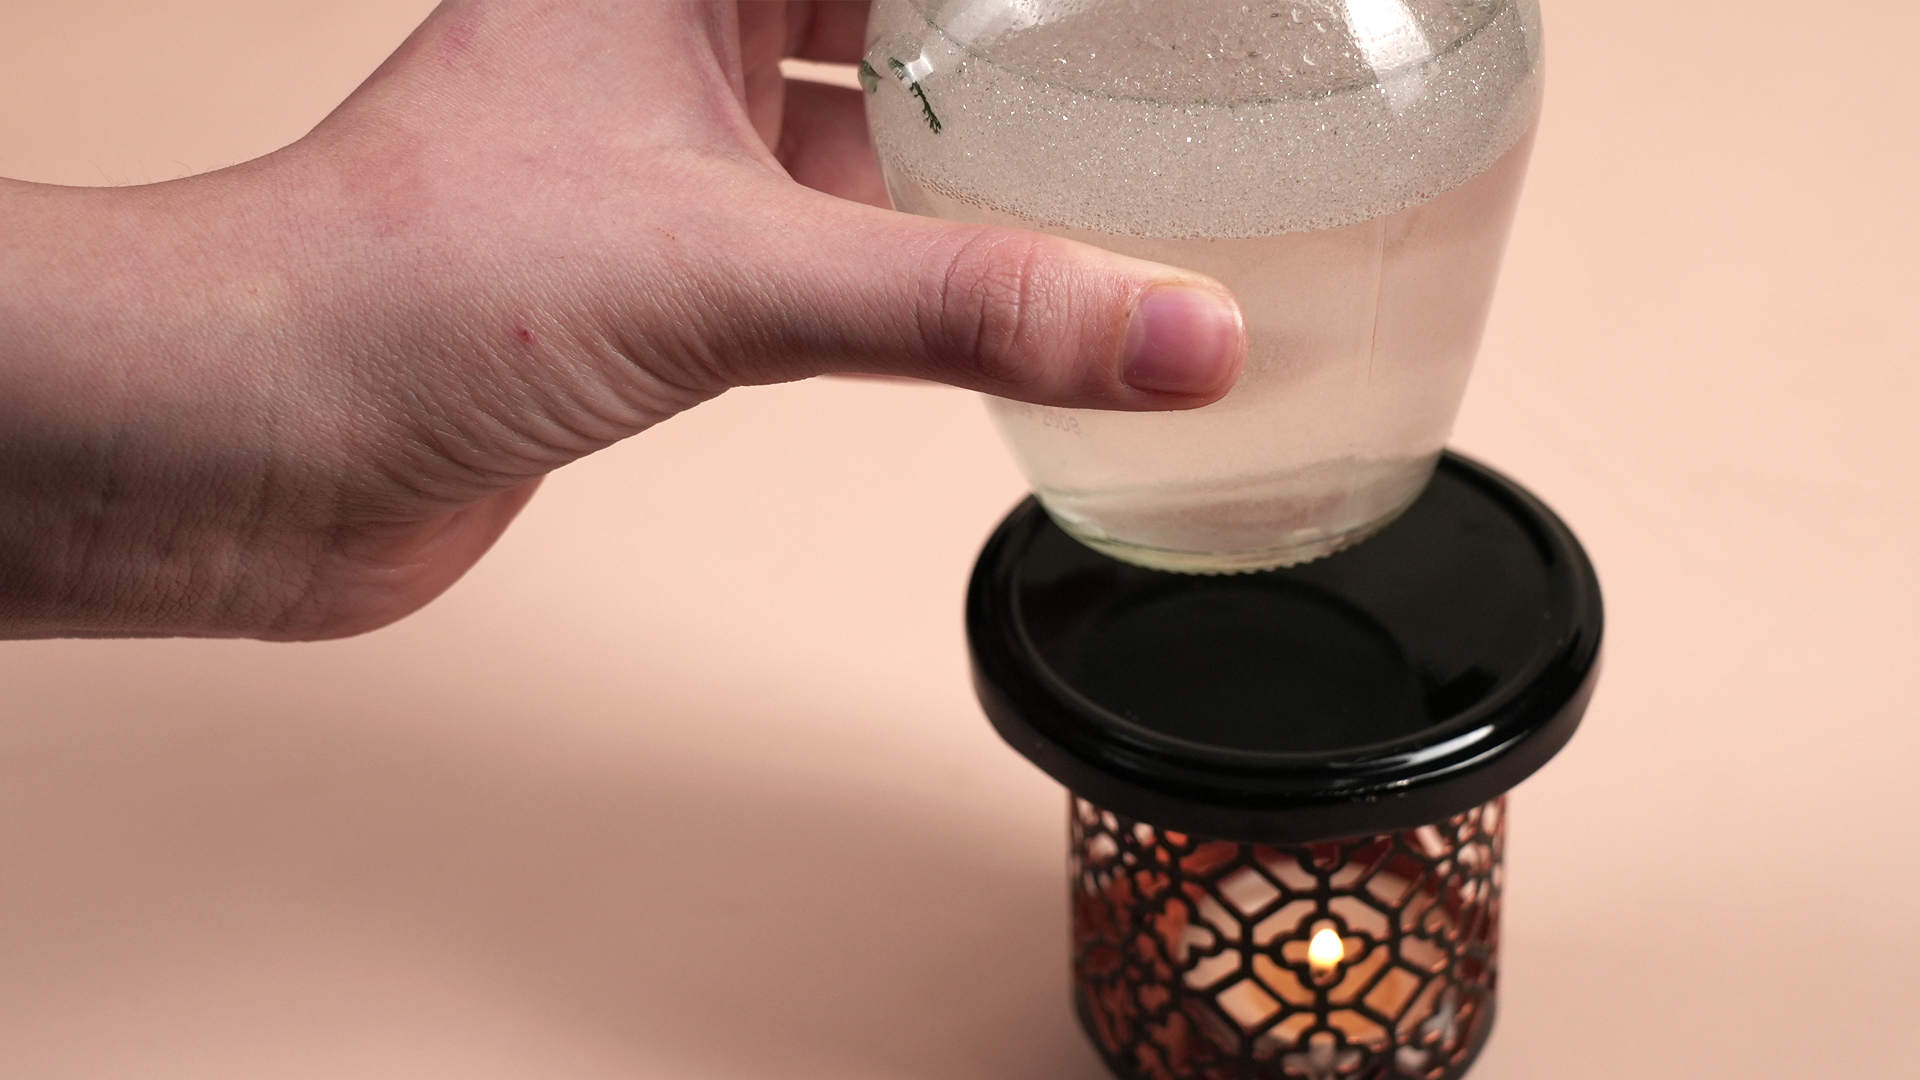
- Do not place a DIY bottle directly on a hot bulb, stove, candle, or open flame.
- Wipe oil spills immediately because floors become skating rinks very quickly.
- If you use a flashlight or LED puck light under the bottle, choose a low-heat light source.
Important note: Do not open, refill, or modify a store-bought lava lamp. Commercial lava lamps are designed as sealed products, and breaking the seal can ruin the lamp or create safety problems. Also, avoid old online recipes that mention hazardous chemicals. A DIY craft should not require a chemistry degree, a ventilation hood, or a dramatic warning label.
How the Lava Lamp Science Works
The magic of a DIY lava lamp comes from three science concepts: density, immiscibility, and gas formation.
Density: Why Oil Floats on Water
Density means how much mass is packed into a certain volume. Water is denser than most cooking oils, so oil floats on top of water. Even if you shake the bottle, the liquids eventually separate again because they do not have the same density.
Immiscibility: Why Oil and Water Do Not Mix
Oil and water are immiscible, which means they do not blend into one smooth liquid. Water molecules are polar, while oil molecules are nonpolar. In plain English, water and oil are not interested in becoming best friends. They may briefly mingle when shaken, but soon they split into separate layers like two coworkers avoiding each other at lunch.
Carbon Dioxide: What Makes the Bubbles Move
When an effervescent tablet touches water, it dissolves and releases carbon dioxide gas. The gas bubbles attach to droplets of colored water and lift them through the oil. When the bubbles reach the top and pop, the water droplets lose their ride and sink back down. That repeated up-and-down movement creates the lava effect.
Temporary Method: How to Make a Lava Lamp With Oil, Water, and Tablets
This is the classic, quick, kid-friendly version. It is ideal for science lessons, party crafts, rainy-day activities, or anyone who wants a lava lamp without committing shelf space forever.
Materials You Need
- 1 clear plastic bottle, glass jar, or tall clear cup
- Vegetable oil, mineral oil, or baby oil
- Water
- Food coloring
- Effervescent antacid tablet
- Flashlight or LED puck light, optional
- Tray or towel for spills
Step-by-Step Instructions
- Fill the container with water. Add water until the container is about one-quarter full.
- Add food coloring. Use 5 to 10 drops. Blue, red, green, and purple usually look boldest.
- Add oil slowly. Pour oil into the container until it is almost full, leaving a little space at the top.
- Let the layers settle. Wait until the water sits at the bottom and the oil floats above it.
- Break the tablet. Break one effervescent tablet into halves or quarters.
- Drop in one piece. Add one piece of tablet and watch the bubbles carry colored water upward.
- Repeat as needed. When the bubbling slows, add another small piece of tablet.
For extra drama, turn off the room lights and place an LED flashlight under the bottle. The glowing color makes the homemade lava lamp look much fancier than its grocery-store ingredient list suggests.
Best Oil for a Temporary Lava Lamp
Vegetable oil is affordable and easy to find, but it may have a yellow tint. Mineral oil and baby oil are clearer, which can make the colors look cleaner. Baby oil often has fragrance, so choose mineral oil if you want a more neutral option.
Best Container to Use
A clear plastic bottle is best for younger kids because it will not break easily. A mason jar or tall glass vase looks more elegant, but it should be handled carefully. Taller containers usually create better rising-and-falling movement because the bubbles have more room to travel.
Temporary Lava Lamp Variations
Glow-in-the-Dark Lava Lamp
To make a glowing lava lamp, use tonic water instead of regular water and place the bottle near a black light. Tonic water contains quinine, which can glow under ultraviolet light. You can also use glow-safe craft materials made for kids, but always check labels before mixing anything into a project.
Rainbow Lava Lamp
Make several small bottles with different food coloring shades. Line them up on a windowsill or table and activate them one at a time. This is a fun classroom demonstration because students can compare how different colors look through different oils.
Mini Lava Lamp Party Favors
Use small clear bottles for individual lava lamps. Let each person choose a color, add oil, then activate the bottle with a small tablet piece. Do not send bottles home with active tablets inside; wait until the fizzing stops, then seal them tightly for transport.
Permanent Method 1: Reusable Lava-Style Sensory Bottle
This method creates a long-lasting decorative bottle that gives a lava-like effect when shaken or gently turned. It does not use tablets, heat, or pressure. It is not a true commercial lava lamp, but it is safer, reusable, and excellent for calming sensory play.
Materials You Need
- Clear plastic bottle with a tight cap
- Clear baby oil or mineral oil
- Water
- Food coloring or liquid watercolor
- Glitter, sequins, or small plastic confetti, optional
- Clear glue or glycerin, optional for slower movement
- Strong tape or waterproof glue for sealing the cap
Step-by-Step Instructions
- Add colored water. Fill the bottle about one-third full with water and add food coloring.
- Slow the movement. Add a tablespoon or two of clear glue or glycerin if you want the liquid to move more slowly.
- Add sparkle. Drop in glitter or confetti if desired. Use a small amount; glitter has a way of taking over like it pays rent.
- Fill with oil. Add mineral oil or baby oil until the bottle is almost full.
- Seal tightly. Close the cap and secure it with waterproof glue or strong tape.
- Use gently. Turn the bottle upside down, roll it slowly, or shake it lightly to create swirling movement.
This permanent lava-style bottle is perfect for desks, classrooms, kids’ rooms, and sensory corners. Because it does not rely on a chemical reaction, it will not fizz on its own. Instead, the movement happens when you tilt or shake it.
Permanent Method 2: Decorative Oil-and-Water Display Bottle
If you want something that looks polished on a shelf, try a layered oil-and-water display bottle. This version is more about visual style than bubbling action. It is simple, attractive, and easy to customize for seasonal decor.
Materials You Need
- Clear glass bottle or jar with a lid
- Distilled water
- Mineral oil
- Liquid food coloring
- Small waterproof decorations, such as plastic stars or beads
- Waterproof adhesive for sealing
Step-by-Step Instructions
- Clean the bottle. Wash and dry the container completely.
- Add colored water. Fill the bottle one-quarter to one-third full with distilled water and add color.
- Add decorations. Place a few small waterproof items inside. Avoid paper, fabric, or anything that can dissolve.
- Pour in mineral oil. Fill the rest of the bottle with oil, leaving a small air space.
- Seal the lid. Tighten the cap and seal it if the bottle will be handled often.
- Display safely. Keep it away from direct sunlight, heat sources, and delicate surfaces.
This version makes a lovely homemade decor item. Use orange and black for Halloween, blue and silver for winter, pink and gold for a birthday party, or green and gold if your shelf needs a tiny parade.
Can You Make a Real Permanent Heated Lava Lamp?
A real heated lava lamp is more complicated than the temporary DIY version. Commercial lamps use carefully balanced wax and liquid formulas, a specific bottle shape, a heat source, and a base designed to control temperature. The wax needs to be dense enough to sink when cool but light enough to rise when warm. That balance is delicate.
Because of the safety risks, it is not recommended to heat sealed homemade bottles or improvise a lava lamp with random glass, candles, stove heat, or high-watt bulbs. Glass can crack, liquid can expand, pressure can build, and hot oil or wax can cause burns. If you want a true permanent heated lava lamp, the safest choice is to buy a certified lamp or a tested kit from a reputable manufacturer and follow the instructions exactly.
If you are a serious maker, treat heated lava lamp building as an advanced project that requires heat-safe materials, proper ventilation, temperature control, and adult-level risk awareness. For most homes and classrooms, the reusable sensory bottle is a better permanent option.
Troubleshooting: Why Is My Lava Lamp Not Working?
The Bubbles Are Too Weak
Use a fresh effervescent tablet and break it into larger pieces. Old tablets may fizz weakly if they have absorbed moisture from the air. Also make sure the tablet reaches the water layer at the bottom; the reaction happens in water, not in oil.
The Color Looks Muddy
Too much food coloring can make the water look dark and murky. Start with a few drops and add more only if needed. If you mix several colors, remember that “rainbow” can become “mysterious swamp” surprisingly fast.
The Oil and Water Look Cloudy
Cloudiness often happens after shaking. Let the bottle sit undisturbed until the layers separate again. For a cleaner look, pour slowly and avoid over-mixing.
The Tablet Fizzes Too Fast
Use smaller tablet pieces. Warmer water can make fizzing happen faster, while cooler water may slow it down. For longer action, add one small piece at a time instead of dropping in the whole tablet like you are launching a rocket.
The Lava Does Not Rise High Enough
Use a taller container and make sure there is enough oil above the water layer. The oil column gives bubbles room to carry colored droplets upward.
Creative Ideas for Homemade Lava Lamps
Make It a Science Lesson
Ask kids to predict what will happen before adding the tablet. Will oil mix with water? Will the tablet react in oil? What happens when you use more or less tablet? Turning the craft into a mini experiment builds observation skills without making it feel like homework wearing a fake mustache.
Use It for Party Decor
Make several bottles in matching colors and place LED lights underneath. They are fun for birthday parties, science-themed events, Halloween tables, and retro nights.
Try a Color Comparison
Create three bottles using the same amounts of oil, water, and tablet, but change the food coloring. Compare which colors look brightest through oil. This is a simple way to explore visibility, light, and color saturation.
Turn It Into a Calm-Down Bottle
For the permanent sensory version, add glitter and glycerin. When the bottle is turned or shaken, the slow movement can be soothing. This works well for quiet corners, classrooms, or anyone who needs a tiny visual vacation.
Cleanup and Disposal Tips
Do not pour large amounts of oil down the sink. Oil can coat pipes and contribute to clogs. For the temporary lava lamp, let the mixture settle, pour off as much oil as possible into a disposable container, seal it, and throw it away according to your local waste guidelines. The remaining colored water can usually be diluted and poured down the drain, but use common sense and avoid dumping glitter or solids into plumbing.
Wash containers with warm soapy water. If the bottle is too oily to reuse for food, keep it for future crafts. Once a container has hosted oil, coloring, and fizzing tablets, it has officially entered its craft era.
Common Mistakes to Avoid
- Using too much water: The oil layer should be much larger than the water layer for the best lava effect.
- Adding the whole tablet at once: This can cause fast fizzing and overflow.
- Shaking too hard: It creates cloudy liquid and messy emulsions.
- Using a narrow opaque container: Clear, tall containers show the movement best.
- Heating a sealed DIY bottle: This is unsafe and should be avoided.
- Skipping the tray: Oil spills are sneaky, shiny, and annoying.
Frequently Asked Questions
How long does a temporary lava lamp last?
A temporary lava lamp bubbles for a few minutes per tablet piece. You can restart the action by adding more effervescent tablet. The oil-and-water mixture can be reused for the same day, but it is best to discard it after the activity.
Can I use baking soda and vinegar instead?
Yes, but it can be messier. Baking soda and vinegar also release carbon dioxide, but the reaction may foam quickly and overflow if you use too much. Effervescent tablets are easier to control.
Can I make a lava lamp without Alka-Seltzer?
Yes. You can use another effervescent tablet, or you can make a non-fizzing sensory bottle with oil, colored water, glitter, and glycerin. It will not bubble on its own, but it can create beautiful movement when tilted.
Is a homemade lava lamp safe for kids?
Yes, with adult supervision. Use plastic bottles for younger children, keep tablets out of mouths, avoid heat, and clean spills quickly.
Can I keep my homemade lava lamp forever?
The temporary fizzy version is not meant to last forever. For a longer-lasting option, make a sealed sensory bottle with oil and colored water. Store it away from heat and sunlight.
Hands-On Experience: What Making Lava Lamps Teaches You
The first thing you learn when making a homemade lava lamp is that simple projects are rarely boring. You pour water into a bottle, add food coloring, top it with oil, and suddenly the container looks like a tiny science museum exhibit. Then the tablet goes in, the bubbles begin, and everyone nearby becomes a lava lamp expert in approximately four seconds.
One helpful experience is testing different container shapes. A short, wide jar works, but the bubbles do not travel very far, so the effect feels more like a fizzy puddle. A tall bottle gives the blobs room to rise and fall, which looks much closer to a real lava lamp. If you want the most satisfying movement, choose height over width.
Another lesson is that less is often better. Too much food coloring can make the water so dark that the bubbles are hard to see. Too much tablet can make the reaction burst upward too quickly. Too much glitter can turn the bottle into a sparkly traffic jam. Small adjustments create the best results. Start with a few drops of color, a modest amount of glitter, and one small tablet piece. You can always add more, but you cannot easily remove an enthusiastic glitter avalanche.
Lighting also makes a big difference. Without a light, the bottle is still fun. With an LED flashlight underneath, it suddenly looks like a prop from a retro space lounge. Cool white light usually makes blue and green colors pop, while warmer light can make red, orange, and yellow tones feel extra cozy. A low-heat LED is the best choice because it gives glow without turning the project into a safety lecture.
The permanent sensory bottle teaches a different kind of patience. It does not fizz automatically, so the movement is slower and calmer. When you tilt the bottle, colored water slides through the oil in rounded shapes. Glitter drifts down like tiny confetti with nowhere urgent to be. Adding glycerin or clear glue thickens the water layer, making the motion slower and smoother. This version is especially satisfying for a desk or reading corner because it is quiet, reusable, and not demanding.
The biggest takeaway is that homemade lava lamps are a great reminder that science does not have to look serious to be useful. This project demonstrates density, polarity, gas formation, observation, prediction, and cause and effect. It also demonstrates that oil will absolutely find the one uncovered part of your table if you pour too fast. Put down a tray, invite curiosity, and enjoy the little blobs doing their dramatic elevator routine.
Conclusion
Learning how to make a lava lamp is one of the easiest ways to turn basic household materials into a memorable science activity. The temporary method uses oil, colored water, and an effervescent tablet to create bubbling motion powered by carbon dioxide. The permanent methods use sealed oil-and-water bottles for longer-lasting decoration, sensory play, and calm visual movement.
If you want instant wow-factor, make the temporary version. If you want something reusable, build a sensory bottle or decorative oil-and-water display. If you want a true heated lava lamp, buy a tested commercial product and follow the manufacturer’s instructions rather than trying to heat a sealed DIY container. The goal is groovy science, not a living room incident report.
With the right container, a little color, a patient pour, and one fizzy tablet, you can create a homemade lava lamp that is fun, educational, and just weird enough to make everyone stare at it longer than they planned.