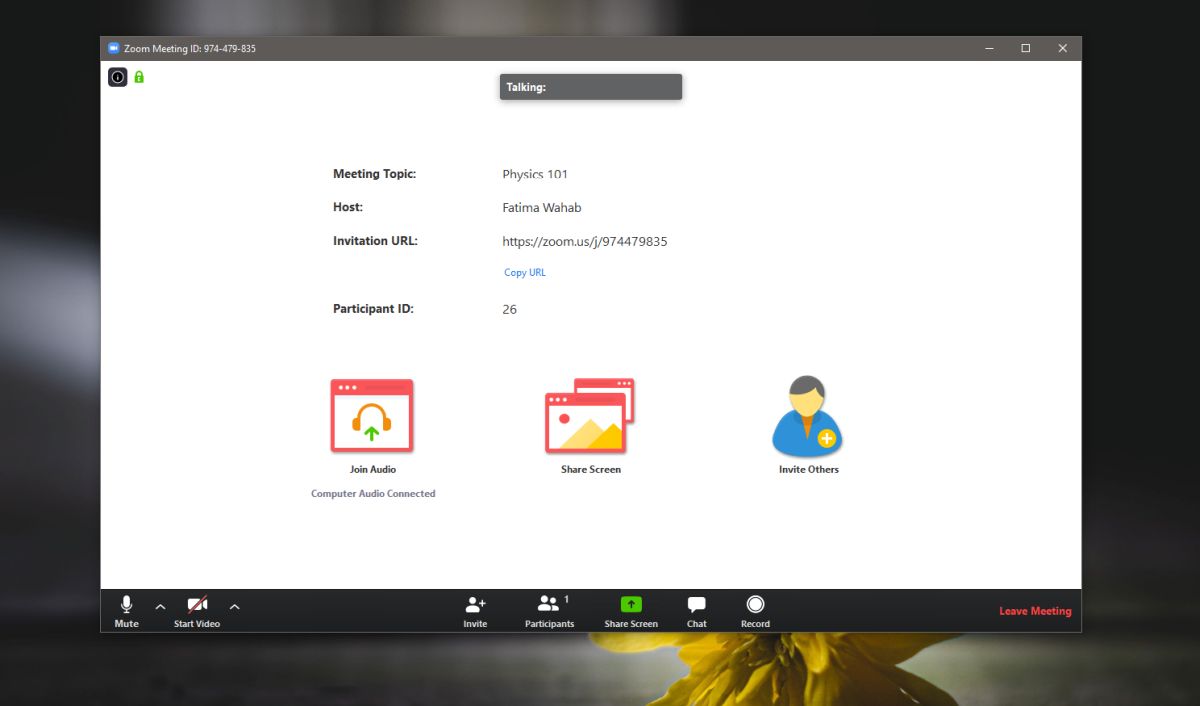
Creating an online classroom with Zoom sounds simple: click “Start Meeting,” smile into the camera, and hope nobody’s cat becomes the star of the lesson. But a truly effective Zoom classroom needs more than a meeting link. It needs structure, security, student engagement, accessibility, and a teaching plan that works even when someone’s Wi-Fi decides to take a coffee break.
The good news? Zoom is one of the most familiar video conferencing tools for online teaching, remote learning, tutoring, professional training, and virtual workshops. With the right setup, you can turn Zoom into a lively digital classroom where students can ask questions, collaborate in breakout rooms, use polls, annotate shared materials, watch demonstrations, and feel like they are part of a real learning communitynot just tiny squares floating in cyberspace.
This guide explains how to create an online classroom with Zoom from scratch, including setup, scheduling, safety settings, teaching tools, classroom management, accessibility, lesson planning, and real-world teaching experience. Whether you are a schoolteacher, college instructor, tutor, coach, or training manager, the goal is the same: make your virtual classroom clear, secure, interactive, and human.
What Is a Zoom Online Classroom?
A Zoom online classroom is a live virtual learning space where teachers and students meet through video, audio, chat, screen sharing, whiteboards, polls, and breakout rooms. Unlike a simple video call, a well-designed online classroom has learning goals, participation rules, teaching materials, student interaction, assessment, and follow-up activities.
Think of Zoom as the room, not the whole school. The classroom experience also depends on your lesson plan, learning management system, student communication, assignments, and expectations. Zoom gives you the tools; your teaching design gives those tools purpose.
Step 1: Choose the Right Zoom Account and Classroom Setup
Before you schedule your first online class, decide what kind of Zoom account you need. A free Zoom account may work for short tutoring sessions or informal study groups, but schools, businesses, and larger training programs usually need a paid plan because of longer meeting times, administrative controls, cloud recording options, reporting features, and advanced tools.
Basic Equipment for a Better Online Classroom
You do not need a Hollywood studio. You do need a setup that helps students see, hear, and follow you clearly. At minimum, prepare:
- A stable internet connection
- A laptop or desktop computer
- A webcam or built-in camera
- A microphone or headset
- Good lighting from the front
- A quiet teaching space
- A backup plan, such as a mobile hotspot or recorded lesson
Audio matters more than perfect video. Students can forgive a slightly grainy camera, but muffled sound turns learning into detective work. Use headphones if your room echoes, and test your microphone before class. The five-minute tech check is not glamorous, but neither is spending half the lesson saying, “Can you hear me now?”
Step 2: Plan the Online Classroom Before Opening Zoom
The most common mistake in online teaching is treating a Zoom lesson exactly like an in-person lecture. Online attention works differently. Students are surrounded by distractions: phones, siblings, snacks, pets, and the mysterious urge to reorganize their desktop during class.
Plan your Zoom classroom in short learning segments. A strong structure might look like this:
- 5 minutes: Welcome, attendance, and learning goal
- 10 minutes: Mini lesson or demonstration
- 5 minutes: Poll or quick chat response
- 15 minutes: Breakout room activity
- 10 minutes: Group discussion and feedback
- 5 minutes: Summary, assignment, and exit question
Students should know what they are doing, why they are doing it, and what comes next. A visible agenda is one of the simplest ways to reduce confusion. Place it on your first slide, in the chat, or inside your learning management system.
Step 3: Schedule Your Zoom Class Correctly
To schedule a Zoom online classroom, sign in to Zoom, choose “Schedule,” enter the class topic, set the date and time, and select your meeting options. For recurring courses, use a recurring meeting so students can use the same class link for each session. This is especially useful for weekly courses, tutoring programs, language classes, office hours, and semester-long instruction.
Recommended Scheduling Settings
- Use a clear meeting title, such as “Biology 101 – Monday Class.”
- Enable a passcode.
- Use the waiting room for student entry control.
- Require authentication if your school or organization supports it.
- Disable “Join before host” for younger learners or formal classes.
- Allow only the host to share screen by default.
- Add alternative hosts or co-teachers when needed.
- Share the meeting link only through official class channels.
Avoid posting your Zoom class link publicly on websites, open social media pages, or public forums. A classroom link should be treated like a school door key. You would not tape that key to a lamp post and hope for the best.
Step 4: Secure Your Zoom Online Classroom
Security is not the boring part of online teaching; it is what allows the fun part to happen without chaos. A secure Zoom classroom protects students, reduces interruptions, and gives the teacher control when something unexpected occurs.
Use the Waiting Room
The waiting room allows you to see participants before admitting them into class. This is useful for checking student names, preventing uninvited guests, and managing late arrivals. For K-12 or youth classes, the waiting room should be part of your default setup.
Use Passcodes and Authentication
A passcode helps prevent random meeting access. Authentication can add another layer by requiring students to sign in with an approved school, college, or organization account. This is especially helpful for larger classes where you may not recognize every name immediately.
Control Screen Sharing
Set screen sharing to “host only” unless students need to present. When a student is ready to share, you can temporarily allow it. This simple setting prevents accidental oversharing, surprise memes, and the occasional desktop wallpaper that becomes a character-building moment for everyone.
Know the Security Button
During a live Zoom class, the host can use security controls to lock the meeting, enable or disable chat, stop participant video, remove a participant, suspend activity, and manage screen sharing. Practice using these controls before you need them. The best emergency plan is the one you do not have to invent while thirty students watch silently.
Step 5: Build Classroom Rules and Student Expectations
Every successful online classroom needs norms. Students should know how to enter, participate, ask questions, use chat, turn cameras on or off, rename themselves, submit work, and behave respectfully.
Example Zoom Classroom Rules
- Join class using your real first name and last initial.
- Keep your microphone muted unless speaking.
- Use the raise-hand feature or chat for questions.
- Stay on topic in the chat.
- Do not record, screenshot, or share class content without permission.
- Be respectful during breakout room discussions.
- Tell the teacher privately if you have a technical problem.
For younger students, review these expectations often. For adult learners, keep the rules short and professional. Either way, do not assume students automatically know how to learn well on Zoom. Online learning is a skill, and skills need practice.
Step 6: Use Zoom Teaching Tools to Increase Engagement
A Zoom classroom should not feel like a one-person radio show with slides. Use interactive tools to keep students thinking, responding, and collaborating.
Screen Sharing
Screen sharing is ideal for slides, websites, documents, videos, demonstrations, and step-by-step tutorials. When sharing, close unrelated tabs, turn off private notifications, and zoom in so students on smaller screens can read clearly.
Zoom Whiteboard
Zoom Whiteboard can be used for brainstorming, diagrams, math problems, vocabulary maps, project planning, and collaborative notes. Teachers can create visual explanations while students contribute ideas. For science, draw a process. For literature, map character relationships. For business training, build a workflow. For math, show the steps instead of magically producing the answer like a wizard with a calculator.
Breakout Rooms
Breakout rooms are one of the strongest tools for online classroom engagement. They allow students to work in small groups, discuss questions, practice language, solve problems, peer review writing, or prepare short presentations. The teacher can assign rooms manually, automatically, or let students choose rooms depending on the class design.
Always give breakout rooms a clear task and time limit. “Discuss chapter three” is vague. “Choose two examples of irony from chapter three and be ready to explain one in two minutes” is much better.
Polls and Quizzes
Polls are useful for quick checks, warm-up questions, opinion surveys, comprehension checks, and exit tickets. A simple multiple-choice poll can tell you whether students understand a concept before you move on. Quizzes can make review more active and help students retrieve information from memory.
Chat
Chat is not just a side conversation. Used well, it becomes a participation channel for students who are shy, have audio issues, need time to think, or prefer writing. Try prompts like “Type one word that describes today’s concept” or “Drop your question in the chat, but do not press enter until I say go.” That last trick prevents the first fast typist from accidentally steering everyone else’s answer.
Step 7: Make the Zoom Classroom Accessible
An online classroom should work for as many learners as possible. Accessibility is not an optional decoration; it is part of good teaching. Enable captions when available, speak clearly, describe important visual information, provide materials in advance, and record sessions when your school policy allows it.
Students may have hearing differences, language needs, attention challenges, unstable internet, shared devices, or quiet spaces that are not actually quiet. Flexible participation options help more students succeed. For example, let students answer by voice, chat, reaction icons, polls, shared documents, or follow-up assignments.
Step 8: Connect Zoom with Your LMS or Class Hub
Zoom works best when it is connected to a central class hub. This could be Canvas, Google Classroom, Blackboard, Moodle, Schoology, Microsoft Teams, or a simple course website. The class hub should contain the Zoom link, schedule, assignments, recordings, slides, handouts, discussion boards, and announcements.
Do not make students hunt through seven emails, three chat threads, and one mysterious PDF called “final_final_updated_REAL.pdf.” Put everything in one predictable place. Clear organization reduces stress and saves time for both teachers and students.
Step 9: Protect Student Privacy
Privacy matters in every online classroom, especially when students are minors. Follow your school, district, college, or organization policies for video conferencing, recording, attendance, student names, chat logs, and data sharing. In the United States, educators may need to consider laws and rules related to student privacy, including FERPA and COPPA, depending on the age of students and the type of institution.
Practical privacy habits include sharing class links only through approved channels, recording only when necessary, telling students when recording is active, avoiding public posting of student images, and keeping grades or private student information out of shared screens. If you need to show a gradebook, stop. Breathe. Share a different window.
Step 10: Record Lessons Carefully
Recording can be helpful for absent students, review, accessibility, and flipped learning. However, recording should follow institutional policy. Before recording, tell students what is being recorded, how it will be used, where it will be stored, and who can access it.
For many classes, recording the teacher’s presentation and shared materials is enough. You may not need to record student faces or private discussions. If breakout room conversations include sensitive topics, avoid recording them unless there is a clear educational reason and proper permission.
Step 11: Design a Lesson That Feels Human
Technology can deliver a lesson, but human connection makes students care. Start class with a short greeting. Use names. Celebrate good questions. Pause often. Smile when appropriate. Give students time to think. Make space for mistakes. Online classrooms can feel distant, so intentional warmth matters.
A good Zoom lesson often follows this rhythm: explain less, involve more. Replace long lectures with short explanations, examples, questions, practice, and feedback. When students participate every few minutes, the class feels alive.
Common Mistakes to Avoid When Teaching on Zoom
Mistake 1: Talking Too Long Without Interaction
If students sit silently for 45 minutes, attention will drift. Use polls, chat prompts, reaction icons, breakout tasks, or quick reflection questions every few minutes.
Mistake 2: Giving Unclear Breakout Room Instructions
Before opening rooms, explain the task, time limit, expected result, and what students should do if they need help. Put instructions in the chat so students can still see them after they enter rooms.
Mistake 3: Forgetting About Tech Practice
Teachers should practice screen sharing, whiteboard tools, breakout rooms, polls, and security settings before class. Students also need practice. The first time students use a tool should not be during a high-stakes activity.
Mistake 4: Making the Class Too Complicated
Fancy tools are helpful only when they support learning. A simple, well-run class with clear goals beats a chaotic digital circus with twelve apps and a confused teacher sweating behind the webcam.
Example: A 60-Minute Zoom Classroom Plan
Here is a practical example for a one-hour online class:
- 0-5 minutes: Welcome students, check audio, review the agenda.
- 5-12 minutes: Introduce the topic with a short slide presentation.
- 12-15 minutes: Launch a poll to check prior knowledge.
- 15-25 minutes: Demonstrate a skill or explain a core concept.
- 25-40 minutes: Send students into breakout rooms with a specific task.
- 40-50 minutes: Bring everyone back and discuss group findings.
- 50-57 minutes: Use chat or a quiz for quick assessment.
- 57-60 minutes: Summarize key points and explain homework.
This structure keeps the class moving and gives students multiple ways to participate. It also prevents the teacher from becoming the only person doing mental push-ups.
of Real Teaching Experience: What Actually Works in a Zoom Classroom
After teaching or observing enough online classes, one lesson becomes very clear: Zoom success is less about technology and more about rhythm. The best online teachers do not simply “use Zoom.” They direct attention. They make the room feel safe. They design moments where students must do something meaningful, not just listen politely while secretly shopping for snacks.
The first practical experience is that students need a predictable opening routine. Start the same way each time: greet students, show the agenda, remind them of the goal, and give them one easy action. That action might be answering a warm-up question in chat, reacting with an emoji, or writing one sentence in a shared document. This tells students, “You are not here to watch; you are here to participate.”
The second experience is that silence online feels longer than silence in a physical classroom. When you ask a question on Zoom, students may be thinking, looking for the unmute button, checking whether their camera is on, or wondering if someone else will answer first. Count slowly. Give wait time. Better yet, ask students to write first, then speak. For example, say, “Take 30 seconds to type your answer, but don’t send it yet.” Then ask everyone to press enter at the same time. Suddenly, the chat fills with ideas, and students see that they are not alone.
The third experience is that breakout rooms work only when the task is concrete. Students should enter rooms knowing exactly what to produce. A weak task creates awkward silence. A strong task creates movement. Give students a role, a question, a product, and a deadline. For example: “In your group, choose a speaker, list three causes of the problem, and prepare one solution to share when we return.” This turns breakout rooms from digital waiting rooms into learning spaces.
The fourth experience is that camera policies require balance. Some teachers want cameras on because faces help build connection. Some students cannot or should not always use cameras because of privacy, bandwidth, disability, anxiety, or home environment. A flexible approach works best: encourage cameras when useful, but offer other participation options such as chat, polls, shared notes, or verbal responses. Engagement is not measured only by visible foreheads.
The fifth experience is that shorter explanations win. In person, a teacher may sense confusion from body language. On Zoom, those signals are harder to read. Break explanations into small chunks and check understanding often. Instead of asking, “Does everyone understand?” try, “Type 1 if you want another example, 2 if you’re ready to practice.” This gives you better information and gives students a low-pressure way to respond.
The sixth experience is that your backup plan is part of your lesson plan. Internet fails. Slides freeze. A student cannot enter the meeting. The poll disappears like it joined the witness protection program. Have a simple backup: a PDF of slides, an email announcement template, an alternate activity, and a place where students can find instructions. Calm teachers make calm classrooms.
Finally, the best Zoom classrooms are not perfect. They are clear, kind, secure, and active. Students do not need a flawless broadcast. They need a teacher who has prepared the room, respects their time, invites participation, and keeps learning moving even when technology gets dramatic.
Conclusion
Learning how to create an online classroom with Zoom is really about combining the right settings with the right teaching habits. Schedule your class carefully, protect it with waiting rooms and passcodes, organize materials in one class hub, use interactive tools with purpose, and design lessons that invite students to participate often.
Zoom can support live teaching, tutoring, training, office hours, small-group collaboration, recorded review, and accessible learning. But the platform is only as strong as the classroom culture you build around it. Keep your lessons structured, your instructions clear, your security settings tight, and your sense of humor nearby. In online teaching, a little patience goes a long wayand a working mute button goes even further.