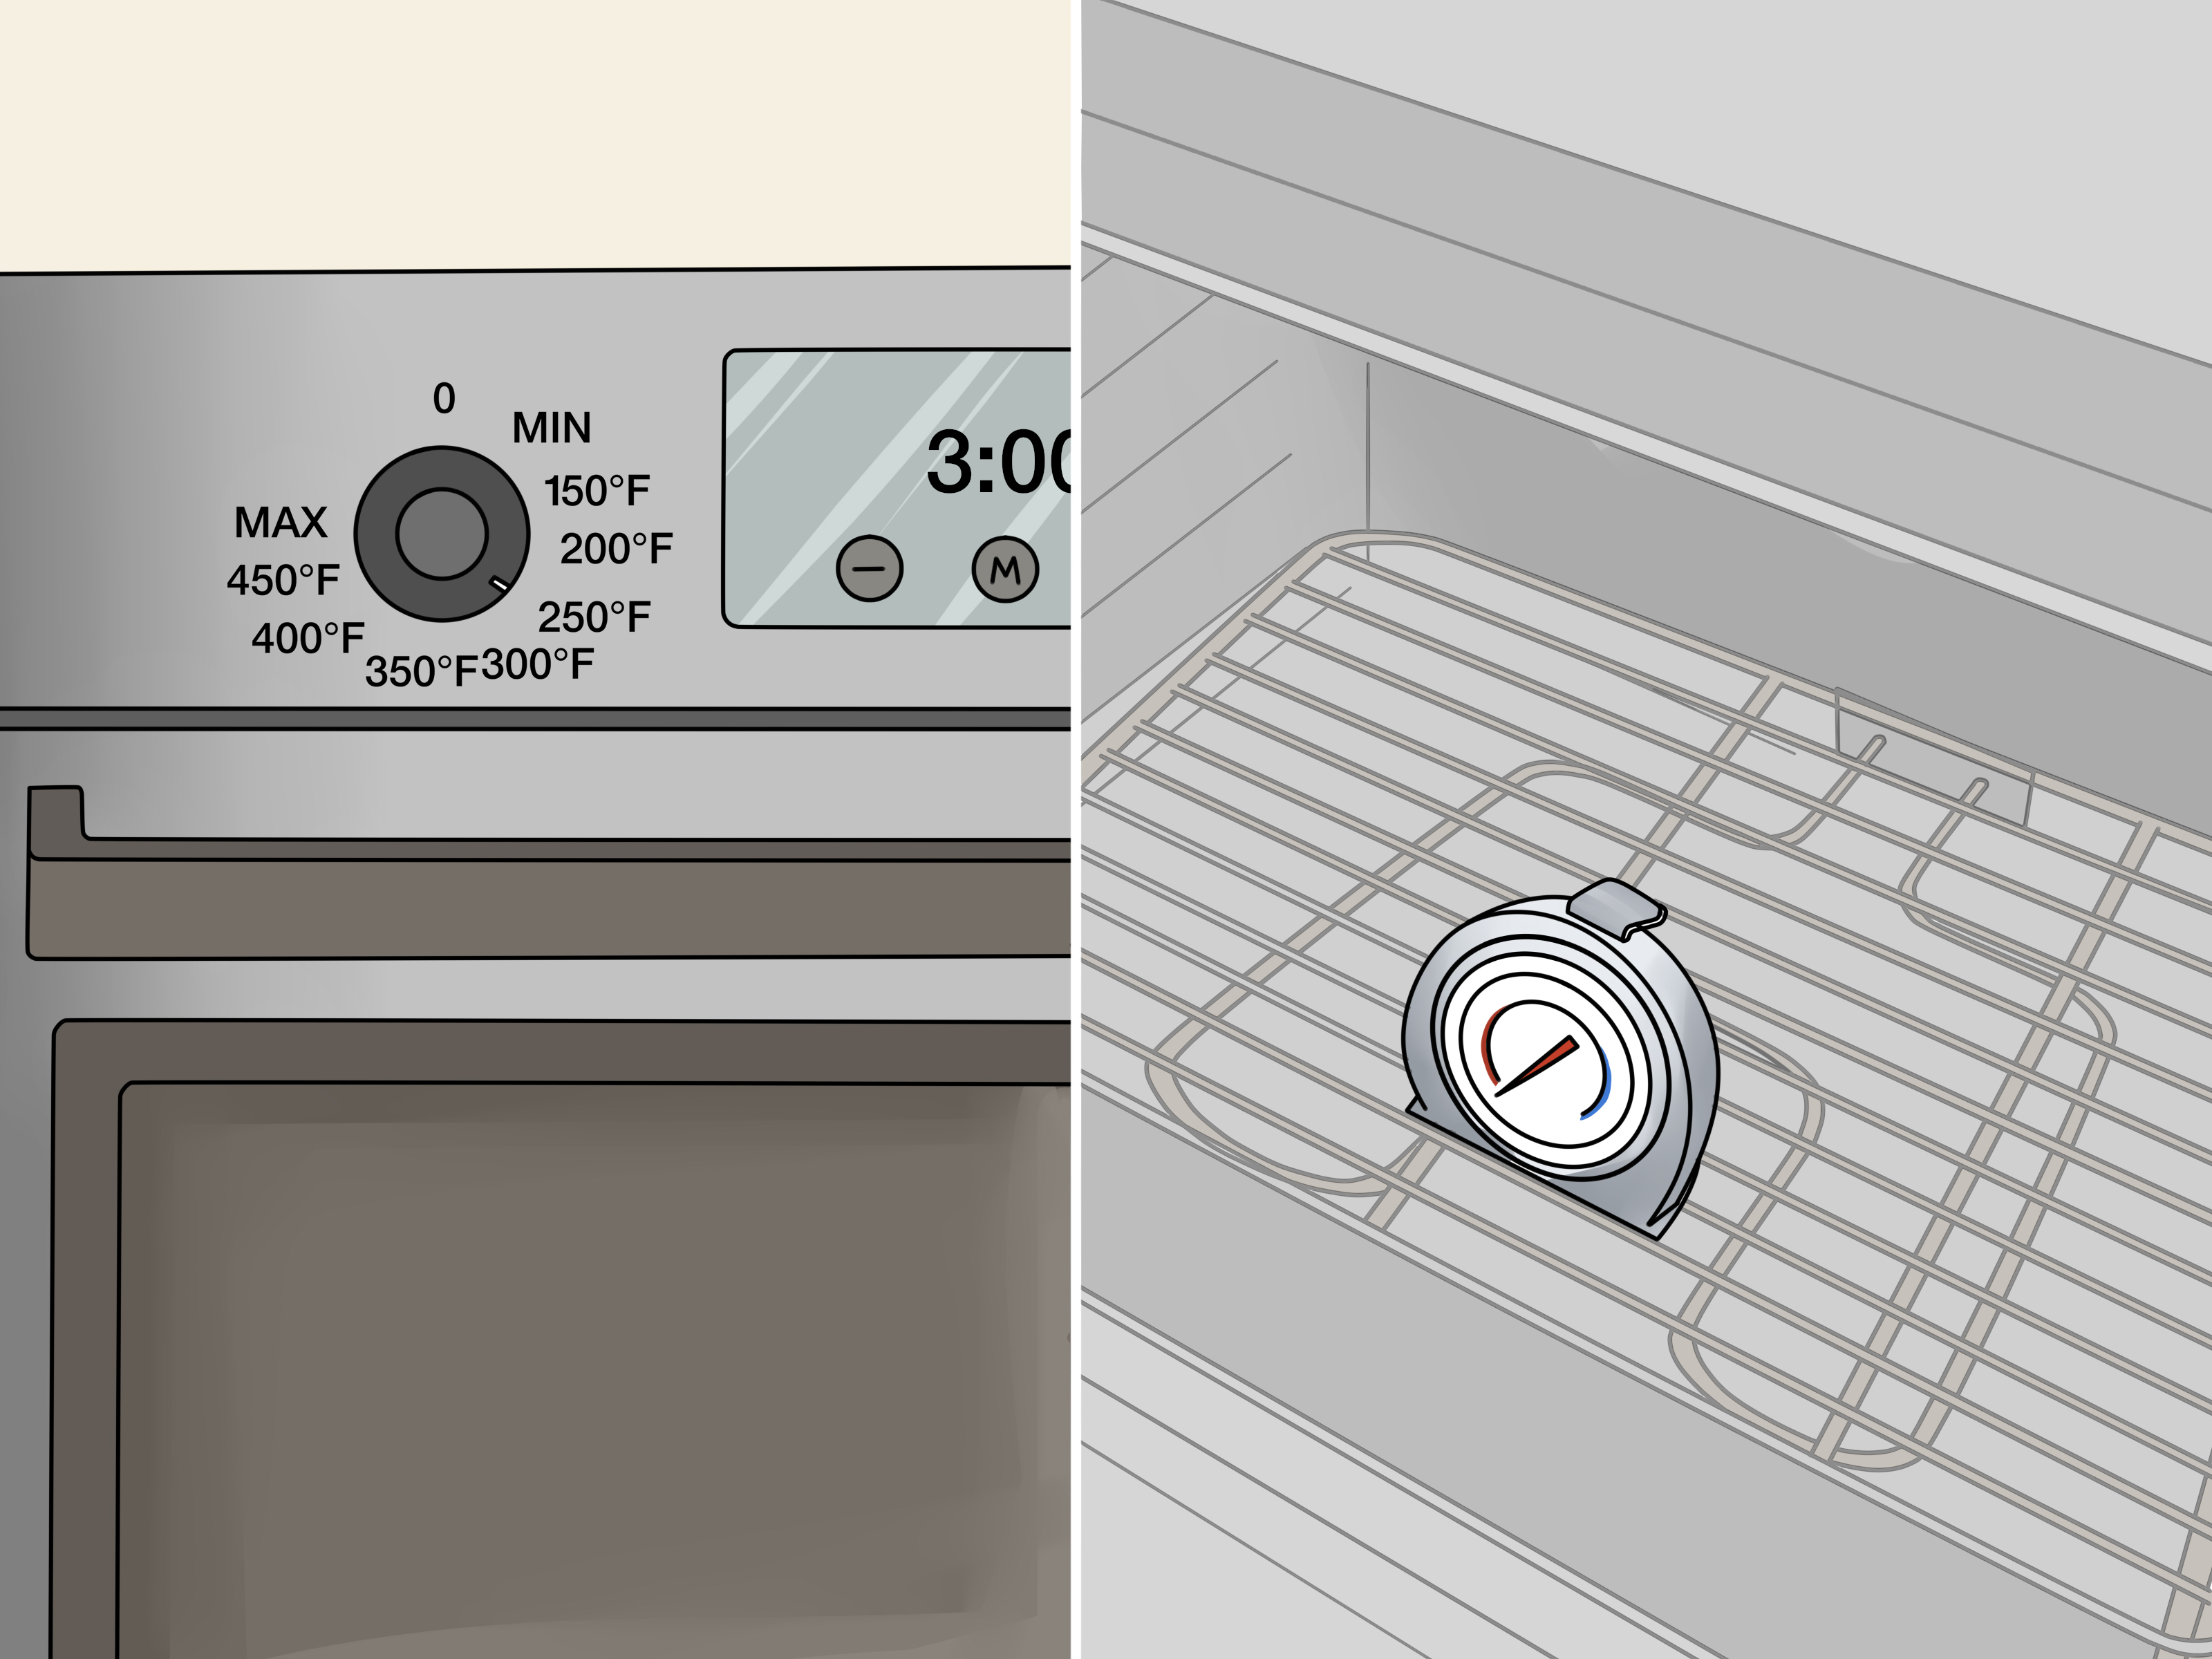
If your oven has suddenly decided that dinner should remain mysteriously lukewarm, the heating element may be the culprit. The good news is that testing an oven element is usually much less intimidating than it sounds. You do not need a wizard, a secret handshake, or a wrench collection that would impress a mechanic. In many cases, you just need patience, a screwdriver, and a multimeter.
This guide walks you through how to test an oven element in 12 simple steps. It is written for electric ovens, since gas ovens usually rely on an igniter and burner system instead of a visible bake element. Along the way, you will learn what a bad oven element looks like, how to test oven element continuity, what resistance readings may mean, and when it is time to stop troubleshooting and bring in a professional.
If your oven is not heating evenly, takes forever to preheat, or leaves the top of your casserole brown while the bottom stays stubbornly pale, keep reading. Your oven may not be lazy. It may just need a new element.
Why the oven element matters
In an electric oven, the bake element usually sits at the bottom of the oven cavity, while the broil element is mounted at the top. These elements heat up when electricity passes through them. If one burns out, loses continuity, or shorts to the metal sheath, your oven may heat poorly or not at all.
That means testing the element is one of the smartest first moves when you are dealing with an oven not heating problem. It is faster and cheaper than replacing random parts and hoping your appliance suddenly rediscovers its purpose in life.
Tools you will need
- A multimeter with continuity or resistance settings
- A screwdriver or nut driver
- Work gloves
- Your oven’s model number, if possible
- A phone for taking reference photos before disconnecting wires
How to Test an Oven Element in 12 Steps
-
1. Confirm that you are working on an electric oven
This guide is for electric ovens with bake or broil elements. If your oven uses gas, the heating system works differently, and the common suspect is often the igniter rather than an exposed element. Before you begin, make sure you are troubleshooting the right part.
-
2. Turn off the power completely
This is the step you do not skip, even if you are in a hurry and even if the cookies are emotionally depending on you. Unplug the range if it has a plug. If it is hardwired or a wall oven, switch off the correct breaker at the service panel. Do not rely on the control panel being off. The appliance needs to be fully disconnected from power before you touch wiring or remove the element.
-
3. Let the oven cool down
If the oven was recently on, let it cool completely. A heating element can stay hot longer than expected, and grabbing it too soon is a fast way to learn a very avoidable lesson. Give it enough time that you can touch the surrounding area safely.
-
4. Remove the oven racks and locate the suspect element
Take out the racks so you have room to work. Then identify the element you want to test. Most people start with the bake element at the bottom, because it is the one most often connected to poor baking performance. If broiling is also failing, inspect the broil element at the top as well.
-
5. Inspect the element for visible damage
Before you even touch a multimeter, look closely at the element. A bad oven heating element often gives itself away with obvious signs: blistering, cracks, separated sections, burned spots, holes, or sections that look warped or broken. If you see visible damage, the test may be little more than a formality. The element is very likely done.
-
6. Remove the mounting screws
Most bake elements are secured to the rear oven wall with a couple of screws. Remove them carefully and set them somewhere safe. Tiny appliance screws have a remarkable talent for rolling away at exactly the wrong moment, so a small bowl or magnetic tray is your friend.
-
7. Gently pull the element forward
Once the screws are out, slowly pull the element toward you. You should be able to expose the wire terminals where the element connects to the oven wiring. Pull gently. You do not want the wires slipping back through the insulation and disappearing into the oven wall like they are auditioning for a magic show.
-
8. Disconnect the wires and document their position
Before disconnecting anything, take a quick photo. Then remove the wire connectors from the element terminals. If a connector is stubborn, use needle-nose pliers carefully on the connector itself, not on the wire. Avoid yanking. Damaging a wire while testing the element only creates a second problem that was not invited.
-
9. Set your multimeter to continuity or ohms
Turn your multimeter to the continuity setting if it has one. If not, use the resistance setting, usually marked with the ohms symbol. Some meters beep when there is continuity. Others just display a number. Either is fine. You are checking whether electricity can travel through the element from one terminal to the other.
-
10. Test terminal-to-terminal continuity
Touch one probe to one terminal and the other probe to the second terminal. A good oven element usually shows continuity or a measurable resistance reading. The exact ohm value depends on the model, but many working bake elements fall somewhere in a moderate range rather than reading open or infinite. If your meter shows no continuity, “OL,” or a completely open circuit, the element is bad and should be replaced.
-
11. Test for a short to the metal sheath
Now check whether the element has shorted to ground. Touch one probe to a terminal and the other to the metal outer surface of the element. Repeat with the other terminal. You should not get continuity here. If the meter shows continuity between a terminal and the metal sheath, the element is shorted and defective.
-
12. Interpret the results and decide what to do next
If the element fails either test, replace it. If it passes both tests but the oven still does not heat correctly, the problem may be elsewhere. Possible next suspects include damaged wiring, a faulty oven control board, a temperature sensor, or a relay issue. At that point, your troubleshooting can continue, but the element has officially been cleared of the crime.
What your test results mean
| Test result | What it usually means |
|---|---|
| No continuity between terminals | The element is open and should be replaced |
| Continuity between terminal and metal sheath | The element is shorted and should be replaced |
| Normal continuity and resistance | The element may be fine; check wiring, sensor, or control components |
| Visible blister, split, or burned spot | The element is likely bad even before testing confirms it |
Common signs of a bad oven element
- The oven does not heat at all
- The oven heats slowly
- The bottom of food stays undercooked
- The element does not glow when the oven is on
- You see sparks, blistering, or a broken section on the element
- The oven temperature is inconsistent from one use to the next
When the element tests good but the oven still fails
This is the part where appliance troubleshooting gets just a little more dramatic. If the element has continuity and is not shorted, the issue could be the wiring harness, temperature sensor, terminal block, selector switch, or electronic control board. In some models, the oven temperature sensor is another common failure point. That is why checking the tech sheet for your specific model can save you a lot of guesswork.
If your oven is hardwired, if access is awkward, or if the next step would involve live voltage testing, it may be time to call an appliance repair professional. There is nothing heroic about taking unnecessary electrical risks in the name of lasagna.
Tips for replacing the oven element
- Buy the correct replacement using the full model number
- Match the bake element or broil element exactly
- Inspect the wire terminals for burning or corrosion before installing the new part
- Reconnect wires firmly and reinstall screws snugly, but do not overtighten
- Restore power and test the oven after reassembly
Mistakes to avoid
One common mistake is testing the element while it is still connected to the oven wiring and the power is not fully disconnected. Another is assuming that any random resistance reading means the part is healthy. You need to look for continuity, compare the reading to model-specific guidance when possible, and rule out a short to the metal sheath. Also, do not forget to inspect the wire ends. A bad connector can imitate a bad element and waste your afternoon.
Common homeowner experiences with testing an oven element
One of the most common experiences homeowners describe starts with confusion rather than total failure. The oven still turns on, the light works, the clock looks cheerful, and the fan may run, so the assumption is that the appliance must be fine. Then dinner comes out half-baked in the least flattering way possible. Brown on top, pale underneath, and somehow still cold in the middle. That kind of uneven performance often sends people chasing the wrong problem first. They blame cookware, the recipe, the weather, or a baking curse handed down through generations. In reality, a weak or failed bake element is often the simple explanation.
Another familiar experience is spotting visible damage and then feeling both relieved and mildly offended. Relieved, because a blistered or split element is easy to identify. Offended, because the answer was sitting there in plain sight while the household debated preheating strategies like a panel of confused judges. Many people find that once they remove the racks and look closely, the element has a burned-out patch, a crack, or a section that has clearly separated. That moment can be strangely satisfying. At least the oven was inconsiderate enough to leave evidence.
There is also the experience of expecting the multimeter test to be complicated, only to discover that it is actually the calmest part of the process. For many beginners, the word “multimeter” sounds like a device that should come with a lab coat and a stern warning label. In practice, once the power is off and the wires are disconnected, the test itself is pretty straightforward. One probe goes here, the other goes there, and the meter tells its little electrical truth. The real challenge is usually getting comfortable enough to trust the reading and not second-guess yourself every six seconds.
Then there are the cases where the element tests fine, and that can be the most frustrating experience of all. Homeowners often feel a mix of relief and annoyance. Relief, because the part is not dead. Annoyance, because now the mystery deepens. That is the moment many people realize appliance diagnosis is less like flipping a magic switch and more like detective work with screws. The next suspects may include wiring, the control board, or the temperature sensor. It is not the ending anyone hoped for, but it is still valuable progress because at least you are not replacing a good part for no reason.
Finally, many people come away from the experience with a surprising amount of confidence. Testing an oven element is one of those repair tasks that feels larger than life until you actually do it. Once you have safely disconnected power, removed the element, checked continuity, and understood the reading, the whole thing becomes much less mysterious. Even if you ultimately decide to call a technician for the final repair, you are no longer guessing in the dark. You know what the element is doing, what it is not doing, and why your oven has been acting like it forgot its job description. That knowledge alone can save time, money, and a lot of future kitchen frustration.
Conclusion
Testing an oven element is one of the most practical ways to diagnose an electric oven that is not heating correctly. With the power disconnected, a careful visual inspection and a simple multimeter check can tell you whether the element is open, shorted, or probably okay. That means fewer wild guesses, fewer unnecessary parts, and a much better chance of getting your oven back in business without turning dinner into an experiment.
If the element fails the test, replacement is usually the right move. If it passes, you have narrowed the problem and can move on to wiring, sensors, or control components with more confidence. Either way, you are no longer standing in front of a moody oven wondering whether it is broken or just expressing itself.